Add Filters
Filters are commonly added to videos for various reasons, including aesthetic enhancement, creative expression, visual effects, and consistency with other media. In this part, we’ll further explore how to add filters to your video.
Supported Filter Effects
We provide a wide selection of popular video filter effects that cater to diverse creative needs. Our collection includes vintage, natural, film grain, cool, warm, and cold tones. In addition to these popular options, we offer an array of other tones and effects to suit your creative vision. From vibrant and energetic styles to subtle and muted tones, our Filters option enables you to enhance your videos with captivating visual aesthetics.

Supported Filter Effects
How to Add Filters to a Video?
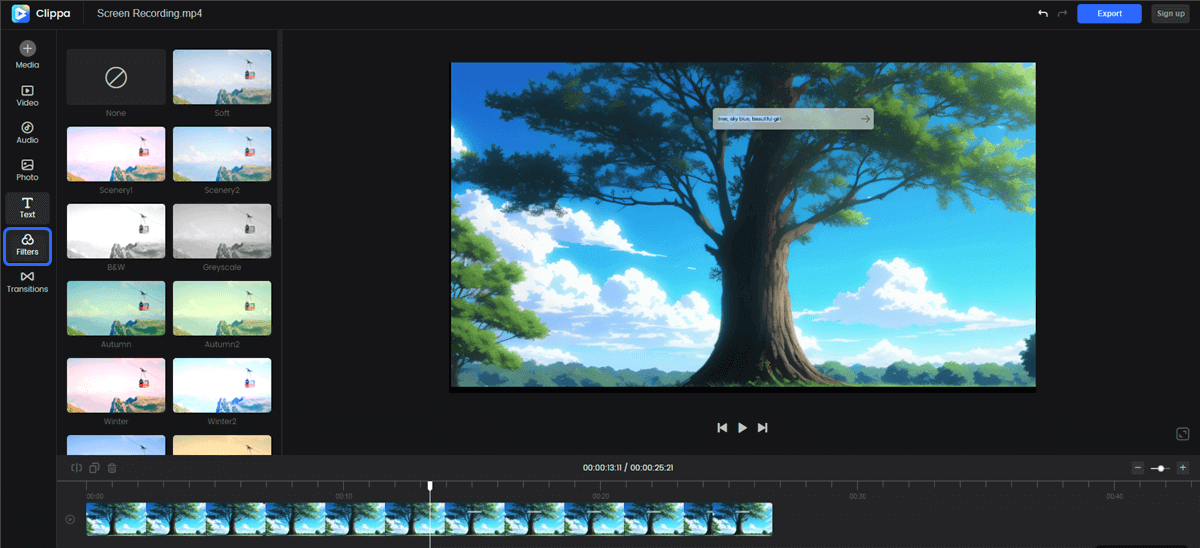
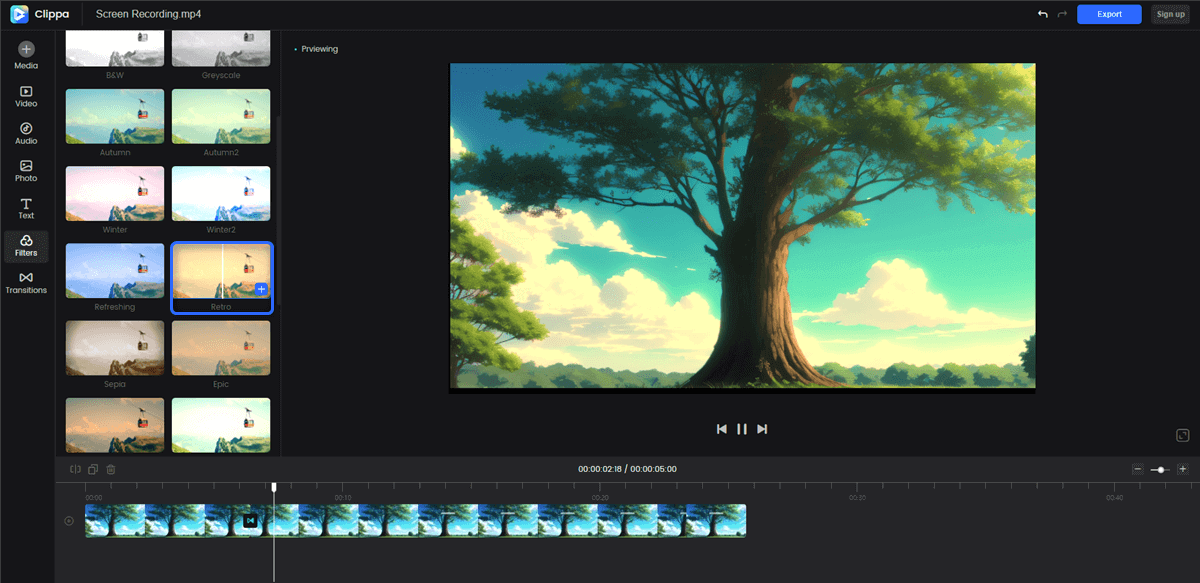
Once you have uploaded and positioned your video in the playback area, navigate to the left menu and locate the Filters option. Now, you can access a variety of filters to enhance your video. To preview the effect of each filter on your video, simply click on the desired filter.

Preview the Video Filters
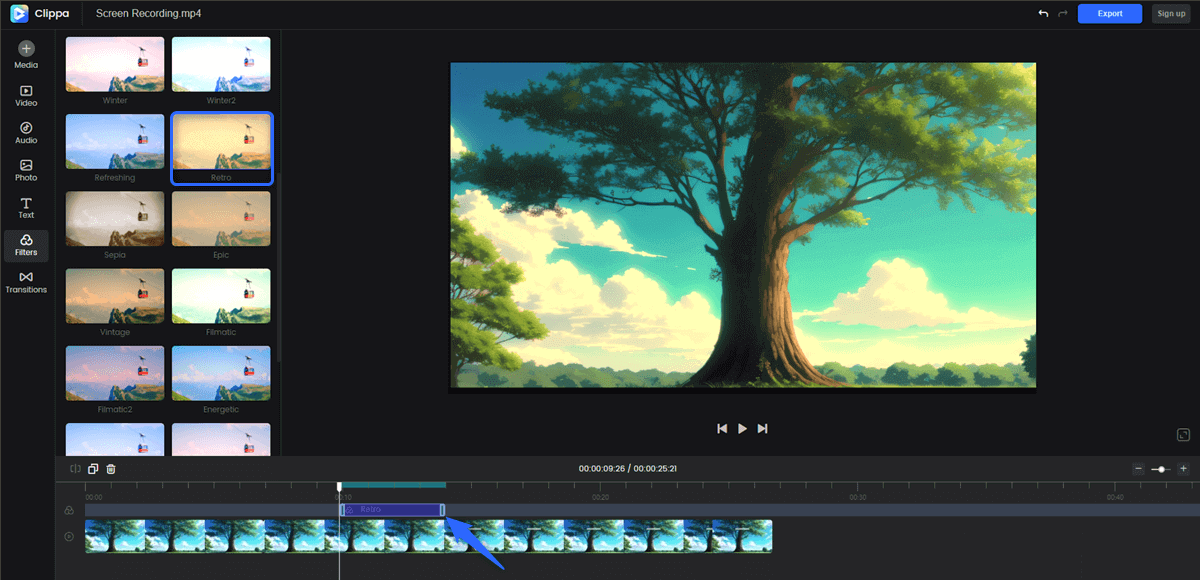
Once you have determined the specific areas of your video where you want to apply filters, drag the pointer over those sections and click the + button. This action will apply the selected filter to the designated area. The filter effects will be shown on a separate track, allowing you to fine-tune their timing. Now, you can adjust the start and end time of the filter to precisely apply it to the desired section of your video.

Add Filters to Your Video
It’s important to note that the use of filters should be purposeful and aligned with the intended message or aesthetic of the video. Overusing or misusing filters can negatively impact the overall quality and effectiveness of the content.