Need to preserve what you see on your phone or computer screen? Both desktop and mobile operating systems provide robust screen capture tools. The screenshot is a more frequent operation in the process of using the computer. You can screenshot videos to save impressive movie moments or take a screenshot when discussing a problem. Windows 10 has a couple of ways that allow you to take screenshots and edit them, which is pretty easy and fast. Let’s see them one by one.

How to Take a Screenshot in Windows 10
Also read: Read Covered Text in a Screenshot >
Table of Contents: hide
Taking Screenshots with Gemoo Snap
How to Take a Screenshot Via Print Screen (PrtScn)
1. Take a screenshot of your fullscreen
Just A Print Screen key (PrtScn)
Capture the selected screen and save it to the clipboard
2. Windows Snipping Tool(Snip & Sketch)
FAQs on How to Take a Screenshot on Windows 10 and Windows 11
Taking Screenshots with Gemoo Snap
Windows 10 has many useful screenshot features, and a Screenshot is a powerful tool. Every coin has two sides, and each of the methods mentioned above has its own limitations. If you need any screenshots and want more flexible options, you may choose something with more powerful features.
So, Gemoo Snap will be the best choice for you. Though free it is, Gemoo Snap is a professional screenshot tool that can provide you with a variety of screenshot needs and help you take high-quality screenshots. Both a Chrome plug-in and a desktop version of Gemoo Snap are available for Windows (Windows 11, 10, 8 and other low-end PC) and Mac users.
Key features of Gemoo Snap:
- Capture a screenshot, annotate images with brush, text, shape, number, mosaic, and copy it to the clipboard.
- Choose a portion of the scene to capture. Take a screenshot of the area of the screen that is visible.
- Take screenshots immediately and save them without interrupting the current window or page.
- Supports 2 ways to save screenshots, directly to the cloud or save locally.
- Make a screenshot, recognize the text, and extract text or modify the texts from the screenshots.
Please free download Gemoo Snap to start the wonderful experience of the screen on Windows and Mac.
Step 1. Launch Gemoo Snap on the computer, and enter your account and password to log in it. Alternatively, you can install an extension in Chrome (Add to Chrome).

Gemoo Snap interface
Step 2: Please select a function and tap on it. To open the Quick Screenshot function, you can also tap the shortcut key PrintScreen. Next, please drag your mouse over the desired area to it and then let go.
Select a function and customize the screen
Step 3: Gemoo Snap will automatically upload the completed screenshot to Gemoo Cloud after you complete it.
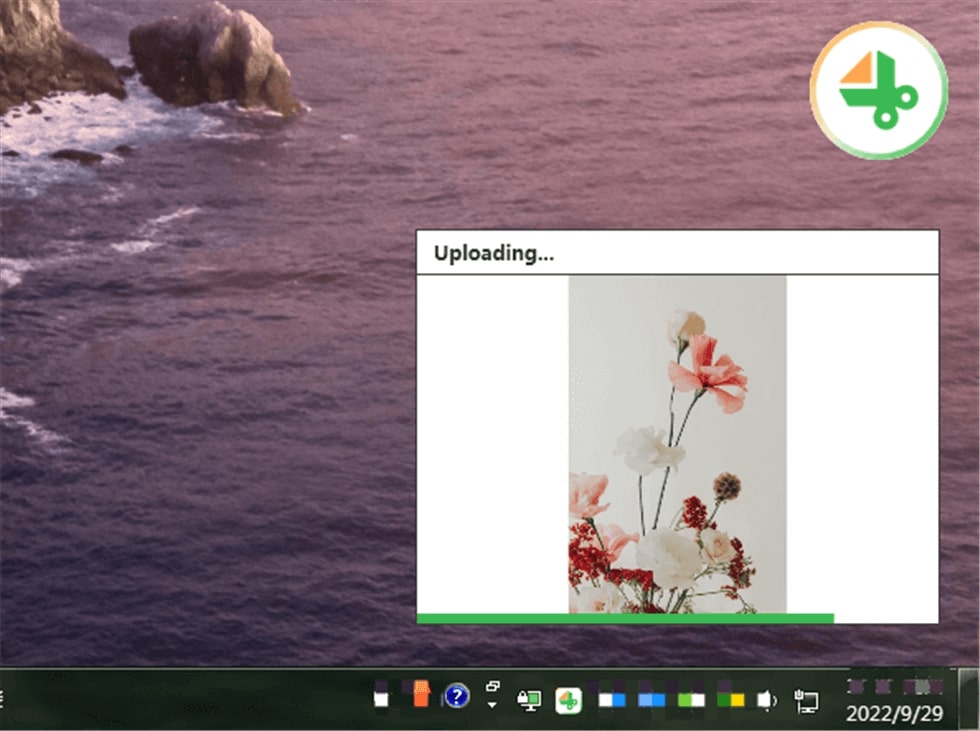
Upload the screenshots
How to Take a Screenshot Via Print Screen (PrtScn)
On the top row of the keyboard, you may find the key labeled as “Print Scrn”, “Print Scr”, or “Prt Scn”. With the Print Screen key on the keyboard, you can either take a screenshot of your full screen or capture an active window.
Take a screenshot of your fullscreen
Just A Print Screen key (PrtScn)
The Print Screen key(PrtScn) captures the entire screen and saves it to the clipboard. If the current computer screen displays as shown below,
Step 1. You just click PrtScn to save the screenshot of the entire screen to the clipboard.
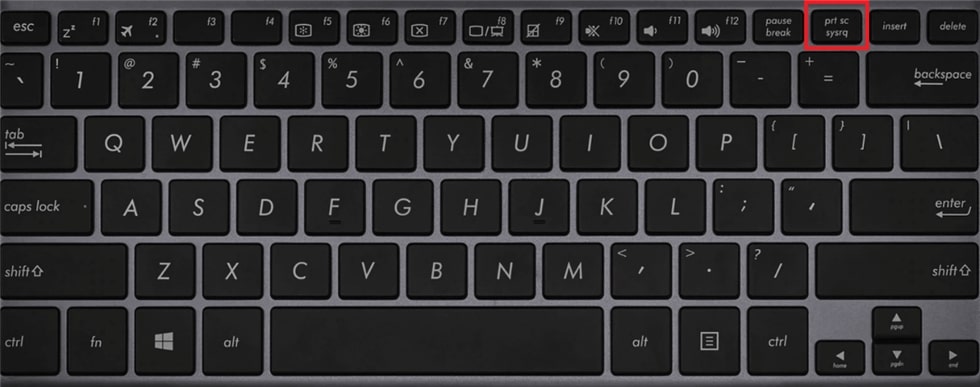
Click PrtScn to take an entire screenshot
Step 2. Click Win+V to open the clipboard and you can see the screenshot of the current screen.
This method can also be used to paste the clipboard image into the input box by clicking Ctrl+V in the input box of some software that supports input images. It can be pasted to some image editing tools, as shown in the following figure as well.
Win+PrtScn
Like clicking PrtScn, Win+PrtScn can capture the entire screen as well.
Step 1. Click Win+PrtScn to save the screenshot of the entire screen to the clipboard.
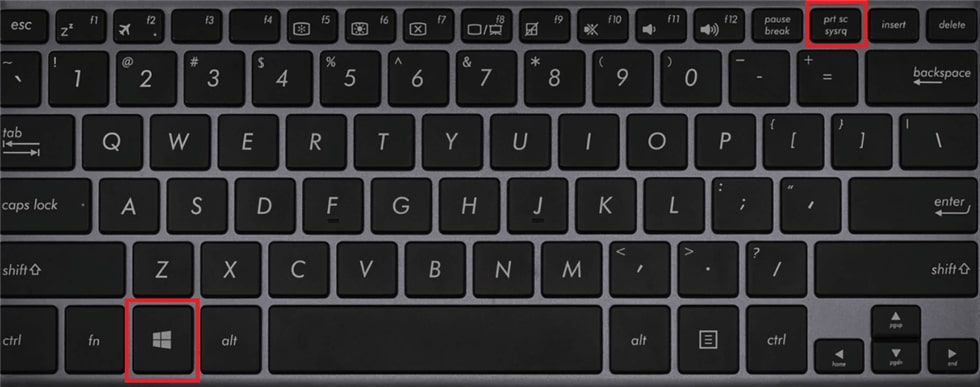
Click Win+PrtScn to save the screenshot
Step 2. Look at the file path which saves the Screenshots is’ F:\Pictures\Screenshots’.
This is because I changed the picture location of this computer from the user directory to the F disk, if you did not change, then the file path should be ‘C:\Users \ pictures \ Screenshots’.
Capture an Active Window
Alt+PrtScn/Alt+Fn+PrtScn
On laptop keyboards, the Print Screen key may be combined with another key, but it will be located in that general area of the keyboard. To capture a screenshot of just a single window instead of your entire screen.
Step 1. You must first click on the desired window in order to select it so that you can take a screenshot of it rather than just any active window.
Step 2. Click Alt+Print Screen. (On some laptops, you may need to click Alt+Fn+Print Screen instead.)
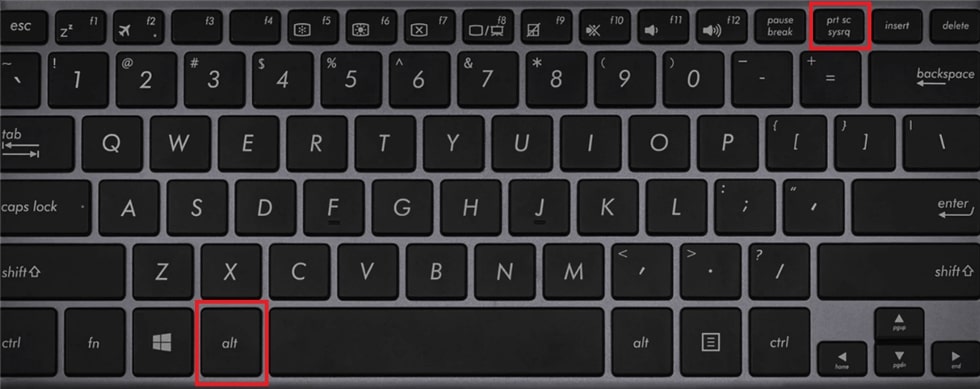
Click Alt+Print Screen
Step 3. The image will be copied to the Clipboard after you do this, where it can be retrieved by pasting it somewhere else.
This shortcut takes a very precise cut of the window’s border, as shown below. Like PrtScn, you can see the screenshot on your clipboard and paste it into some software’s input fields and image editing tools.
Win+G (the Game Bar)
Through the Shortcut key of Win+Alt+PrtScn, you can capture an active window. This shortcut is available only when the Xbox Game Bar is installed. You can change this shortcut in Settings.
Step 1. Open up the Game Bar overlay, and press the Windows Key + G (windows key G). Make certain that the window or screen you want to capture is the active window before pressing this.
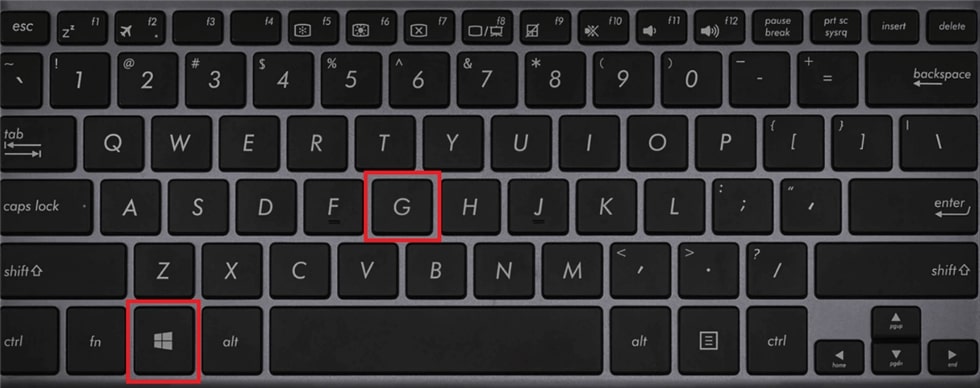
Open up the Game Bar
Step 2. You’ll see a window with the label “Broadcast & capture” in the upper right corner of the screen. Click the Camera icon to start the screenshot process. The screenshot will be saved as a PNG file and placed in”C:\Users\Username\Videos\Captures.”
Capture the Selected Screen and Save it to the Clipboard
Windows + Shift + S
This is a new feature shipped with the Windows Creator update.
Step 1. When you perform the key combination above, your screen is gray. You can then use your mouse to click and drag the area you want to capture.
Step 2. This screenshot will then be available on the clipboard for you to edit and/or save using an image editing software such as Paint.
The best thing about this method is directly being able to take a screenshot of the part of the screen which is required and not the whole screen. You can save a lot of time by not going through the unnecessary process of cropping out the not required part from the screenshot later on.
Windows Snipping Tool (Snip & Sketch)
Snip & Sketch is a more advanced version of the Snipping Tool on Windows 10 and Windows 11 with a wider array of options and easier access. It takes a screenshot of a selected area (only rectangular screenshots are supported) and opens it with the screenshot tool. Snip & Sketch can take a screenshot on a three or ten-second delay, and sometimes taking a screenshot on a delay can help you capture a menu or other interface element that won’t appear unless you’re interacting with it.
Step 1. You’ll need to use the search bar to locate the screen-snipping tool app in order to launch it. If the search bar isn’t visible, you can right-click on the taskbar, select Search from the menu, and then select Show Search Box. The active window for the snip sketch tool will appear.
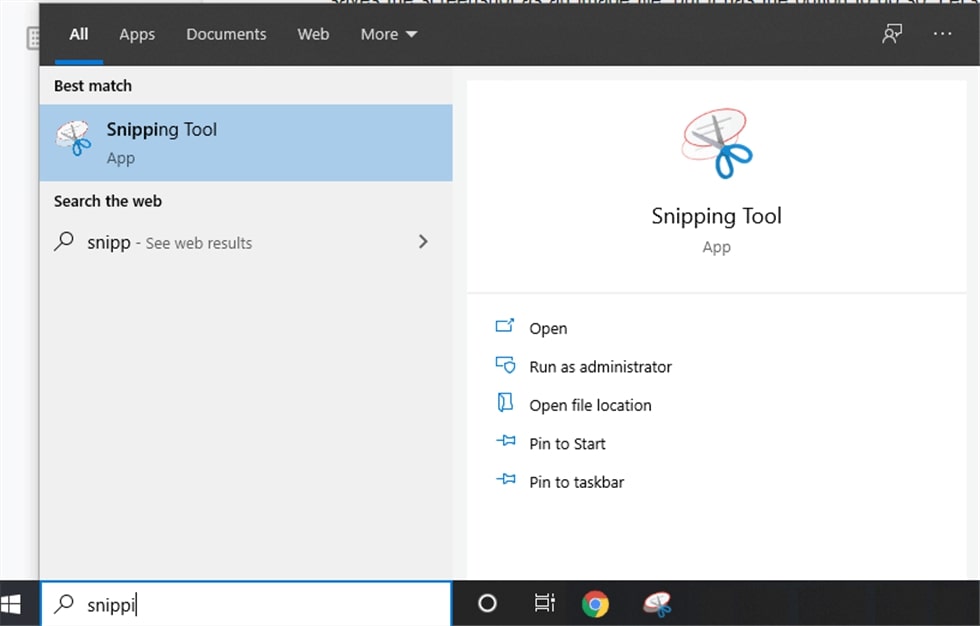
Open up the Snipping Tool
Step 2. An additional window will open. Choose the type of “snip” you want to take here: a full-screen capture, a window snip, a free-form snip, or a rectangular snip. We’ll demonstrate how to take a square screen snip.
Step 3. Click on delay to set the time in seconds you will like to wait before taking the screenshot.
Step 4. Once you are ready to take the screenshot, click on New. The screen will fade out and the cursor will turn into a scissor.
The methods mentioned above are some of the ways in which you can take a fairly basic screenshot in Windows 10. If you want more editing options and more productivity, you can try out any third-party screenshot app available online.
FAQs on How to Take a Screenshot on Windows 10 and Windows 11
1. How do I take a screenshot of a specific area?
To take a screenshot of a specific area, press Windows key + Shift + S. This will open the Snipping Tool, which allows you to select the area you want to capture.
2. Can I edit the screenshot after taking it?
Yes, you can edit the screenshot after taking it using the built-in Paint app or any other image editing software.
3. Where are the screenshots saved?
Screenshots are saved in the Pictures folder under Screenshots.
4. Can I change the default save location for screenshots?
Yes, you can change the default save location for screenshots by going to Settings > System > Storage > Change where new content is saved and selecting a new location for screenshots.
Final Words
Both Mac and Windows computers have a native option that simply requires pressing a combination of keys at the same time. If you master these combinations, you’ll be able to capture content from an entire page effortlessly and continue with whatever you’re currently doing. Alternatively, you can use the powerful third-party tool Gemoo Snap to take screenshots of your desired content. Now, download Gemoo Snap and try it for free.