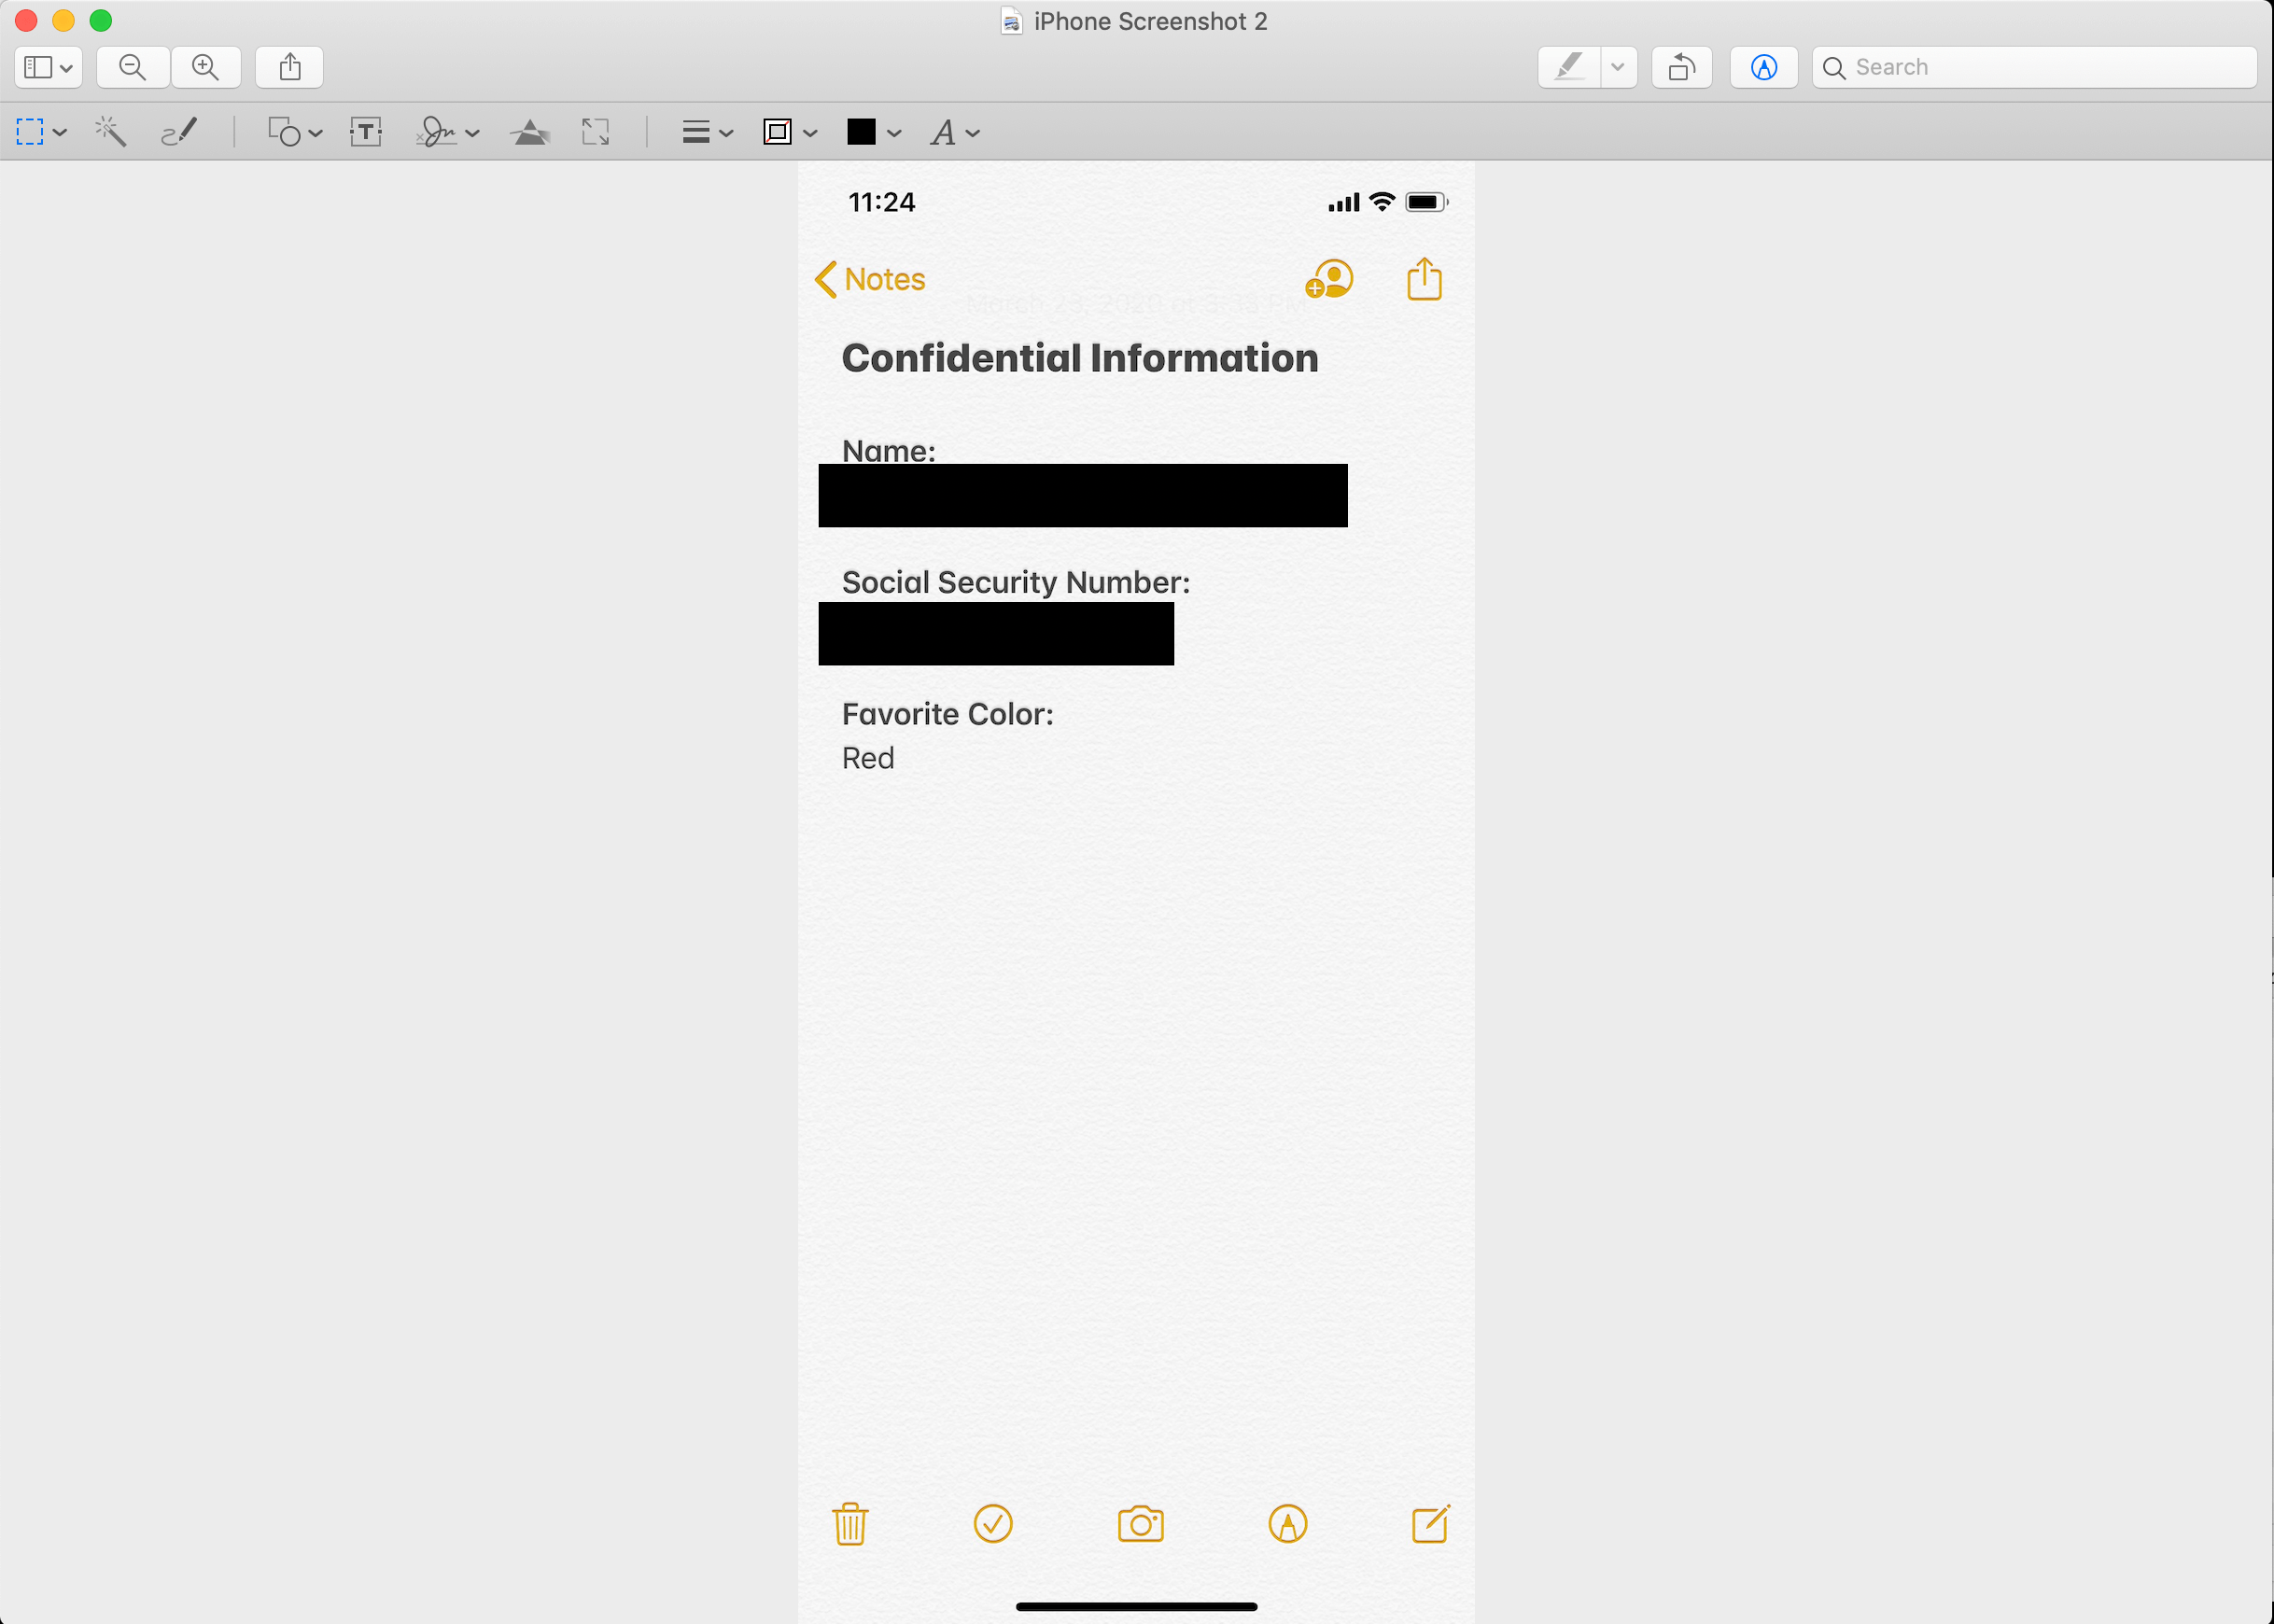
People often block out some parts of the screenshot when they are sharing it publically with others. It’s not rare to see a screenshot from a computer or smartphone posted online, but some parts of the text inside of it are not visible. This can sometimes make it difficult to fully understand what the screenshot is referring to.
How to Read Covered Text in a Screenshot
It may seem impossible to see beneath the dark layer placed over the text, but there are several tricks that allow you to reveal the hidden content. If you are crafty enough, you could read the covered text in its entirety, which could give you a significant advantage in some situations. Since the methods for accessing covered text in screenshots are rather simple once you learn them, we recommend that you spend some time and master them all so you can be prepared when the time comes to apply this knowledge in practice.
Recommended Tools:
Table of Contents: hide
Why Would You Want to Read Covered Text in a Screenshot?
How to Read Covered Text in a Screenshot
Frequently Asked Questions about Reading Covered Text in a Screenshot
Why Would You Want to Read Covered Text in a Screenshot?
It’s in human nature to be curious about hidden things, and any part of the screenshot that you can’t see will certainly draw your attention and cause you to wonder about it. While the redacted content may or may not be pertinent to the purpose of sharing the screenshot, the recipient will always tend to be eager to see what was contained in the original image before it was blacked out. In some scenarios, reading covered text can create a significant advantage, such as:
- Part of the document was erroneously redacted and useful information is covered
- You want to contact the author of the screenshot but his name is blacked out
- There is a reason to suspect that the information was withheld intentionally or in bad faith
- The visible text doesn’t completely make sense without the missing parts
- You want to test whether a screenshot you obfuscated could still be read by others
- The published screenshot contains your details and you want to check if they are readable
Further Reading: How to Detect Fake Text Message Screenshot >
How to Read Covered Text in a Screenshot
Contrary to popular belief, using a covering layer to obscure a part of a screenshot doesn’t automatically prevent technically savvy viewers from accessing the text underneath it. By editing the image in smart ways, it’s possible to manipulate the covering layer and potentially make the text visible. Success is not guaranteed and it helps to have at least a basic understanding of graphic design and color composition, but in some cases, you could reveal the text and make it completely legible by conducting simple operations. This article will describe a few approaches worth trying.
Method #1 – Changing the visual settings
This approach is aimed at changing the opacity of the covering layer, which in many cases is not a solid block of color but rather a separate layer. You can’t remove this layer, but by changing parameters such as brilliance, brightness, exposure, and contrast you could make it transparent enough so that the underlying text breaks through. Depending on the initial color of the covering layer, you might need to tinker around with settings for a while but in many cases, you might just do the impossible – uncover the hidden text.
Step 1 – Open the screenshot in any image editor on your phone or computer
Step 2 – Use the editing tools to adjust brightness, contrast, brilliance, and other visual elements
Step 3 – After each change, zoom in on the covered part of the document to check the effects
Check the Effects
Step 4 – Push the values to 100% in case a change is making the cover more transparent
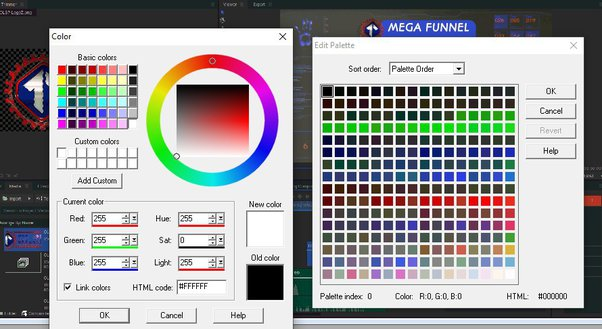
Method #2 – Changing the background color
A similar but somewhat different approach involves changing the color of the image background rather than the covering patch. Again, this method won’t work each and every time, but it could crack the hidden text if the protective layer is not completely merged with the rest of the screenshot. The text is trapped between two layers in such a case, so changing the background could bring about the desired outcome, especially if the redacting layer is black.
The procedure is similar to the one described above, only instead of changing the parameters for the blacked-out layer, you should apply changes to the image background.
Step 1 – Push Brightness, Highlights, and Brilliance values to the maximum
Step 2 – If the text still remains invisible, try pushing the values to the negative side
Step 3 – Experiment with Contrast and Sharpness values as well
Step 4 – Try different background colors combined with various visual settings
Try different background colors
Method #3 – Using a specialized software tool
Some graphic design applications have powerful tools that let you alter any part of an image, and a few of them might be effective at removing redaction from a screenshot. Since this is not an easy modification, it’s highly recommended that you use an app you are already relatively proficient with. Some of the best design suites you could use in this capacity include the following:
- NET (Magic Wand feature)
- Adobe Illustrator
- Adobe Photoshop
- Apowersoft Watermark Remover
Bonus Tip – AI Watermark Remover Wipit
To remove markers, labels, or any other unwanted objects from desktop images, you can use professional AI image watermark removal tools like Wipit. This powerful tool can seamlessly eliminate watermarks from images or photos using AI technology. Try Wipit for free to explore its watermark removal capabilities.
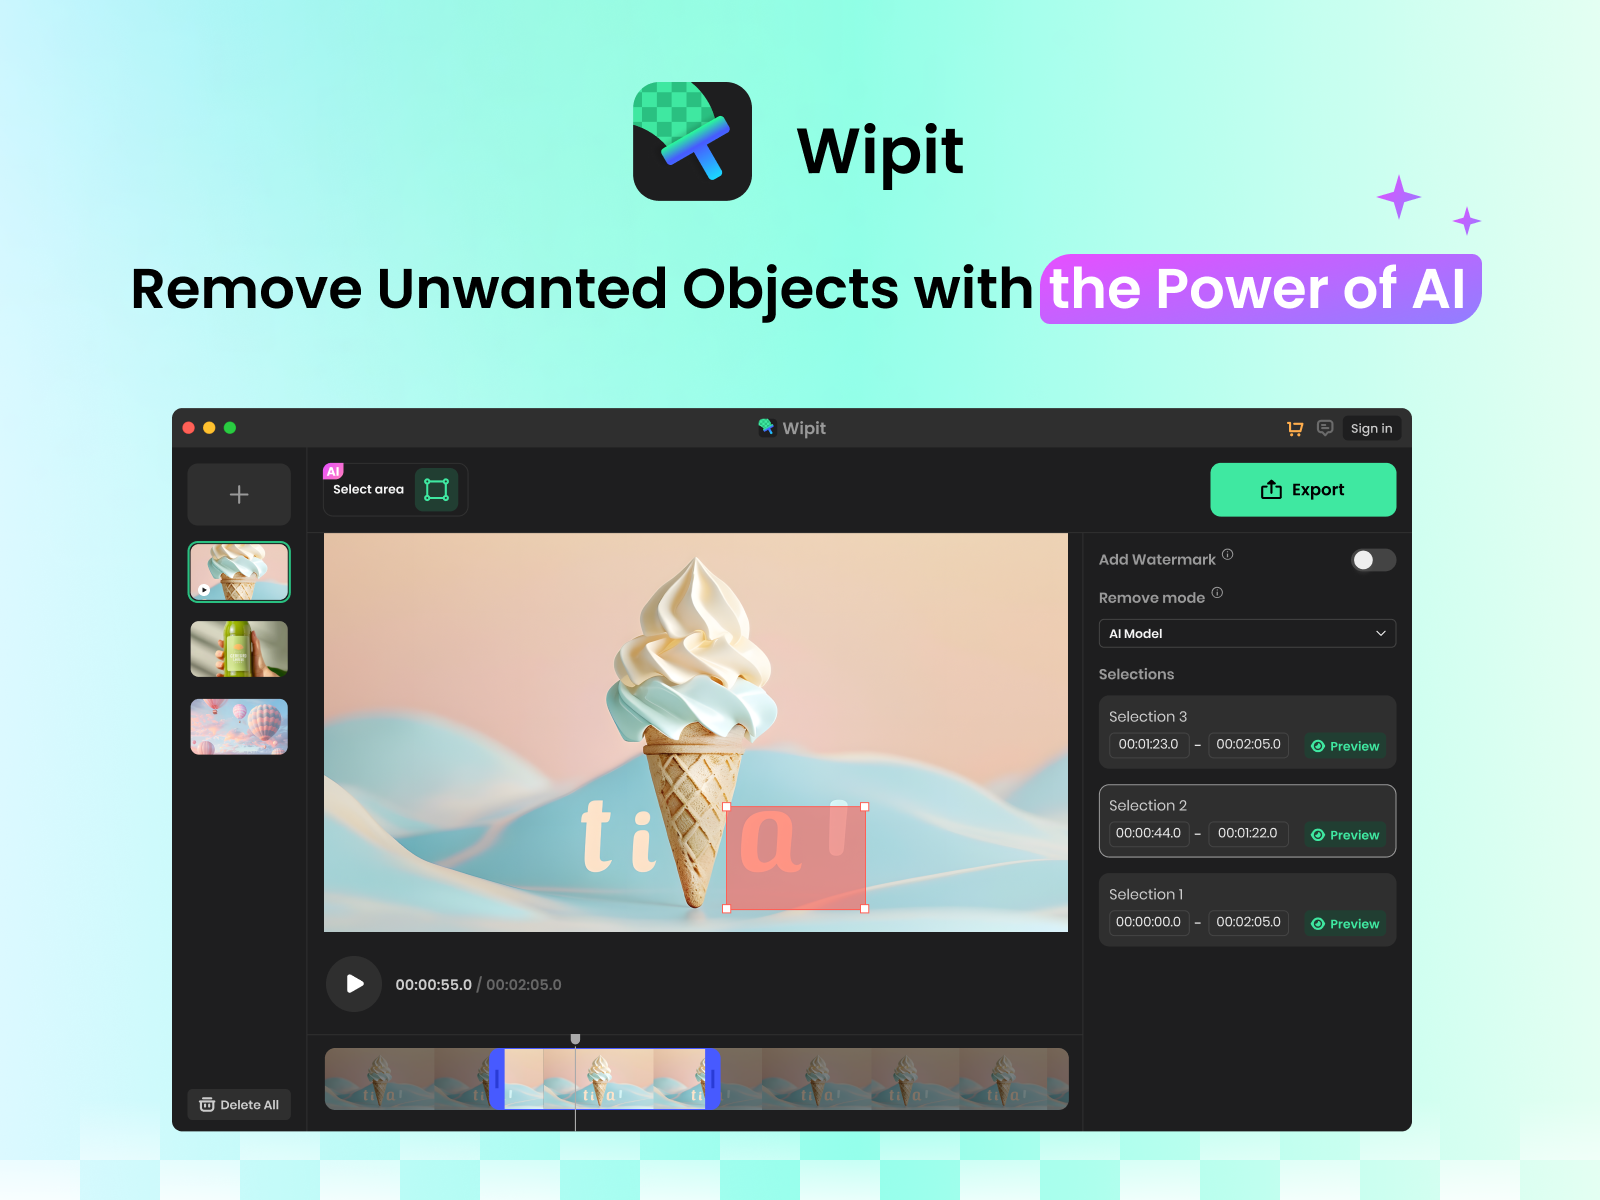
Best AI Waternark Remover – Wipit
Best Features of Wipit
- Easily upload your images in batches and conveniently preview the watermark removal effect using the slide review feature.
- Take advantage of the AI-powered selection tool, which intelligently detects the boundaries between the watermark overlay and the image content, streamlining the selection process for removal.
- Zoom in and out of the image to ensure precise painting over the exact watermark you wish to remove.
- Furthermore, you have the option to upload your own watermark as proof of ownership for your images.
Frequently Asked Questions about Reading Covered Text in a Screenshot
1. Is it possible to permanently black out the information contained in a screenshot?
Yes, if you merge all the visual layers in the screenshot together or place a colored object over the text rather than an opaque layer, the text will be permanently obscured. On the other hand, if you used markup tools and saved your screenshot as a PDF, someone might be able to retrieve the text.
2. How difficult is it to change the visual settings and reveal the hidden text?
This is not a beginner-level task, as it requires familiarity with the manipulation of image properties and some patience to play around with their combinations. It doesn’t take too long to learn how to do it though, especially if you have some experience with graphic design software.
3. What is the best redaction tool that can protect my screenshots from prying eyes?
There are many professional-grade redaction apps that leave no space for any tricks and reliably obscure sensitive information in documents of any type, including screenshots. Apps like CaseGuard or Extract ID Shield could provide the high level of data security that you need.
Conclusion
At first sight, it may seem that blacked-out text in a screenshot is properly protected, but a skilled observer with some technical knowledge might find a way around the blocking layer. We demonstrated a few ways to read the covered text in a screenshot, although they are admittedly not always effective. It might take some practice before you can successfully retrieve hidden text from screenshot on your own, but it’s good to know this option is available if you happen to need it. To spread awareness of this data security issue and start a meaningful debate, we ask you to share this article with your friends and comment on it if you have something to add.