Images are now an essential part of communication. Taking a bulk screenshot is the quickest method to share information, whether it is a funny bug, a charming Facebook picture, or a tweet that was swiftly removed from others. A screenshot is the simplest method for saving whatever is seen on your screen. And, screenshots are so common nowadays that almost all OSes have their specific tool for taking screenshots.
However, does snipping reduce quality? You should capture high-quality screenshots, particularly if you want to use them professionally or show them to clients. This article will guide you about methods to take high-quality screenshots on Mac and Windows. Besides, some high-quality snipping tools are included here. Let’s find out more!
Also Read: Screenshot on Samsung Laptop 2023 >
Table of Contents: hide
What Decides on a High-Resolution Screenshot?
Take High-Quality Screenshot on Windows 10/11
High-Quality Screenshot on Mac
High-Resolution Screenshot on Chrome
Top Snipping Tools for High-Quality Capture
Comparison Table for High-Quality Snipping Tool
In our post, we not only introduce several effective ways to capture high-quality pictures but also provide you with 6 tools to help you capture high-resolution screenshots, let us take a look together.
| Snipping Tool | Rating | Annotation | Scrolling capture | OCR | Free Trial |
| Gemoo Snap | ⭐️⭐️⭐️⭐️⭐️ | ✔️ | ✔️ | ✔️ | ✔️ |
| Screenpresso | ⭐️⭐️⭐️⭐️ | ✔️ | ❌ | ❌ | ✔️ |
| Lightshot | ⭐️⭐️⭐️ | ✔️ | ❌ | ❌ | ✔️ |
| PicPick | ⭐️⭐️⭐️⭐️ | ✔️ | ❌ | ❌ | ✔️ |
| Snagit | ⭐️⭐️⭐️⭐️ | ✔️ | ✔️ | ❌ | ✔️ |
| Awesome Screenshot | ⭐️⭐️⭐️⭐️ | ✔️ | ✔️ | ❌ | ✔️ |
What Decides on a High-Resolution Screenshot?
Let’s go over some of the most basic guidelines for ensuring that your screenshot is of high-resolution quality; let’s have a look below:
Picture Size
Make sure the window you’re taking a screenshot of takes up the whole screen before you take the screenshot. On a Mac, hitting Command+Plus enhances your screenshot and provides a clearer result, whereas using Ctrl+Plus will do the same on Windows.
Image File Format
The format you choose while saving your screenshot also determines the quality of the screenshot. PNG is a better option than JPEG for preserving your screenshots, so choose that format. The latter is a compressed file format, but PNG supports lossless compression, resulting in text that is easier to see and more distinct lines.
Screenshot Scaling
Your screenshots should be taken at the same resolution you want to utilize. That indicates a ratio of one to one. If you take a screenshot with dimensions of 600 by 400 pixels and then need to increase it to 800 by 600 pixels, the image’s quality will suffer noticeably. This is because you will effectively be attempting to stretch the pixels.
Make Sure no Cursor
Check that your mouse pointer is not captured in any of your screenshots. Selecting a screenshot software that transforms your pointer into a tool for creating a frame is the most effective method for concealing the cursor. In such a scenario, the pointer normally shown on the screen will not be present. If you execute a common keyboard shortcut, the mouse pointer will almost certainly be captured in the image.
Mark-up tools
When taking screenshots, you should always obscure or paint over any personally identifying information that could show. This contains names, numbers, and addresses, among other things. Make it clear to the user which particulars are essential.
Sharing Quality
When you transmit screenshots using the drag-and-drop capabilities of WhatsApp or any other messenger, the quality will drastically diminish since these applications compress photos and convert them to JPEGs by default. This is because JPEGs are more compressed than other image formats. Instead of emailing the photo, you may try attaching it as a file.
Take High-Quality Screenshot on Windows 10/11
There are two common ways of taking a screenshot on Windows 10/11:
- Windows has a special key for taking screenshots: PrtScn (Print Screen or PrtSc, depending on your keyboard). When you press that key, Windows will capture a snapshot of the full screen and transfer it to your clipboard. You can save the screenshot by pasting it into a document or a Pint file.
Using this method is a throwback to the good ol’ days. Nonetheless, Windows has a snipping tool that might speed up the procedure. Previously known as “Snipping Tool,” the app’s name has been changed to “Snip and Sketch” with the latest version. Type “Snip & Sketch” into the Start menu of Windows 10 to access the app.
- All you have to do is press Win+Shift+S together. The screenshot will show up as a thumbnail in the top right corner; you can modify or save it by clicking on the thumbnail.
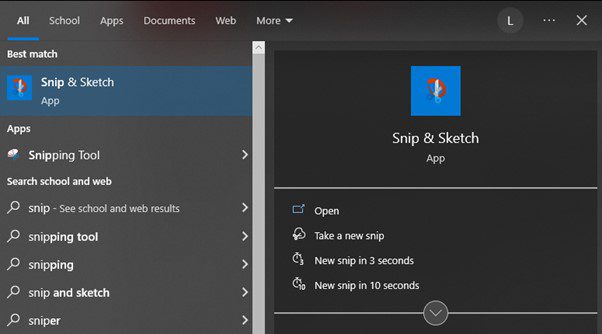
Snip And Sketch
High-Quality Screenshot on Mac
The most recent versions of macOS make it feasible for users to snap screenshots, annotate them with Apple Pencil, and share them in the most streamlined and reasonable manner. Now there is no need to use an app developed by a third party. Or, if you don’t have an updated macOS, you may still take a screenshot of your screen using the keyboard keys that come standard on a Mac.
- On a Mac, you can take screenshots by pressing cmd+shift+4 or cmd+shift+3 on the keyboard. Examine the screenshots to see whether they are of higher quality than those from a third-party program.
- Take pictures of each window to prevent the image from being cropped improperly around rounded edges. This is done by simply pressing Cmd+Shift+4 at the same time. After that, you should hit the spacebar. The cursor should transform into a camera, and once it does, you can take screenshots of certain windows.
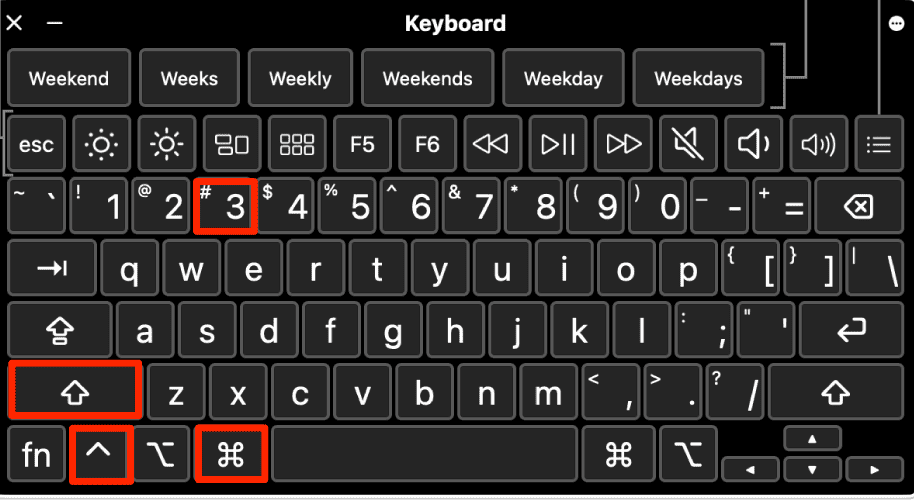
High-Quality Screenshot on Mac
High-Resolution Screenshot on Chrome
When you capture several screenshots of websites, you may discover that the photos are clear, but the text is unclear. There is no need for a high-resolution PC or graphics card to take a high-resolution screenshot. You can capture screenshots while using Google Chrome. We imitate a laptop screen with a high pixel-per-inch (PPI) density to take screenshots for the blog. The operation is as follows:
Step 1: Open the window you wish to capture in Chrome.
Step 2: Launch Developer Tools using the Alt+Command+I combination on a Mac or the Ctrl+Shift+I combination on a Windows machine.
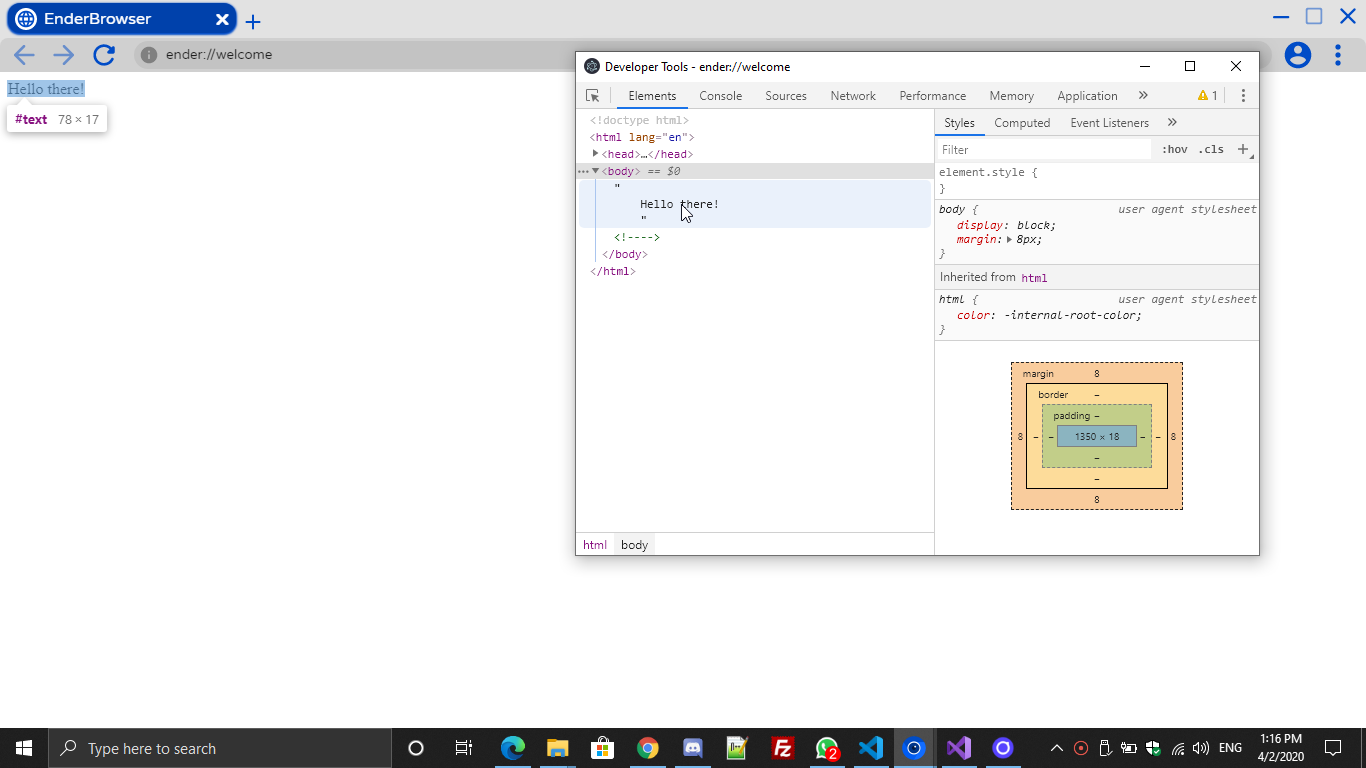
Launch Developer Tools
Step 3: To enable the device toolbar, either click on the icon that looks like the device or press Ctrl + Shift + M on your keyboard
Step 4: Select another option from the pull-down menu, which should already be set to “Responsive.” Select “Edit,” then add your device along with the desired resolution, and save your changes.
Step 5: A new device with your newly configured settings will appear in the same drop-down option. Taking a screenshot when it is turned on is the next step.
If you are using a tool to capture a screen, you may need some fixes when the snipping tool is not working at all.
Top Snipping Tools for High-Quality Capture
Gemoo Snap
Gemoo Snap, a free and lightweight app for rapid screenshots, may meet a range of your needs: quick screenshots, screenshots with feedback, screenshots that quickly improve the image, screenshots that can be pinned, screenshots that can be sent to the cloud, etc. Using tagged photographs to communicate more effectively is made possible by Gemoo Snap.
Besides diversified Screen options, simply taking a screenshot and saving images in the cloud, Gemoo Snap can add text, arrows, shapes, and other annotations to better express your thoughts if you need to provide input on a design, assignment, or bug.
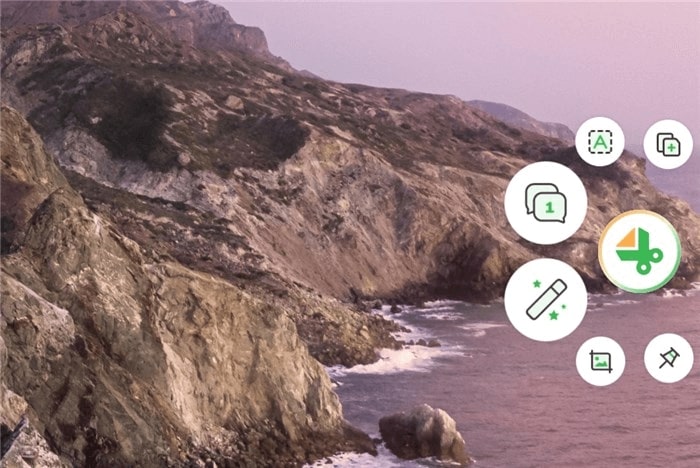
Gemoo Snap
Key Features
- Beautify the Screenshots –Add backdrops, round corners, and draw shapes to simply beautify your screenshots.
- Quick Screenshot – Instantly capture memorable events, automatically upload the screenshot to the cloud, and share them with your friends via shareable links.
- Recognize text from pictures (OCR) – Extract text from webpages, PDFs, movies, photos, etc. copy and take notes. Just that simple.
- Scrolling and full-page screenshots – Take screenshots of the entire screen or scroll a specified area, capturing whenever you need to and whatever you want.
OS: Windows and Mac
User Ratings:
- G2: N/A
- Producthunt: 5/5 (9 reviews)
Screenpresso
The functionality of the Screenpresso snipping tool is extraordinary. It allows you to record multiple screenshots simultaneously and take, crop, and edit individual screenshots. It’s another all-inclusive program with its editor already installed. You can emphasize key details, crop screenshots to emphasize certain details or resize images to showcase better on social platforms just like Facebook Image Resizer and LinkedIn Image Resizer do.
In addition to a built-in guide generator, this program lets you annotate screenshots with text boxes, comments, highlights, and arrows, making it ideal for tutorials and guides. Screenpresso works with every Windows release. There is a free, capped version and two paid uncapped versions. The iOS app may also be helpful for screen capture and editing on the go. Sadly, it’s not compatible with Android, but we’ll take what we can get.
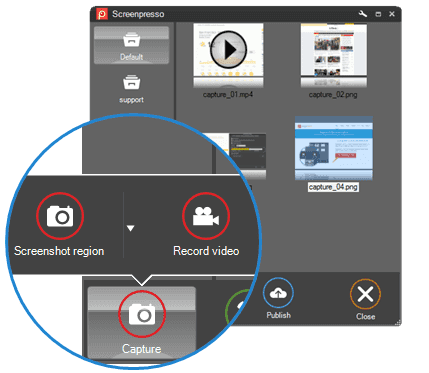
Screenpresso
Key Features
- Screenpresso is a lightweight screen capture tool with a built-in picture editor.
- It adds arrows, colored bubbles, text boxes, ellipses, etc., to take photos.
- Document generators convert screenshots to PDF, Word, or HTML.
- It may also transfer media from devices like iPhones to the user’s computer.
OS: Windows and Mac
User Ratings:
- G2: 5/5 (27 reviews)
- Capterra: 5/5 (11 reviews)
Lightshot
Lightshot is a simple application that works with both Windows and Mac. It’s compatible with Opera, IE, Chrome, and Firefox. A screenshot may be taken in a flash, and it can be easily edited as needed. LightShot’s user-friendly design, which includes in-app editing tools, one-click file uploading, and a way to find visually related images, is one of its most notable features.
With the Lightshot tool, the user may easily crop or reposition a screenshot’s cropped region after it has been taken. LightShot’s default hotkey is the Prt Scrn key, but you may assign any other key you choose. LightShot also lets you tweak its output to your liking by allowing you to choose the file type, whether or not to capture the cursor in the photo, etc.
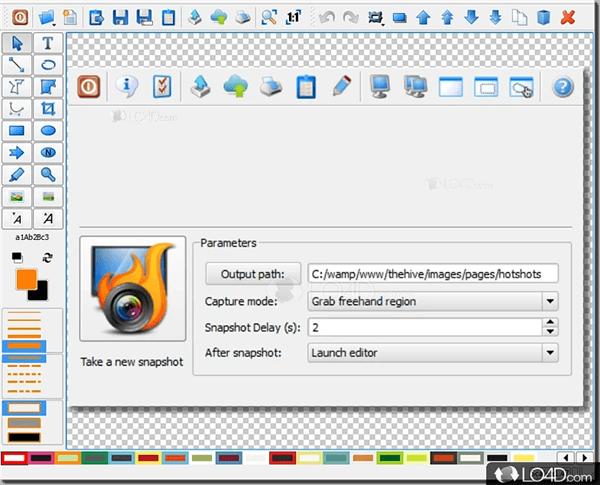
LightShot Alternative – HotShots
Key Features
- It will instantly post any photos you take to the cloud so you may share them with others.
- You can use the editor to incorporate arrows, effects, and other features into your work.
- Lightshot produces superior quality photos.
- It has a low impact on system performance while in the background.
OS: Windows, Mac, and Browser Extension
User Ratings:
- G2: 7/5 (107 reviews)
- Capterra: 8/5 (16 reviews)
Get the best Lightshot alternative to capture the full screen or just a section of it.
PicPick
PicPick is a simple and free program –alternative to Lightshot, that can take screenshots and edit them afterward. Among its editing tools are a pixel ruler, a protractor, a brightness slider, and a contrast slider. To modify a screenshot before saving it to your computer, you may use PicPick, a Windows snipping application with a robust picture editor. Every one of your users will be able to benefit from this software. You may add subtitles, shapes, blur, and pixelation, among many other effects.
All the tools you need to make a professional screenshot are also included in the editor. In addition to being web-integrated, PicPick allows you to export screenshots in numerous forms, such as picture files and PDFs. Since only Windows users can download PicPick, you can also try PicPick alternatives to take screenshots if you are a Mac user.
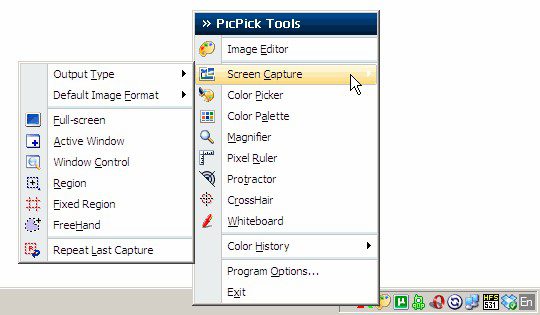
PicPick Interface
Key Features
- Control the brightness of an image
- PicPick instantly starts an image editor when you snap a screenshot.
- You may save the screenshot as an image file or another format with PicPick.
- The built-in editor supports various annotation and formatting options, including text boxes, arrows, shapes, and more.
OS: Windows, Mac, Linux
User Ratings:
- G2: N/A
- Capterra: N/A
Snagit
Snagit is an exceptional screenshot application for PC that boasts powerful snipping capabilities. It has been a popular choice among Windows users for a long time and is also a well-known snipping utility for Macs. Snagit is highly regarded for its ability to take screenshots and manipulate photographs, making it a favorite among millions of people.
Aside from taking screenshots, Snagit offers a range of features that enhance the user’s experience. It allows users to add shapes, callouts, and arrows to their screenshots, making them more visually appealing. Additionally, adding images to a document is made easy with just a few mouse clicks. Snagit also improves the quality of screen captures while saving time and effort.
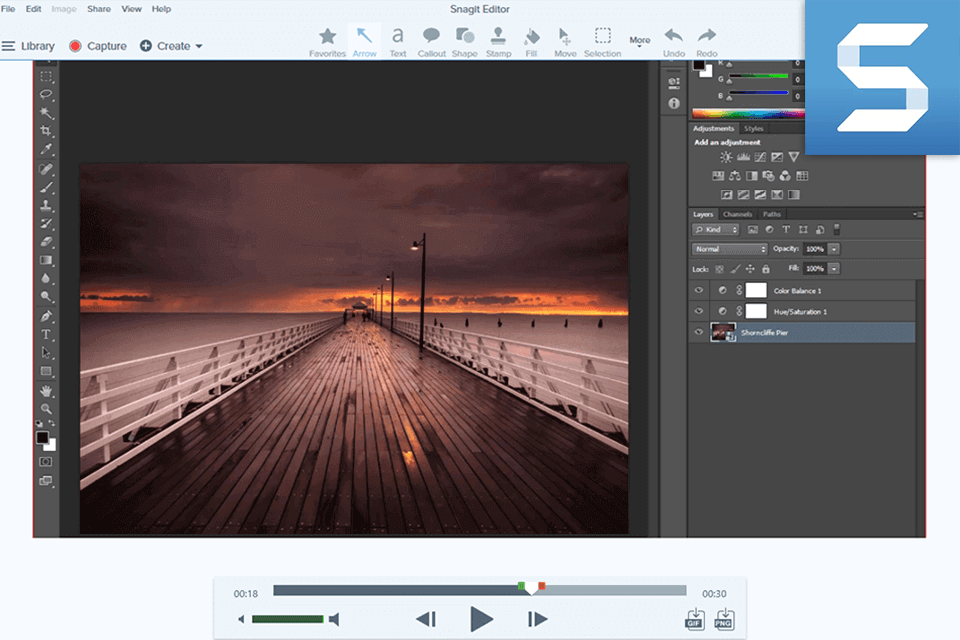
Snagit Interface
Key Features
- Enhance your screenshots by using shapes, callouts, and arrows.
- Adding images to your document is a breeze with just a few clicks.
- Not only does this save you time and effort, but it also improves the quality of your screen captures.
- Capture everything in one go, including scrolling screens and grabbing text.
OS: Windows, macOS
User Ratings:
- G2:5/5 (50 reviews)
- Capterra: 6/5 (21 reviews)
Awesome Screenshot and Screen Recorder
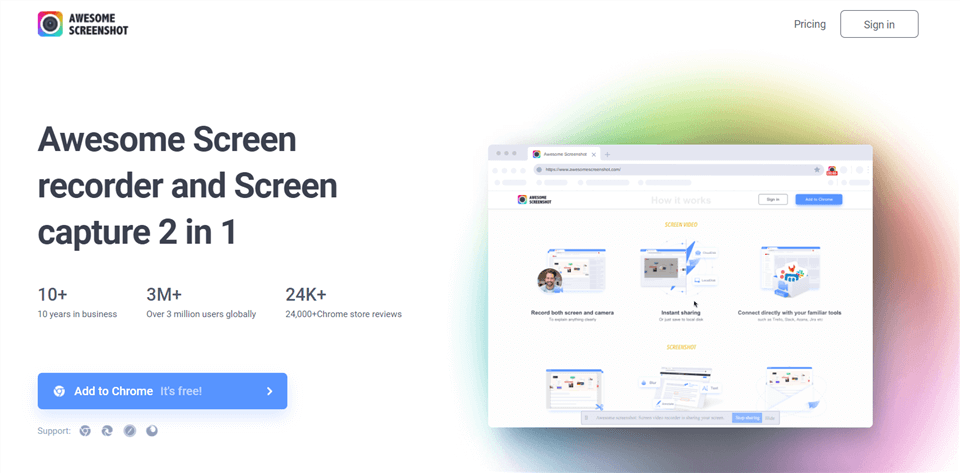
Awesome Screenshot allows you to post screenshots straight to its servers, where they may be shared with others and evaluated by those individuals. Recording options include the active tab, the whole desktop, or only the camera. It is an extension for Google Chrome that might make the process of screen capturing simpler for you.
The screenshots may be resized or cropped by the user to fit any dimensions they need. This tool can annotate screenshots with arrows, circles, lines, and other shapes. Utilizing this incredible technology, you can conceal private information if you so choose. You have the option of saving your captures in JPG or PNG format. This tool also has a great browser extension.
Screencast Software – Awesome Screenshot
Key Features
- Feedback on your displays and designs.
- Immediately share or save to a DVD on the local machine.
- Connect immediately to your most used applications, such as Trello, Slack, Asana, and Jira.
- Annotation and editing features.
OS: Windows, Mac, and browser extension
User Ratings:
- G2: 4/5 (63 reviews)
- Capterra: 7/5 (23 reviews)
FAQs about How to Take High-Quality Screenshots
1. Does snipping reduce quality?
Every time you take a screenshot and share it with someone, the quality of the screenshot compresses. But it also depends on the device you take the screenshot from or the platform you share it with. For example, sharing screenshots through WhatsApp or Facebook extremely deteriorates their quality.
Another reason that snapping screens will reduce the quality is the image format on different models. For example, screenshots taken on iOS devices are saved in PNG format, which is a lossless file type. On the other hand, if you are using an Android phone, the image compression format is JPEG, which is a lossy format.
Although screenshots of high quality are amazing, adding them to a website will almost certainly cause the file size to grow, making the page take longer to load. Therefore, before submitting your high-quality screenshots, you should pass them via an app that compresses images while ensuring that the quality of the picture is not compromised in any way.
2. How can I improve the quality of my screenshots?
Firstly, ensure that the resolution of your screen is set to the highest possible setting. Secondly, use a high-quality screen capture tool like Gemoo Recorder that allows you to capture the entire screen or a specific area. Thirdly, adjust the brightness and contrast of your screen to ensure that the screenshot is clear and easy to read. Fourthly, use a clean and clutter-free background to avoid any distractions in the screenshot. Lastly, consider using editing tools to enhance the screenshot’s quality, such as cropping, resizing, and adding annotations.
3. What file format should I save my screenshots in?
A: The most common file formats for screenshots are PNG and JPEG. PNG is best for screenshots with transparent backgrounds, while JPEG is best for screenshots with lots of colors.
Final Words
It is perfectly OK to take a screenshot by pressing the Print Screen key on your keyboard or by pressing cmd+shift+4 or cmd+shift+3 on your Mac devices. Also, with the software recommended in this article, you can easily take high-resolution screenshots and use them in a presentation or a report. Feel free to share your ideas about how to take high-quality screenshots below.
