Taking a screenshot of your computer may be accomplished in a useful manner by using screen capture. You may save your files online with Google Drive and share them with other people. By opening the screenshot in your computer’s default graphics software, making any necessary edits, and then exporting the revised version as a JPEG, you may save it in Google Drive for later use.

Take and Edit a Screenshot Page
You will be able to effortlessly view and share photographs of your desktop after you have learned how to finish this procedure successfully. The question is, how can we efficiently edit screenshots without repeatedly taking them? Let’s plunge in and learn how to!
Also read:
How to Read Covered Text in a Screenshot? >
How to Resize an Image on a Mac? >
How to Take and Edit a Screenshot?
Here’s how to take a screenshot on Mac and Windows.
Take and Edit a Screenshot on Win/Mac via Gemoo Snap
Taking and editing a screenshot can be easy and quick if you use the right screenshot tool. As a professional screenshot tool, Gemoo Snap integrates various different screenshot features into one place – quick screenshots, edit screenshots, pin screenshots and copy and paste screenshots and other common screenshot features. Therefore, Gemoo Snap makes it easy for users to make a screenshot tutorial, beautify screenshots, add font meme, share screenshots, and give screenshot a feedback. Get Gemoo Snap now, and take the steps below to take and edit a screenshot on Win/Mac computer via Gemoo Snap.
Step 1. Open Gemoo Snap and go to the welcome page after signing in to the software.

Gemoo Snap Interface
Step 2. Click on the Clipboard Screenshot mode to take a screenshot of part or full screenshot of your computer interface. You can edit your screenshot via the right-side toolbar, adding texts or symbols to highlight your ideas.
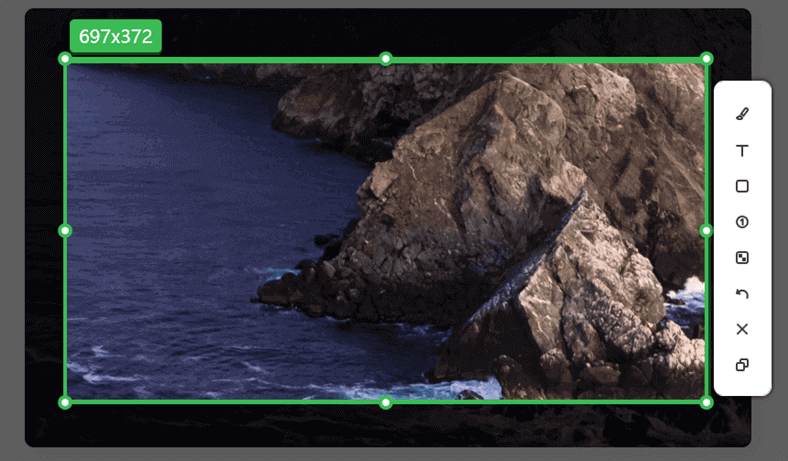
Take and Edit a Screenshot on Win/Mac via Gemoo Snap
When you finish taking the screenshot, you can tap on the Copy to Clipboard icon to copy and paste the screenshot and share it with others.
Also Read: How to Crop a Screenshot on Windows >
Take and Edit a Screenshot via Mac Built-in Tool
Whether you want to screenshot the full screen, a specific window, or capture a portion of the screen, you have that option. Follow the steps below to take a screenshot on Mac:
Step 1: Press three keys simultaneously to take a Screenshot on mac, i.e., Command, Shift, and “3”.
Step 2: If you take a screenshot and a thumbnail appears in the corner, you may alter it by clicking on it. Or you may just let the screenshot download to your computer.
Look at the steps below to learn how to edit a screenshot on Mac:
Step 1: Double-click its icon on your computer’s desktop to open the generated picture file.
Step 2: Alternately, you may choose “Open With” from the context menu of your picture file. To find Keynote in the Finder, either click the “Keynote” or “Other” button.

Find Keynote in the Finder
Step 3: Apple Preview’s edit toolbar may be expanded to let you add shapes, alter the screenshot’s color scheme, and insert text.
Step 4: Keynote allows you to modify screenshots in several ways, including adding shadows and reflections and eliminating distracting backgrounds.
Take and Edit a Screenshot via Windows Built-in Tool
One of the most valuable skills a PC user can acquire is the ability to take a screenshot in Windows 10 and Windows 11. The following steps will show you how to take a screenshot of your whole desktop or laptop screen:
Step 1: Press Windows+Shift+S. The Windows key, denoted by the Windows logo, is normally located in the bottom row of a standard keyboard.
Step 2: To take a screenshot, move the box to include the region you want to capture. By simultaneously hitting the keys, you’ll be able to capture a custom region of the screen by dragging a box over it.

Capture Screenshot with Windows+Shift+S
Step 3: Simply copy the picture to your clipboard, press Ctrl + V, and then paste it where needed.
Edit the screenshot using the simple steps below:
Step 1: Launch the Snipping Tool by pressing Windows+Shift+S.
Step 2: Choose the sort of snapshot you want to take from the Mode drop-down. You can take a few different screenshots with the Snipping Tool; to switch between them, click the tool’s “Mode” button.
Step 3: To make changes to the photo, choose Edit then. The Snipping Tool has simple editing capabilities that let you add digital pen markings to a picture, and if you need more advanced choices, you can always export the image to Paint 3D. Select Save As from the File menu
Further Reading: Best AI Painting Software for Painters >
How to Edit a Screenshot After Saving?
Sometimes, you may need to edit a screenshot after you’ve saved it to your computer. You may need to resize it to better use it as a YouTube banner, LinkedIn image, and Twitter image.
In these cases, you should edit or resize your screenshot after saving. Here’s how to edit screenshots after saving them.
How to Edit a Screenshot on Mac After Saving?
The Preview tool allows you to make simple adjustments to a screenshot, such as cropping, rotating, and resizing it. Here, we’ll go into the nitty-gritty of how to make edits to an image captured with your camera:
Step 1: To access the Preview markup tools, click the pen nib in a circle icon in the menu bar or choose View > Show Markup Toolbar.
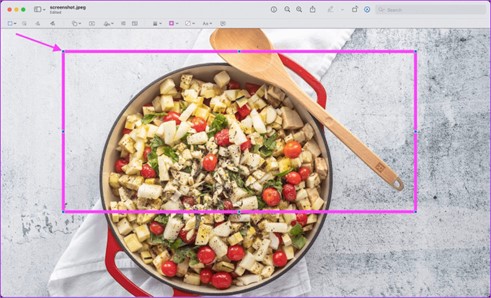
Step 2: To crop an area, go to the toolbar’s first icon and make your selection there. You may choose from four different designs. Select, click and drag anywhere on the Trackpad and click on the crop icon.
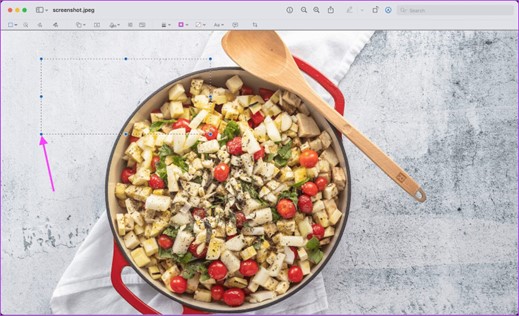
Crop The Screenshot
Step 3: Select the Text icon in the toolbar to annotate the screenshot. It will insert a box for writing into the picture. You may just place it anywhere you choose.
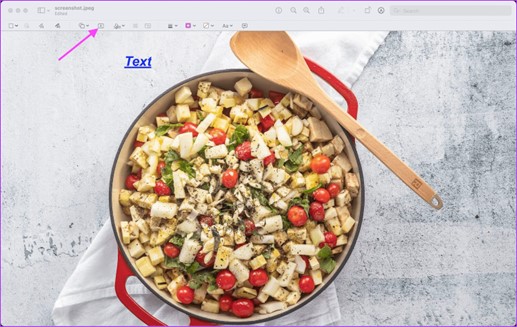
Add Text to Screenshots
Step 4: Next, select one from the Tools menu, then move it to the desired location by clicking and dragging it there. It may be resized using the blue resizing handles. Save the Screenshot.
Resize The Screenshot
How to Edit a Screenshot on Windows After Saving?
Here is how to use the built-in Paint to edit a screenshot after saving it on Windows.
Paint is the most-used screenshot editing tool and is highly configurable, allowing you to modify the fonts, colors, and edges of your screenshots. Read on to discover how to modify screenshots in Windows after saving them using Paint.
Step 1: Launch Paint in your Windows PC and click on File>Open to import the screenshot.
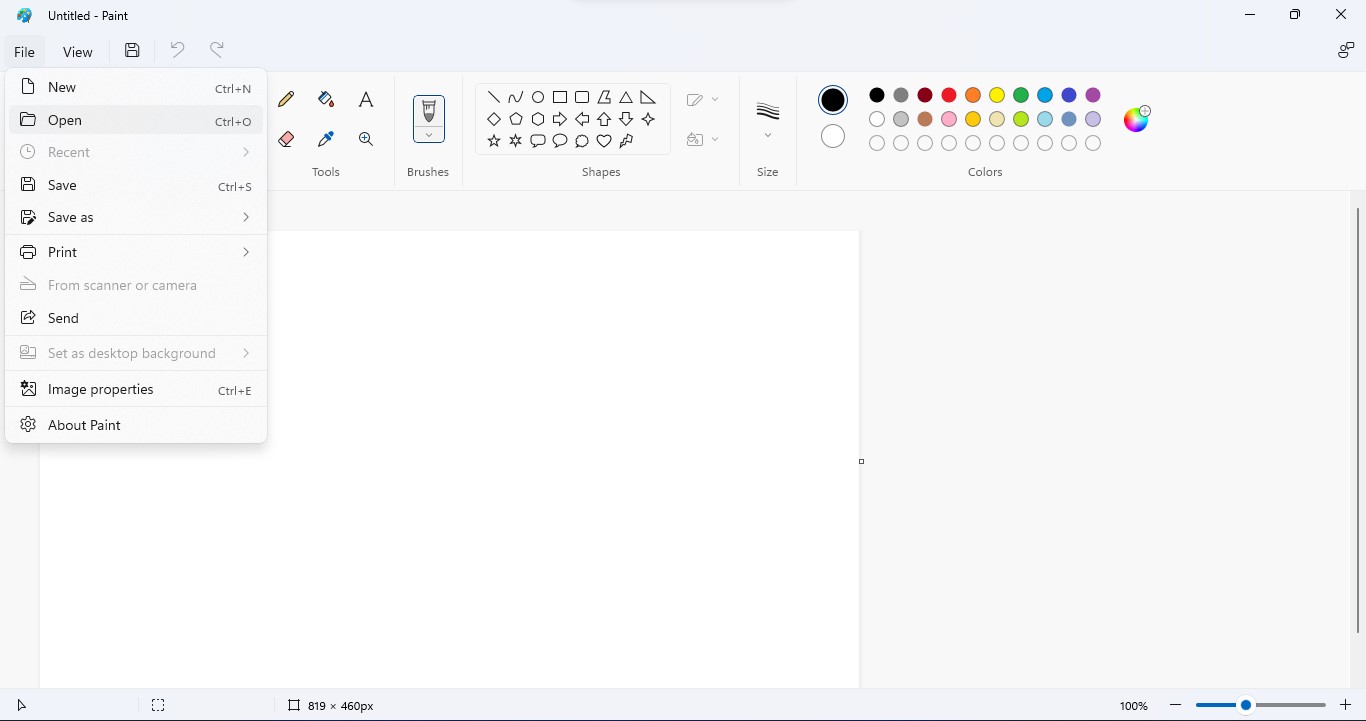
Open Screenshot in Paint
Step 2: Click on Crop button and use the mouse to click and drag the area you want to capture.
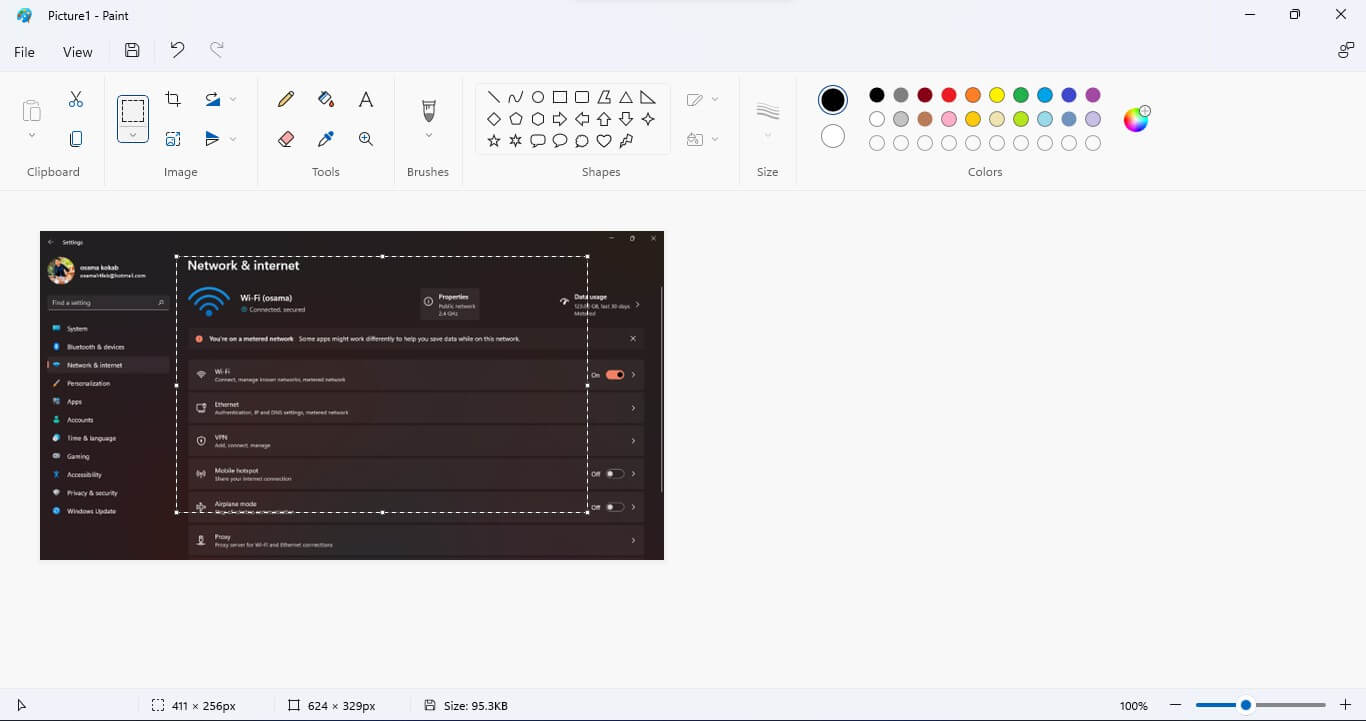
Crop and Edit Screenshot in Paint
Step 3: Utilize various annotation tools, such as Pencil, text, arrows, and more, to further clarify your snapshot. Then save and share the screenshot.
How to Turn a Screenshot into an Editable Document?
Keep the picture of the screenshot on a Microsoft Word-capable computer. Similarly, scanned photos or PDFs with images may be processed this way. You’ll need a version of Word that supports PDF export, at the very least, as recent as 2007. Open and edit PDFs with Word 2013 if you have it. If you have the appropriate version of Microsoft Office, you may use the program to transform screenshots into editable text.
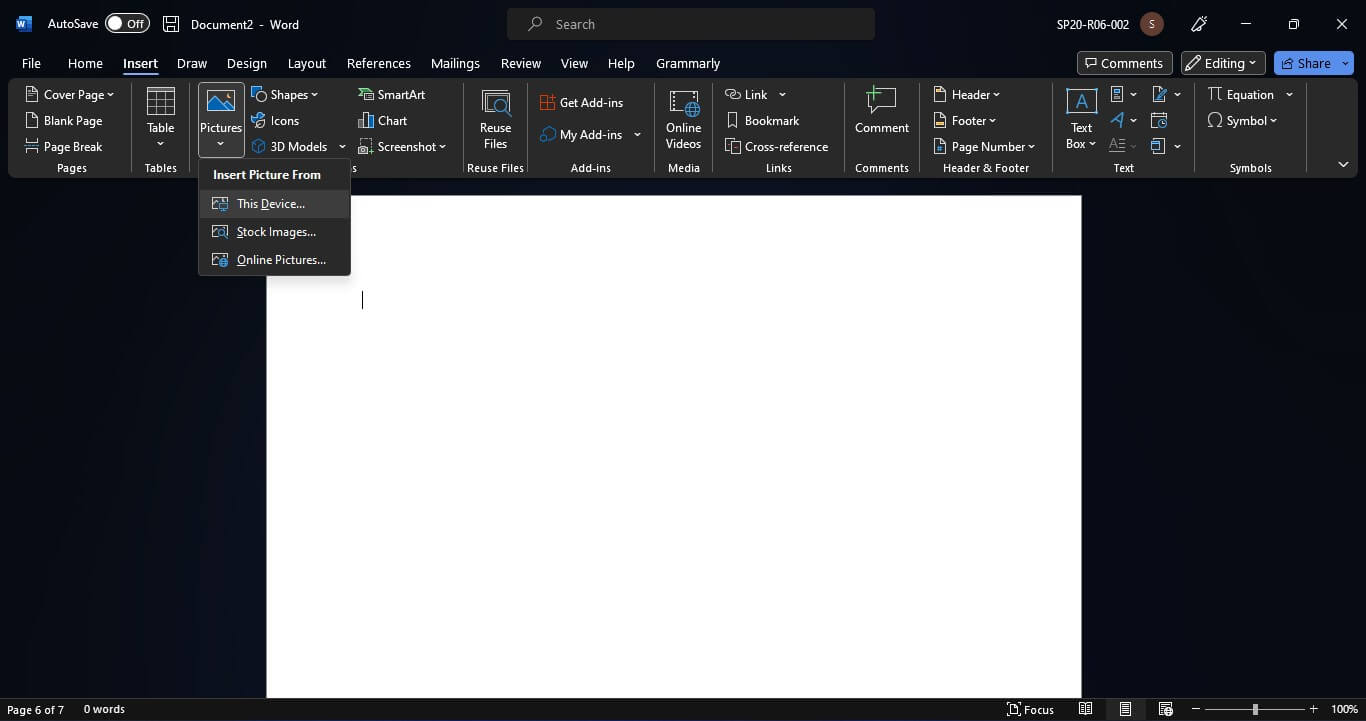
Step 1: Launch Microsoft Word and create a brand-new document. Insert -> Pictures -> locate the picture you want to insert.
Step 2: Go to where the file is stored, in this case, the Pictures folder. Select the file you want to insert, and then choose Insert.
Insert File in Word
Step 3: Choose “Save As” from the “File” menu, then designate a location to save the file. Select PDF from the list of available options under “Save as Type.”
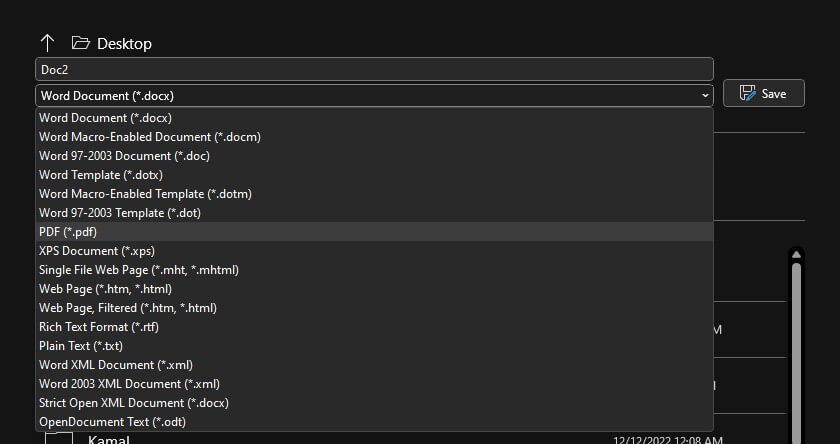
Convert to PDF
Step 4: After the file has been saved, choose “Open” from the File menu. The downloaded PDF may be accessed from this menu.
Step 5: You’ll get a warning that the converted Word document won’t appear exactly like the PDF but will still be editable in Word. Pick the “OK” option.
Final Thought
You now have a few tools in your toolbox that will come in handy anytime you need to edit screenshots or photographs and save significant time. Delivering high-quality material quickly and accurately is possible when you establish and adhere to a set of simplified methods and procedures. So, that covers the ins and outs of using Windows and Mac to capture and manipulate screenshots of web pages. Follow this page for more helpful hints like these!