How to Crop a Screenshot on Windows [Windows 11 Include]


How to Crop a Screenshot on Windows
Laptops have advanced unusually, and technology is constantly evolving. Over time, they have improved in strength and dependability. Thanks to Windows 11, the most recent operating system, they have reached a new level, which offers faster speeds and better performance. Today, laptops are used for various activities, including completing assignments, working on projects, taking online courses, and more. Since laptops play a significant role in our daily lives, knowing their capabilities and features is critical.
Taking screenshots is a common task many laptop users frequently have to perform. To focus on particular areas or remove unwanted parts, some people may find it difficult to crop and edit these screenshots. We will walk you through each step in this article for cropping screenshots with Windows’ built-in tools. Besides this, we will also look at third-party tools and built-in features that make it simple to capture cropped screenshots in Windows. Stay with us, and we will give you all the information you need about taking, editing, and crop screenshots on your Windows laptop.
Also read: How Can I Resize Image in Figma Without Cropping? >
How to Crop a Screenshot with Windows Built-in Tools
Are you wondering how to crop a screenshot on your Windows using built-in tools? Look no further! The Snip & Sketch tool is a versatile and convenient built-in screen capture and annotation tool in Windows 11. It offers easy access, versatile capture options, built-in cropping functionality, annotation tools, and convenient sharing options. With Snip & Sketch, users can quickly capture screenshots, crop them to focus on specific areas, add annotations, and save or share the edited images effortlessly. It is a valuable tool for seamless screenshot capturing and cropping tasks.
Step 1. Launch the Snip & Sketch by searching it from the Windows menu and then click “New.”
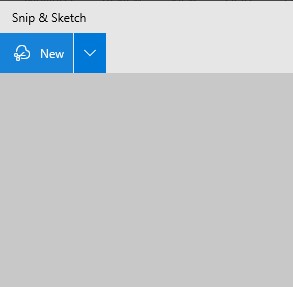
Click On The New Button
Step 2. Use your mouse to click and drag, selecting the specific area you want to capture for the screenshot and releasing the mouse button to take the shot.
Step 3. Once the screenshot is taken, it will be opened before you.

Screenshot Opened In New Window
Step 4. Click “Crop” in the window. Drag the cursor to select the desired part of the image. Release the mouse button to finish cropping.
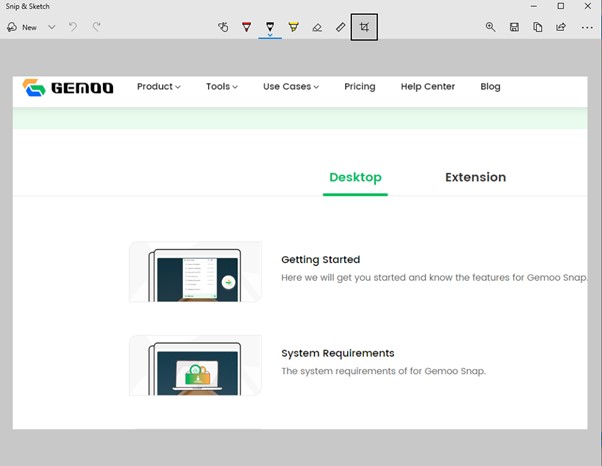
Click On the Crop Button
How to Take a Cropped Screenshot on Windows 11
Users might occasionally want to focus only on a particular area of an image or have privacy concerns that require them to take a cropped picture. Users can selectively highlight the relevant area while hiding or removing sensitive or private information by cropping the image. This provides an additional layer of privacy and control by ensuring that only the necessary and non-confidential portion of the image is shared or used. In this section, we will discuss three distinct techniques for cropping Windows screenshots that combine external and in-built tools so let us look into it:
Using Gemoo snap
If you are looking for a convenient tool to capture screenshots on your Windows 11, Gemoo Snap is the perfect solution! This versatile screenshot tool enhances your screen capture process with its numerous features. Not only does it allow you to take simple screenshots, but it also offers much more. With Gemoo Snap, you can personalize and improve your screenshots by adding text, lines, shapes, window mockups, backgrounds, and shadows. It even provides useful options like instant screenshot capture, clipboard screenshots, and text recognition using OCR.
Step 1. Begin by installing the Gemoo Snap on your computer > Open the Gemoo Snap and click its icon in the URL bar > Then, sign in to your Gemoo account using your login credentials.

Sign in Account
Step 2. Once you have successfully signed in, select the Screenshot & Beautify mode from the available options. This mode will enable you to capture and crop the screenshot easily.
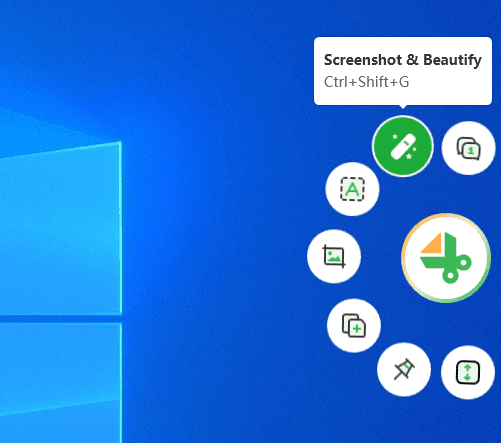
Select the Screenshot & Beautify Option
Step 3. Upon capturing the screenshot, you will be redirected to a new tab. In this tab, make the necessary modifications and annotations to enhance the screenshot. Finally, when satisfied with the changes, click the download button to save the edited screenshot to your device.
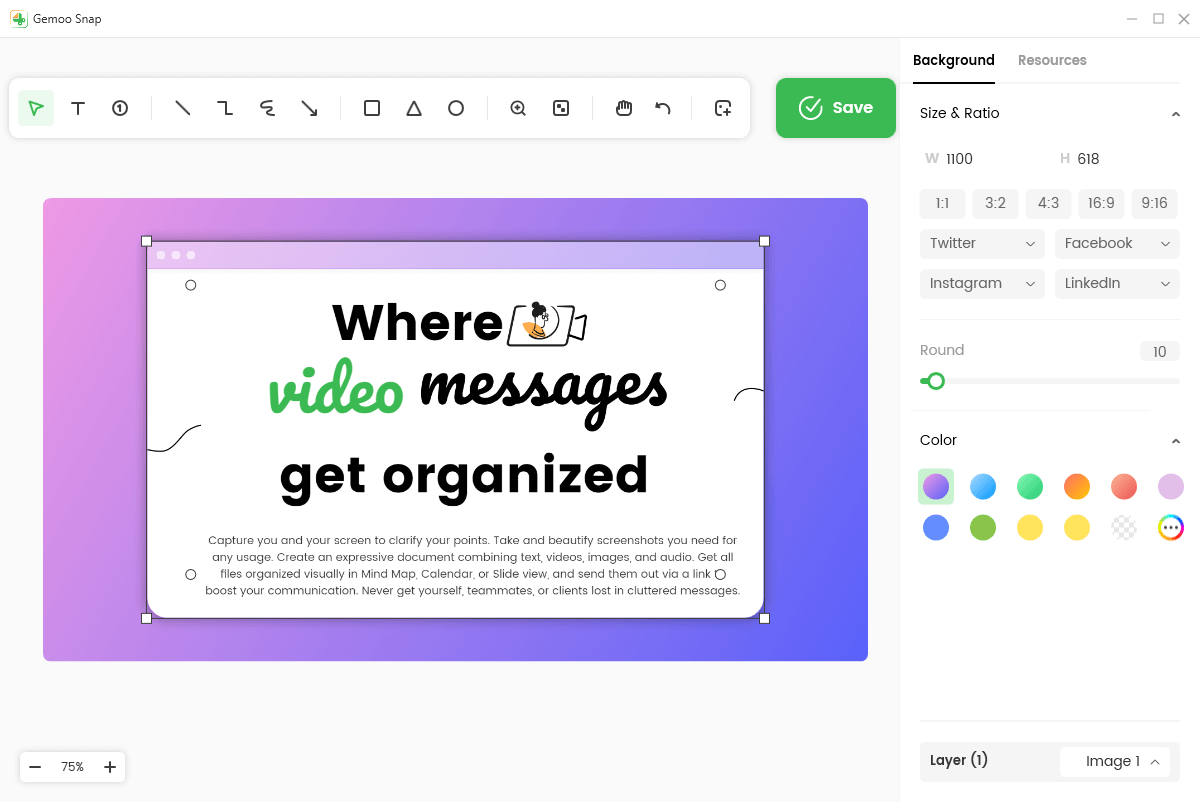
Annotate Screenshots via Rich Tools
Using Snipping tool
Are you wondering how to take cropped screenshots using a built-in tool? The snipping tool is your answer! The Snipping Tool is a built-in screenshot utility with Windows operating systems. It allows users to capture screenshots or snips of specific areas on their screen and save them as image files. The tool provides different snip types, including free-form, rectangular, window, and full-screen snips, giving users flexibility in selecting the desired portion of their screen to capture. Besides this, it provides tools like a pen, highlighter, eraser, and various colors to enhance the captured image.
Step 1. In the taskbar, click the Start button with the Windows logo. Enter “Snipping Tool” in the search bar and choose the Snipping Tool app from the results.
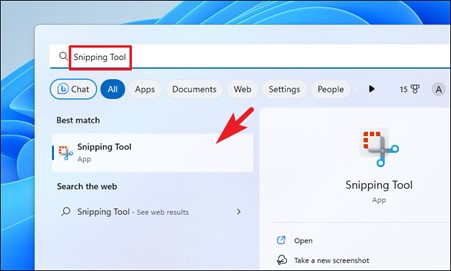
Search and Open Snipping Tool
Step 2. The Snipping Tool window has a drop-down menu labeled “Mode.” To see more options, click the arrow next to it
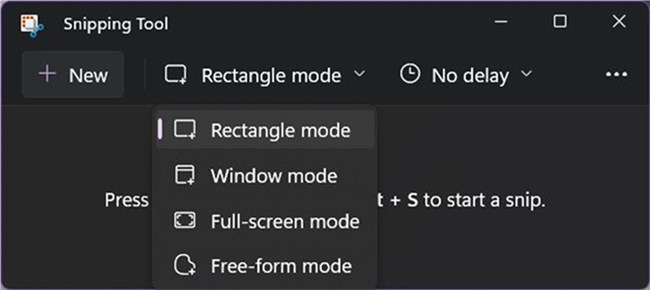
Select The Desired Mode
Step 3. Click on the type of snip you want and then click “New”. Your screen will fade slightly, and a crosshair will replace your cursor. Select the area you want to capture with the crosshair.
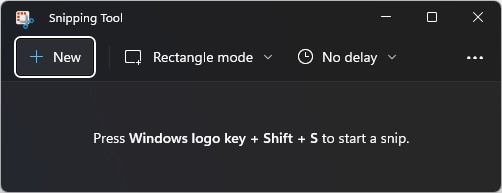
Click On New Button
Step 4. After you release the mouse button, the captured screenshot will appear in the Snipping Tool editor. Click the floppy disc icon (Save Snip) in the toolbar to save the screenshot.
Using Keyboard shortcut
Are you wondering how to take cropped screenshots using a shortcut? This part is for you! Users occasionally want to take a cropped screenshot without opening multiple programs and disrupting their workflow. The Windows Shift + S keyboard shortcut is useful in these circumstances. This shortcut enables them to take cropped screenshots quickly and effectively, offering a practical method for capturing particular areas of their screen while seamlessly completing their tasks.
Step 1. Click the Windows > Shift > S Keys on the keyboard.
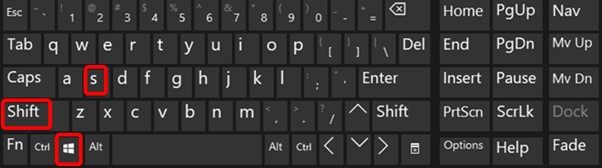
Press Windows Shift and S Keys
Step 2. Stretch and drag the cursor to crop the visible area that needs to be captured.
Step 3. Release the cursor, and the screenshot will be saved to the clipboard.
Step 4. Once the screenshot is taken, click Ctrl + V keys and paste it anywhere.
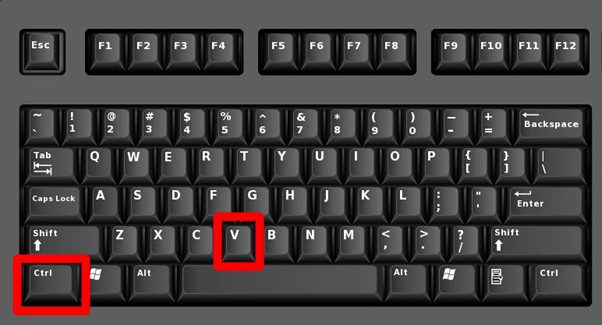
Click Ctrl And V Simultaneously
FAQs about Crop Screenshot on Windows
Are you still ambiguous? Worry no more, as this section will answer some of the commonly asked questions to help you remove any doubts left, so let us not wait anymore and jump into the questions:
Where are the screenshots saved on Windows?
Windows typically saves screenshots in the “Screenshots” folder under the “Pictures” directory. Depending on the Windows version being used, the precise path might change. Screenshots are, by default, saved as image files (such as PNG format) with sequential names in the folder C: Users[Your Username]\Pictures\Screenshots. However, users can alter the save location and file format for screenshots through the settings of the particular screenshot tool.
Can we change the default saving path?
Definitely! It is really simple if you are using a Windows computer and want to change where your screenshots are saved. Go to the Storage settings and look for the option “Change where new content is saved.” When you click on that, you can choose a different place or even create a new folder dedicated to your screenshots. This way, you have full control over where your screenshots are stored on your computer, making it super convenient and organized.
What happens if we attempt to take a screenshot will full memory?
Attempting to take a screenshot when the device’s memory is full can lead to various outcomes. It may result in the screenshot function failing, preventing you from capturing the image. In some cases, if the screenshot is captured despite low memory, it may be incomplete or corrupted, with missing or distorted parts. Additionally, the device’s performance may suffer, experiencing system slowdown, freezing, or crashing as it struggles to handle the simultaneous tasks of capturing and storing the screenshot with limited available memory.
Final Words
In conclusion, taking cropped screenshots on Windows can be a valuable practice to protect your privacy and avoid unintentionally sharing sensitive or personal information. By capturing and cropping specific sections of your screen, you have more control over what is included in your screenshots. Throughout this article, we have highlighted various methods for capturing and cropping screenshots seamlessly. We hope this information has been helpful to you, and If you found it useful, please consider sharing it with your friends and share your feedback and comments below.