Cropping an image is a fundamental step in design, allowing you to trim away unwanted portions, adjust the aspect ratio, or give your picture a particular shape. This basic maneuver is accessible in nearly all image editing software, and it’s no different when working with Figma.
How to Crop Image in Figma
In this guide, we’ll walk you through the various methods Figma offers for cropping images, including the ability to cut photos into specific shapes, whether a basic square or circle or something unique that you create yourself. You’ll learn the complete details to transform your visuals, all within the user-friendly interface of Figma. So, let’s dive in and discover how to crop image in Figma easily!
Also read: How do I resize images in Paint and Paint 3D? >
Table of Contents: hide
The Easiest Way – Using Keyboard Shortcut
The Easiest Way – Using Keyboard Shortcut
Keyboard shortcuts are the simplest and most convenient way to crop an image in Figma. These shortcuts enable you to crop your image swiftly and seamlessly while maintaining your workflow without switching tools or disrupting your creative process. In Figma, the keyboard shortcut for cropping an image streamlines the editing experience. It empowers you to make precise visual adjustments without the hassle of navigating through various menus or tools.
This efficient method ensures that your image remains the center of attention, allowing you to focus on crafting your design without unnecessary interruptions. This keyboard shortcut can easily crop your image to the desired dimensions, making it a straightforward process for beginners and experienced designers. This feature simplifies the editing journey, providing a user-friendly solution for enhancing your visual content in Figma. Let’s check the steps for this method:
Step 1: Select the desired image.
Step 2: Hold Control (Windows) or Command (Mac).
Step 3: Click and drag one of the side handles inwards to crop the image.
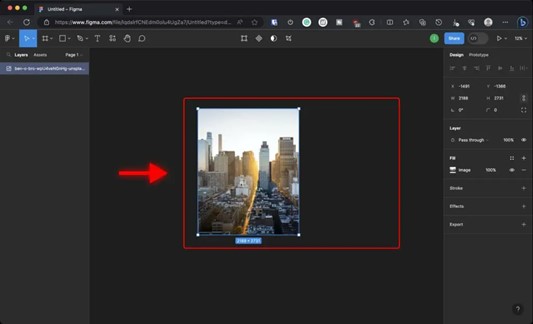
Click and Drag the Side Handles
Step 4: For a specific size, use the box at the bottom; hold Shift to maintain the original aspect ratio.
Step 5: Confirm the crop by clicking outside the image.
Using the Crop Tool
Like numerous other photo editing and design applications, Figma offers a Crop Tool, allowing users to trim and adjust images easily. You can activate the tool in the program. Then, select and crop the important parts of your image for a refined and focused look. This feature enhances design, removes unnecessary elements, and customizes your photos easily, making it a valuable resource for achieving the desired visual results. The steps to use this tool are detailed below:
Step 1: Select the preferred image. A blue box with white anchor points will appear around the selected image.
Step 2: Activate the Crop Tool by clicking on the icon in the top toolbar’s center.
Click on Crop Tool Icon
Step 3: Once the Crop Tool is activated, the white anchor points will turn into blue blocks, indicating that you can crop the image.
Step 4: Adjust the cropping by pulling any of the handles inwards. The area to be removed will appear semi-transparent, helping you gauge the cropping accurately.
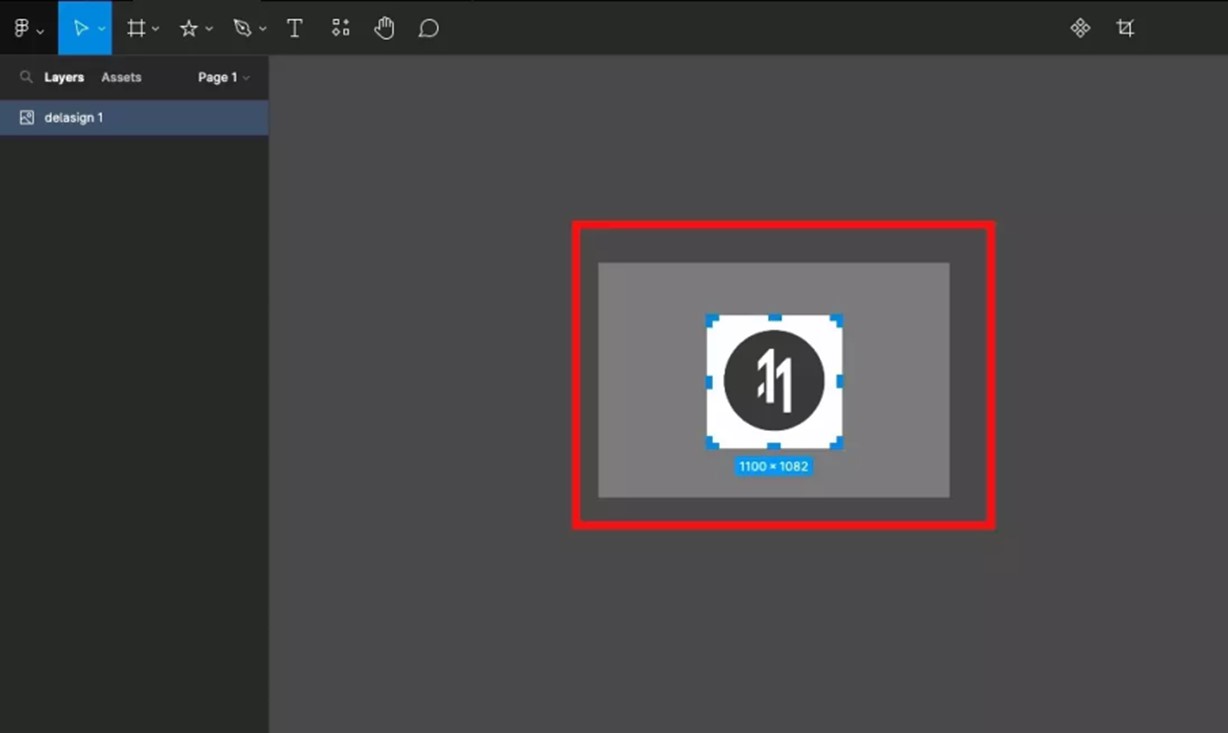
Adjust the Crop Handles
Step 5: Keep the original aspect ratio by pressing Shift (on Windows or Mac) while dragging.
Step 6: Use the size box at the image’s bottom to crop to a specific size or aspect ratio. Click outside the image or crop frame to confirm when you’re satisfied.
Using Fill Mode
Another handy approach to cropping images in Figma is through the Fill Mode. This editing method is part of the Editor in Figma, which empowers you to modify your pictures straightforwardly. While using Fill Mode, you can perform various basic image adjustments like exposure and contrast control, alongside the primary function of cropping images. It’s an intuitive and user-friendly way to fine-tune your visuals without delving into complex editing tools.
Figma’s Fill Mode ensures that you can easily adjust the composition and framing of your images within the Editor. This feature streamlines crop process, enabling you to enhance your images per your creative vision. Whether trimming, repositioning, or enhancing your pictures, Figma Editor’s Fill Mode provides the essential tools for swift and easy image cropping. Explore the steps below to utilize this method:
Step 1: Choose the layer you want to modify.
Step 2: Go to the Fill section in the Properties Panel and click the Image thumbnail.
Step 3: In the Fill menu, pick “Crop” from the Fill mode drop-down.
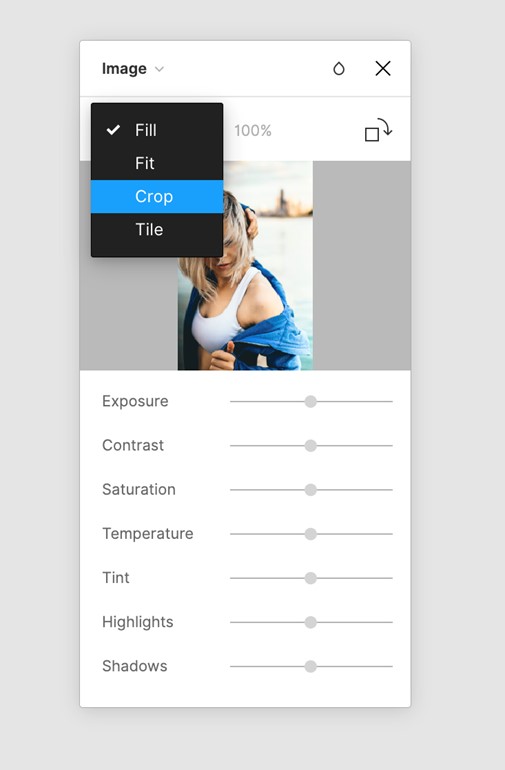
Select Crop
Step 4: Adjust the image display using the 8 blue handles provided by Figma.
Step 5: Finally, click anywhere on the canvas to apply the crop or select the “X” in the Fill menu to confirm your cropping changes.
How to Preserve Aspect Ratio When Cropping Images in Figma
The Aspects plugin in Figma is a valuable tool for maintaining the proper proportions of your images when you crop them. It works best with photographs, but you may also use it with other kinds of elements. It’s essential to watch out that when you change your designs in Figma, your images stay intact and retain their original shape.
This plugin makes things easier by letting you choose the area you wish to keep and automatically maintaining the correct aspect ratio. Preserving the visual quality of your images is crucial whether you’re creating content for print products, mobile apps, or the web. Let’s guide you on effectively utilizing the Aspects plugin in Figma to ensure your cropped images always appear as intended.
Step 1: Choose the images, then open the Aspects plugin.
Step 2: Specify the aspect ratio you wish to maintain inside the plugin’s dialog box.
Step 3: Next, decide which property to adjust to align with the chosen aspect ratio.
Step 4: Click the “Apply” button to execute the resizing operation. Doing so can preserve the aspect ratio when cropping images in Figma.
Bonus Tips – Crop Image with Ease
Image editing has become a crucial skill in a world where visuals are at the heart of online content. Whether you’re a marketer, blogger, or someone who wants to enhance your pictures, Gemoo Image Cropper is here to make image cropping a breeze. It is the ultimate user-friendly online tool for all your image-cropping needs. You can handle intricate tools and navigate confusing options.
With it, you can effortlessly crop, resize, and fine-tune your images, achieving the perfect dimensions for your project. Moreover, regardless of skill level, Gemoo Image Cropper is tailor-made for everyone. It’s the ideal solution for marketers aiming to create stunning visuals for their campaigns and content creators seeking to make their images stand out.
Key Features
- Easily resize images to suit the optimal dimensions for various social media platforms, ensuring your content appears at its best on each platform.
- Save time by editing multiple photos using the slide view feature, making batch editing convenient and efficient.
- You can crop, rotate, and resize images quickly, even if you need advanced editing skills.
- The mockup generator empowers you to create eye-catching visuals for your content.
Here’s how to use it:
Step 1: Import your images into the editor by uploading, dragging, copying, or pasting them from your computer.
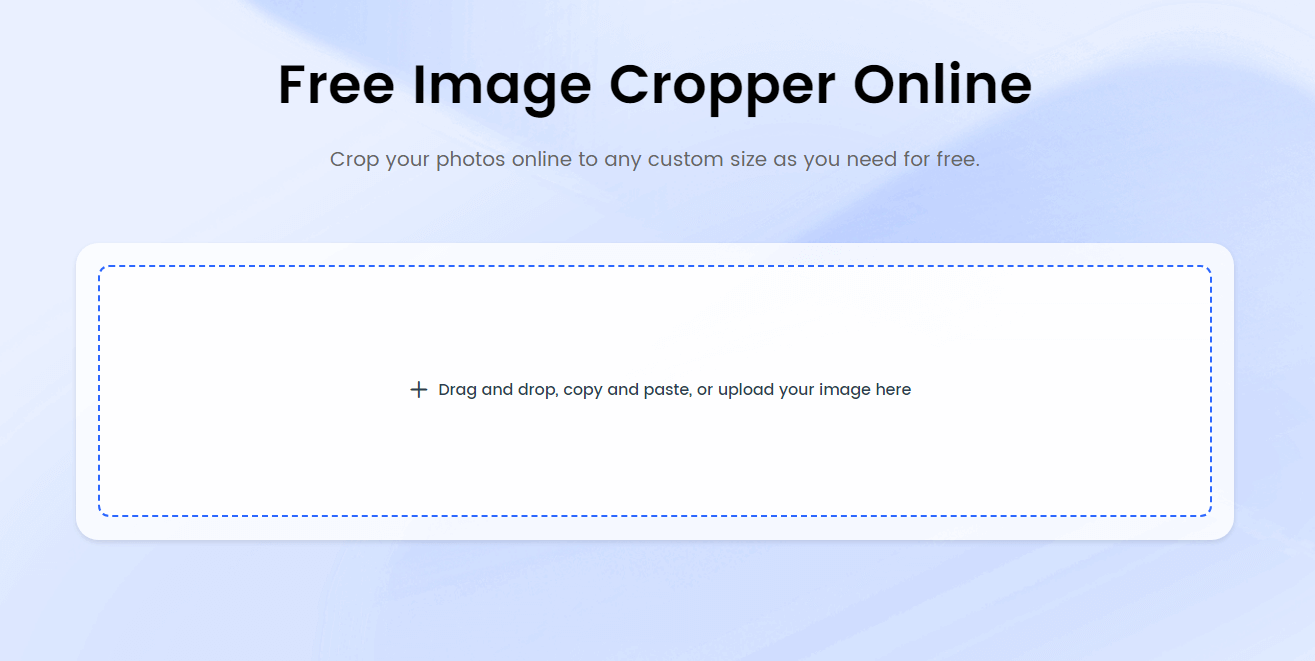
Import the image
Step 2: Once your images are in the editor, access the crop tool from the right-side menu to adjust your image’s composition precisely.
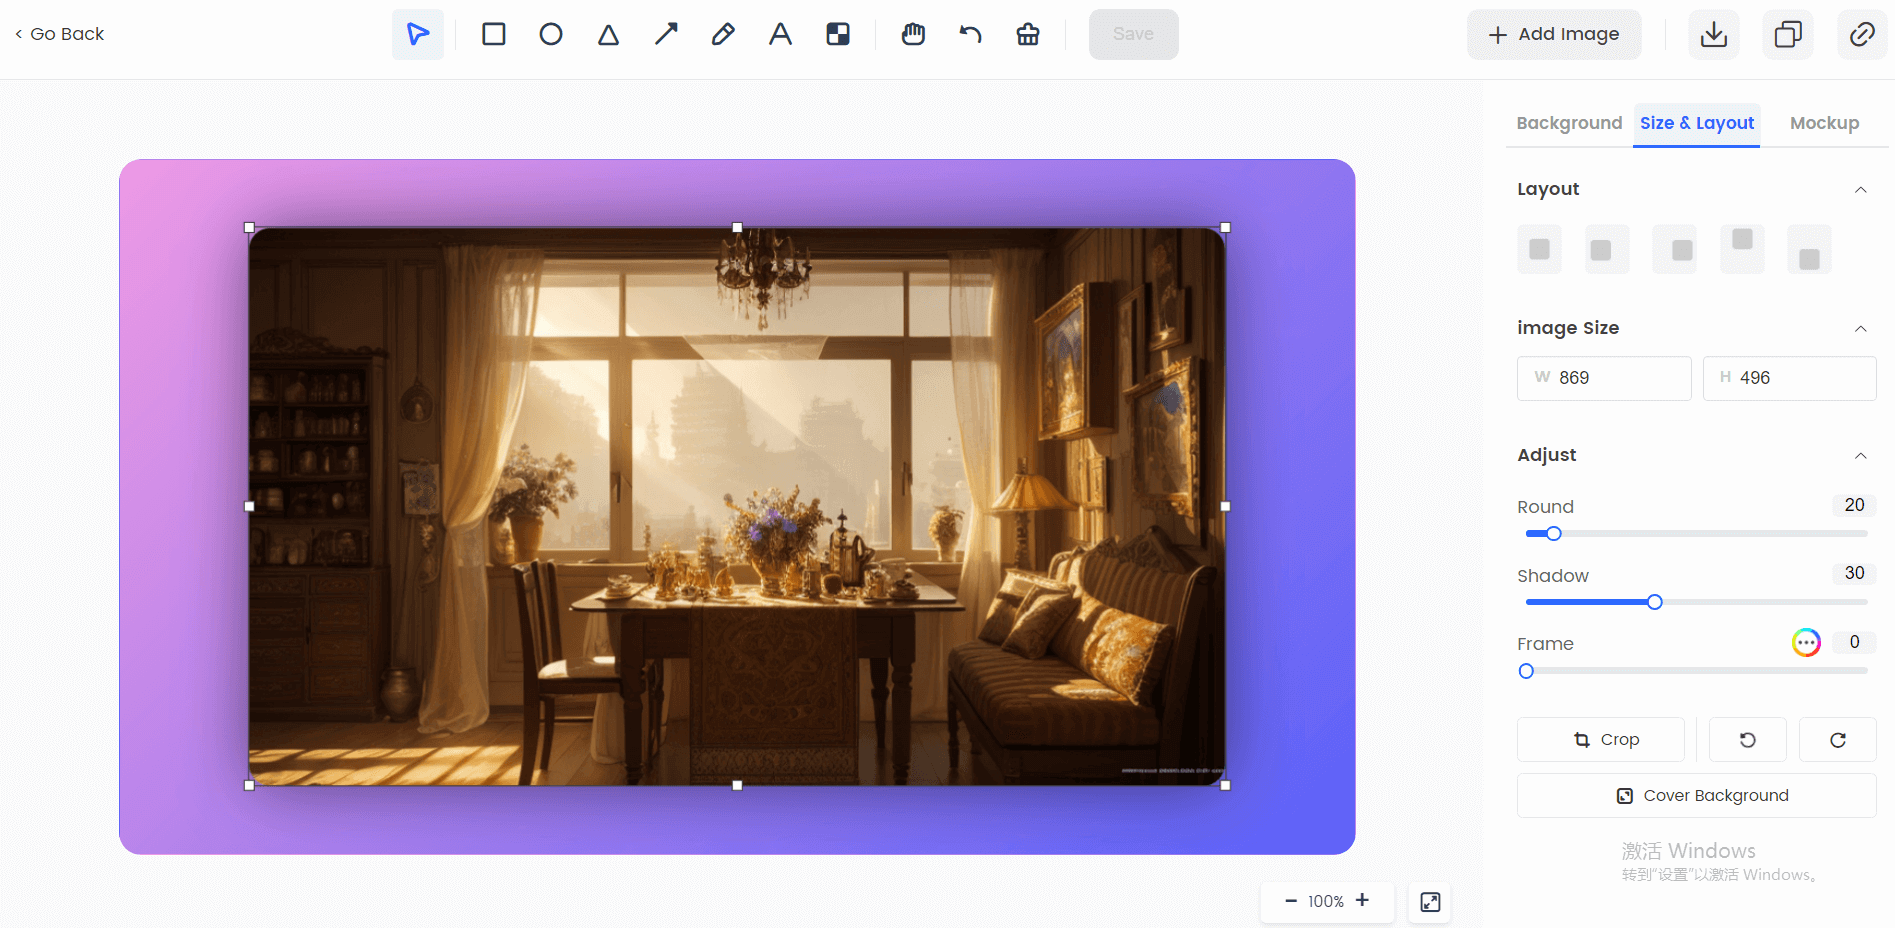
Access the Crop Tool
Step 3: Adjust the image size, crop the image according to your preferences, and click Apply.
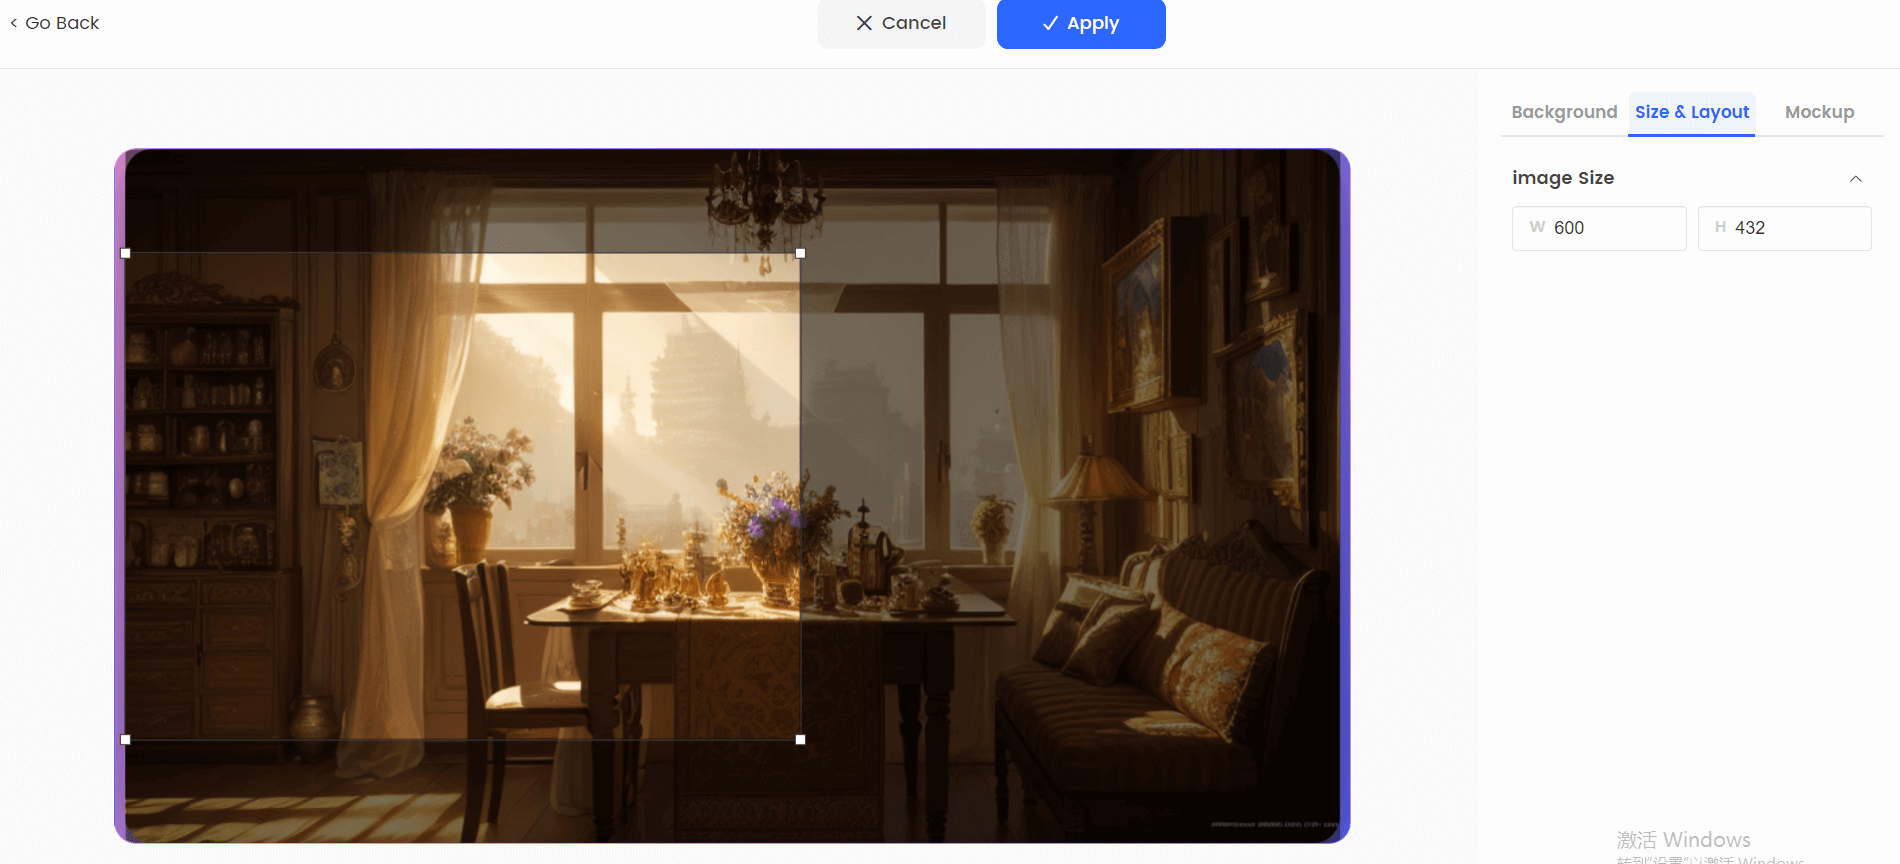
Crop and Click Apply
Step 4: After fine-tuning your images, save them, copy the edited version, or create a shareable link for easy sharing.
Final Thought
In conclusion, learning how to crop image in Figma is a straightforward process that allows you to trim and adjust your pictures to suit your design needs. This essential feature helps you create visually appealing and well-proportioned designs, ensuring your images remain clear and impactful. It is a valuable asset in your design toolkit. By following the steps and using Figma’s user-friendly interface, you can efficiently crop images to perfection, enhancing your projects’ overall quality and aesthetics.