5 Ways to Capture Still Images from Video Windows

Taking still images from moving videos may be a practical method for preserving special moments, producing visual material for working on social media or making presentations, or just keeping a particular scene from a film or video game. You’ve arrived at the correct spot if you’re running Windows 10 and are interested in learning to extract still pictures from video.

Capture Still Images from Video
In this piece, we’ll look at four distinct approaches to extracting still photos from video on Windows 10. We’ve covered whether you want to use the screenshot feature built into the operating system, third-party applications, video editing software, or web resources. So, let’s get started!
Also read: How to Edit Video in Windows Media Player? >
Table of Contents: hide
Way 1. Capture Still Image from Video Windows 10 via Photos
Way 2. Capture Still Image from Video Windows 10 via Gemoo Recorder
Way 3. Capture Still Image from Video Windows 10 via Shortcuts
Way 4. Capture Still Image from Video Windows 10 via Snipping Tool
Way 5. Capture Still Image from Video Windows 10 via Movies & TV
Way 6. Capture Still Image from Video Windows 10 via Media Player
Capture Still Image from Video via Photos
Using the Photos app on Windows 10, creating a still image from a video is a straightforward procedure that can be done at any time. Follow the steps below to know more:
Step 1: Launch the Photos app and open the video file. You may do this by opening the Photos app on your device and choosing the video from the collection, or you can do it by double-clicking the video file in File Explorer.
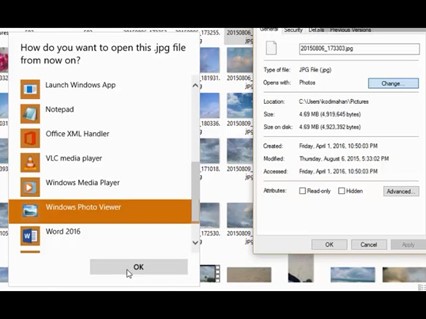
Open Videos in Photos App
Step 2: Once the video is displayed in the Photos app, pausing it at the desired frame to record it will allow you to do so. You can do this task by either using the space bar on your computer or selecting the pause button on the video player.
Step 3: Click the “Edit & Create” button in the top toolbar after the video is stopped so you can work on it. This will access the Edit & Create menu, which has various tools for modifying your images and videos and creating new material with them.
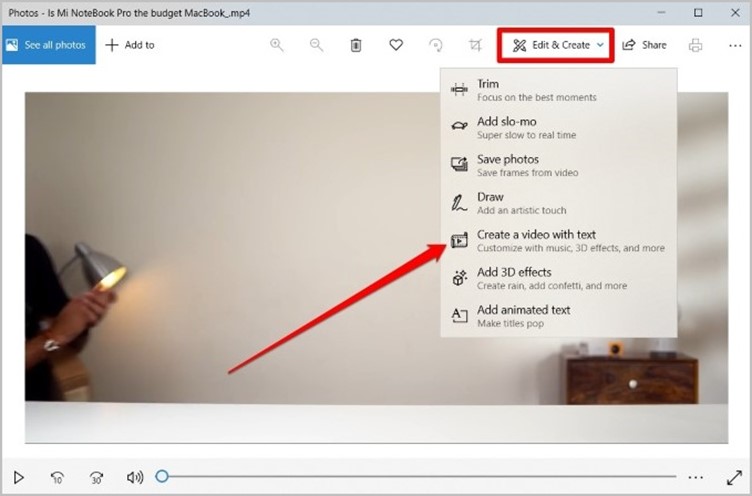
Select Edit and Create
Step 4: Click the “Create” button in the toolbar on the right, then click “Frame” in the drop-down menu that appears. This will produce a still picture based on the frame that the video is now playing and store it in the “Saved Pictures” folder under the “Pictures” directory of your hard drive.
Step 5: The taken still picture will be stored as a JPEG file, and its default name will be something like “Frame 001.jpg.” You may give the file a new name or transfer it to another place if you want.
Further Reading: How to Extract a Frame from a Video >
Capture Still Image from Video via Gemoo Snap
Gemoo Snap is a free screen capture tool that can also capture images from videos on both Windows and Mac computers. It offers a range of capture options to meed your demands, including full screen, a portion of the screen, specific window, website screenshot and etc. To capture an image from a video on Windows, you have several different ways to get there – Quick Screenshot, Clipboard Screenshot and other options. After taking a screenshot, you can easily annotate the screenshot as you want. Click on the camera icon to take the snapshot. The images will be uploaded and saved to the cloud of your choice.
Free try Gemoo Snap now and take a closer look at how to use the tool to capture still images from video Windows with simple clicks.
Step 1. Launch Gemoo Snap on your computer and sign in to it following the on-screen instructions.
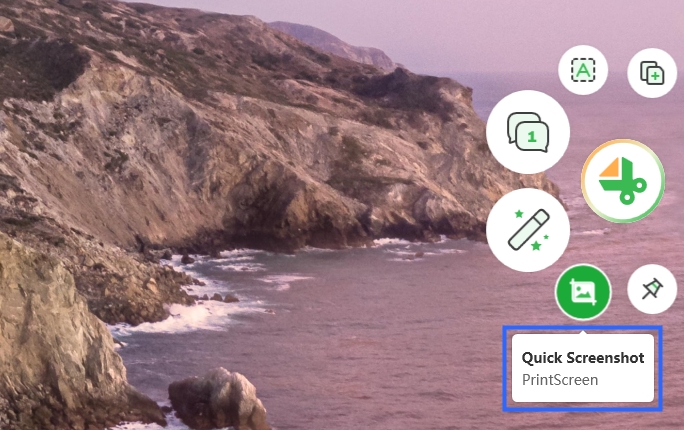
Quick Screenshot on Your Computer
Step 2. Open the video you need to screenshot and click on the Quick Screenshot button to get started. Drag your mouse to select the area you’d like to capture the still image.
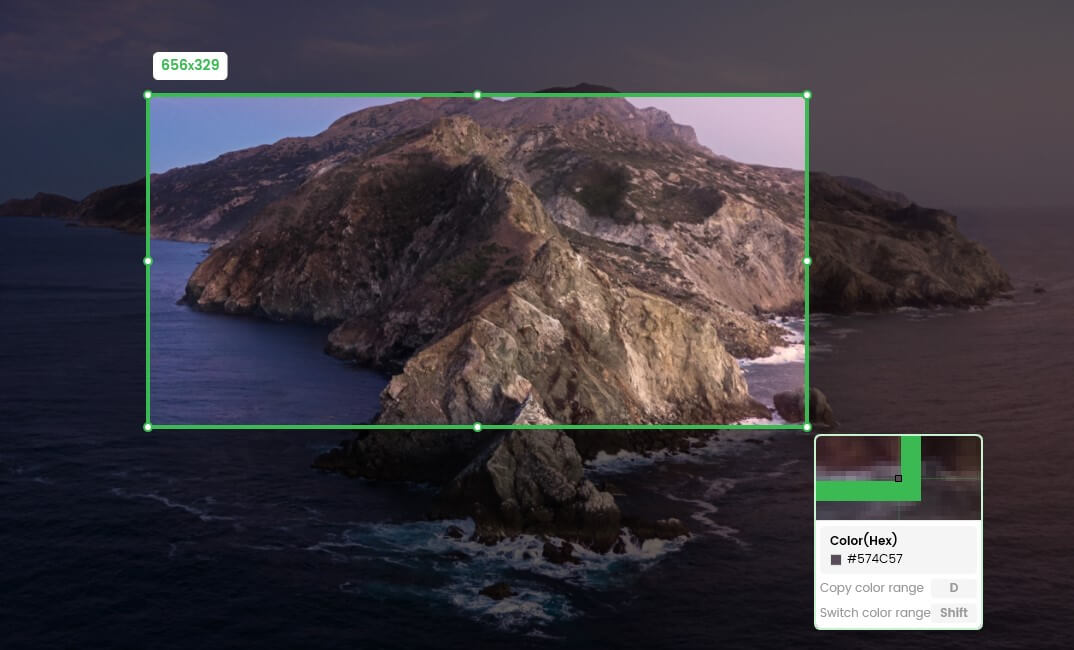
Frame the Screen
Step 3. Wait for a few seconds, your captured still image will be uploaded, if ‘Upload Quick Screenshot image’ option is enabled. And you can click on the View image link to review your image.

Upload Successfully
Step 4. When the uploading is completed successfully, your captured still image will also be synchronized to the Library Gemoo Cloud.
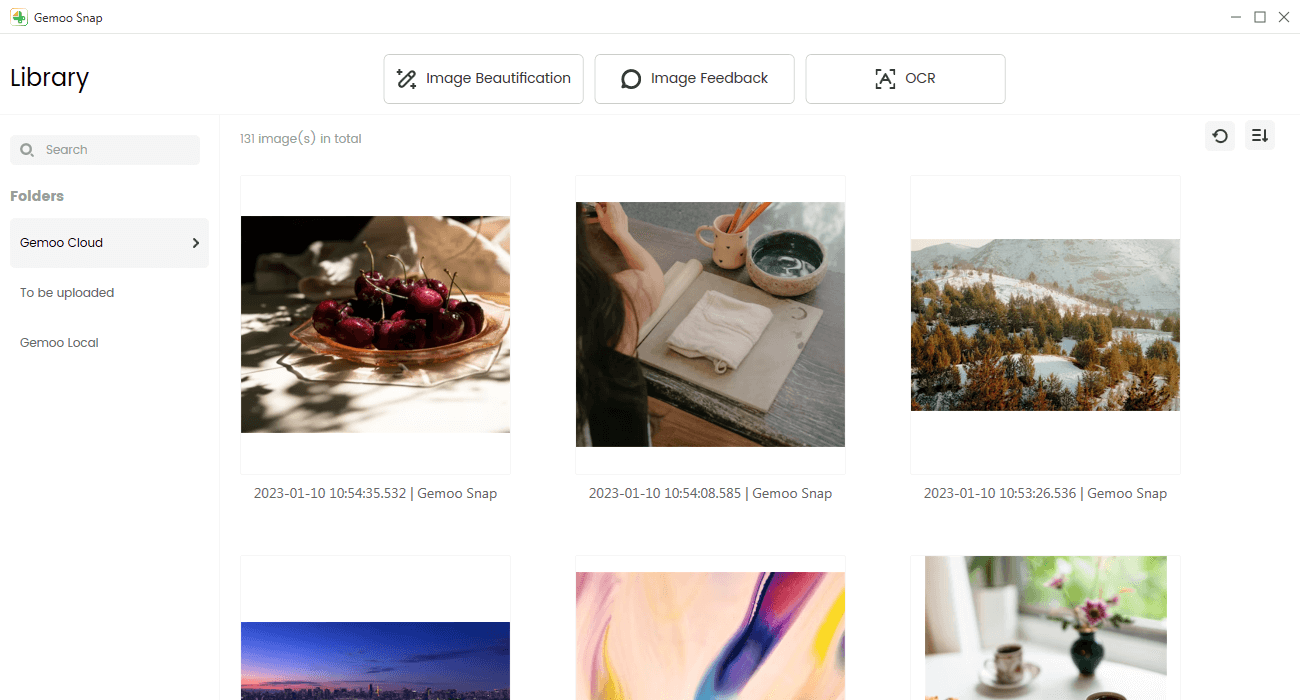
The Library of Gemoo Snap
Capture Still Image from Video via Shortcuts
Windows 10 has a built-in keyboard shortcut that allows users to grab still photos from the video. The following is an in-depth description of the actions required to make use of this shortcut:
Step 1: Launch a video player, such as the Movies & TV app or the VLC media player, and open the video file you want to watch.
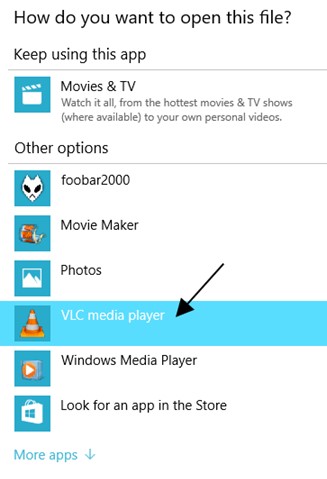
Choose Media Player
Step 2: You should pause the movie at the exact frame you want to take a screenshot of.
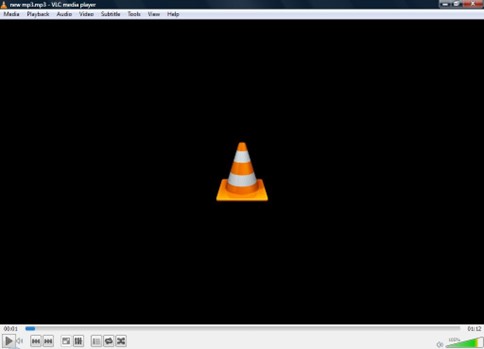
Pause Video
Step 3: To print the current screen, you’ll need to hit the “Print Screen” (PrtScn) key on your keyboard. This will take a screenshot of the current frame of the video and store it on your clipboard.
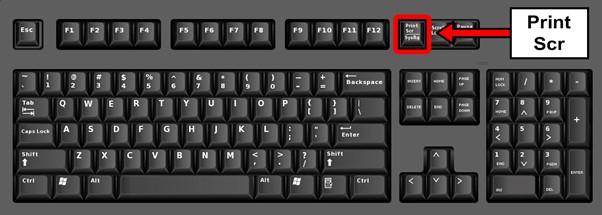
PrtSc Shortcut
Step 4: Launch software that allows you to edit or manipulate images, such as Paint or Photoshop.
Step 5: You may copy and paste the screenshot into the image editing application by either hitting “Ctrl+V” or choosing “Paste” from the Edit menu. The screenshot was copied to the clipboard before.
Step 6: You may save the picture to whatever place you choose by selecting “File” and then “Save As” from the menu that appears. After choosing what file type to use and what name to give to the picture, click the “Save” button.
Capture Still Image from Video via Snipping Tool
The Snipping Tool is one of the Windows snipping tools already integrated into Windows that allows you to take high-quality snapshots of selected regions of your screen. On Windows 10, capturing a still picture from a video may be accomplished with the help of the Snipping Tool in the following manner:
Step 1: Launch a video player, such as the Movies & TV app or the VLC media player, and open the video file you want to watch.
Step 2: You should pause the movie at the exact frame you want to take a screenshot of.
Step 3: To activate the Snipping Tool, enter “Snipping Tool” into the search bar, and then choose it from the list of results that appears below the bar.
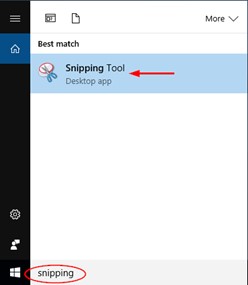
Open Snipping Tool
Step 4: Use the “New” button in the Snipping Tool window to create a new snipping target.
Step 5: You may take a screenshot of any part of the screen by pointing and clicking with the cursor in the area you wish to record. Four distinct snipping options are available for your selection: free-form, rectangle, window, and full-screen.
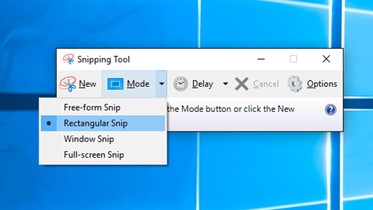
Select Screenshot Mode
Step 6: After you have decided what part of the screen you want to grab, the Snipping Tool will copy the snapshot directly to the clipboard after you confirm your selection.
Step 7: Launch software that allows you to edit or manipulate images, such as Paint or Photoshop.
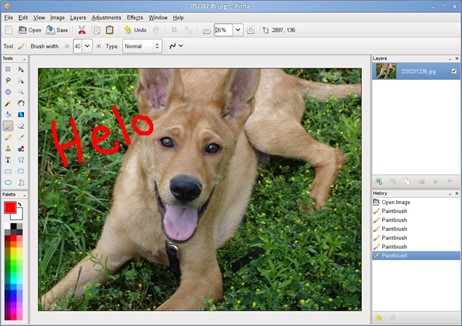
Open Image in Paint
Step 8: You may paste the screenshot into the picture editing application by either hitting “Ctrl+V” or choosing “Paste” from the Edit menu. The screenshot was copied to the clipboard before.
Step 9: You may save the picture to whatever place you choose by selecting “File” and then “Save As” from the menu that appears. After choosing what file type to use and what name to give to the picture, click the “Save” button.
Capture Still Image from Video via Movies & TV
Playing video files and taking screenshots directly from them are two of the Movies & TV app’s capabilities, a built-in program that comes standard with Windows. On Windows 10, taking a still photograph from a moving picture may be accomplished by following these steps within the Movies & TV app:
Step 1: Launch the Movies & TV app and open the video file you want to watch. You may do this task by using File Explorer and double-clicking on the movie file or by launching the Movies & TV app and choosing the film from the collection.
Open Video in Movies and TV App
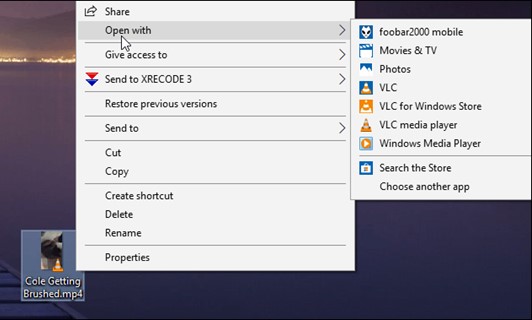
Step 2: You should pause the movie at the exact frame you want to take a screenshot of.
Step 3: Choose “Frame” from the contextual menu that appears when you right-click the video.
Step 4: Your “Saved Pictures” folder may be found under your computer’s “Pictures” directory. This is where the image you just took will be stored. You can give the file a new name or transfer it to another place if you want.
Capture Still Image from Video via Media Player
In Windows 10, utilizing the Media Player app is the way to go if you want to get a still picture from a moving clip. Here are the steps to take:
Step 1: To start playing media, use the Media Player app. You may do this by entering the search bar on your taskbar and entering “Media Player.”
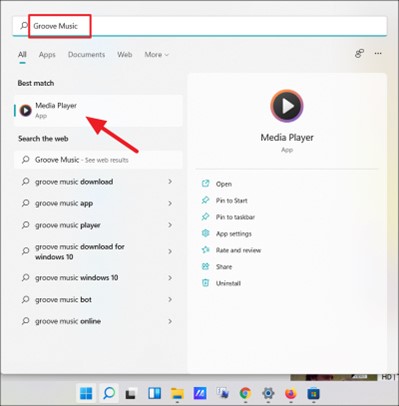
Open Media Player
Step 2: To open a new file in the application, use the “Open File” button in the screen’s upper left corner. This will create a new window for you to search for the video file containing the scene from which you wish to extract a still picture.
Step 3: Click the “Open” option when you have decided on the video file you wish to utilize, and then choose it. The Media Player software will start playing the video after successfully loading it.

Click Open Files To Open Video File
Step 4: When you get to the place in the video where you want the still picture to be taken, pause the movie there. You have the option of pausing the app either by hitting the space bar on your keyboard or by selecting the “Pause” button that is in the app’s lower-left corner.
Step 5: To take a screenshot of the app’s current screen, choose the “Snapshot” button located in the app’s lower-right corner. This will create a still picture capture of the video in time and store it in the Pictures folder on your computer.
Step 6: Open the screenshot by going to the Pictures folder on your desktop and viewing the image file.
Final Thought
Finally, if you’re using Windows 10, you may choose from several different options for extracting still photos from the video. The built-in screenshot capability enables users to grab a picture of the current screen rapidly. However, video editing software such as Windows Media Player and Photos App gives greater flexibility and options to stop and pick certain frames. Users may take screenshots of the current screen.
Screen recording tools like the Snipping Tool give users, even more, versatility and enable them to capture and edit numerous pictures taken from a film. In the end, the unique requirements and preferences of the user will determine which technique of extracting a still picture from a movie on a device running Windows 10 will be the most effective.