Professional live streaming takes a significant amount of effort and resources. You will want to save a recording of your live broadcast such as Peacock for future use if you are putting a lot of time, money, and effort into your live feeds.
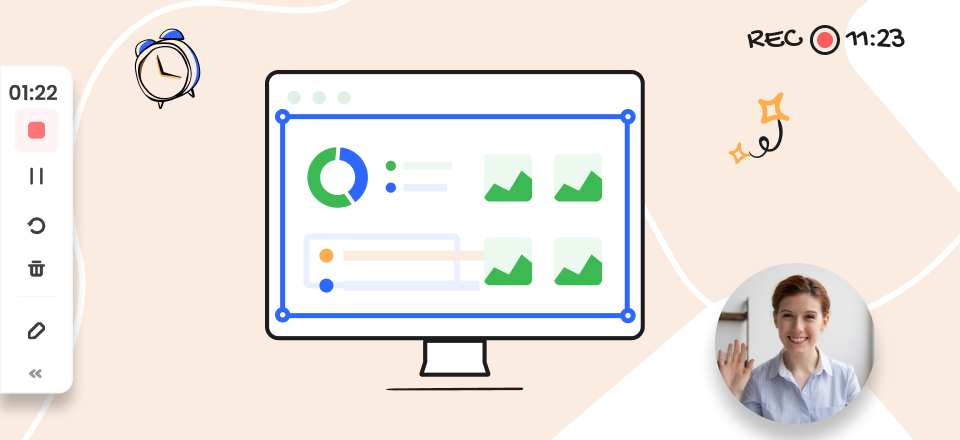
Record a Live Stream
Recording your live stream with a screen recorder is a smart idea whether you want to give on-demand access to the event after it has occurred or you want a copy of the broadcast for your archive.
Here, we will go over all you need to know about how to record a live stream in this post. We will talk about when and why you might wish to record your event’s live broadcast.
Table of Contents:
How to Record a Live Stream Event on Windows & Mac?
How to Record a Live Stream on PC?
Also Read: 5 Best Screen Recorder for Chrome in 2022 >
How to Record a Live Stream Event on Windows and Mac?
Recording a live stream video is a very beneficial event for the future. These videos can be useful for further use, as you can record a live training session, a demonstration of a product, any software, some cool gaming moves, etc. You can record a live stream event by using various screen recording apps such as FocuSee. As one of the best video recorder tools for PC and Mac, FocuSee helps you record high-quality live-stream video with just one click.
When recording with your webcam, you can add various virtual backgrounds to hide your location, use the camera with different filters, and choose some of your favorite images to show your style.
- Choose from side-by-side, overlay, or screen-only layouts
- Trim, cut, crop, speed up, or slow down sections for concise videos
- Select preset sizes for YouTube, Twitter, TikTok, and other platforms
- Enhance video appeal with various mouse styles and click effects
- Customize auto-zoom effects, including zoom level, duration, and position
Now follow the detailed steps to record your live stream:
Step 1. Launch FocuSee on your computer > Enter your account and password to create an account, or log in to FocuSee.
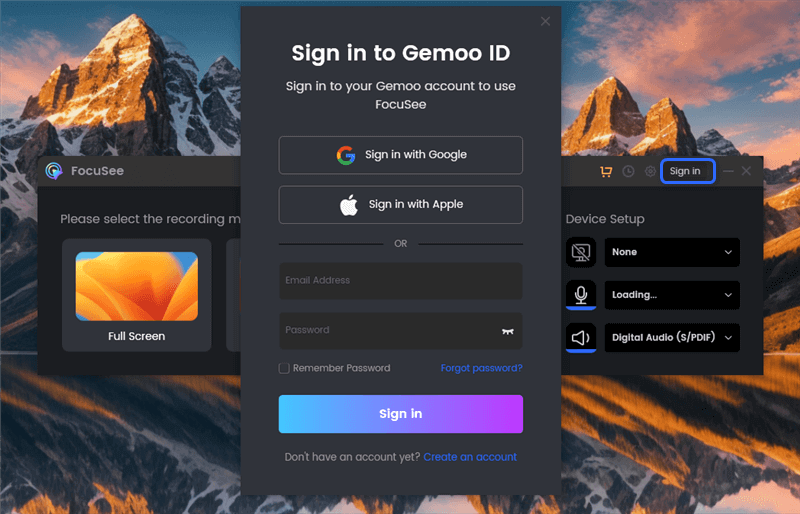
Create an Account and Activate FocuSee
Step 2. Open your streaming software and start the live stream. Choose from FocuSee’s 3 screen recording options. Adjust the audio and camera settings, and start recording.
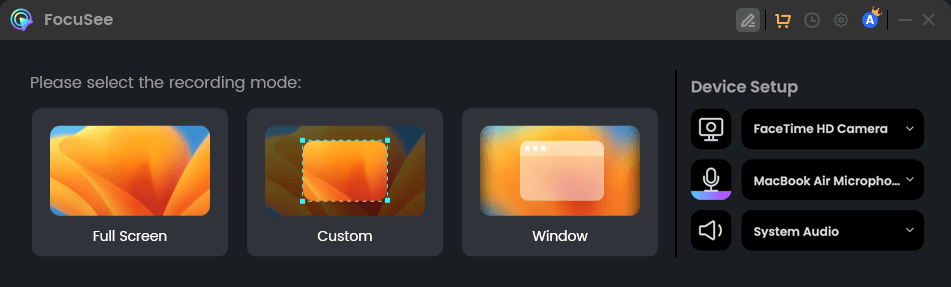
Device Setup
Step 3. After recording, you can flexibly further customize the output by changing the background, adjusting the cursor style, adding captions, editing zoom effects, and applying other enhancements to create a refined, professional video.
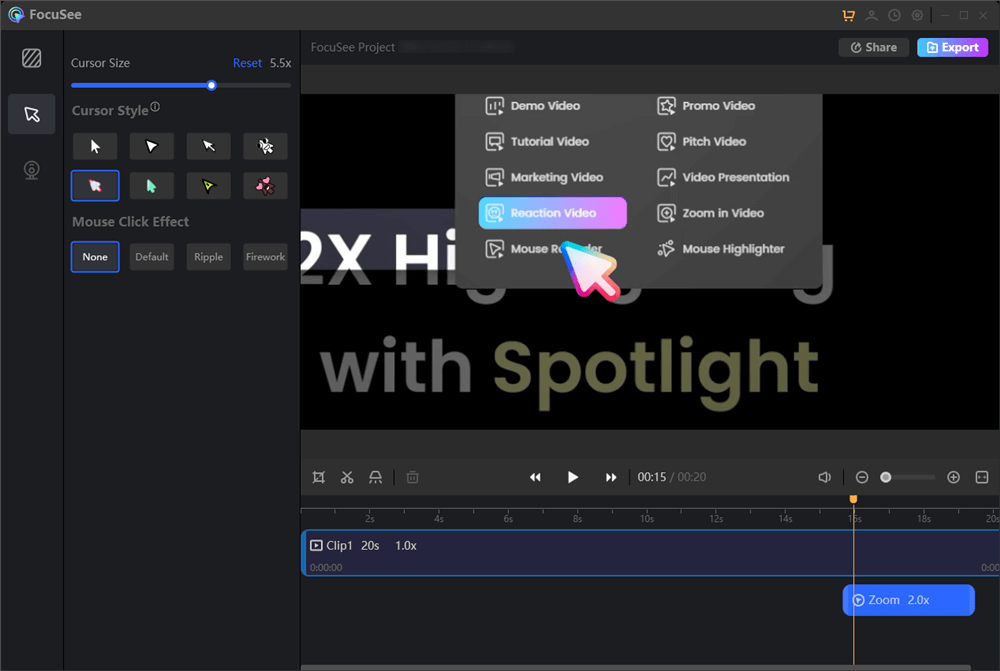
Edit Your Recording
Step 4. Export the recorded video as an MP4 or GIF file, or easily share it via a link.
Also Read: How to Record Twitch Streams >
How to Record a Live Stream on PC?
There is much live streaming software that you can use to record a live stream or live music on PC. If you want to record a live stream on PC, here we are suggesting you 2 best options. You can use the below-given options to know how to record a live stream on PC.
DaCast
You can use DaCast, a professional online video platform, and know how to record a live stream on PC. You can quickly record live broadcasts and have them immediately published to your on-demand video library using our live stream recording tool. You will need a DaCast account to access this feature. Turning up the live stream recording option is simple once you have set up your DaCast account.
Here we have explained how to record a live stream on PC using DeCast.
Record a Live Stream with DaCast
Step 1: Sign In or Log In to your DaCast account.
Step 2: If you have an existing channel on which you had like to enable live stream recording, edit it, and if you don’t have one create it.
Step 3: Set your stream settings to be compatible with the stream recording function (HTML5 channel, H.264 video codec, AAC audio codec, maximum bitrate of 3.5 Mbps, and channel status of “ON”).
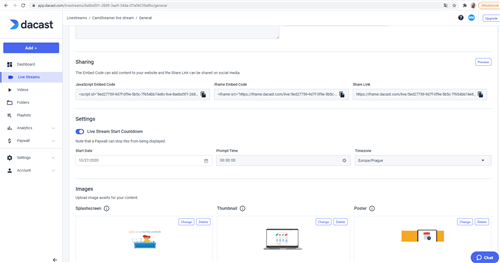
Step 4: Toggle the “Live Stream Recording” slider to the “ON” setting under the Settings section.
Step 5: After it, you can record live streaming.
DaCast will easily capture all live streams on the channel for which you have defined the parameters when you do so. If you don’t want to record the live broadcast, you may always turn it off.
Also Read: How to Record Twitch Streams >
ScreenRec
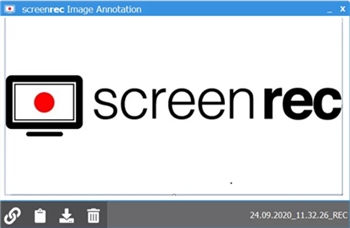
ScreenRec is a no-watermark free screen recorder that allows you to capture and share your desktop in a single click. ScreenRec is a free streaming video recorder that is simple to use. We will go into why later, but for now, let’s get everything set up so you can start recording internet videos.
Follow the below-mentioned steps to know how to record a live stream on PC.
Record a Live Stream with ScreenRec
Step 1: Download and Install the ScreenRec video recorder to know how to record a live stream on Windows 10 PC. Launch the video recorder to start recording your live streaming.
Step 2: Now, Play the video in full screen and high resolution.
Step 3: Press “Alt + S” to select the area you want to record.
Step 4: Drag the cursor to select the area which you want to record.
Step 5: Click the audio icon to start recording the video with sound too.
Step 6: Once you have completed recording the live stream, press “Alt + S” again to stop recording the video.
This is something you just have to do once. ScreenRec will begin uploading your streaming video recordings to your private cloud storage as soon as you register your account (you get 2 GB free). After that, a private shareable URL will be transferred to your clipboard.
How to Record a Live Stream on Mac?
You may record a live feed on a PC with a variety of live streaming tools. If you wish to record a live broadcast on your Mac computer, we recommend the following two alternatives. To learn how to record a live stream on Mac, look at the choices listed below.
Also Read: How to Record Screen and Audio on Mac >
Mojave
MacOS Mojave’s new features are inspired by the most capable users, yet they are made for everyone. Use Dark Mode to remain focused on your task. Stacks will help you to organize your desktop. Four new built-in applications are available for you to try out.
These steps will illustrate to you how to record a live stream on Mac.
Step 1: Open the Mojave on your system to start recording the live stream.
Step 2: Press “Shift+Command+5” to open the controls for recording.
Open Controls of Recording
Step 3: Select the recording area whether it is an entire screen or a specific area of the screen. Choose the icon carefully.
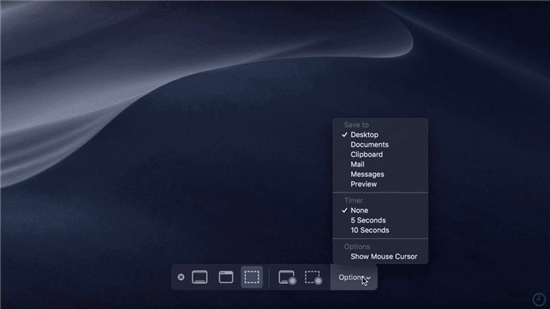
Step 4: To record audio, go to Options and pick Microphone from the drop-down menu.

Choose Options to Pick Microphone
Step 5: To modify, save, or share a recording, click the thumbnail.
A thumbnail will display in the lower right corner after you are finished. To share or alter the recording of your live broadcast, click it.
Soundflower
Soundflower is a free system plugin that allows you to channel audio from one program to the next. Maybe you want to use QuickTime’s audio input to record the audio from a movie playing in your web browser. Audio driver for multi-applications Soundflower can assist you with this by simulating an audio device’s interface and allowing any audio application to broadcast and receive sounds without the need for additional software.
Follow the below-mentioned steps to know how to record a live stream on Mac.
Step 1: Download and Install the Sunflower video recorder. Launch the Sunflower to start recording a live stream.
Step 2: Set Soundflower as your output device. Select Output from the System Preferences > Sound menu. As an output, choose Soundflower.
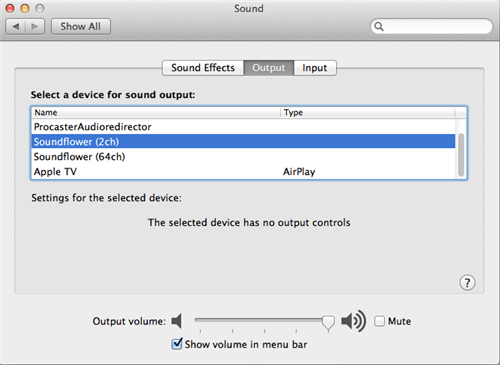
Set Soundflower as Output Device
Step 3: Select File > New Screen Recording from the QuickTime menu bar. You should see your control window appear.
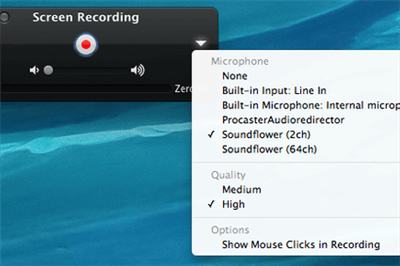
Soundflower Control Window
Step 4: To record your entire screen, click the Record button and then click anywhere on the screen. Otherwise, you may crop your recording region by dragging your cursor across the screen. QuickTime will instantly open your recording when you are done, and you may listen, modify, or submit it to a file-sharing site from there.
FAQs of Record a Live Stream Video
What is the difference between live streaming and recording?
Recording means you record a video, then edit it, upload and send it to wherever you want.
Live streaming means you can live stream what you’re doing on any platform. You’re showing other people your gameplay by streaming on any platform.
Can a livestream be watched later?
Yes! Whether it is your own live stream or someone else’s live broadcast, you can use Gemoo Recorder to record the live stream for subsequent viewing.
Final Words
A video which you have recorded using any tool is useful for you, when you have to go through your previous training or product demonstration session. Here, we have mentioned some of the best video recorder tools that can help you how to record a live stream. You can use the above-mentioned tools on Mac or PC, and record your screen.