How to Record Screen and Audio on Mac

These days, all you need to create great-looking presentations, social media clips, or other types of multimedia content is a good computer and a little bit of creative spirit. Many professional creators use Mac for this purpose due to its superb technical performance and simple interface, but this computer has its own software suits for multimedia production that are not identical to those you can use on a PC. This can present an obstacle for inexperienced users.

Record Screen and Audio on Mac
If you haven’t created how-to clips or talking head videos on an Apple computer before, you may not be sure how to screen record on Macbook Air with sound. It’s actually pretty easy to connect the image and sound in the same file, but you need to use the right screen recording Apps, learn the correct procedure, and execute it without errors. It certainly helps to read step-by-step guides on this topic, and that’s exactly what you are going to find in this article.
Also read: How to Screen Record on a Mac without External Audio? >
Table of Contents:
Record Screen and Audio on Mac via Gemoo Recorder
Record Screen and Audio with Internal Audio
Record Screen and Audio via Gemoo Recorder
Want to create training materials or tutorial videos for newcomers, your subscribers, or your customers? Gemoo Recorder is a good choice. Whether you are a teacher, a marketer, a gamer, or an engineer, you can easily record the screen and sound on Mac with Gemoo Recorder and share it with others. No complicated operations are required, making recording easy and enjoyable. Check Gemoo Recorder’s Key features and try the best Mac screen recorder for free.
- Supports 4 recording modes. record screen and audio at the same time, and also record the camera and screen at the same time.
- In addition, you can also record screen, camera, and audio separately as you need.
- Insert shapes, text, memes or other notes during recording. Express your thoughts more clearly.
- Catch your audience’s attention and keep them entertained with all the popular GIFs in Gemoo Recorder.
- Store and organize videos in Gemoo to make complex information clearer. Share videos with one click, spread your ideas and get instant feedback.
Step 1. Please free download Gemoo Recorder and launch it on the computer and enter your account and password to log in to Gemoo Recorder (Or you can log in directly with your Google account).
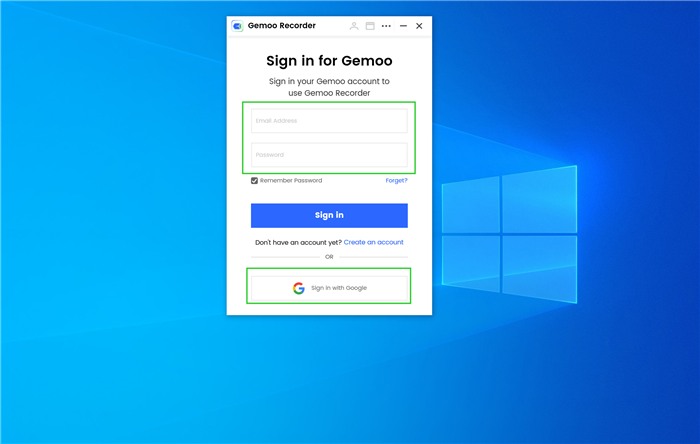
Sign in Gemoo
Step 2. Gemoo Recorder supports 4 recording modes. You can choose the one your want to record.
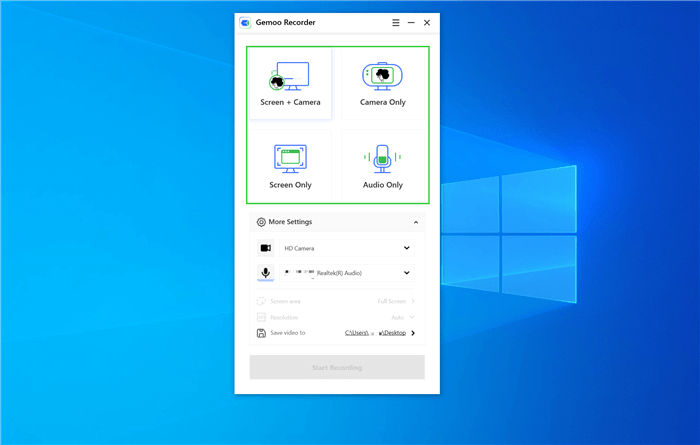
Select Recording Modes
Step 3. After choosing the recording mode, please hit on the Start Recording button to initiate recording.
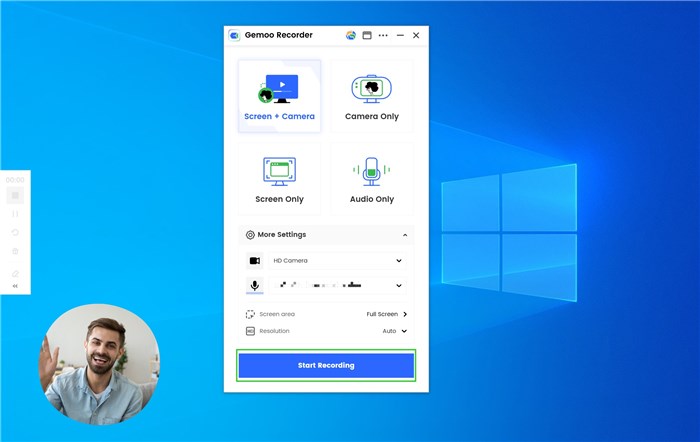
Hit the “Start Recording” Button
Step 4. When begin to record, you can control your recording process by tapping on the control panel in the left sidebar: View recording consuming time, finish/pause/resume recording, restart recording, delete the recording and add annotations.
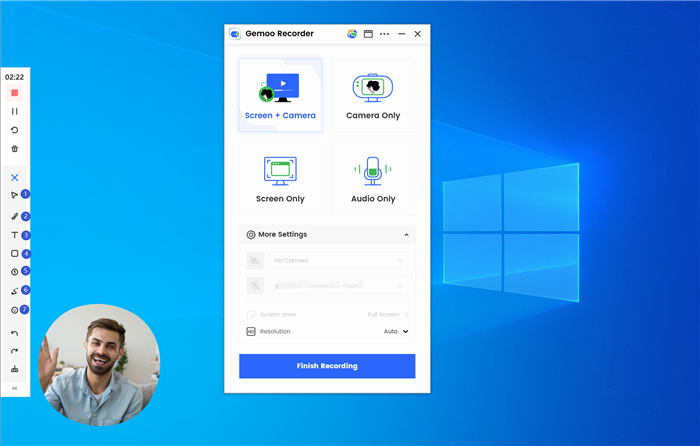
Annotate the Screen
Step 5. Once finished recording, your video will be automatically uploaded to Gemoo. All your videos will be stored in the cloud. If you don’t open the permission, it won’t be seen by anyone. It is safe and secure.
Upload Succeeded
You can also check out the guide of How to Record Screen on Windows 10 with Audio >
Record Screen and Audio with Internal Audio
You don’t have to be a show business professional or a computing wizard to create great videos while recording sound from computer using a Mac machine. Since practically every Mac desktop or laptop comes equipped with a high-quality graphics card and microphone, all the hardware requirements are already in place.
In fact, the software tools necessary for this task are already incorporated into iOS and you can start producing simple videos without any additional software using the Screenshot toolbar. This is probably the fastest way how to record screen and audio on Mac, and you can quickly activate this feature with a few strokes on the keyboard. This is why this method is recommended to anyone who wants to make a simple video recording without too much editing.
Here is what you need to do in order to use the Screenshot toolbar to capture the screen together with the audio from the Mac.
Step 1. Press three keys – Shift, Command, and 5, on Mac’s keyboard all at the same time. This will activate the Screenshot toolbar.
Step 2. Choose Options from the menu, then select the built-in microphone (or another device you want to use) from the “Microphone” tab.
Step 3. Drag a box around the area of the screen you want to capture and hit the Record button to start with live recording.

Drag a Box and Click Record Button
Step 4. You can use the menu bar to change video or audio settings or pause the recording. After recording, click the Record button again to stop.
Also Read: How to Record Audio Directly from a Website >
Record Screen and Audio with QuickTime Player
There is another popular tool that comes with every Mac computer that can be very useful for recording the content of the screen and combining it with sound. QuickTime screen recorder is a simple software application that has more advanced features than most users think. Anyone interested in the best way to record a computer screen with system audio should become more familiar with this program. With QuickTime, you can choose whether to record just the screen, audio-only, or both at the same time. However, you are limited to sound that can be captured by your microphone, and system audio can’t be included in its original form.
If you decide to make a video that contains your screen actions along with an audio channel, here is the procedure you need to follow:
Step 1. Open the QuickTime Player screen recording app on your Mac and enter the File menu.
Step 2. Choose New recording from this menu and wait to see the screen recording prompt.
Step 3. Click on the down arrow icon located to the right of the recording button.
Click on Down Arrow
Step 4. Choose internal or external microphone from the pop-up window and indicate whether you want the mouse pointer to be visible in the recording.
Step 5. Click on the Start button and select the surface of the screen to be included in the video, then simply perform all actions that you want to record and click on the Stop icon when you are finished.
Frequently Asked Questions
Considering too many people make videos at home these days, it’s no surprise that users want to know every detail that will help them to screen record on mac with internal audio. To help clear up the confusion and make this task easier for beginners, we answered some of the most common queries about this important topic.
Does QuickTime Player record internal audio on Mac without additional tools?
If you want to record the sounds produced by the computer (i.e. ambient sound from a game or audio effects in a software suite), the QuickTime player is not able to do that on its own. You need to download another app to your computer (i.e. Soundflower or Blackhole) in order to record internal audio.
Can I record both internal audio and external audio using QuickTime Player?
The short answer to this question is no. Since QuickTime can only capture external sound with either the built-in microphone or another device, you will need to use another tool if you also need system audio.
Final Words
Learning how to screen record on Mac with audio is the first step to becoming a proficient content creator. In this article, we presented two simple methods that every Mac owner can readily use to combine audio with screen capture. By practicing both of those methods, you can try out different possibilities and find what works best for you. Once you master how to do this, you can focus on producing high-quality videos for any niche you are active in.