Create a Recording Preset
When creating a series of tutorials and product demonstrations, the preset features enable you to rapidly set up the canvas ratio, mouse style, click effects, camera layout, and more. This streamlined setup allows for efficient video production and significant time savings.
What is a Recording Preset?
The recording Preset feature allows you to save a set of specific settings for quick application when recording videos. These settings include canvas ratios, mouse styles, camera layouts, subtitle options, and watermark properties.
When you need to record a series of tutorial videos, product demonstration videos, or gaming videos, you can quickly configure the canvas ratio, mouse style, click effects, camera layout, and more through preset features, allowing for swift video creation and time savings.
What Can You Preset?
The features you can preset are:
- Canvas: Canvas ratio, padding, inset, roundness, shadow, background (including default and custom backgrounds)
- Mouse size: Mouse style, mouse click effects (newly added include color and transparency), mouse click sound effects.
- Camera: Whether to open the camera, camera layout (including horizontal flip), custom layout, camera mirroring, filters, or avatar frames.
- Watermark Settings: The position, size, and transparency of the watermark.
How to Create a Preset?
To create a preset, you can follow the steps below:
Step 1. Create a new recording. When you finish the recording, you will enter the editing panel bar. Change the canvas ratio, mouse style, click effects, camera layout, etc, as you like. Click the “Preset” button to activate the feature.
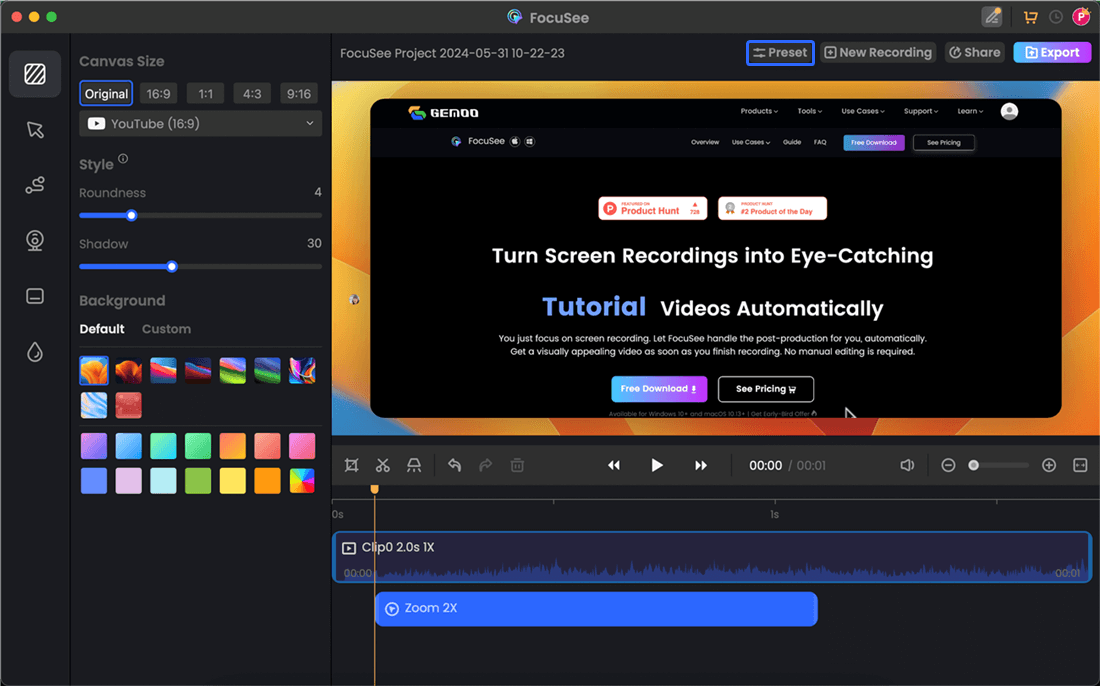
Click the Preset Button
Step 2. Now, create the preset by entering your preset template name.
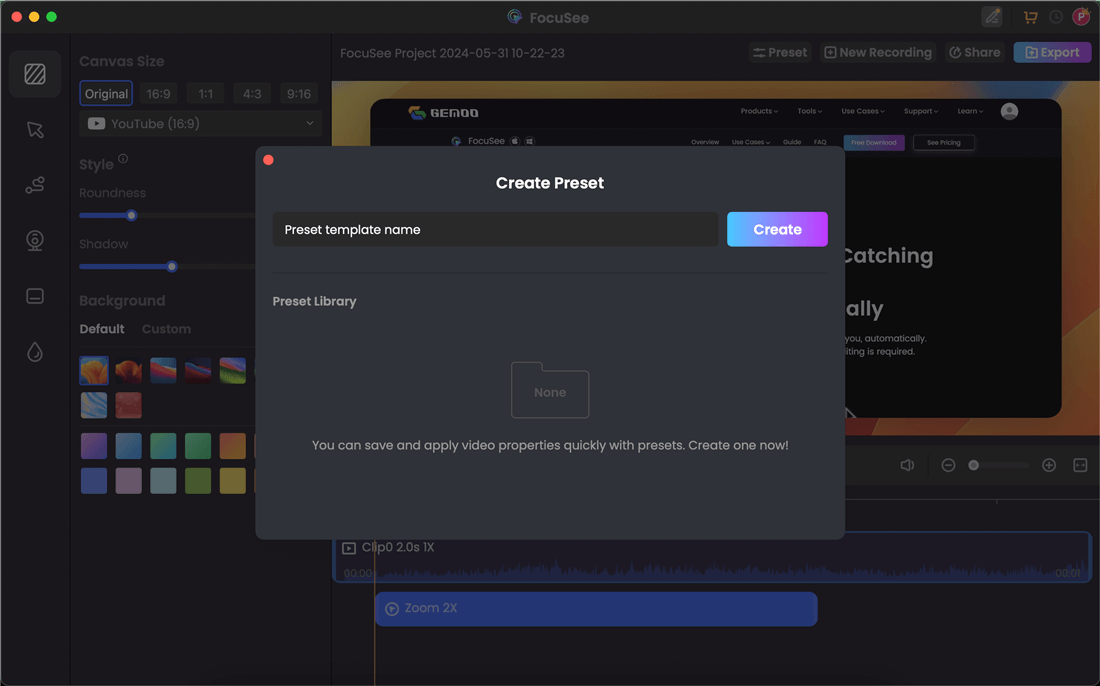
Create Your Preset
Step 3. You can rename the preset template, set it as the default preset, delete the preset template, and apply the preset template, etc.
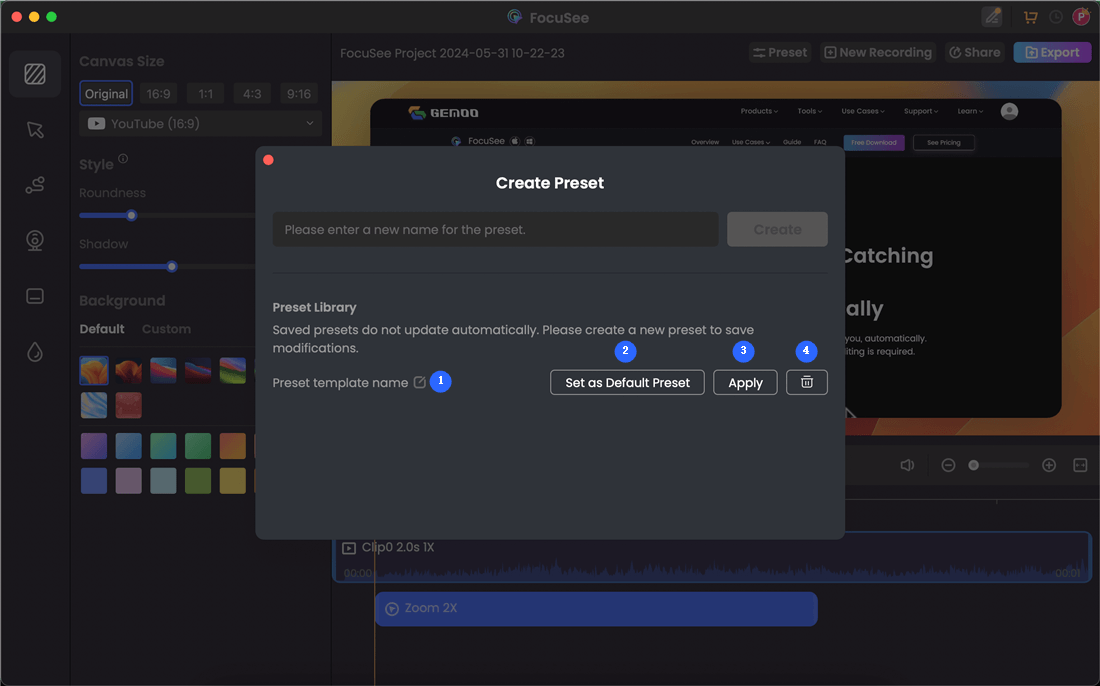
Rename the Preset
Step 4. Preset multiple templates, and select one of them as the default preset. There is no limit to the number of presets.

Set Default Preset
How to Apply for a Preset?
You can apply the pre-set template to the current video. If you designate one of the preset templates as the default, it will automatically be applied to your next newly recorded video.
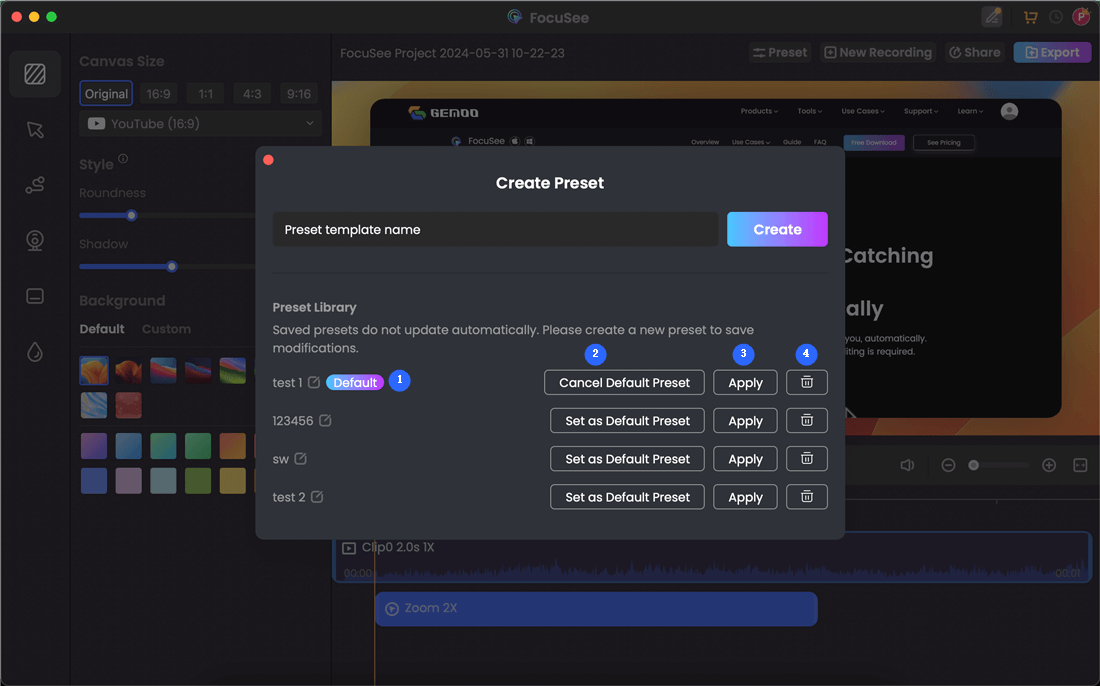
Manage Your Presets
Presets will only apply to the attributes that are applicable to the current project. For example, if the current project does not have a camera but a preset that includes camera settings is applied, then the camera-related attributes will not be applied.