Free Download For Win & Mac | 100% Clean & Secure
Whether you encounter the similar situations below?
“What should I do if I need to add my own watermark to videos?”
“How do I add a watermark to protect my video content from unauthorized use?”
If you come across similar situations as mentioned above, please don't worry. FocuSee can support the feature of adding custom watermarks to videos. It not only protects your content from unauthorized use but also enhances your brand image. The following guide will help you on how to add a custom watermark to videos.
| Windows OS | macOS | |
| Operating System | Windows 10 or later | macOS 10.15 or later, and optimal experience on macOS 12.3 and above |
| Processor | Intel i5 and above processors, dual-core 2.9GHz and above | Apple M1 or later or Intel-based Mac |
| Memory | At least 8GB of RAM | At least 8GB of RAM |
| PNG, JPG, JPEG, SVG, and etc. |
| Benefits | Trail Version | Activated Version |
| Add Watermarks |
Before you perform any function operation, please download and install FocuSee on your computer. Please make sure the network is stable while downloading and installing FocuSee on your computer.
After FocuSee is installed on the computer, please launch the program. Then, you will enter the main window of FocuSee displayed as below. Please select one recording mode to record your video.
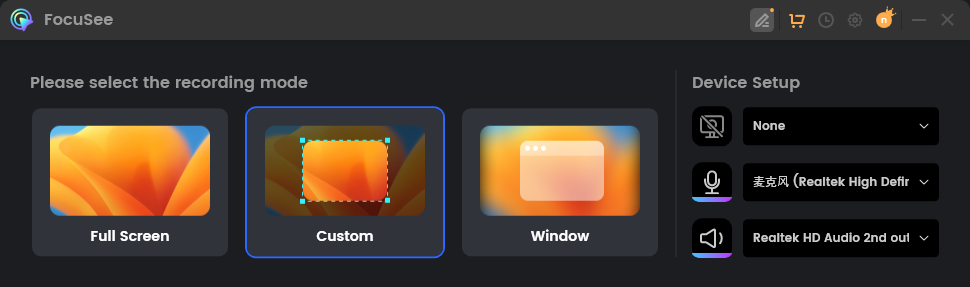
Choose Recording Mode
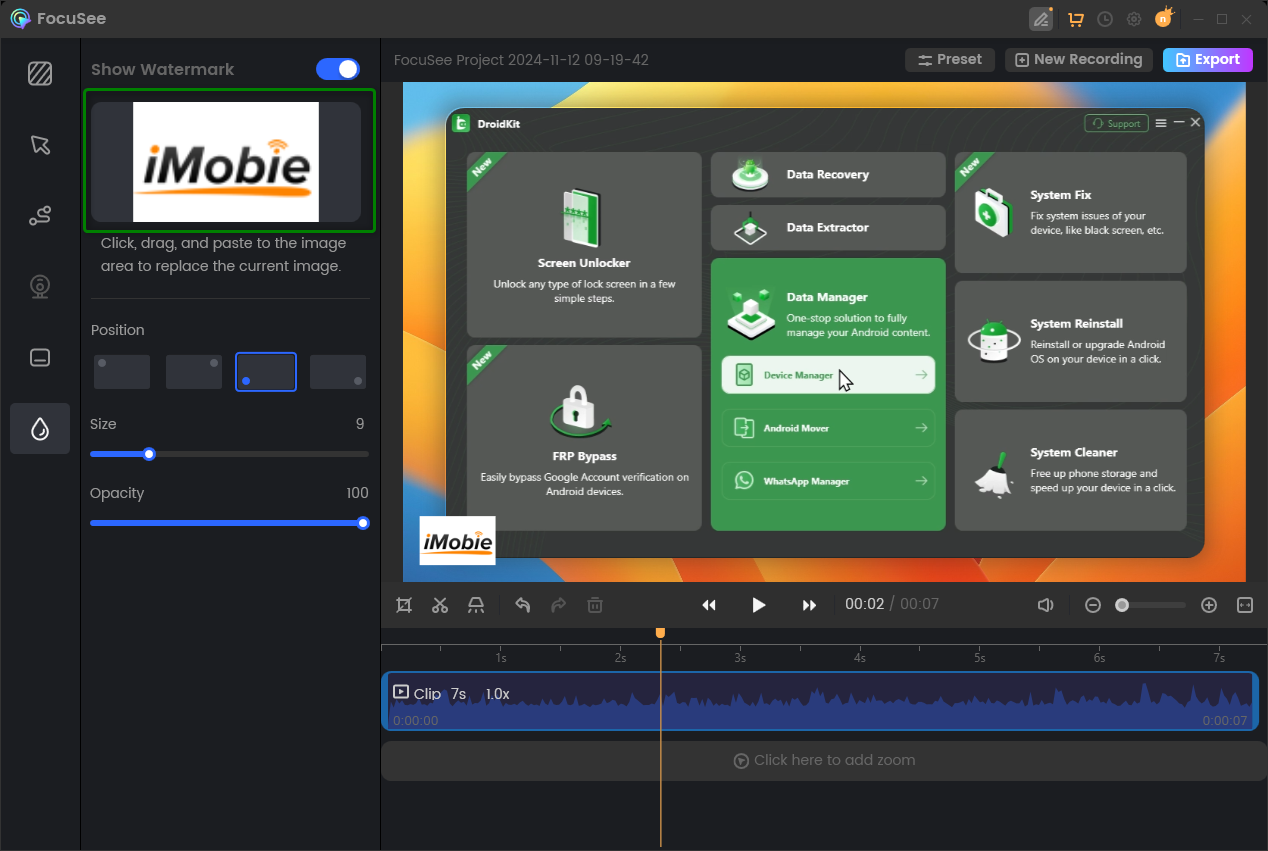
After the video recording is completed, please click on the Watermark Properties button and you will see the following interface. The Show Watermark button is enabled by default, and you can directly upload or drag and drop your watermark image from your computer.
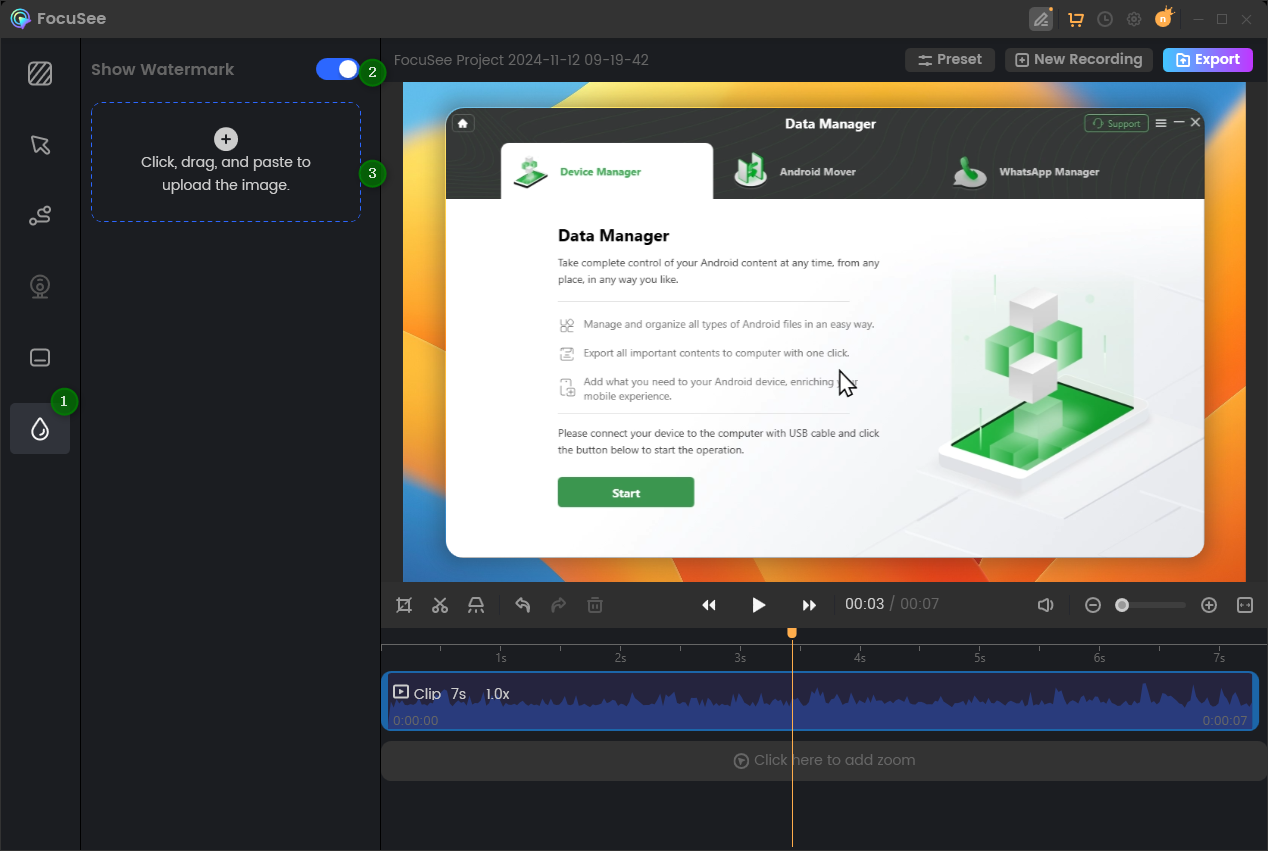
Upload Your Watermark
FocuSee supports watermark image formats such as PNG, JPG, JPEG, and SVG.
After the watermark is uploaded, you will see the interface as below:
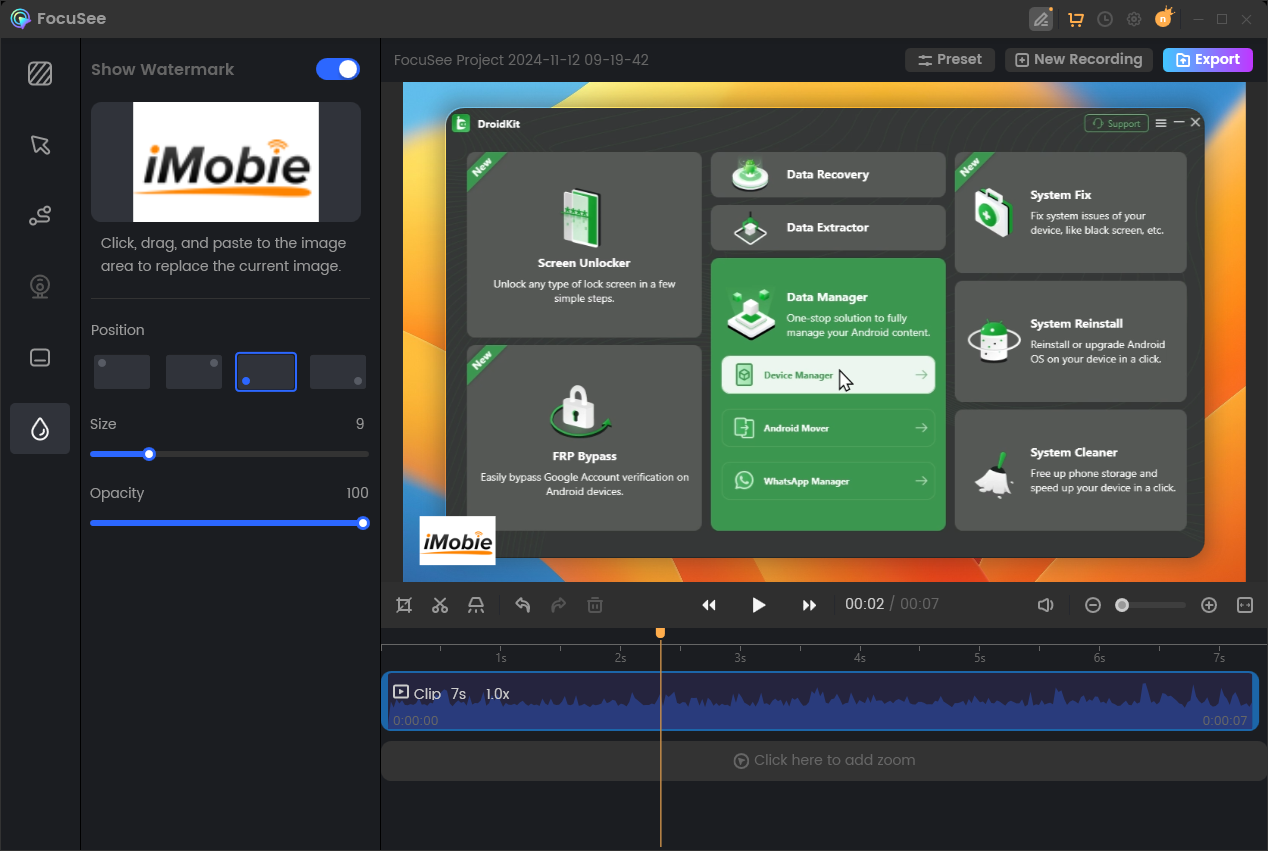
Watermark Interface
In the interface, you can adjust the position, size, and opacity to edit your watermark. Currently, FocuSee can supports four position modes: Upper Left, Upper Right, Lower Left, lower left, Lower Right.
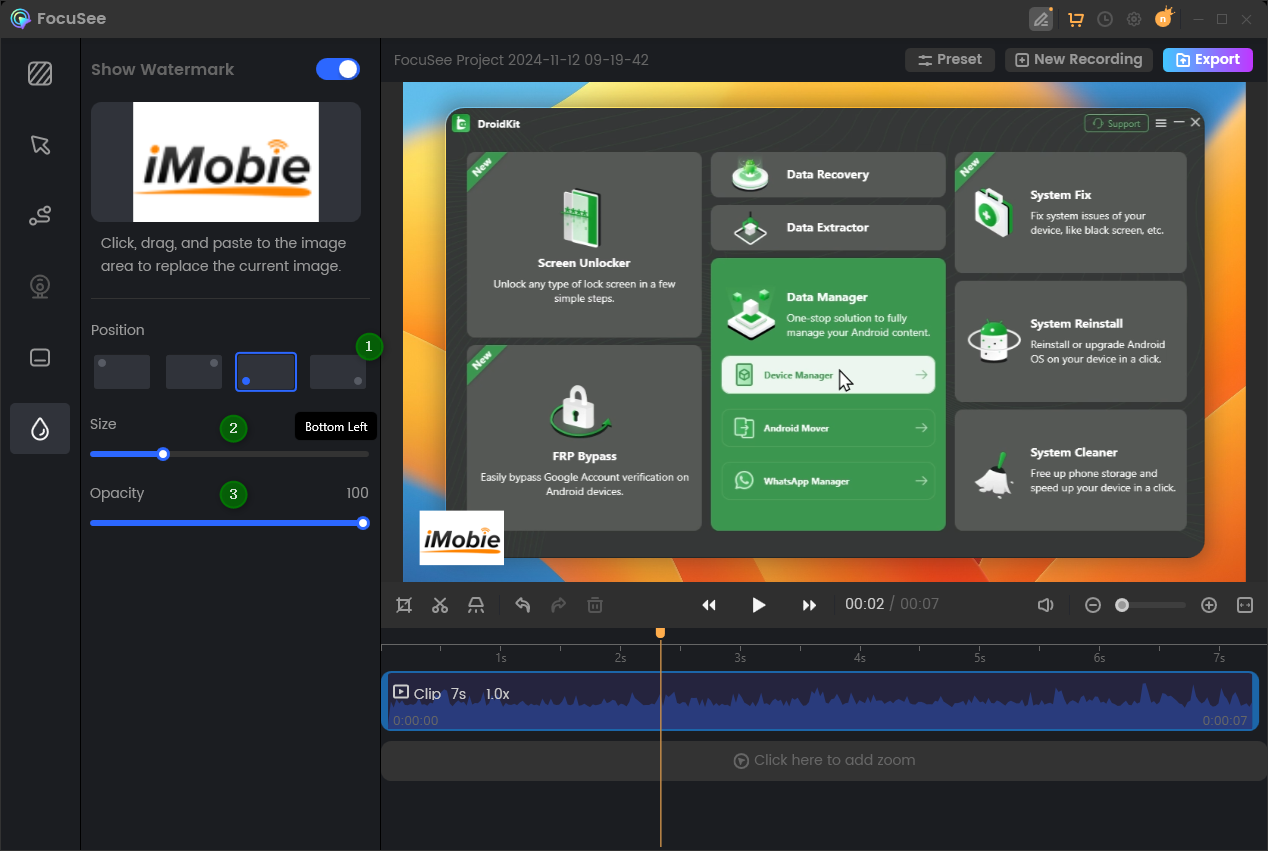
Edit Your Watermark
In this preview interface, you can edit the watermark by:
FocuSee currently only supports image watermarks.
If you want to delete current watermark, please hover your mouse over the current image, and a delete button will appear. Simply click on it to remove the current watermark from the video.

Delete the Current Watermark
Please click the "click, drag, and paste to upload image" options box to replace the current image.
Replace the Current Watermark
1. The free version of FocuSee only supports uploading custom watermarks and preview their effect in videos. If you need tp export videos with custom watermarks, please upgrade Focusee to enjoy this feature.
2. If you still have questions after reading this guide, please refer to FAQs page to check more solutions. Or you can contact our Support Team to get further help. We are here to help you!

Try It Out & Share Your Feedback!

We'd love to hear how FocuSee is working for you.
Give it a try and share your thoughts—your feedback helps us keep improving.
If you're enjoying FocuSee, we'd be so grateful if you could leave us a review on Trustpilot. Your support helps others discover FocuSee and motivates our team!
Thank you for being part of the iMobie community — we couldn’t do it without you!
Try It Out & Share Your Feedback!
We'd love to hear how FocuSee is working for you.
Give it a try and share your thoughts—your feedback helps us keep improving.
If you're enjoying FocuSee, we'd be so grateful if you could leave us a review on Trustpilot. Your support helps others discover FocuSee and motivates our team!
Thank you for being part of the iMobie community — we couldn’t do it without you!


60 seconds, let's create a better FocuSee together ✨
Join 1K+ innovators shaping 30+features✨ & claim your Gift! 🎁

Share your thoughts & earn a coupon instantly!
Warm reminder: This survey does not involve any of your private data.
Page 1 of 10


Coupon Code:
FSUS10
Note: Copy and use the promo code FSUS10 at checkout(valid within 24 hours)