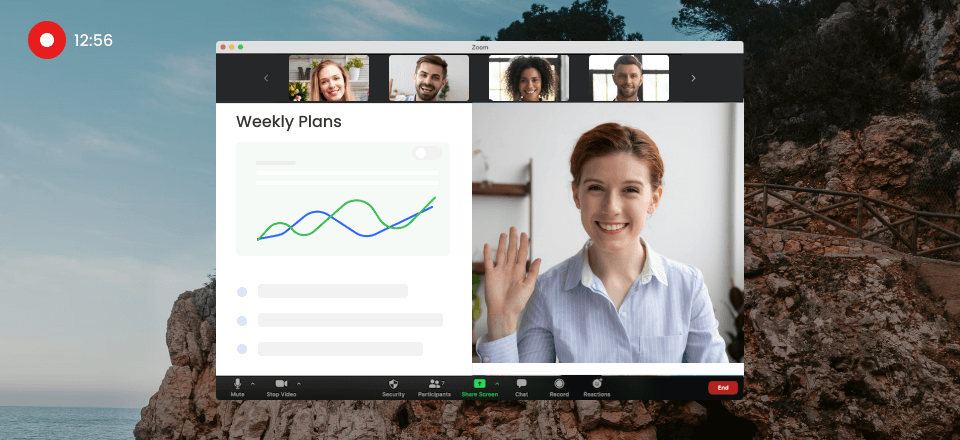
Video tutorials are a great form of educational content that teaches viewers how to do something using video as the primary medium. People can also use video note-taking tools online to take notes from videos in order to gain more useful skills. With technology and software’s increasing availability today, video tutorials and screenshot tutorials have become easier. It covers various topics, from software tutorials and how-to guides to cooking recipes and DIY projects. They allow viewers to see the process demonstrated in real time, making it easier to understand and follow along.

How to Make Video Tutorials on Win/Mac
However, users seek guidance regarding the methods to make effective video tutorials on various topics such as business promotion, educational purposes, or sharing their hobbies and interests. This article will explore how to create professional-looking video tutorials on your preferred operating system and effectively convey your message, making it a convenient and flexible learning resource. So, let us get started and dive into how to make video tutorials.
Also Read: How to Make a Demo Video? >
Table of Contents: hide
What You Should Prepare to Make Video Tutorials?
How to Make Video Tutorials on Computer?
How to Make Video Tutorials on Windows?
What You Should Prepare to Make Video Tutorials?
It is said that an ounce of prevention is worth a pound of cure, and with that being said, there are several things you should prepare to ensure that the process goes smoothly and that the end product is of high quality before you start creating video tutorials. This involves thoroughly researching your topic, brainstorming and organizing your ideas into a clear and logical sequence and outlining the key points you want to convey.
Once you have a solid plan, you must gather the necessary equipment and software. This includes a high-quality camera or a webcam, a microphone for clear audio recording, and video editing software to refine your footage and create an immaculate final product. Choosing a good video recording tool is equally important because it can make a significant difference in the quality of your video tutorial and provides the necessary features and capabilities to create a professional-looking video, so stick with us to learn more about it.
Make Video Tutorials on Computer
Are you looking for a simple and easy-to-use screen recorder to create video tutorials on your computer? Look no further than Gemoo Recorder! This powerful tool allows you to capture your screen, record audio, create video tutorials, and even add annotations to your videos during the recordings. It is workable both on your Windows and Mac computers.
Free try Gemoo Recorder now and learn how to make a video tutorial on your comptuer.
Step 1. Download and install Gemoo Recorder on your computer. Once installed, launch the software and prepare for the recording.
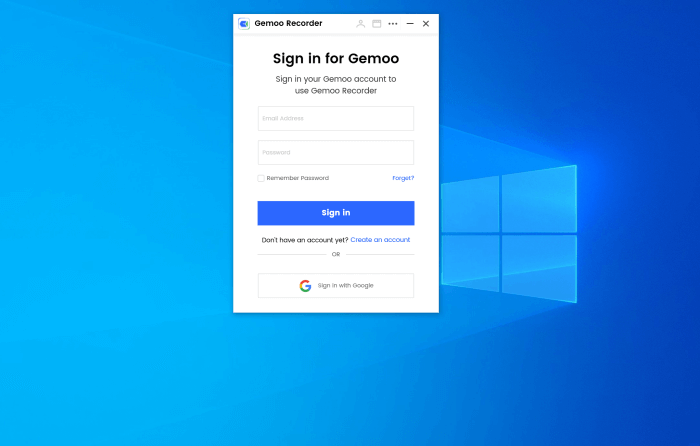
Sign in for Gemoo
Step 2. Once you’ve set up your recording preferences, it’s time to start recording. Click on the Screen Only option on the homepage and select the area of your screen or window you’d like to record. If you want to show your face during the recording, you’re expected to use the Screen + Camera mode.
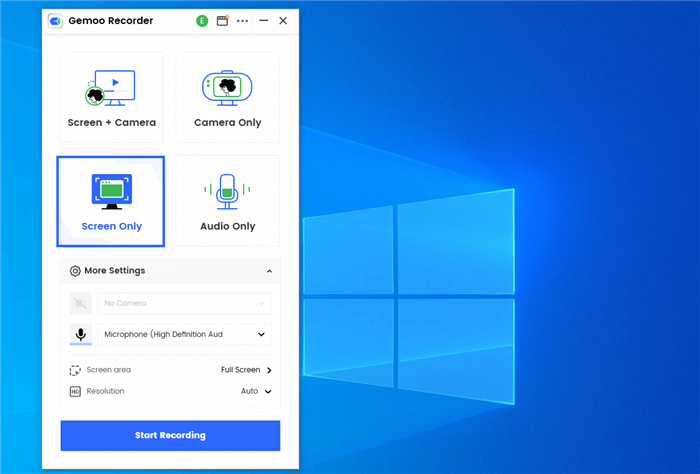
Screen Only Mode
Step 3. While recording, you can add annotations to your video to highlight important points or add additional information via the left toolbar.
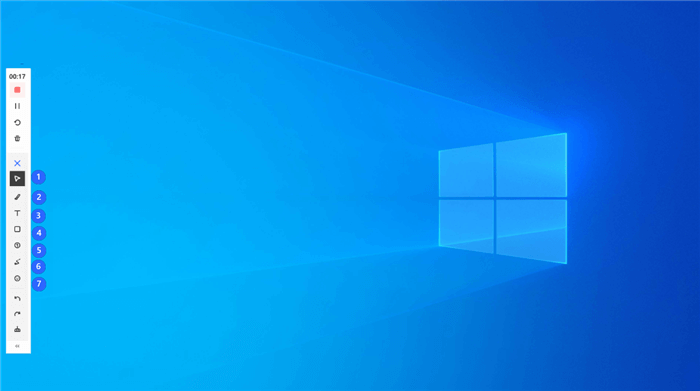
Annotate Screen during Recording
Step 4. When you’re finished recording, click on the Red Stop button from the left toolbar. You can then preview your video and make basic necessary edits.
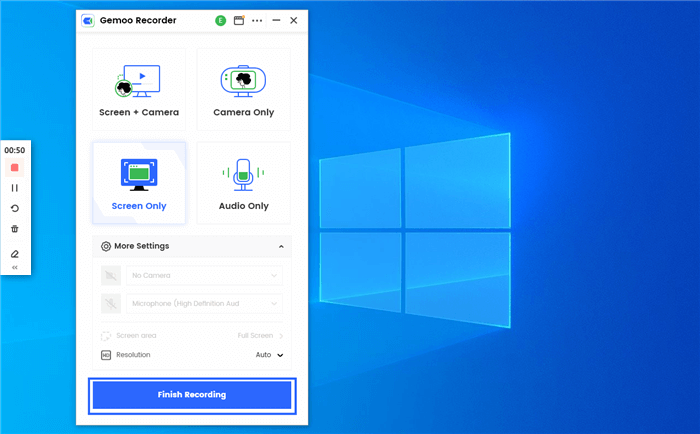
Finish Recording
Make Video Tutorials on Windows
The Photos app is a built-in application on Windows computers that allows users to view, organize, and edit photos and videos. In addition to its basic photo and video management features, the Photos app also provides users with a simple and intuitive video editing tool that can be used to create video tutorials and other types of videos. The app is versatile and suitable for creating simple and effective video tutorials on Windows computers.
Here is a step-by-step guide on how to use Photos to create a video tutorial:
Step 1: Launch the Photos app on your Windows computer, and from the top menu, click “video Editor.”
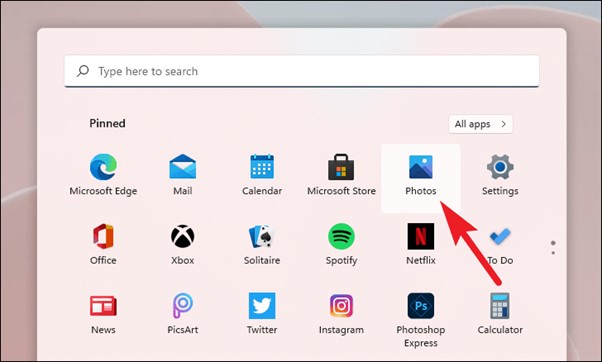
Click On The Video Editor in Photos
Step 2: Inside the Video Editor, click “New video project” and wait; then, a new screen will appear asking for your project name; enter your desired name and click “OK.”
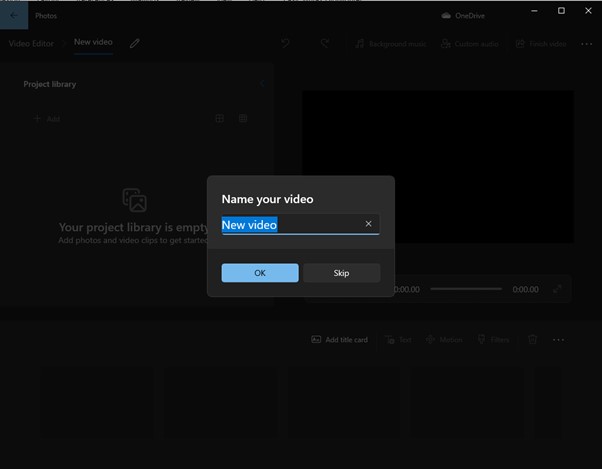
Click On The New Video Project And Enter Ok
Step 3: Click on the “+ Add“ button from the left menu and select whether you want to load a video or picture “From this PC,” “From my collection,” or “From the web.”
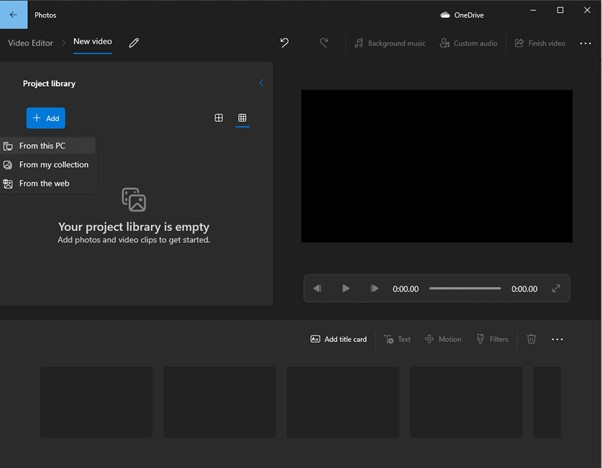
Click on Add
Step 4: Edit your video with the given tools, and once done, click on the “Export” button in the top-right corner of the screen; you can then choose the format and resolution of your video and export it to your desired location.
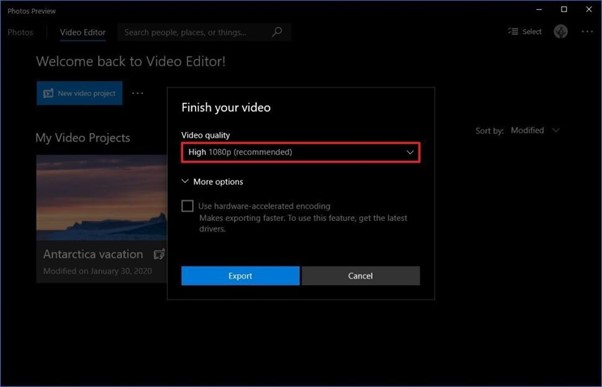
Set The Video Quality
By following these simple steps, you can use the Photos app on Windows to create a professional-looking video tutorial that effectively communicates your message to your audience. Creativity and basic editing skills can make your video tutorial more informative and engaging. The edited video is usually saved automatically in the “Saved Pictures” folder in your Windows computer’s “Pictures” library.
Make Video Tutorials on Mac
QuickTime Player is a multimedia player and screen recording tool built into macOS. It can be used to play various multimedia files, including video, audio, and images, and it can also be used to record your Mac’s screen. It has basic editing tools that allow you to trim the beginning and end of your video and cut out any sections you do not want to include. You can easily export it to various formats, including HD video and audio-only files.
Overall, QuickTime Player is a versatile and user-friendly tool that provides Mac users with various basic video editing and screen recording features. To use it, you can follow the easy steps below:
Step 1: Launch QuickTime Player from the Applications folder on your Mac.

Launch The QuickTime Player
Step 2: From the top left menu bar, Click “File” and select “New Screen Recording” from the drop-down options.
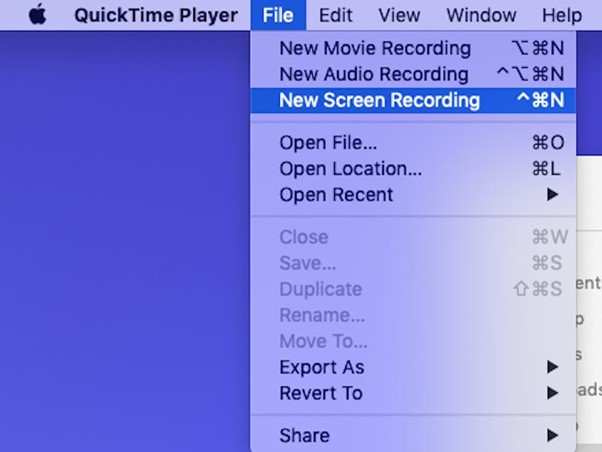
Click On The New Screen Recording Option
Step 3: You can adjust the recording settings in the screen recording window. For example, you can record just a portion of your entire screen and choose whether to record audio.
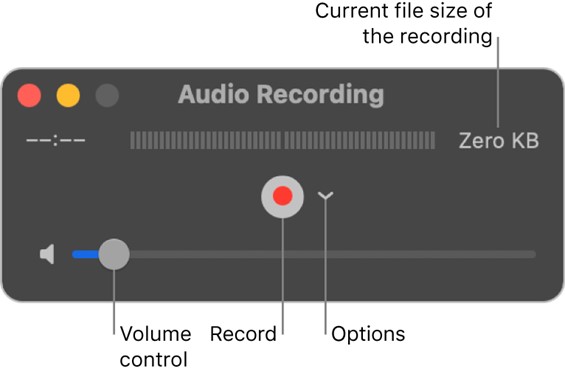
Adjust The Recording Settings
Step 4: After setting up, click the red “Record” button to start recording your screen. When finished, click the “Stop” button in the menu bar to stop the recording.
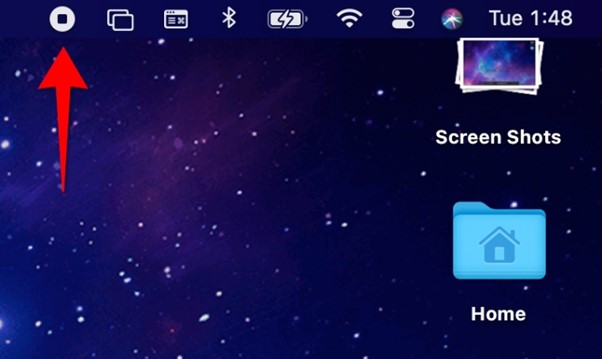
Click On The Stop Button To End Recording
Once you have recorded your computer screen, you can save the video wherever you want. If you have a Mac, you can use QuickTime Player to create a great video tutorial that conveys your message to your audience. It is really easy! Just follow the simple instructions and use your basic editing skills and imagination to make an interesting and informative tutorial that people will enjoy watching.
Faqs About Making Tutorial Videos
Here’re a few of the most asked questions about making video tutorials.
Are Tutorial Videos Profitable?
Yes, tutorial videos can be profitable in several ways. For instance, if you create tutorial videos on a specific topic and upload them to YouTube, you can earn money through ads displayed on your videos. This is possible through YouTube’s monetization program, which enables creators to earn money based on their videos’ number of views and engagement.
Furthermore, tutorial videos can be profitable if sold as part of an online course or tutorial series. Many online learning platforms, such as Udemy and Coursera, allow creators to sell their tutorial videos to learners for a fee. This can be a lucrative business model for creators with specialized knowledge or expertise in a particular area and can provide high-quality tutorial videos that meet the needs of their target audience.
How Do I Start My Own Tutorial Business?
Starting your own tutorial business involves several key steps. First, you must identify your area of expertise and determine which topics you are knowledgeable and passionate about. Next, you must research your target audience, identify their needs and preferences, and select the format for your tutorial content and a platform for delivering your content, such as YouTube, your website, or a dedicated online learning platform.
Finally, you must develop a marketing strategy to promote your tutorial business and attract customers. This could involve creating a website, social media marketing, paid advertising, or partnerships with other businesses or influencers in your niche. With dedication, hard work, and a solid strategy, you can build a successful tutorial business and help others learn and grow in their chosen areas.
What is the Best Software for Making Video Tutorials?
Today, several options for video editing software on Mac and Windows are suitable for making video tutorials.
- One popular choice for Mac users ScreenFlow, which offers powerful screen recording and editing features, a range of export options, and a user-friendly interface. It also includes tools for adding annotations, effects, and animations to your videos, making it a great choice for creating engaging and professional-looking tutorials.
- For Windows users, Camtasia is a popular choice for creating video tutorials. It offers similar features to ScreenFlow, including screen recording, editing, and effects tools, as well as a range of export options. It also includes features specifically designed for creating tutorial videos, such as adding quizzes, interactivity, and clickable links to your videos.
Further Reading: Shotcut Vs. Kdenlive – Which Video Editing Software Is Better?
Final Thought
In conclusion, creating video tutorials can effectively and efficiently share your knowledge, skills, and expertise with the world. Whether you are creating tutorials for spreading wisdom or personal interests, having the right tools and techniques can make all the difference. It is time to take action, brainstorm ideas and create video tutorials. We hope this guide has helped you understand how to make video tutorials, and we would love to hear your thoughts and feedback in the comments section below and share it with your friend and family to help them benefit from it.