[Updated] Easy Ways to Crop a Screenshot on Mac/Windows

Screenshots taken on personal computers often collect extraneous visual data. Situations when you need to get up to speed quickly but don’t have time to edit your screenshots, include recording a live stream video, taking an online course, or working on a meeting. In certain cases, you may want to retain a specific individual or crucial data from a photo.
Crop a Screenshot on Mac/Windows
This article will demonstrate easy methods for capturing, cropping, and editing screenshots on any modern desktop operating system. Cropping screenshots is the quickest and least expensive option available. Here’s a brief walkthrough of screenshotting on both systems.
Also read: How to Crop a Screen Recording on All Devices >
Table of Contents: hide
Why Can’t I Crop Screenshots on Mac/Windows Computer?
Why Can’t I Crop Screenshots on Mac/Windows Computer?
There are instances when you can’t capture a screenshot on a Mac or Windows computer. Let’s talk about why this issue occurs in both OS. If you own a Mac and aren’t already using it, you’re losing out on a powerful resource for solving problems and sharing thoughts through digital means. Taking screenshots is usually reliable on Macs, but if yours isn’t, it may be simple to figure out why. A good first step is to make sure the keyboard works. Here are several ways to fix a Mac keyboard that is acting up, whether it’s a problem with a single key or the whole keyboard being unresponsive for a while. The Screenshot program and Mac’s keyboard shortcut settings are good places to check.
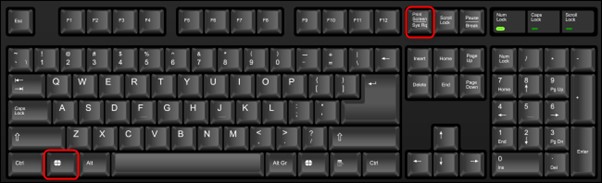
If you are a windows user and cannot take a screenshot on your computer, it could be because of your keyboard. Your keyboard has an F Mode key or an F Lock key, one of them may be to blame for Print Screen not functioning in Windows 10/11. If that’s the case, you may activate the Print Screen button by hitting the F Mode or F Lock keys.
How to Crop Screenshot on Mac?
There are several ways to crop your screenshot on Mac; you can choose whatever suits you best or is easier for you. Try out the ways below to crop your screenshot on Mac.
Way 1. Crop Screenshot on Mac via Shortcut
Using the keyboard shortcut, you can rapidly capture a screenshot of any portion of the screen shown on your Mac computer. The cursor will transform into a crosshair, allowing you to click and move an object before letting go of the mouse button. The screenshot you just took will be stored in an instant on the desktop of your Mac. Follow the steps below to crop your screenshot:
Step 1: To capture a screenshot, simultaneously press and hold the Shift key, the Command key, and the number 3 key on your keyboard.
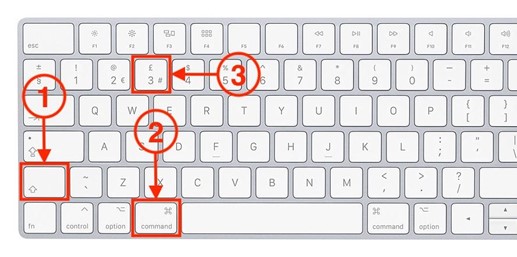
Crop Screenshot on Mac via Shortcut
Step 2: If you see a thumbnail in the top right corner of your screen, you may alter the screenshot by clicking on the thumbnail. You can also wait for the snapshot to be saved to your desktop.
Way 2. Crop Screenshot on Mac via Gemoo Snap
What if the shortcut fails to use when you attempt to capture some content on the screen? In this case, you can use a screenshot tool – Gemoo Snap, as an alternative. Unlike simply taking a screenshot via keyboard shortcuts, Gemoo Snap can offer you more screenshot experiences, so as to satisfy your specific demands – making screenshot tutorials, collecting useful information from website and share content on your screen with your team members.
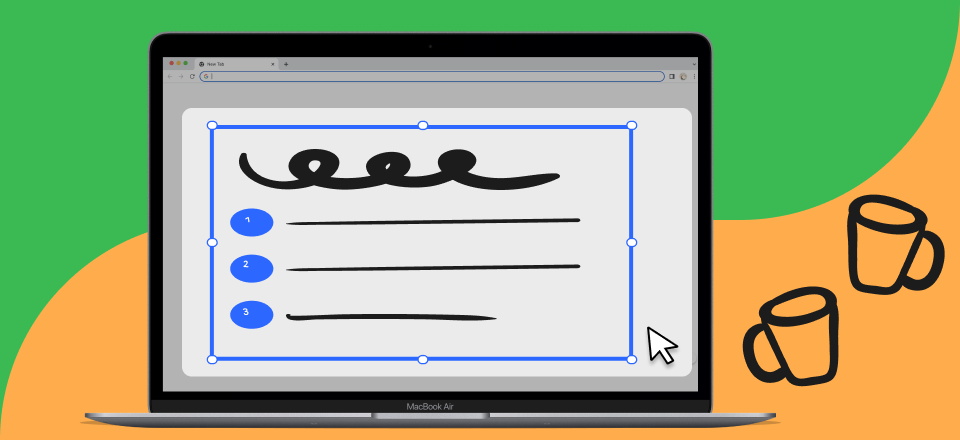
As simple as taking a screenshot via shortcut, Gemoo Snap is flexible to recognize a specific area of your screen or the full screen and capture it in 1 click. After capturing the screen, you can add annotations – texts, shapes, numbers and others. Once you finish taking screenshot, you can view the image link on the cloud, manage it and share with others.
Step 1. Install Gemoo Snap and launch the program on your computer. Sign in to the program and open the interface you need to capture.

Gemoo Snap Interface
Step 2. Choose a mode to take a screenshot. You can start to use it from Quick Screenshot. Tap on the Quick Screenshot icon and the program will automatically a specific part of your screen. Now you can move your mouse to choose the specific area you want to capture.
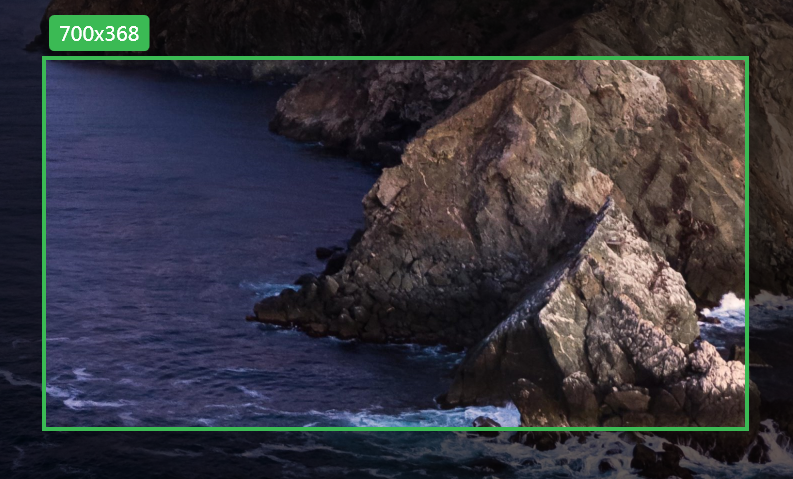
Choose an area to screenshot
Step 3. When you finish taking the screenshot, your output will be uploaded to the cloud. And you can preview and share your captured image via a link.
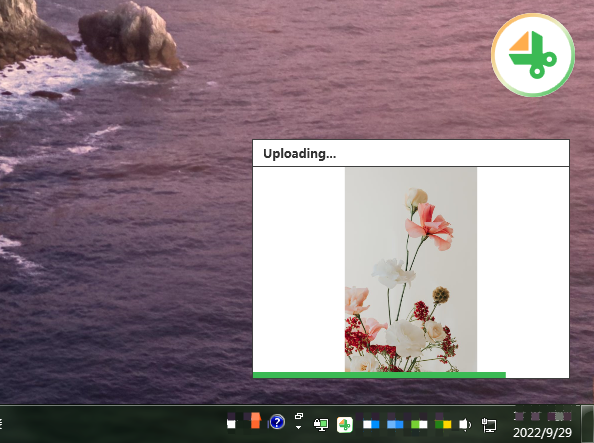
Upload screenshot
Way 3. Crop Screenshot on Mac via Snipping Tool
Using Mac’s trackpad to take a cropped screenshot is yet another quick and easy option. A press on the Touch Bar will capture a screenshot on a later MacBook Pro; previous Macs do not have this capability. Follow these steps to snap a screenshot using your Mac’s touchpad and edit it later:
Step 1: No need to download or install the Photos software since it already comes pre-loaded on every Mac. Instead, choose the screenshot you want to modify from the Launchpad after opening the program.
Step 2: To begin taking screenshots, you must activate the Touch Bar’s Screenshot button. Expect a picture-taking camera to emerge as an icon.
Crop Screenshot on Mac via Snipping Tool
Step 3: You may capture a screenshot by tapping the camera button and then choosing the appropriate option.
Step 4: You may modify and save the screenshot to your computer after taking it by clicking the thumbnail.
Way 4. Crop Screenshot on Mac via Preview App
The Preview application will immediately start when you double-click a picture on macOS. You may easily modify the size of your screenshots using this program. Follow the steps below to crop a screenshot in Preview on a Mac:
Step 1: To open Preview, double-click a picture in Finder.
Step 2: Click the arrow in the upper right corner labeled Show Markup Toolbar (shaped like a pencil).
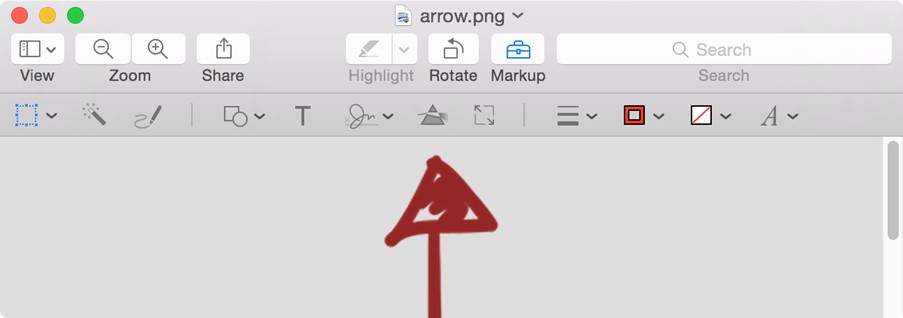
Select Markup Toolbar
Step 3: You can now pinpoint exactly what you wish to capture in a snapshot.
Step 4: Select Crop from the Toolbar. You may also use the shortcut key combination Command + K.
How to Crop Screenshot on Windows?
A variety of screenshot-taking methods have been made available in recent Windows updates. On Windows 11, 10, 8, or 7, you may use Print Screen and Snipping Tool to crop screenshots. Let’s take a step-by-step look at how to crop a screenshot in Windows 11, 8, or 7.
Way 1. Crop Screenshot on Windows via Shortcut
The PrtScn is a great shortcut to crop screenshots according to you; it is located at the upper right corner of your keyboard. In Windows 11/10 and prior, you may use the following keyboard shortcuts to crop a screenshot.
Step 1: To crop a full-screen snapshot in Windows, use the PrtScn key. The screenshot may then be copied to the clipboard.
Step 2: To crop a full-page screenshot on Windows, use Windows + PrtScn. This screenshot is stored in the Screenshots directory.
Crop Screenshot on Windows via Shortcut
Step 3: To copy a cropped image of the current window in Windows, use Alt + PrtScn. It must be pasted into Paint or another image editor before saving it.
Way 2. Crop Screenshot on Windows via Snipping Tool
The Snipping Tool is a screenshot tool for Windows Os. On Windows 11, 10, 8, 7, and Vista, you may use the Snipping Tool to capture a screenshot at almost any resolution. The Windows 10 version of Snipping Tool now has a new Delay option. Several seconds later, Windows 10’s Snipping Tool will allow you to crop the screenshot you just took. (Find out why Mac users love Snipping Tool).
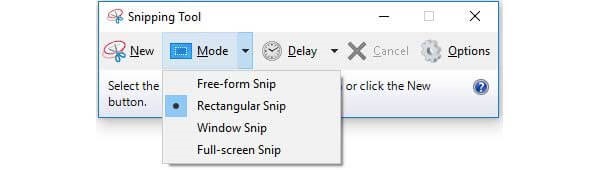
Step 1: Launch the snipping Tool from the start menu. You may also use the Snipping Tool quickly by pressing the Windows key plus Shift plus S.
Step 2: Choose the Brand New tab. Choose the option you want to use to capture the screen from the Mode menu.
Crop Screenshot on Windows via Snipping Tool
Step 3: When you’re ready to crop a screenshot, go to Step 3, and Snipping Tool will freeze and black out your screen.
Step 4: Copy the screenshot to your local hard disk from the clipboard.
Way 3. Crop Screenshot on Windows via Snip & Sketch App
Snip & Sketch is another Windows 10 screenshot tool. Utilizing Snip & Sketch on Windows 10/11 provides an additional method for taking screenshots. Look at the steps below to crop your screenshot using snip and Sketch.
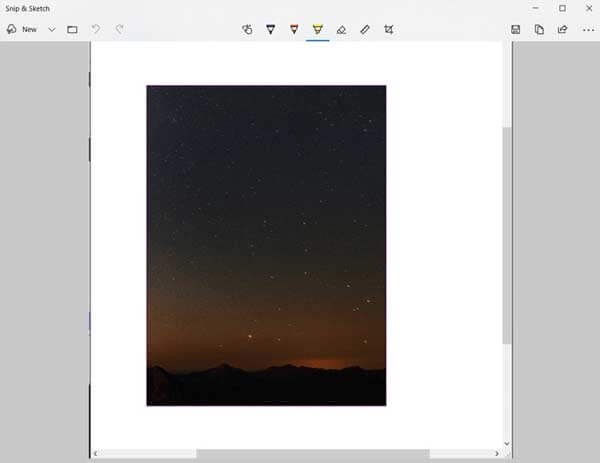
Crop Screenshot on Windows via Snip & Sketch App
Step 1: Open the Start menu and look for the Snip & Sketch program.
Step 2: In the upper left corner of the window, click the New button.
Step 3: To take a screenshot on Windows 10, choose the screen capture you want.
Final Thought
In conclusion, we have discussed four free methods that can be used on Windows and Mac computers to edit screenshots and crop them. When used, we will see that the default cropping tools included with built-in screenshot capturers are often restricted in terms of the amount of time they may be used and the capabilities they can include. On Windows, you have access to Snip and Sketch, while the Snipping Tool and Preview are your options on a Mac.
You may edit pictures in the shortest amount of time possible by using any of the programs, all of which are both cost-free and simple to use. If you give them a chance only once, you won’t need to break a sweat to figure out how to crop a screenshot.