How to Crop a Screen Recording on All Devices

Getting the perfect shot isn’t easy, and raw screen recordings frequently contain icons, applications, or other elements that were not planned to be in the picture. That necessitates cropping, which is basically cutting out certain parts of the recording to leave only meaningful content in it.

Crop a Screen Recording
Cropping a screen recording is more complex than with a still image, but there are excellent tools that make this task attainable. Regardless of the hardware platform you use, you can easily find an application that lets you trim the image in terms of length as well as size. Most of these tools are easy to use and require only minimal technical knowledge to get solid results, so with a bit of practice you could become quite proficient with making simple edits to your screen recordings.
Also read: How to Crop Image in Figma? >
Table of Contents: hide
How to Crop Screen Recording on Windows by Re-Recording
How to Trim Screen Recording with a Video Editor
Edit a Screen Recording on a Mac with iMovie
How to Cut Screen Recording Online
Trim a Screen Recording on iPhone and Android with native apps
Frequently Asked Questions about Cropping a Screen Recording
How to Crop Screen Recording on Windows by Re-Recording
Since most people use Windows-based PC’s, the interest for video cropping tools compatible with this OS is understandable. One of the easiest ways to crop a screen recording in Windows 10 or Windows 11 is to simply re-record it with a changed format and exclude parts that are in the way. One of the best tools for this task is Gemoo Recorder, a free video app that is very convenient to use in many different scenarios. Here is how you can re-record the video using this software tool.
Step 1 – Open Gemoo Recorder on your PC and open the screen recording that needs to be cropped
Step 2 – Select Screen Only as your video source from the main menu
Step 3 – Change the Screen area setting and define the part of the screen to be recorded
Step 4 – Play the old screen recording and press the Start Recording button to capture it in a new format
How to Trim Screen Recording with a Video Editor
Another option for Windows users is to deploy a fully featured editing software that supports the cropping function. One great example of such a tool is Clippa, which is equipped with many smart features including the Video Cropper tool. This is an online tool, so you won’t even need to download any software to your computer. Just follow these steps to quickly re-frame your recording and leave out the part that was spoiling the impression.
Step 1 – Log into Clippa and upload your recording to the storyboard
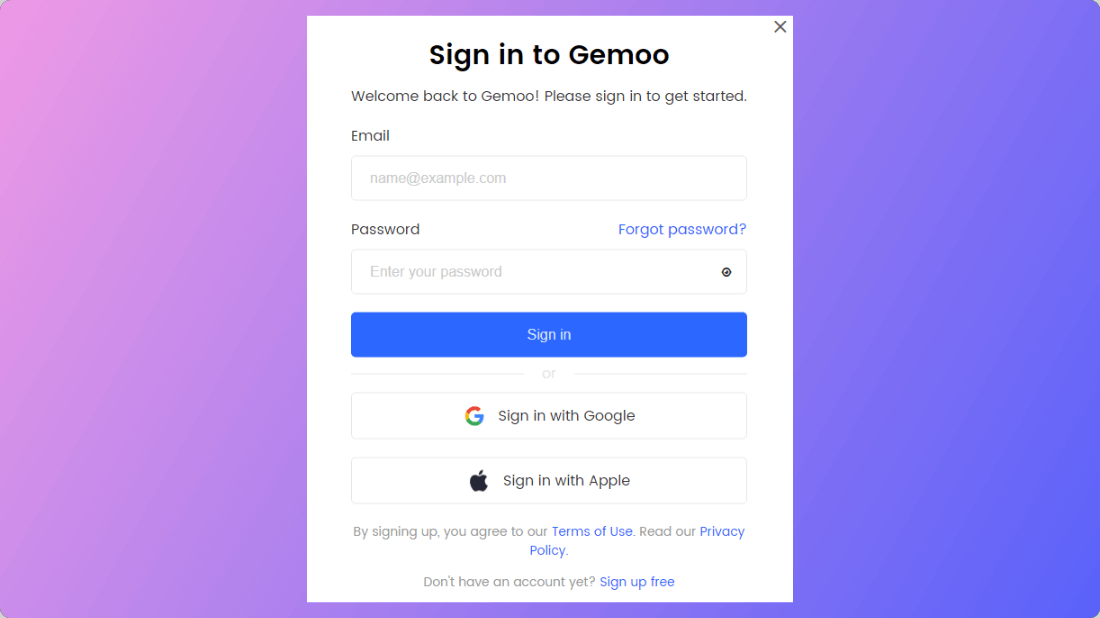
How to Sign in Clippa Account
Step 2 – Change the Zoom ratio to the value that fits what you need to accomplish
Step 3 – Mark the part of the video during which the change should be applied
Step 4 – Save new version of your video to your computer
Edit a Screen Recording on a Mac with iMovie
Mac users can rest assured that great video cropping tools are available for them too. In particular, iMovie is a well-known app that can be trusted to execute this simple but important task. This video creation and editing app is designed for non-professionals and empowers them to put together stunning clips with a minimum of effort. If your goal is to crop or otherwise change a previously made screen recording, you should do the following:
Step 1 – Start a new project in iMovie by clicking on Projects and then the plus-shaped icon to start a new project
Step 2 – Select the video you would like to crop from the Library
Step 3 – Tap on Create movie, then choose the Pinch to Zoom feature
Step 4 – Use your fingers to increase or decrease zoom and reposition the video
Step 5 – Tap on the Done button when you have cropped the recording
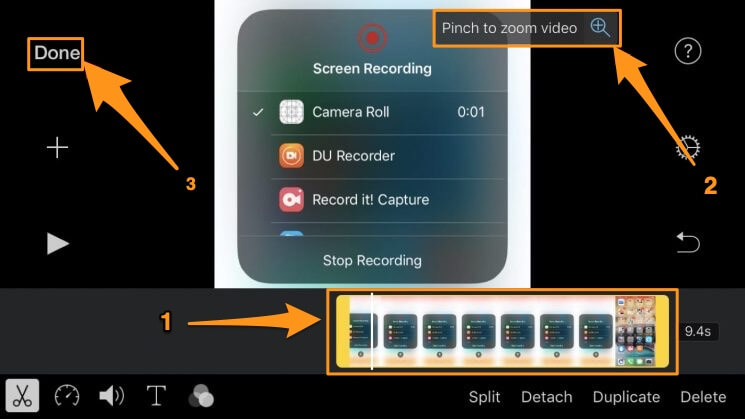
Tap on the Done Button
How to Cut Screen Recording Online
Perhaps the quickest way to cut your video down to size is to use an online editor and avoid the installation process altogether. There are multiple cloud-based tools that are well-suited for this job, and most of them are free to use. For example, you could try Gemoo’s online screen recorder and simplify the editing duties to a considerable degree. This tool can be accessed from any device and any browser, and it lets you make new recordings or edit old ones. Here is what to do when you want to cut screen recording online with Gemoo Recorder.
Step 1 – Go to Gemoo website and log in with your credentials
Step 2 – Choose to record screen only and set the format manually
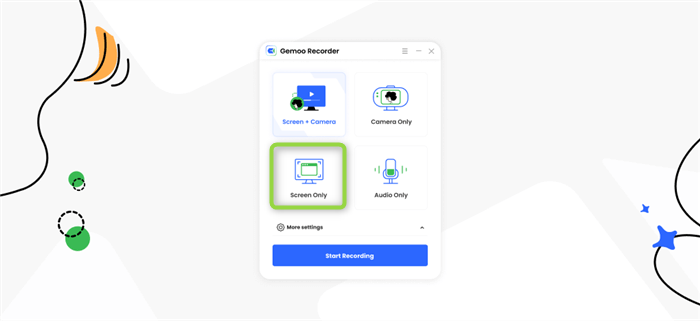
Select the Recording Modes
Step 3 – Press the Record button, then play your screen recording on full screen
Step 4 – After the original recording ends, press the Stop button and save the cropped video
Trim a Screen Recording on iPhone and Android with native apps
If you are among those who like to screen record on mobile devices, making small edits like cropping and trimming is even easier. That’s because both iPhone and Android have built-in editors that are quite handy for this kind of tasks. Let’s take a look at each one.
Cropping on iPhone – Photos app
The app that lets you view your photos and videos can also be used to crop the screen recordings. Since this is an app intended for the average user, the cropping procedure is quite simple and can be completed by dragging and dropping actions. Here is the explanation of each necessary step.
Step 1 – Go to Photos on your iPhone and find the screen recording in the library or albums
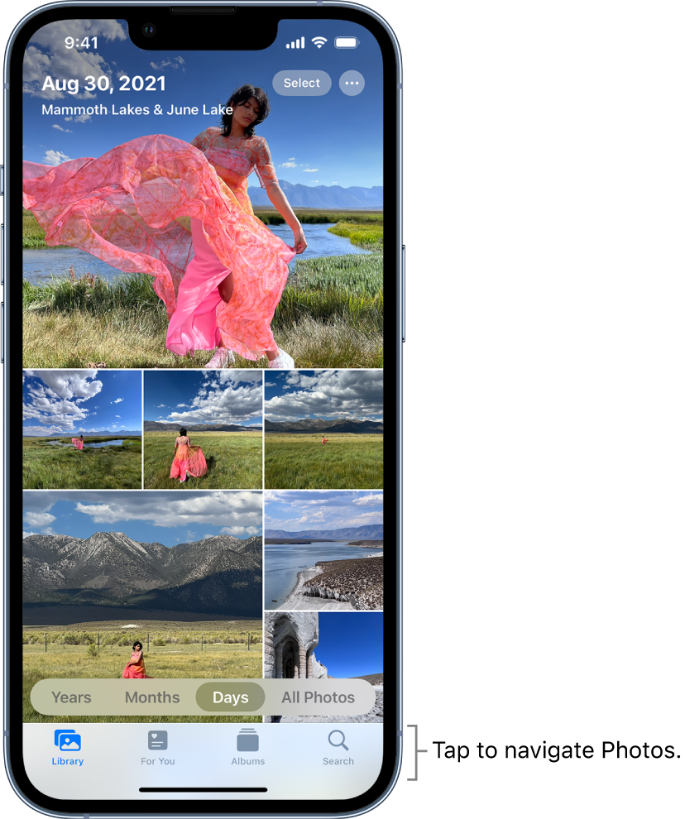
The Interface of Photos
Step 2 – Once you open the recording, choose Edit and then select Crop/Rotate
Step 3 – Tap on the sides of the rectangle and move them to reduce the visible area on the screen
Step 4 – When you are satisfied with the image boundaries, click Done and save the video
Cropping on Android – Google Photos
There is no reason for iPhone envy, since Android phones also have a native app that lets you crop videos with just a few simple actions. This app is called Google Photos and you are using it whenever you want to see a photo or video that you made with your phone. Follow this simple procedure to crop your recordings in minutes without too much effort.
Step 1 – Open Google Photos on your phone and find the recording that should be cropped
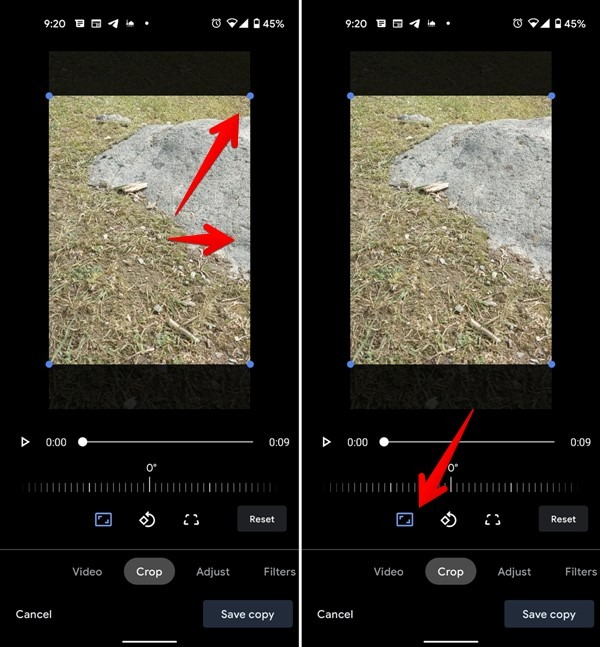
The Interface of Google Photos
Step 2 – Click on the Edit button on the bottom of the screen, then choose the Crop option
Step 3 – Choose between rectangular, freeform, or pre-set formats for cropping and apply your choice
Step 4 – Use the Reset button to try again if you are unhappy with the result, or tap the Save button if you are
Frequently Asked Questions about Cropping a Screen Recording
1. What are the main benefits of cropping a screen recording?
Raw recordings often include unintended elements or backgrounds that don’t really fit the chosen aesthetic, so removing them helps the visual balance of the video. In other cases the format might not be suitable for presentation and cropping is meant to fix this issue.
2. Do I have to crop the entire video or I can just change a certain part?
That depends on the editing tool you ultimately decide to use. Basic tools may allow only for reformatting or refocusing of the entire clip, while more sophisticated editing apps allow you to choose the exact part of the video where your changes will apply.
3. Is video cropping reversible and how can I get the original version back?
While you are still working in the editor, you can undo your changes and return the video to its initial form. However, once you finalize the changes and save your work, cropping becomes irreversible. That’s why you should always keep the original file and save the cropped video under a new name.
Final Considerations
Video editing is a demanding skill, but basic edits like trimming and cropping can be completed by nearly anyone. The trick is to have the right software tool that lets you do this through intuitive actions that don’t require a lot of skill or precision. We presented some apps that could help in this regard, but these are hardly the only options available. Which software do you prefer to use when you are trying to crop your videos and why did you choose this one? Please share your opinions in the comments section.