Record Audio
Record Audio grants you to record audio coming from the system and record Microphone audio (system sound, your voice, video sound, etc.). Please refer to the detailed instructions to begin recording your audio. (To start with, please download and install Gemoo Recorder on your computer. Launch Gemoo Recorder on your computer.)
![]() 2min
2min
Select Audio Only Recording Mode.
Please select “Audio Only” recording mode.
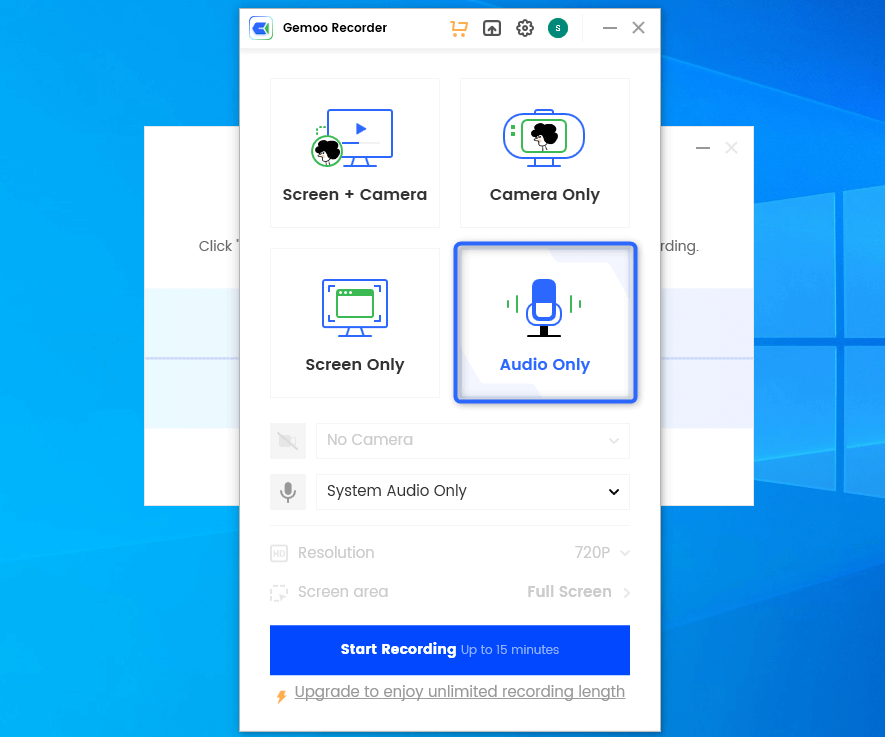
Select Audio Only Recording Mode
You can customize the setting accordingly before recording process by referring to Configure Recording Settings.
Initiate Reordering Process.
After choosing the recording mode, please hit “Start Recording” button to initiate recording.

Initiate Recording Process
Once you are ready to start recording, it will pop out a countdown to help you prepare the recording.
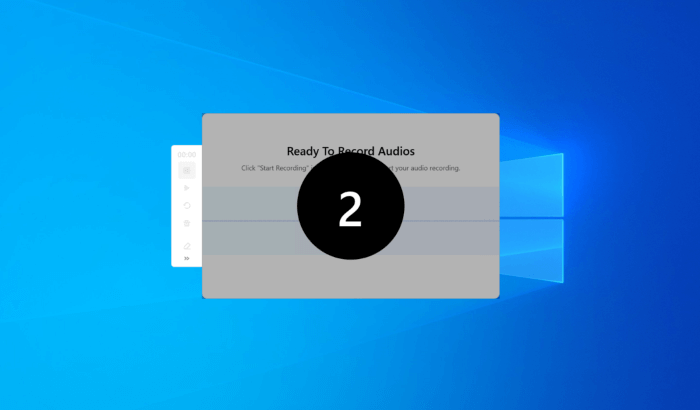
Wait for the Recording Countdown
If you would like to see a Recording Countdown (3,2,1…) before your recording starts, you can enable countdown option. Or you can tap it off. Click here to know how to set countdown option.
Record Your Audio.
After a 3 second countdown, the recording will begin. You can choose the audio you want to record, like video sound, musics, your voice, etc.
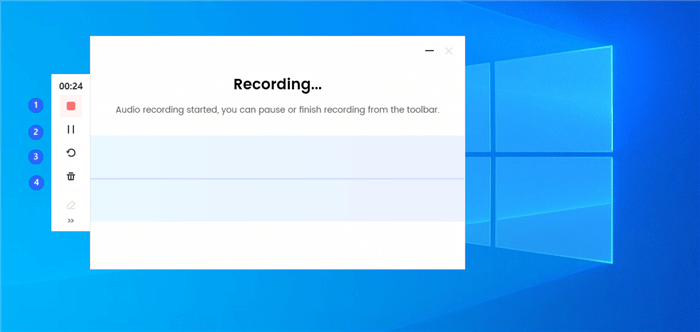
Begin to Record Audio
In the left sidebar, you can:
1View recording consuming time.
2Stop recording.
3Pause / Resume recording.
4Restart recording.
5Delete recording.
Finish Recording Audio.
Once the recording is done, you can hit the red stop button to finish it, then, the recording will be uploaded to Gemoo automatically. This step needs stable network connection. Please make sure it is well-connected to network.
All the recorded videos will be saved in the library on Gemoo Recorder. Here you can export your videos to edit them or upload the videos to Gemoo Cloud.
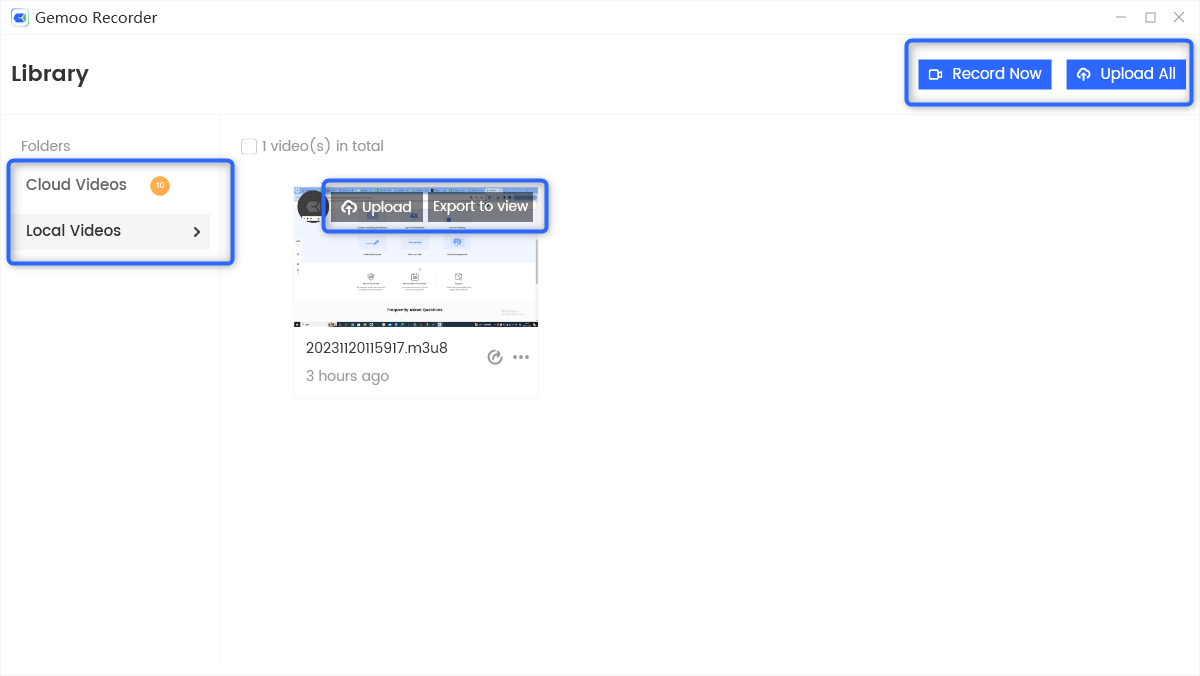
Video Library
Sign in Account
If you want to upload your video to Gemoo Cloud, please click the Upload button and a window will pop out to request sign in for Gemoo. Please enter your account and password to log in Gemoo Recorder.

Sign in Gemoo Recorder
1. If you are a new user, you need to create an account at first. Click here.
2. If you forget your password, go to our Reset Password page type in the email address associated with your Gemoo account and we’ll send you a link to reset your password.
Questions, comments, concerns? Contact us here.
Happy recording!