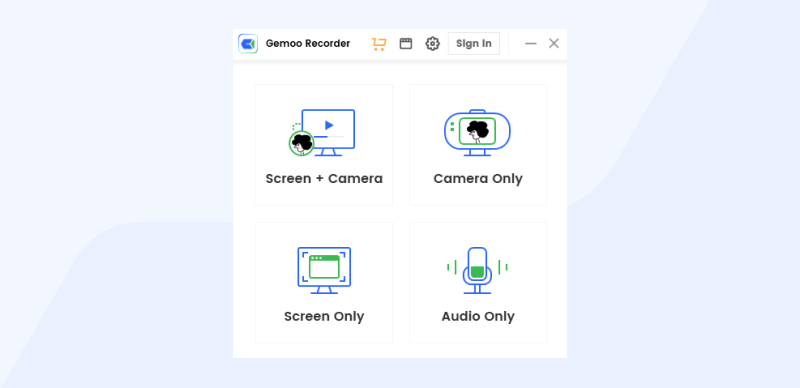
Configure Recording Settings
Configure Recording Settings aims to configure settings like recording saving path and other settings before recording. To help you ensure the recording elements of the recording, please refer to the detailed instructions.
![]() 2 min
2 min
Preference Setting
The Preference Setting is accessible top right from your recorder. Please click the Menu tab “≡” on the upper right of the screen, then you will see the below screenshot.
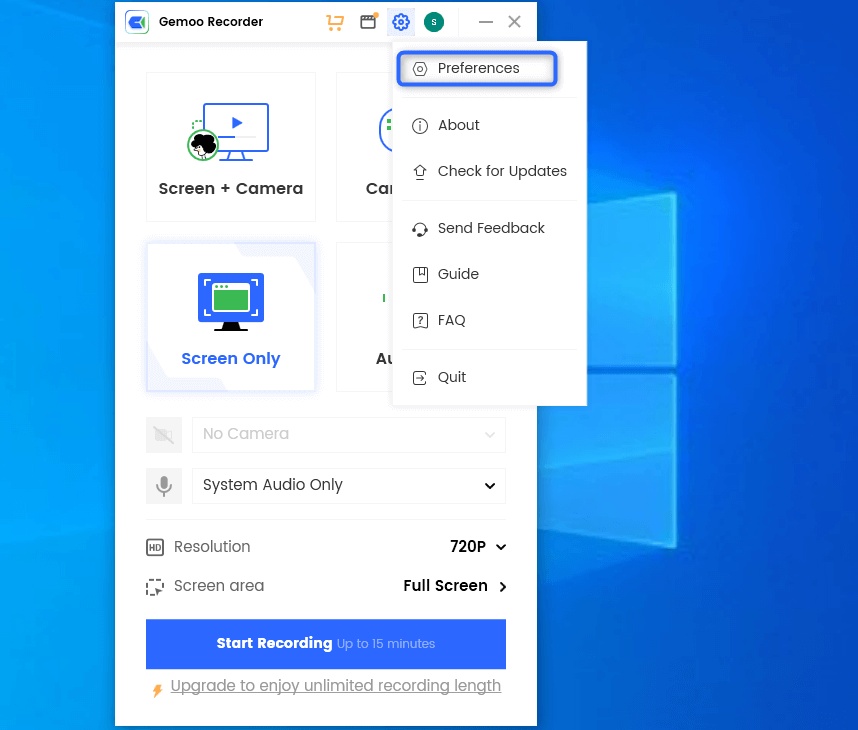
Click Menu Tab to Find Preference Settings
Then, you will see the Preferences in the menu, and please click the Preferences. Then, you will see the interface below:
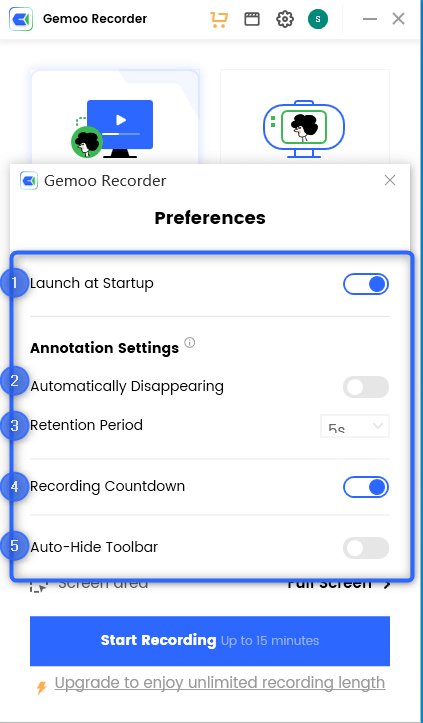
The Interface of the Preference Setting
In this setting menu, you can:
1Launch the Gemoo Recorder at Startup.
2Turn on/off annotations disappear after retention period function.
3Set reserved display time of the annotations.
4Turn on/off recording countdown when you start to record.
5Turn on/off auto-hide toolbar.
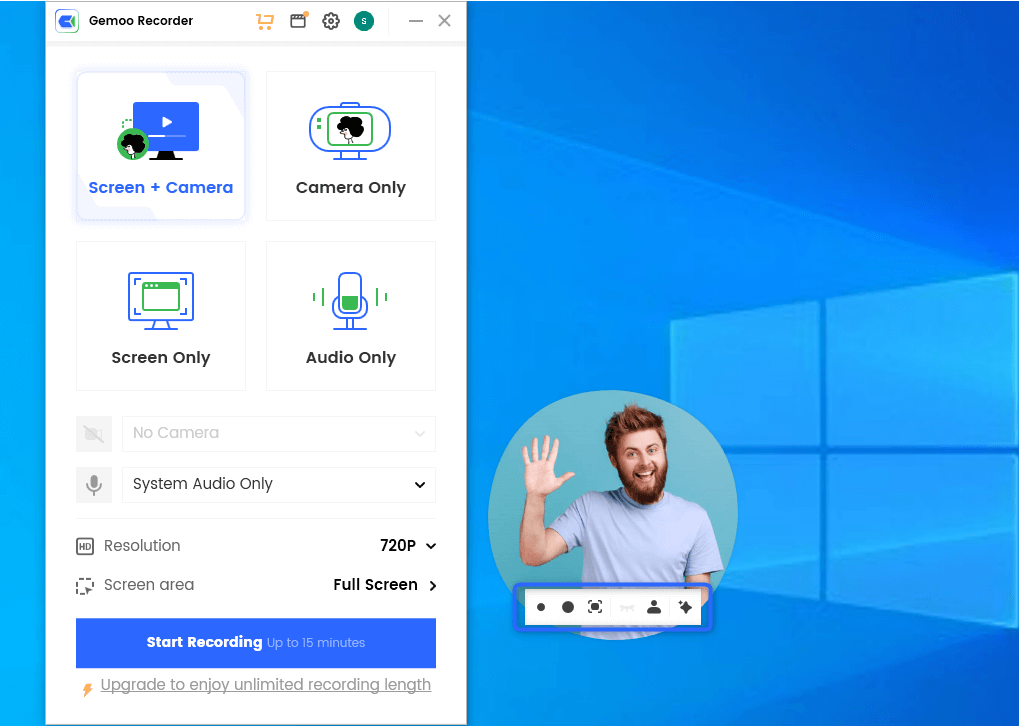
Screen & Audio Setting
Please look the image below to expand the screen & audio settings details
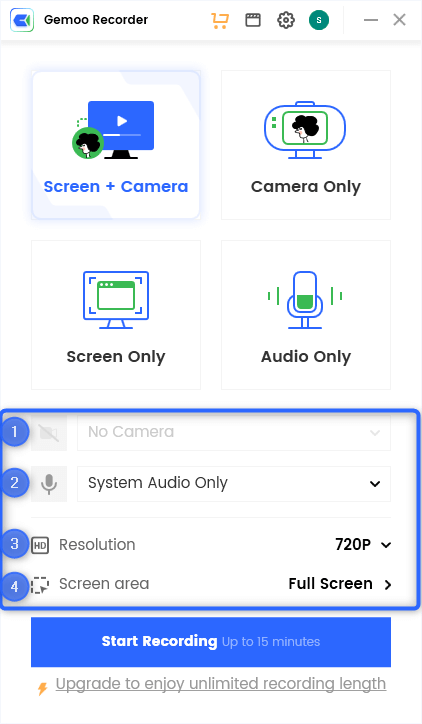
The Interface of the Settings Details
1Choose the Camera you want to use.
2Choose the Microphone you want to record.
3Set the resolution.
4You can custom size to record screen, or choose the full screen.
Camera Setting
When you are using the “Screen & Camera” or “Camera Only” function, you can make some settings on Camera. Please move your mouse to the camera avatar position, then, you will see the camera settings interface below:
Edit Camera Profile Camera Setting Interface
In the bottom menu bar, you can:
1Select small camera.
2Choose default camera.
3Choose full screen.
4Upload camera avatar.
5Hidden camera.
In the Camera effects settings., you can make filter settings, background image settings and avatar shape settings. Please see the screenshot below:
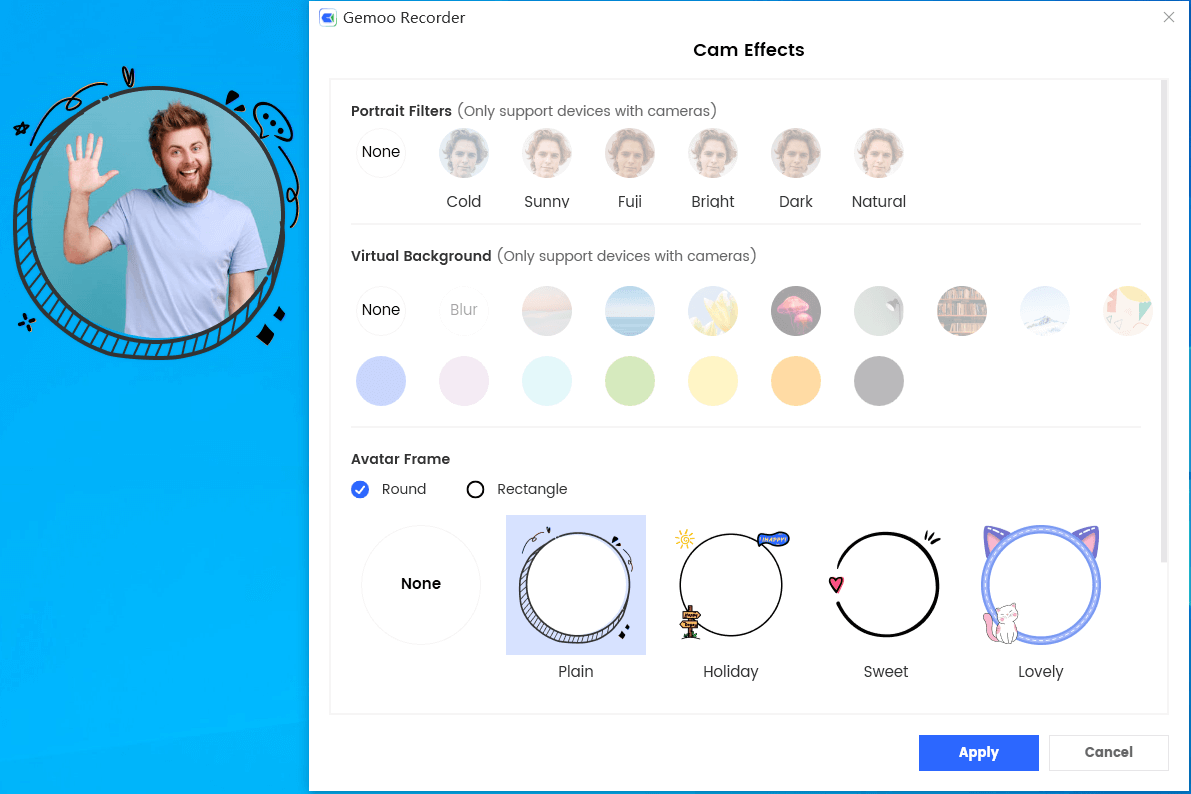
The Camera Effects Settings
You can choose a round or rectangular style for your avatar in the avatar frame settings. Meanwhile, you can also choose the bubble frame you want to use.
Account Setting
When you click the account option, you can view the available space of your account or sign out of the account.
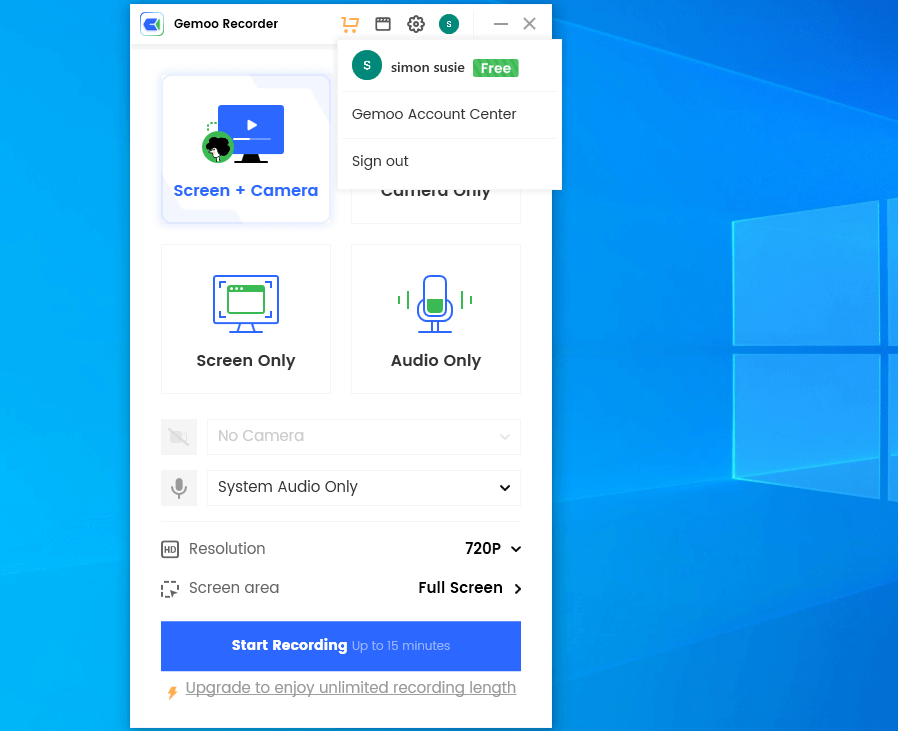
Account Setting
Library
All the recorded videos will be saved in the library on Gemoo Recorder. Here you can export your videos to edit them or upload the videos to Gemoo Cloud.
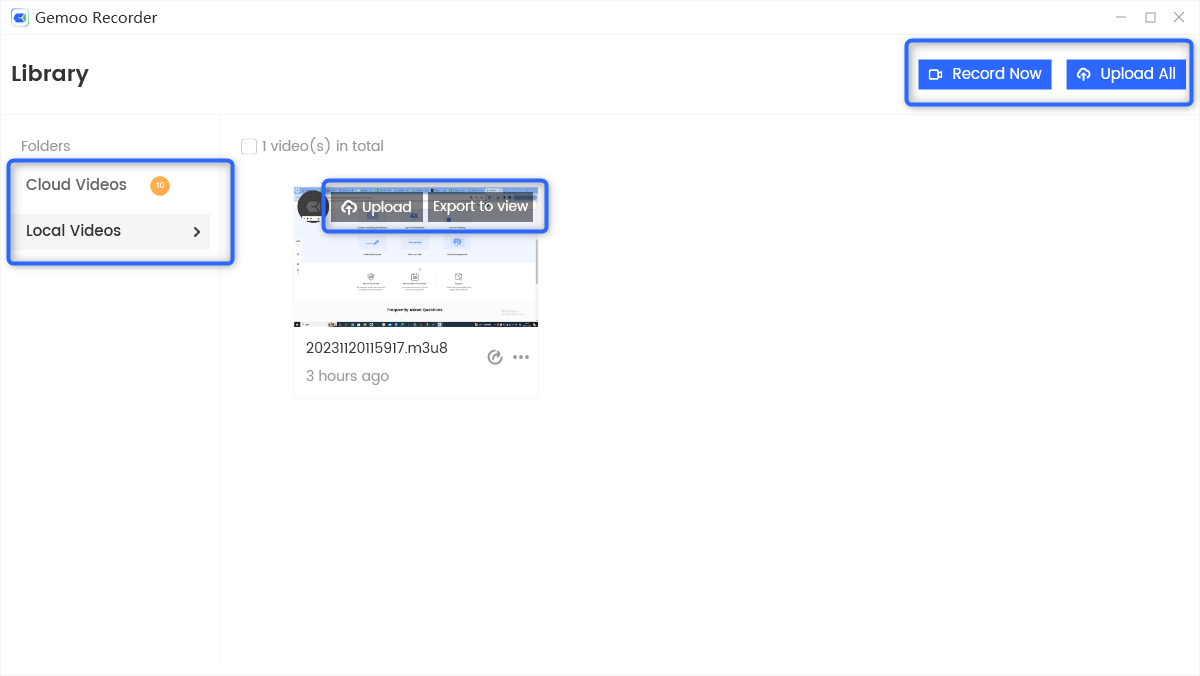
Video Library
Questions, comments, concerns? Contact us here.
Happy recording! 
Related Guides
Download & Install Gemoo Recorder on Computer
Follow the instructions to download and install Gemoo Recorder on PC or Mac.
![]() 2 min
2 min
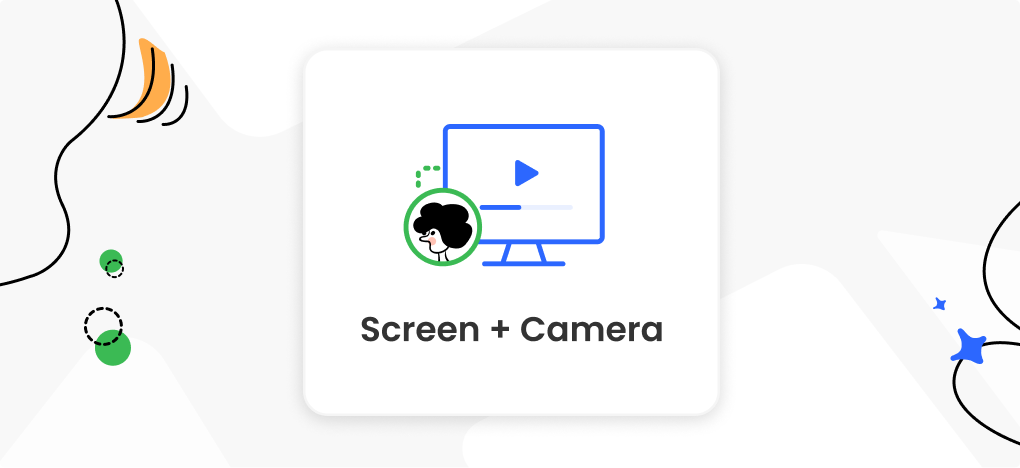
Grants you to record anything on the screen, camera, as well as the audio on your computer.
![]() 2 min
2 min