MSI is a major technology brand known for high-quality computers that are especially popular among gamers. The typical MSI laptop can perform at a high level and run a wide variety of demanding apps, and it allows the user to capture all the actions with multiple screenshot tools. Snapping the content of your screen or recording gameplay on the computer doesn’t take more than a few seconds, and depending on the tool used it could be possible to edit and annotate the image in many ways.

How to Take a Screenshot on MSI Laptop
Since there are so many software tools that can accomplish screenshots on MSI Laptop, some users are unsure whether they need to download a dedicated screenshot app or may simply use the built-in functions.
The answer may not be the same for everyone – those who want to make simple screenshots quickly or screenshot a portion of the screen could be well-served with software that is already installed on the laptop, while more ambitious content creators would probably be wise to choose a more powerful application.
This article explains how to take a screenshot on MSI laptop with many different apps, and compares their main strengths and weaknesses.
Related Tool:
Gemoo Online Mockup Generator >
Gemoo Screenshot Mockup Generator >
Table of Contents: hide
How to Take a Screenshot on MSI Laptop without Downloading Software
4. Snipping Tool or Snip & Sketch
How to Take a Screenshot on MSI Laptop without downloading software
It’s not necessary to download any external software to your laptop in order to gain the ability to take instant screenshots. Your MSI laptop with Windows OS already has several features you can use for this purpose, including a dedicated key on the keyboard, a game recording tool, and a snipping tool with advanced markup possibilities.
Here is a quick overview of the available options for screenshot taking:
Take a Screenshot on MSI laptop with Alt + PrtSc key
The fastest and most straightforward way to capture the content of your screen is to use the Print Screen function which can be activated by pressing a dedicated button on the keyboard. Every PC including MSI laptops comes with a PrtSc button, which is located in the upper-right portion of the laptop keyboard. When pressed, this button immediately snaps a screenshot and places it on the clipboard.
While this function enables only basic controls, it has the advantage of extreme simplicity. Here is what you need to do:
Step 1. Press PrtSc to capture the whole screen, or Alt + PrtSc to capture only a part of the screen.
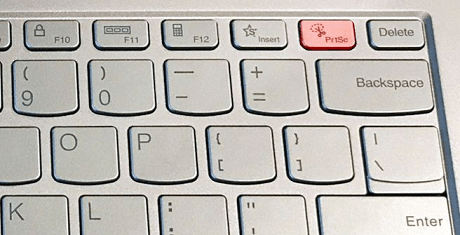
Screenshot on MSI laptop by Screenshot Hotkeys
Step 2. Open another image editing application (i.e. Paint, PhotoShop, Skype…) and paste the screenshot.
Step 3. Save the screenshot locally on your computer or share it online.
Screenshots taken using the Alt key + Print Screen key are saved to the clipboard.
Take a Screenshot on MSI laptop with Windows + PrtSc Key
To capture the entire screen and save it locally on your MSI laptop, simply use the “Windows + Print Screen” keys.
Follow these steps:
Step 1. Go to the screen that you want to capture.
Step 2. Press the “Windows” and “Print Screen” keys simultaneously on your keyboard.
Step 3. The screen will briefly dim, indicating that a screenshot has been taken and saved to your MSI laptop.
Step 4. To find the screenshot, go to the “Pictures” folder on your MSI laptop and look for the “Screenshots” subfolder.
Screenshots taken using the Windows key + Print Screen key are saved in the Pictures folder under a subfolder named Screenshots.
Take a screenshot on MSI laptop with Xbox Game Bar

Launch the Xbox Game Bar
Any PC with Windows 10 has another screen capturing function that is primarily intended for capturing game content, but can be used to take a screenshot from almost any window. This function is known as the Xbox Game Bar and is very user-friendly once you master the basic commands.
Here is the sequence of simple actions that will result in a screenshot being saved to your computer:
Step 1. Press the Windows logo key together with the G key.
Step 2. Select Capture from the Widget menu that appears on the screen, and then choose the Take screenshot item.
Step 3. Find your screenshot saved in the Gallery menu you can access from Widget menu.
Take Screenshots on MSI Laptop with Snipping Tool or Snip & Sketch

Snipping Tool – Snip & Sketch
Finally, every MSI laptop based on Windows has a specialized content-snipping app already on it, but its name and range of functionalities depending on the OS version. Owners of older computers with Windows 7 or Windows 8 can use the Snipping Tool app, while those with Windows 10 or later have the updated Snip & Sketch tool.
Both apps are used in a very similar way, and can capture images in different shapes from anywhere on the screen.
Step 1. Simultaneously press the Windows key, Shift and S key.
Step 2. Select the preferred mode for your next screenshot, then click and drag your mouse across the screen to define the captured area.
Step 3. After the screenshot appears in a separate window, copy and paste the screenshot into another app and save it.
Top 7 Screenshot Tools for MSI Laptop
There is no shortage of great screenshot apps for Windows, most of which are packed with interesting features and visual tools that enable users to modify them.
Dynamic content creators or gamers who frequently take screenshots or record their activities on MSI laptop could be well-advised to install an application that allows them additional options for screenshot capturing and editing. We present several strong candidates and point out their unique features and most typical use cases.
Gemoo Snap
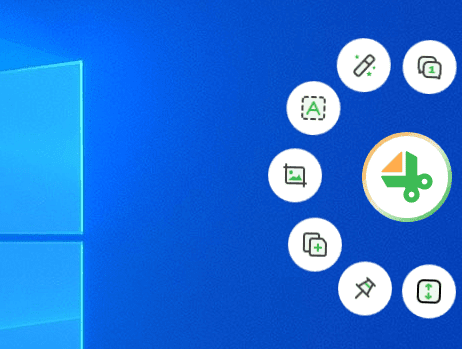
Gemoo Snap Interface
Gemoo Snap can be used as a screenshot software that is always on your MSL computer. It has a variety of screenshot functions but is very lightweight. Whether you want to capture exciting game screens to share with your friends, screenshot web page bugs to communicate with colleagues, or you need to capture design comparison pictures and send them to your users for viewing, Gemoo Snap can do it well.
Best features:
- Quickly capture highlight moments in YouTube videos, TV show, or movies instantly and you can also share them with your friends with sharable links.
- Take a screenshot and beautify your screenshots easily by adding backgrounds, rounding corners, marking numbers and drawing shapes.
- Recognize and extract texts from images, videos, PDFs, websites, etc. Capture and copy. Just that easy.
- Take full-screen or specific-area scrolling screenshots, and stop at any point as you need.
- Clipboard Screenshot feature that enables you to capture and annotate desired content for sharing and copying to the clipboard. The copied content can be pasted anywhere as required.
- Furthermore, all captures are automatically saved on the cloud (and optionally locally), allowing easy access from any device upon logging into the user’s account.
Pricing: Free.
Lightshot
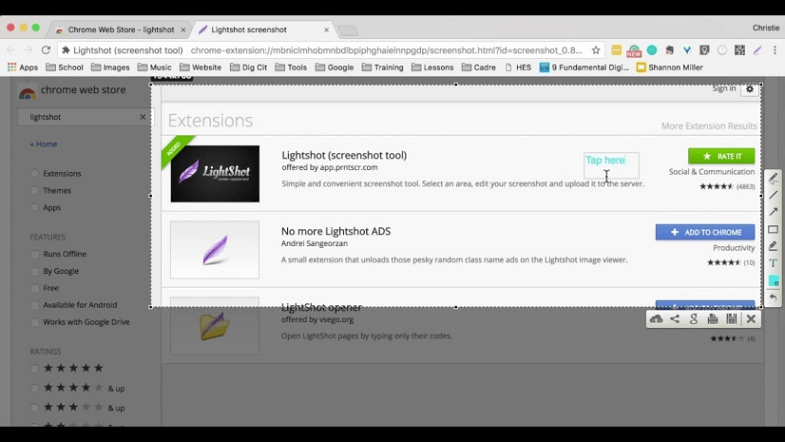
Screenshot Tools for MSI Laptop – Lightshot
Lightshot is certainly one of the most widely used screenshot tools on PC platform, as it offers a well-rounded package of features in a format that’s easy to use. It can be installed as a browser extension and used to capture anything you do on a MSI laptop with a single click. It may not be the most advanced snipping tool available, but it works great if you are looking for quick snapshots.
Best features:
- Screenshots can be taken with hotkeys and immediately edited in the same app
- It’s possible to save screenshots in three different file formats (PNG, JPG, BMP)
- The entire collection of screenshots you take is saved online and remains available
- Similar image search feature lets users find online content matching the screenshot
Pricing: free
User ratings:
- Capterra: 4.8 (15 reviews)
- G2: 4.7 (106 reviews)
ScreenRec
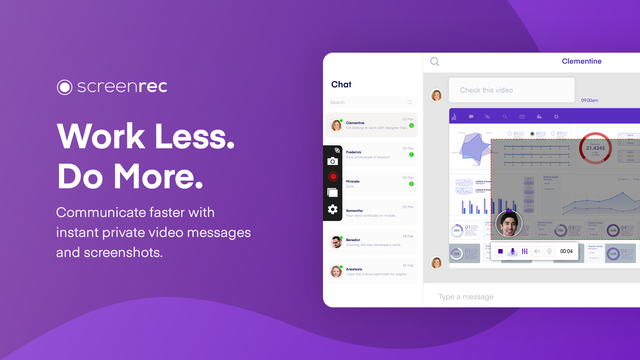
Screenshot Tools for MSI Laptop – ScreenRec
With this app you can take screenshots or create stunning screen recordings, and you don’t need any preparation to accomplish this. All the main functions are very easy to find and run, but if you want to go down to nuts and bolts and adjust a bunch of settings manually, ScreenRec will let you do that.
Overall, this is a very solid application worth having on your MSI laptop and using regularly.
Best features:
- Powerful capturing capacity including the ability to record the screen in HD with audio.
- Doesn’t require a lot of resources to run properly and is suitable for older computers.
- The annotation bar contains numerous tools that can improve the screenshot.
- Screenshots and recordings can be instantly shared with no upload time.
Pricing: free version available.
User ratings:
PicPick
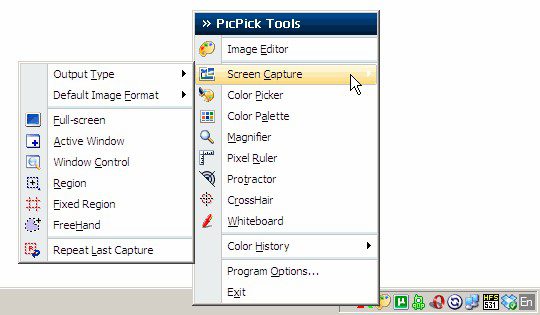
PicPick Interface
Everything works just as expected with this simple app, you don’t need to spend a lot of time trying to create a perfect screenshot. PicPick is a specialized screenshot application that also includes basic editing and graphic design possibilities, so you won’t have to use any other software to add a final touch to your screenshots. All the tools you need are included in the package!
Best features:
- This software has the capacity to capture screenshots from any window or part of the screen, including scrolling windows
- Magnifier and Pixel Rules tools allow very precise changes to be made
- It’s possible to open an existing image, or use Whiteboard function to draw on a blank screen
- Customizable hotkeys allow every user to personalize the app and work his own way
Pricing: free version available, full version costs $21.99
User ratings:
- Capterra: N/A
- G2: N/A
ShareX
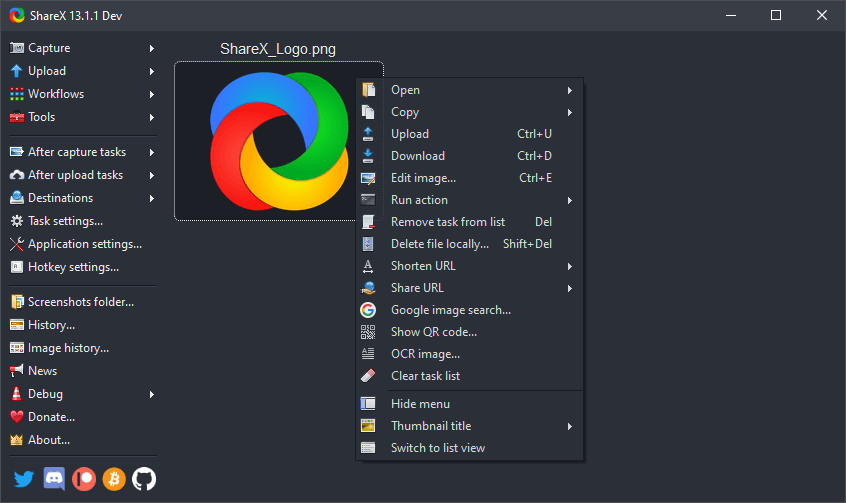
Open Source Screen Recorder – ShareX
Widely acknowledges as one of the best open-source screen recorders, Share X excels with many different tasks including taking amazing screenshots. It works on any platform and can capture screenshots or videos from any app you use on your MSI laptop.
With this powerful and versatile software you can easily produce professional-looking multimedia that showcases and highlights the content of your screen.
Best features:
- Huge number of features and functions available to all users
- Excellent annotation tools are included in the built-in editor
- Screenshots can be uploaded directly more than 80 different online hosting platforms
- The app can be customized using plug-ins to gain additional functions
- The ability to recognize text in the screenshot with OCR function
Pricing: free, open-source software funded by donations
User ratings:
- Capterra: 5.0 (7 reviews)
- G2: 4.8 (70 reviews)
Screenpresso
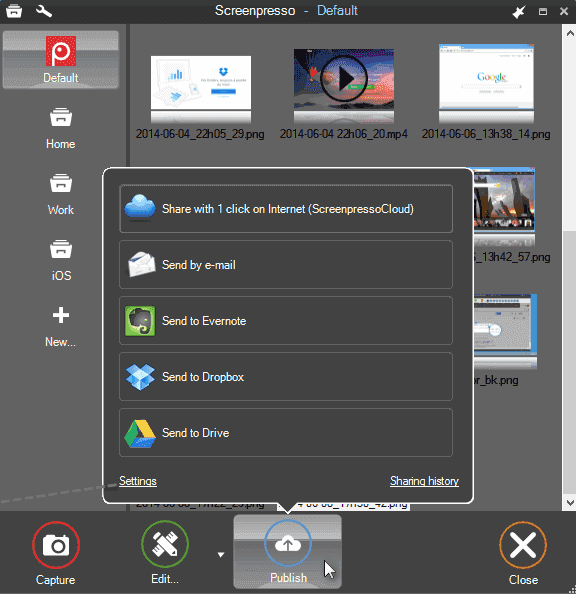
Screenpresso Interface
If you need a reliable screenshot tool that won’t require a lot of effort to use, Screenpresso could be the right answer. It’s distinguished by a very intuitive interface and unflinching focus on speed and practicality, while it offers high level of quality for images, video, and audio. It’s a great small app that won’t slow down your MSI laptop while you are doing something important you want to capture.
Best features:
- Advanced capturing options, including delayed capture and scrolling window capture
- Zoom lens allows very precise control of the area that will be captured
- Built-in editor is packed with smartly designed tools and cool visual effects
- Supports instant publishing on 13 different hosting platforms
Pricing: free version available, pro version costs $29.99 per user
User ratings:
- Capterra: 5.0 (10 reviews)
- G2: 4.5 (27 reviews)
Gyazo

Screenshot App for MSI Laptop – Gyazo
As one of the oldest and most widely used screenshot tools you can try for free, Gyazo is a pretty safe solution that won’t disappoint you. It allows you to make screenshots on your MSI laptop with absolute ease while choosing the exact dimensions and shape of the image. The basic version of this app has solid capabilities, but you can expand them by subscribing to Gyazo Pro version.
Best features:
- This app can capture screenshots, GIFs, or HD videos
- Simple installation procedure and user-friendly interface
- The Chronology tool lets you review all of your screenshots in the order they were taken
- Customer support is provided on a 24/7 basis through several channels.
Pricing: free version available, Pro version costs $4.99 per month
User ratings:
- Capterra: 5.0 (3 reviews)
- G2: 4.4 (10 reviews)
FAQs on How to Screenshot on MSI Laptop
Where are the screenshots saved on an MSI laptop?
- Screenshots taken using the Windows key + Print Screen key are saved in the Pictures folder under a subfolder named Screenshots.
- Screenshots taken using the Alt key + Print Screen key are saved to the clipboard and can be pasted into an image editing software like Paint or Photoshop.
Can I customize the screenshot settings on my MSI laptop?
Yes, you can customize the screenshot settings by using third-party software like Greenshot or Snagit. These programs allow you to choose the file format, destination folder, and other settings for your screenshots.
How do I take a screenshot of a specific area on my MSI laptop?
- Free download Gemoo Snap to take a screenshot of a specific area on your MSI laptop easily.
- Press the Windows key + Shift + S to open the Snipping Tool, which allows you to select a specific area of the screen to capture.
Final Words
There is no reason to worry how to take a screenshot on MSI laptop, since you can do this in many different ways. In addition to multiple native Windows features, there is a wide variety of screenshot apps compatible with your laptop and OS.
Taking a screenshot typically requires you to press a combination of keys or click a couple of times, so you can start using the app immediately after you download it without much need for training. With the right tool, you can capture exactly what you want, and then add text or graphic elements to highlight the main subject.

