A keynote presentation is a speech or exhibition delivered at a significant event, such as recording a conference or seminar. It serves as a platform for professionals to share best practices, demonstrate their latest research, and communicate their vision. They can be used for various purposes, such as to educate, inspire, or persuade the audience.

How to Record Keynote Presentation for 2023
Sometimes, we need to record keynote presentations to ensure the message reaches a broader audience or Archie the information for future reference. Whether you are a teacher, business professional, or researcher, this article will help you understand how to record keynote presentations using the official method and third-party tools to effectively preserve important information with simple and quick steps, so stick with us!
Also read: How To Add Speaker Notes in Keynote? >
Table of Contents: hide
Record Keynote Presentation in Official Way
Record Keynote Presentation in Official Way
Looking for a built-in method to record keynote presentations? This part is for you! Keynote includes many features, including an intuitive interface, pre-built themes and templates, advanced graphics and animation tools, and more. One of the standout features of Keynote is the ability to record presentations directly within the application. This feature allows users to capture both the audio and video components of their presentations.
You can use it by employing the easy-to-follow steps mentioned below:
Step 1: Access the recording controls by clicking on “Document” and selecting “Audio,” then choose “Record.” To record each slide individually, click “Record” and follow the subsequent steps.
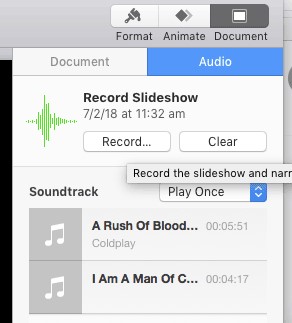
Click On Record in The Audio Section
Step 2: In the new recording window, locate the “Show Navigator” option in the top-left corner.
Step 3: Click “Show Navigator,” choose the slide you want to record with your voice, and then click on “Play Slideshow in Window” under “Play.”
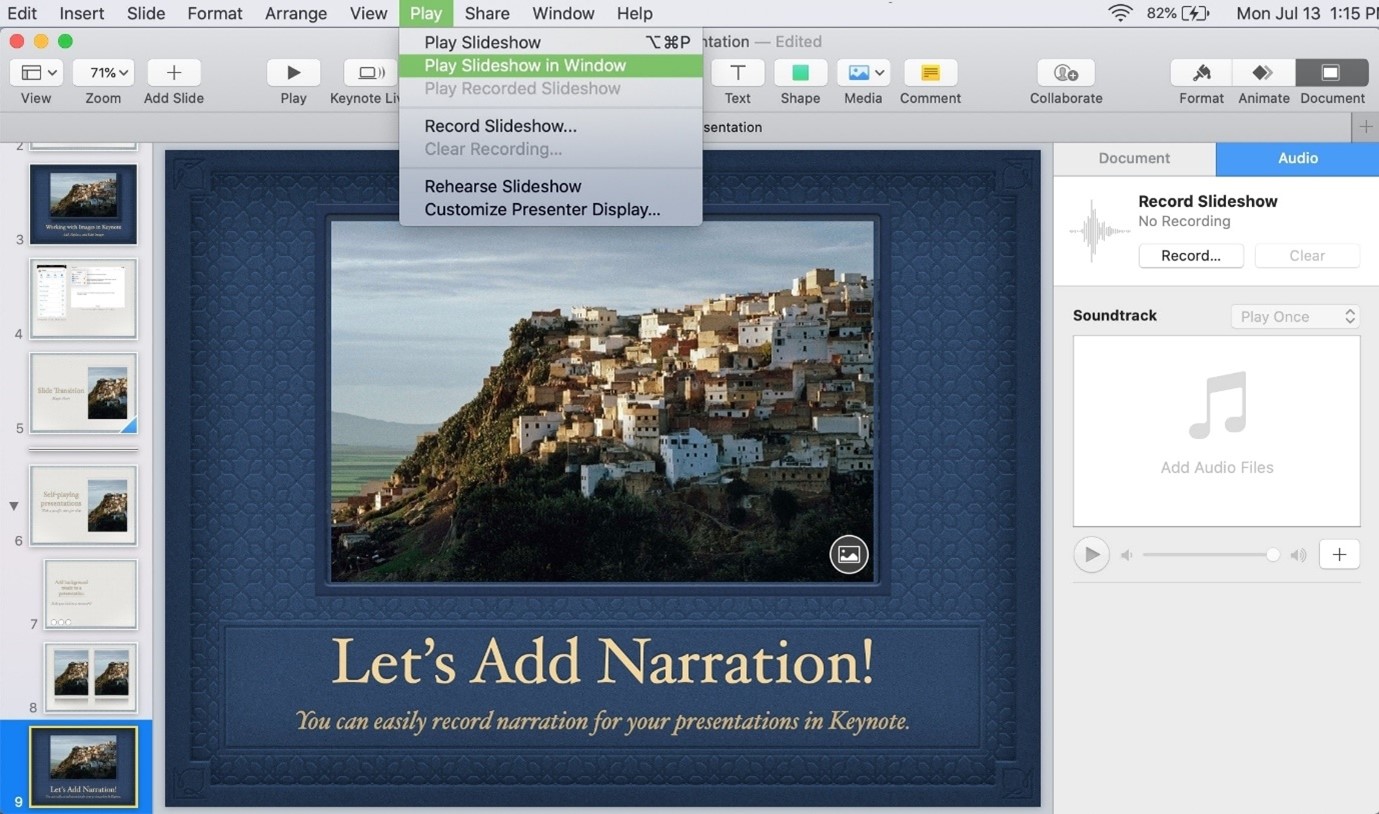
Click On Play Slideshow In Window
Step 4: Click on the “Pause” icon, select the desired slide for voice recording, and click the “Pause” icon again to resume recording.
Click On Pause Icon
After following the steps above, you can easily and efficiently record your Keynote presentations with audio narration, which can later be used to share with your audience. The recording is saved as an audio file in the same directory as the Keynote file. You can access it by selecting “Export to” from the “File” menu and then choosing “Audio Only” as the export option, and you also can select the location to save the recording on your Mac from there.
Record Keynote Presentations with Third-party Tools
Looking to record your important work using another way? Worry no more! One way to record your Keynote presentations is using third-party tools such as Bandicam, OBS, and others. These tools can provide added benefits and features compared to the official Keynote app. Each tool possesses unique advantages and selecting the most suitable one relies on your requirements.
To help you make an informed decision, this section will thoroughly explain five popular third-party tools for recording Keynote presentations.
Gemoo Recorder
Gemoo Recorder is an outstanding tool for both digital audio workstations and screen recording. It boasts superior quality, making it perfect for recording music, songs, dialogues, and interviews. In addition, it offers multiple sound source recording, smooth audio and video recording, unlimited audio recording, rich video recording options, 4K video quality without any watermark, and support for multiple platforms such as Windows, Mac.
Advantages
- Upload your images to the Gemoo cloud, ensuring your privacy is protected.
- Gemoo Recorder allows for creative freedom, offering a variety of original ideas for your videos.
- Additionally, you can customize your webcam with filters and frames.
- Compatible with both Mac and Windows operating systems.
Cons
- Not support mobile use.
Bandicam
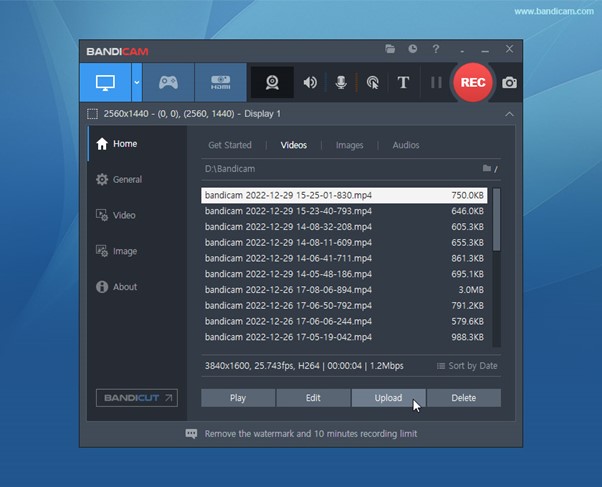
Bandicam Interface
Bandicam is a third-party screen recording tool commonly used for recording various types of content, including Keynote presentations, video games, and software tutorials. It offers a range of features, such as screen and webcam recording, real-time drawing, and video compression, making it a versatile tool for capturing video and audio content. Bandicam is popular due to its user-friendly interface, making it a popular choice among professionals and hobbyists.
Advantages
- High-quality recording output with support for up to 4K resolution.
- consumes minimal system resources, resulting in smooth and lag-free recording.
- Affordable pricing with a range of pricing plans to suit various budgets.
- Scheduled recording feature that allows you to start and stop recording at specific times automatically.
- Easy sharing and editing of recorded content using built-in editing and uploading features.
Cons
- Limited support for advanced features such as chroma keying or green screen effects
- Lack of support for live streaming directly from the software.
- It does not come with a built-in video editing tool.
Camtasia
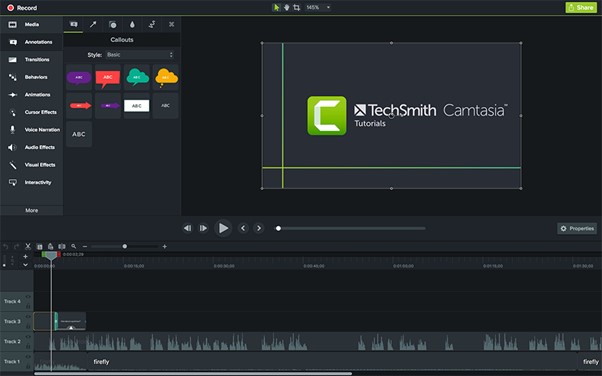
Camtasia Interface
Using Camtasia, users can easily capture their screen, record audio, and edit their recordings in an all-in-one program, making it a great option for those looking for a streamlined recording and editing workflow. This software is widely recognized for its user-friendly interface and strong editing capabilities, which make it a popular choice among content creators who want to produce high-quality video content. In short, Camtasia is a great tool that offers a convenient, comprehensive range of features to record important work.
Advantages
- Add various visual elements such as text overlays, animations, and callouts to enhance the quality and engagement of their presentations.
- Ability to share recordings directly to YouTube, Vimeo, and other platforms.
- Option to import media files and incorporate them into your presentation.
- Automatic audio leveling for consistent sound quality.
- Cursor highlighter to make it easy for viewers to follow along.
Cons
- High price compared to other screen recording tools.
- Teep learning curve, especially for the new users
- Requires many system resources to run.
Quicktime Player
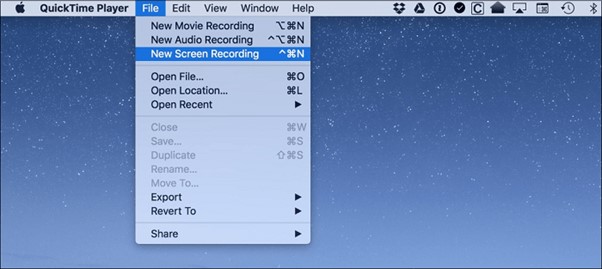
Quicktime Player Interface
QuickTime Player is a media player and screen recording tool developed by Apple and was first released in 1991 for Macintosh computers and later for Windows operating systems. It is used for viewing video and audio files in various formats and also can record the screen of your computer, making it a good choice for recording presentations with accompanying audio or music. QuickTime Player is also frequently used to record tutorial videos, gaming videos, and other screen recordings.
Advantages
- The interface is user-friendly, making it easy for beginners to use.
- Allows flexible recording options such as selected portion, the entire screen, etc.
- Produces high-quality recordings with minimal loss of quality.
- Can be easily shared and played back on other devices and software.
- Records keynote presentations seamlessly.
Cons
- Users may encounter performance-related issues like lagging, etc.
- Can not customize advanced settings like frame rate, bitrate, or audio quality.
- supports a limited number of video and audio formats.
OBS Studio’
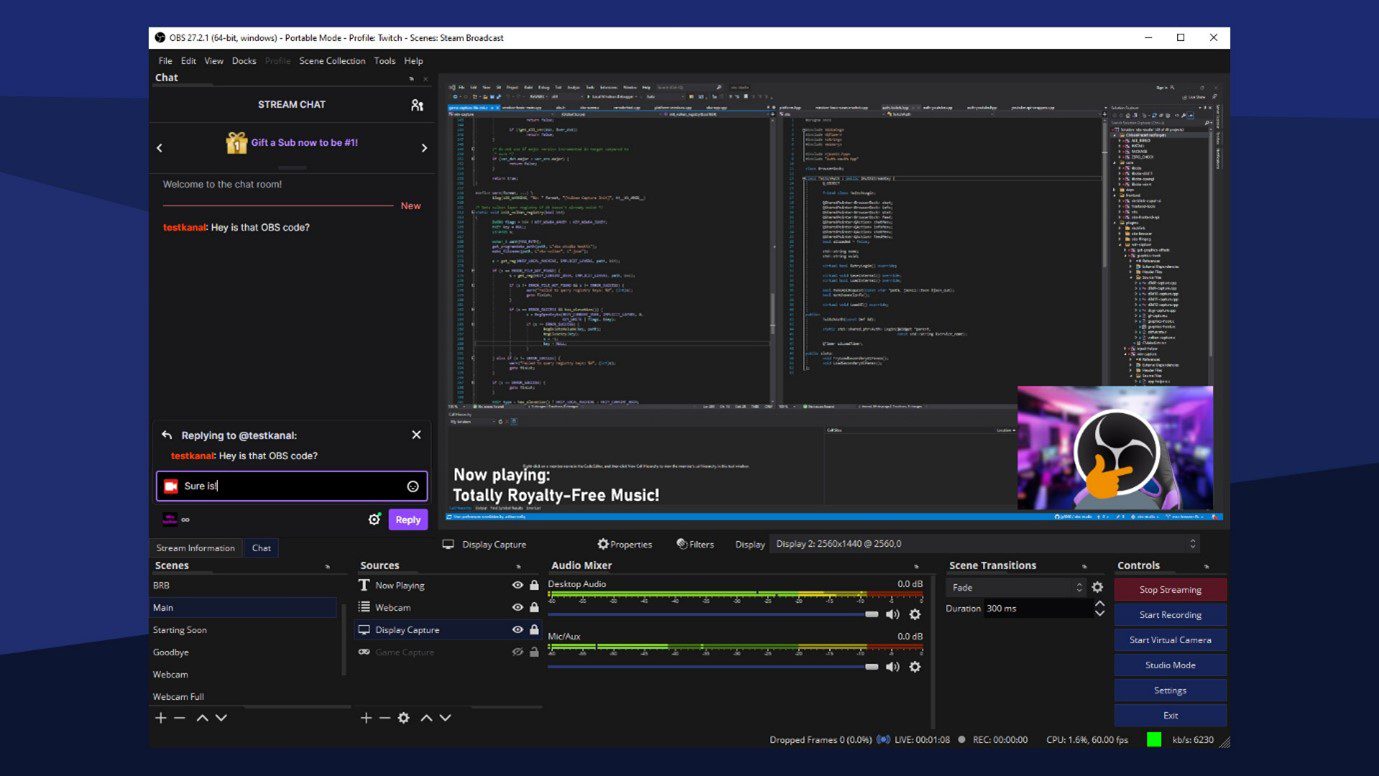
OBS Studio Interface
Are you tired of using mediocre recording software? Look no further than OBS Studio, the open-source powerhouse taking the streaming world by storm. Its intuitive interface, robust feature set, and ability to stream to multiple platforms simultaneously make it the perfect tool for any aspiring content creator. Whether you are a seasoned pro or just starting, OBS Studio has everything you need to record and stream to the next level. So, what are you waiting for? Let us dive into the world of OBS Studio and start streaming like a pro!
Advantages
- Allowing users to configure their workspace to their exact preferences.
- Record high-quality video and audio with customizable settings such as bitrate, resolution, and framerate.
- Supports plugins, allowing users to add additional functionality to the software.
- Easily integrates with famous software and is compatible with various devices.
- Easy to use, allowing users to learn how to use the software quickly.
Cons
- Lacks automatic scene transitions and built-in chat overlays.
- Steep learning curve for beginners.
- Can be demanding on your computer’s CPU and GPU, especially when recording.
ManyCam
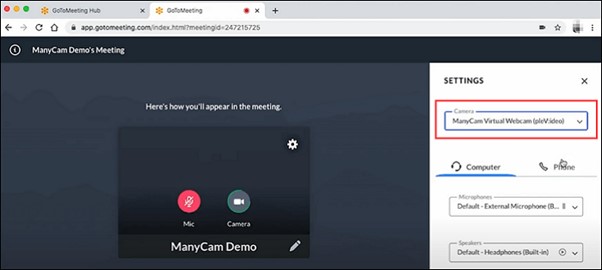
ManyCam Interface
ManyCam is a versatile and free software that allows users to record presentations, screens, and screenshots easily. It also functions as a video switcher, allowing seamless transitions between video sources. In addition to its recording and switching capabilities, ManyCam can also be used to create engaging live streams on platforms such as Twitch and YouTube. Whether you are a content creator or simply looking for a user-friendly tool to enhance your video content, ManyCam is the ideal solution compatible with Mac and Windows operating systems, ensuring a wide range of users can utilize it.
Advantages
- Multiple virtual cameras allow for customizable and creative video presentations.
- A wide range of effects and filters to enhance video quality.
- Offers a free version with many handy features.
- Feasible for both personal and professional purposes.
- Able to record keynote presentations.
Cons
- Some users have reported performance issues with the software on certain devices.
- The user interface can be overwhelming for some new users.
- May not work with all video conferencing or streaming platforms.
Frequently Asked Questions
Let us look into the answers to some commonly asked questions below:
1. How do you record the camera on Keynote?
Recording the camera on Keynote is a straightforward process that can be completed in just a few simple and easy steps. Open the app and then navigate to the slide where you want to add the camera recording; click the “Insert” button in the menu bar on top and select “Recording” from the drop-down menu. This will open the recording window, where you can enable your camera by clicking on the “Camera” button.
Once your camera is enabled, you can start recording by clicking the red “Record” button. After you have finished recording, click on the “Stop” button to end the recording. You can preview your recording by clicking the “Play” button or re-record by clicking the “Record” button.
2. Can you record a Keynote presentation with audio?
Yes, it is possible to record a Keynote presentation with audio. Keynote has a built-in feature that allows you to record your presentation along with any audio that you speak or play during the presentation. This is particularly useful for creating a narrated presentation or recording a live presentation for later use. You can also edit the recording by removing any unwanted sections or adjusting the timing of the slides and audio. When you are satisfied with the recording, you can save it as a video file to share with others.
3. Why keynote record slideshow not working?
Keynote’s Record Slideshow feature may not work properly due to several reasons. One of the most common reasons is microphone connectivity issues, which can be resolved by checking the microphone settings and ensuring it is properly connected to the computer. Another possible reason could be that the Record Slideshow feature needs to be enabled in Keynote’s preferences. Additionally, outdated versions of Keynote and corrupted files can also be the reason behind it.
Final Thought
In conclusion, multiple efficient ways to record keynote presentations exist, including built-in and third-party tools that offer additional features and flexibility for the sake of preserving vital information and content for future reference. This article briefly explains five such third-party tools, and their pros and cons, to help you decide which tool will best fit your requirements.
Whether you choose to use Keynote’s built-in feature or a third-party tool, the key is to practice and experiment until you find the method that works best for you. Please share this article with your friends and family, and do not forget to leave a comment if you have any additional tips or tools to add.


