A smooth and polished presentation requires excellent slides and a clear script to keep your speech on track. That’s where speaker notes in Keynote come in handy. Speaker notes act as a behind-the-scenes cue to help reinforce your key messages. They allow the presenter to add notes and help remember the key points related to the slides. With just a few taps on your Mac, iPhone, or iPad, you can add handy notes to guide you through any presentation.

How to Add Speaker Notes in Keynote
But the real question is how to add speaker notes in Keynote. This article provides a step-by-step walkthrough on how to add speaker notes in Keynote across devices. You’ll learn how easy it is to create a presentation cheat sheet visible only to you. Let’s get into it.
ALso read:
How to Add and Work with Speaker Notes in Google Slides? >
How to Add Speaker Notes in PowerPoint >
Table of Contents: hide
Add Presenter Notes in the Keynote on Mac
Add Speaker Notes in Keynote on iPhone
Add Presenter Notes in the Keynote on Mac
Adding speaker notes on Mac is a pretty simple process. Mac-based operating systems have their own Keynote application. With the help of the given steps, you can easily add notes on Mac:
Step 1. Find the Keynote app and launch it on your Mac.
Step 2. Find the presentation and open it in the application.
Open Keynote In Mac
Step 3. Choose the “View” tab from the top of your screen. A drop-down menu will be opened.
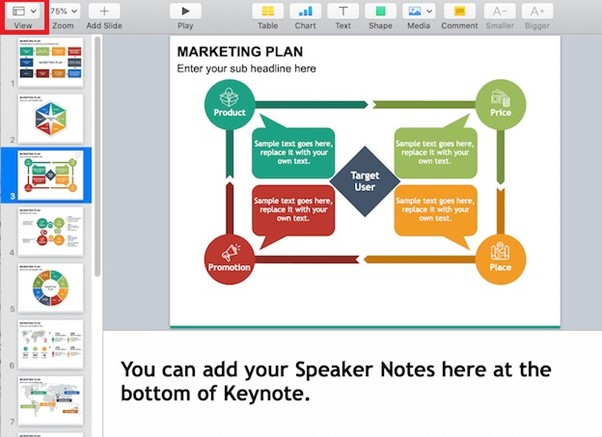
Click On the View Button
Step 4. From the drop-down menu, click on “Show Presenter Notes.”
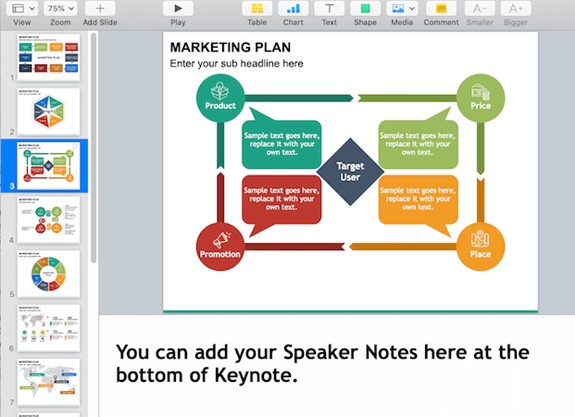
Step 5. A white note-taking area will now appear beneath your slide.
Step 6. Click into the white space and type any speaker notes, like talking points or a full script.
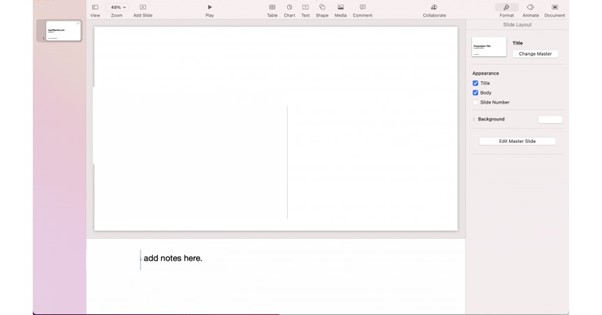
Add Notes In Keynote
Step 7. When done, click “View” again and select “Hide Presenter Notes” to remove the notes pane.
Add Speaker Notes in Keynote on iPhone
The process of speaker notes in Keynote on an iPhone is similar to that of a Mac. All you need is the keynote mobile version for iPhone, and you are good to go. Follow these steps:
Step 1. Launch the Keynote application on your iPhone.
Step 2. Choose the slides in which you want to add notes.
Step 3. A three-dot icon will be on the screen’s top left side. Press it to bring up more options.
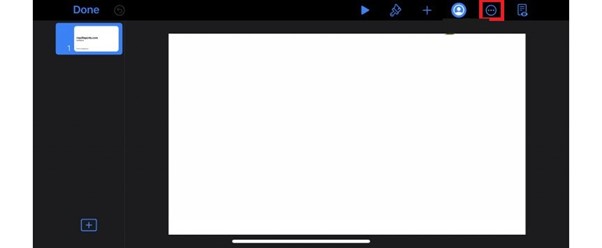
Tap Three Dots In The App
Step 4. Locate the “Show Presenter Notes” option and tap to enable it.
Step 5. Press “Done” to apply changes. A new section with “Add Notes Here” will appear.
Step 6. Tap into the notes field and type out any speaker notes or prompts you want for that slide.
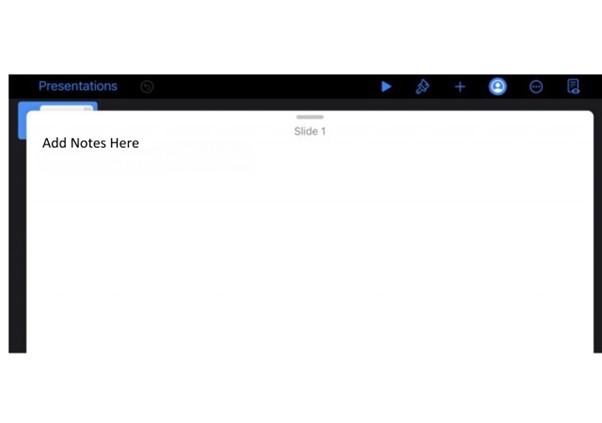
Add Notes In IPhone
Step 7. Swipe up or down in the field to move between notes for different slides.
Step 8. When finished, tap the three dots again, and this time, tap to turn off “Show Presenter Notes” to hide the notes.
Add Speaker notes in the Keynote on the iPad
Don’t have a MacBook or iPhone? No worries! Apple also includes a Keynote app for the iPad, which can come in handy to add speaker notes. Below are simple steps that can help you in this regard.
Step 1. First, open your Keynote presentation and select the slide you want to annotate.
Step 2. Tap the “Presenter Tools” icon in the top left corner to open the menu.
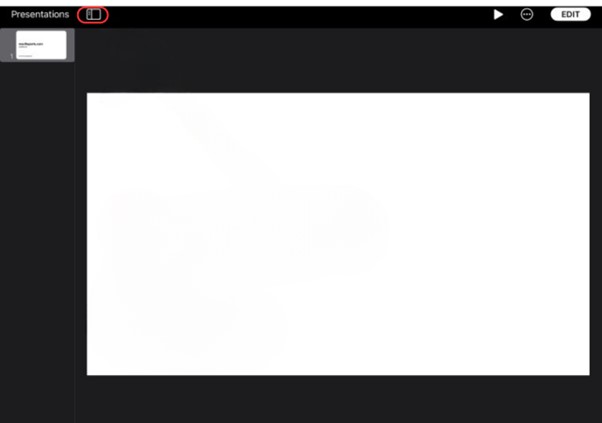
Open Presenter Tools on iPad
Step 3. Next, turn on the “Show Presenter Notes” option in the Presenter Tools menu. This makes a notes field appear.
Step 4. Tap into the notes field and type your prompts or script for that slide. Add notes for key talking points, statistics, reminders, and more.
Step 5. When finished, return to the Presenter Tools menu and turn off “Show Presenter Notes” to hide the notes pane.
Pro tip: You can view the notes when showing your presentation using a connected display. Or turn on “Rehearse Slideshow” to see notes on the iPad.
Further Reading: How to Screen Record on iPad >
Bonus Tip – How to add Speaker Notes on Windows PC
Need help to give flawless presentations or nail client calls? The new AI tool TalkEze has your back. This nifty tool helps you speak confidently and smoothly without filler words or awkward pauses. TalkEze works behind the scenes to guide you with invisible speaker notes so audiences only see a polished, commanding you. The best part about this tool is that it works seamlessly with any online meeting, live stream, or screen recording tool.
Talkeze offers a free trial (Free 3 days) plus paid monthly plans ($10-$13 per month) to fit every budget, and with Gemoo’s expertise in AI and natural language tech, you know it’s backed by speech science.
Key Features:
- The tools work well for the presenters who lack confidence due to poor narration.
- The invisible script feature ensures a natural flow and hides the notes from the audience.
- You can easily customize the scripts by adjusting the scroll speed, font sizes, and styles.
Wondering how speaker notes work with TalkEze? Let’s find out:
Step 1. Download and Launch TalkEze on your PC. Sign in via Gemoo Account, Gmail or Apple ID to get started.
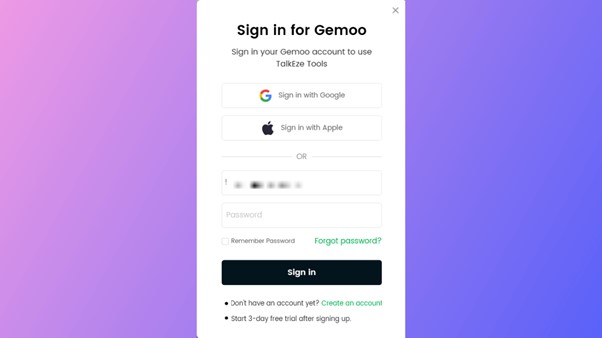
Sign In To TalkEze
Step 2. After installation, set the preferences for your script. Adjust the font size and style, scroll speed, forward/rewind line space, and hide script in the final video.
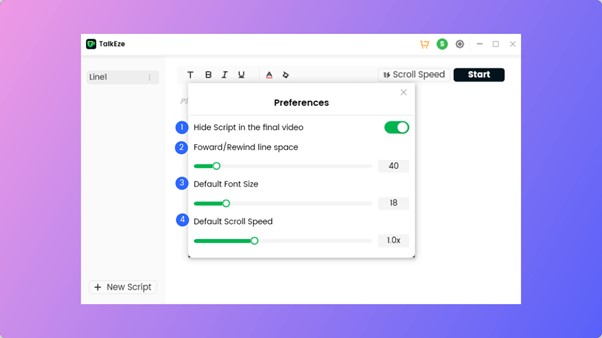
Preferences in TalkEze
Step 3. You must input the speaker notes/script in TalkEze. Click on New Script and then choose from two options, i.e., Enter Script or Import .txt file.
Step 4: Format your text or notes with the help of the tools above to make it more engaging. Moreover, you can adjust the scroll speed from the “Scroll Speed” button.
Step 5. Click “Start” to initiate the process. The time elapsed will be displayed in the top left corner. Use the pause and play buttons at the bottom of the screen to control the presentation as needed.
You can utilize TalkEze to display the speaker notes during recording or live streaming your presentation with Keynote on your Mac, iPhone, or iPad.
Final Thought
Comprehensive speaker notes are a game-changer when presenting to an audience or speaking in an online meeting. You can add prompts in Keynote on Mac, iPhone, or iPad with just a few simple steps. Let notes guide you to smoother delivery and greater confidence. Start crafting your personal presentation cheat sheet today and take your public speaking skills to the next level with the power of speaker notes.