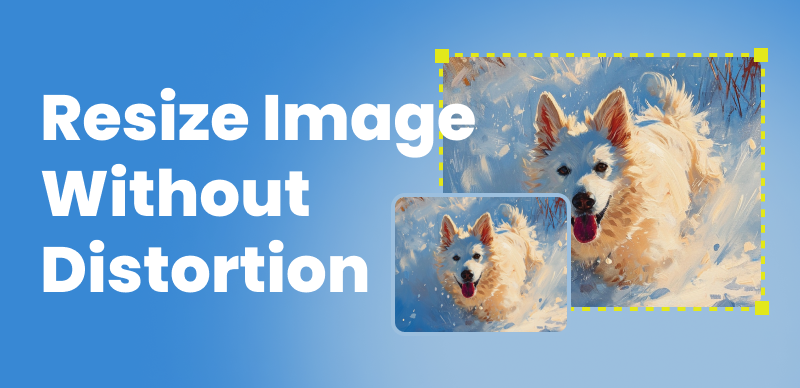
How Can I Resize Image in Figma Without Cropping?

It’s no secret that images are a huge part of digital content creation. Content creators find themselves constantly working with them, making them look better, and using them for different purposes. However, Figma handles images a bit differently than other tools, although it supports the same image file formats (PNG, SVG, JPEG, GIF) like all other image editing and design apps.
How Can I Resize Image in Figma Without Cropping?
Nonetheless, Figma has unique editing options and offers many tips and tricks for working with images. Size is an important part of design and Figma can change the size without affecting the quality of an image. But, have you asked yourself how you can resize an image in Figma without cropping?
Has it ever happened to you to try to resize something in Figma, and then it just gets cropped? This is a very frustrating experience since you don’t want to lose parts of the original image. Luckily, Figma offers a few ways to do this without cropping, but before we dig into this, let’s first see why cropping is frowned upon.
Table of Contents: hide
Why People Don’t Want to Crop Image?
Steps to resizing without cropping in Figma Using ‘Constraint Proportions’
Bonus Tips – Resize Image Without Cropping with Powerful ImageEditor
Why People Don’t Want to Crop Image?
Cropping refers to editing and removing some parts of images. Even though there might be advantages to this method of choosing what you want to keep in a shot, such as enlarging the subject, many think that this will make an image look incomplete and weaker.
If you are a photographer, this will also make you lazy, and you will not get enough experience working with subjects. Relying on cropping extensively can also make you work too fast, thus not putting enough effort into shot composition. Depending on the quality of the original photo, printing such an image might also be difficult because cropping will reduce its resolution. Whatever the reason, we have come up with some ways of dealing with this problem!
Using the Freeform Option
Basic photo editing techniques are mostly about cropping and resizing images. Figma offers a few ways of resizing images without cropping, one of which is the ‘Freeform’ option. With this one, you can drag all the corners of an image, and change the width, and height without having an impact on other dimensions. With Freeform, you rotate, move, and resize images, and it won’t take you a lot of time. The steps below will show how to resize a photo or a video.
Step 1: Find a category in the sidebar on the Freeform app on your Mac, and you will open it with a double click on a board.
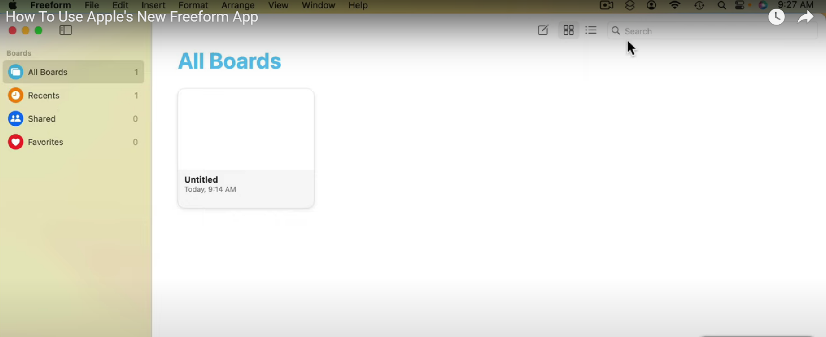
Find a Category in the Sidebar
Step 2: Choose a photo (or a video) that you want and click on it.
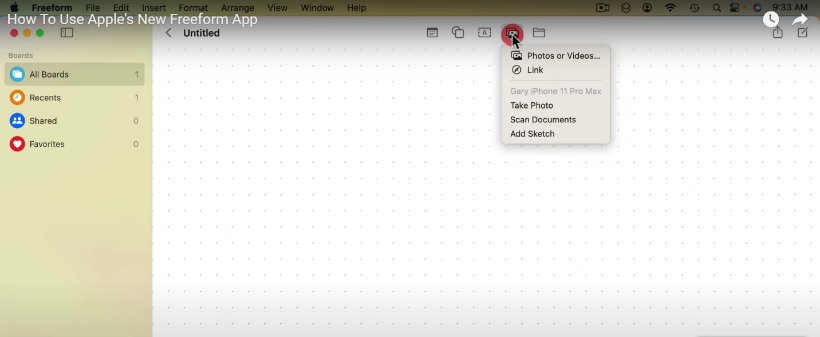
Choose a Photo
Step 3: You can grab a corner to resize, drag, or change the rotation in any direction you want.
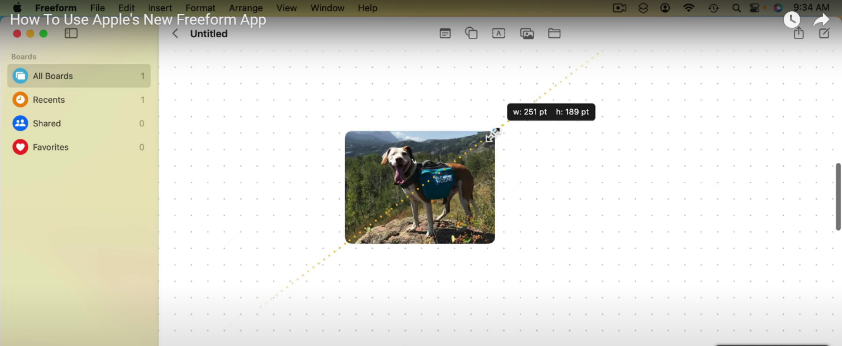
Grab a Corner to Resize
The good thing about this option is that you can also add links, not just photos or videos, and resize them. There are controls at the bottom with which you can change the link. Constraint proportions will help you resize it as you wish.
Steps to resizing without cropping in Figma Using ‘Constraint Proportions’
The ‘Constraint Proportions’ option can be used to resize images without cropping. This tool has become very powerful and will save you a lot of time. There are two dimensions (vertical and horizontal), and they also have options, such as right, left, top, bottom, and center. Horizontal constraints are how a layer behaves along the X-axis, and verticals are how a layer behaves along the Y-axis. Let’s have a look at these steps:
Step 1: The constraint options are displayed here on the right once you open Figma.
Constraint Options
Step 2: Let’s first drag and drop any image of your choice. You will find more constraint options in the right click menu, such as to move it vertically or horizontally.
Step 3: Once you are done, you can share the image by clicking on that option in the right upper corner.
Also, Figma offers a lot of shapes and you can get them in the Shapes tool menu. There is a rectangle, line, star, polygon, arrow, and ellipse. This is how it looks like.
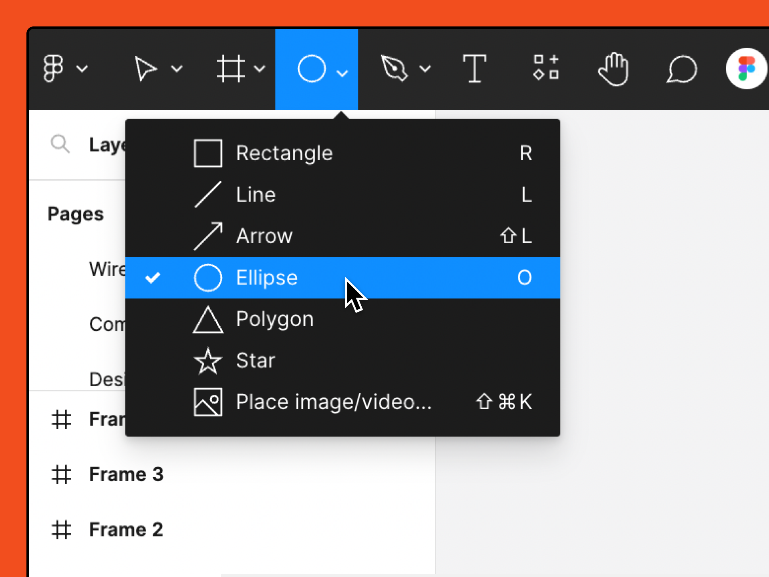
The Shapes Tool Menu
With a Pen tool, you can build more complex shapes, the Rectangle tool can be used for creating both squares and rectangles, the Lines tool is also pretty simple to use, and you will draw one-sided and two-sided arrows with the Arrow tool.
Bonus Tips – Resize Image Without Cropping with Powerful ImageEditor
You probably take a lot of photos on your phone and you know some ways to make them smaller or larger. Adjusting your photos to many the file size requirements of different social media platforms is time-consuming. You will realize that you have a problem once you end up with a blurry or cropped image. This can pretty much ruin people’s perception of the original image and we definitely want to avoid this. This is why you need apps such as Gemoo Image Editor.
Gemoo Image Editor can resize photos for many social platforms with ease. With the ability to meet the needs of amateurs and professionals, it has become a very popular tool so knowing how to use can be beneficial. It’s also extremely easy to use and, more importantly, it does an incredible job of retaining the quality of your images throughout the edit. Let’s have a look at the following steps for resizing images.
Step 1: Simply drag an image from a folder on your computer and drop on the tool’s home screen.
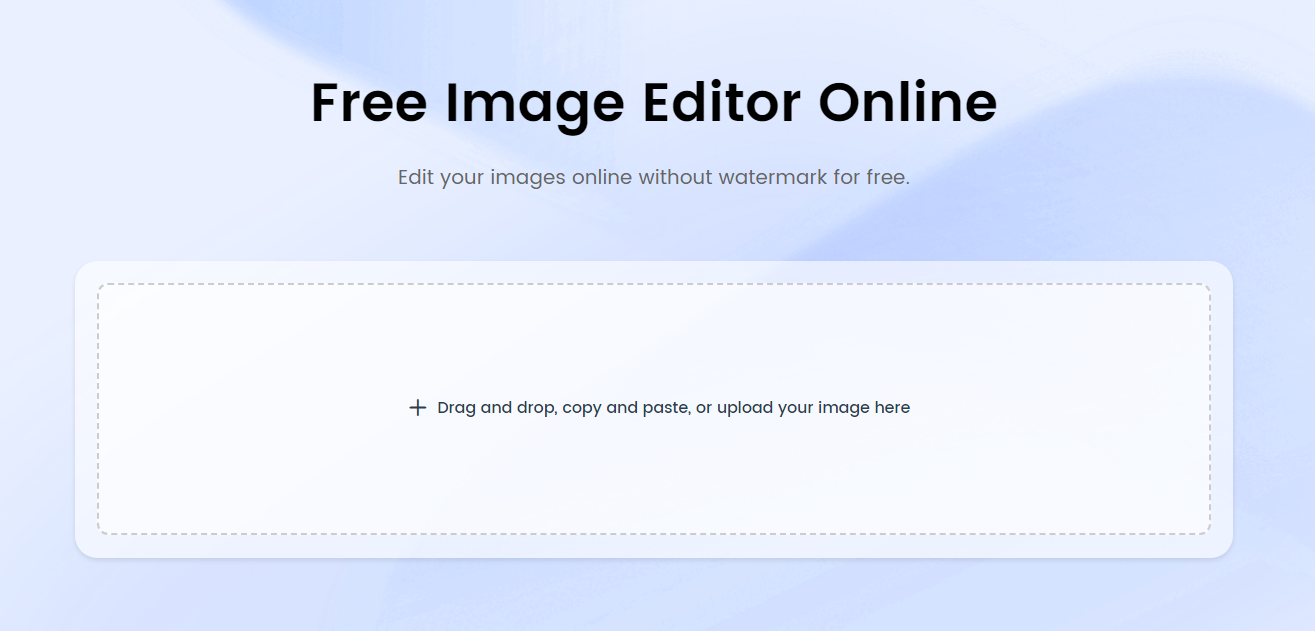
Gemoo Image Editor Interface
Step 2: After you upload the image, you will see the options for editing, tweak the settings freely and set the image size by inserting appropriate values in the Image Size boxes.

Reszie The Image
Step 3: The last step is to download and save the photo, you will find that icon in the right corner.
Final Thought
Figma is a powerful tool that supports a broad range of image formats and it is not complicated to use at all. You can just select an image and drag the corners to resize it. With this creative way of editing photos, you will never have to worry about the outcome and whether it will crop an image or make it blurry. I hope the solutions we provided are simple and that they will enrich your experience even more. If you have more questions related to this topic, don’t hesitate to leave them in the comments below!