Gemoo Cloud Guide
Save your videos and images in Gemoo Cloud to securely store and share your media files.
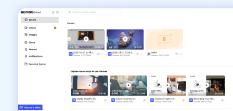
Get Started with Gemoo Cloud
Gemoo Cloud is a storage space where you can store and manage your images, videos, and other files.
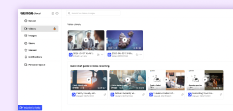
Gemoo Cloud - Videos
Learn how to upload, record and make a interactive video with Gemoo Cloud.
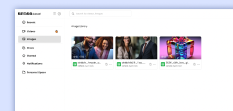
Gemoo Cloud - Images
Learn how to upload an image with Gemoo Cloud to manage your visual content effectively.

Gemoo Cloud - Share
With Gemoo Cloud, you can easily share your images and videos using multiple methods.

Gemoo Cloud - Personal Space
In this guide, you will find detailed information about Gemoo Cloud - Personal Spaces.