Webex, the industry standard for online video conferences and remote work, has just released a fantastic new function called the Recording Library. Users may easily access and organize their previously recorded sessions using this function. Some customers, nevertheless, have reported a puzzling situation in which their recordings aren’t shown in the Recording Library.
Fix the “Webex Recording not Showing Up ” Error
“Why aren’t my Webex recordings showing up in the Recording Library?” and “Has anyone else experienced issues with this new feature?” underline the need for effective solutions. However, if you’re unable to access your Webex recording feature, you’re at the right place. In this article, you’ll get the reasons behind the Webex Recording Not Showing Up issue. Let’s dive into the details!
Table of Contents: hide
Why is My Webex Recording not Showing Up?
Why is My Webex Recording not Showing Up?
Webex is an online conferencing and collaboration software that allows users to easily record their sessions for playback later. You may save Webex meeting recordings in the cloud or on your local computer, whichever is most convenient for you.
However, it may be irritating and counterproductive to run into issues when attempting to record or share a Webex meeting. To help you, we’ve listed the reasons why you can’t record Webex meetings, which include:
Recording as a Guest
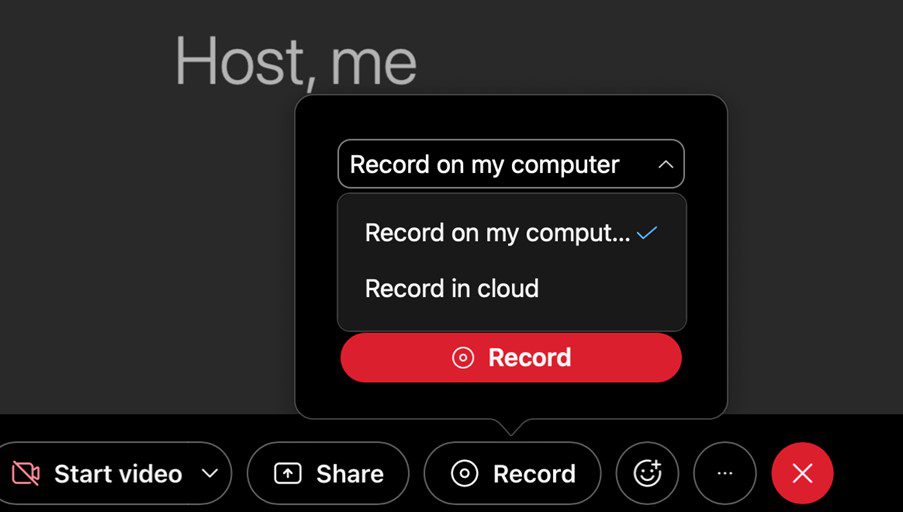
To record a Webex meeting, you must first be designated as the host or serve as co-host of the session. If you are not a host or co-host but were invited to the session by someone who is, you will need to ask the host to record the meeting.
Recording as a Co-Host In the Presence of the Host
Only when the host is absent from a Webex meeting can a co-host start recording it. Only hosts are granted access to this feature inside the app; however, if the host must leave for whatever reason, the co-host is granted recording privileges. If both parties record, two files will be generated that will need to be merged later.
Using a Free Account
Use a Free Account
If you have a free account but would still want to record a meeting, you will need to install the desktop program on a computer to do so. This is probably why you haven’t seen this option in the web app previously.
Out of Storage
If you run out of storage, the recording process will stop. Keep in mind that we’re talking about dedicated storage capacity here, not cloud storage or virtual hard drive space. When you download a recording, the file is immediately deleted from the recording area. If you want to keep recording, you may need to delete some older files or download more space.
The recording Feature Is Disabled
Contact the operator of your Webex site for assistance if you believe you have accidentally disabled the recording function.
How to Record My Webex Meeting?
If you need a simple and efficient method for recording online meetings and events, consider using Gemoo recorder. This program is widely used by various professional groups and institutions to host and capture virtual classes, training sessions, and other online gatherings. Gemoo Recorder is an excellent option for this purpose, as it seamlessly integrates with various popular conferencing tools. Its versatility makes it ideal for capturing a wide range of content, from basic instructional videos to extensive meetings involving multiple attendees.
Highlight Features
- Allows for broadcasting video in HD quality by a large number of meeting participants
- AI-assisted noise reduction technology significantly improves sound quality.
- Users can also add virtual backgrounds when recording a webcam feed.
- Highly interactive online meeting and video conferencing solution.
Here’s how to record your Webex Meeting as the host:
Step 1: Before opening Gemoo Recorder, select the window, you want to record on your screen.
Step 2: Launch Gemoo Recorder on your computer and log in to it.
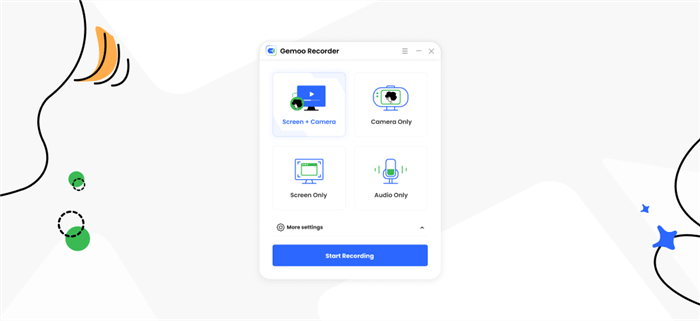
The Interface of Gemoo Recorder
Step 3: Choose the “Screen Only” mode, which will just record your screen. Then, click the start recording button, after 3 seconds cutdown, the recording will begin.
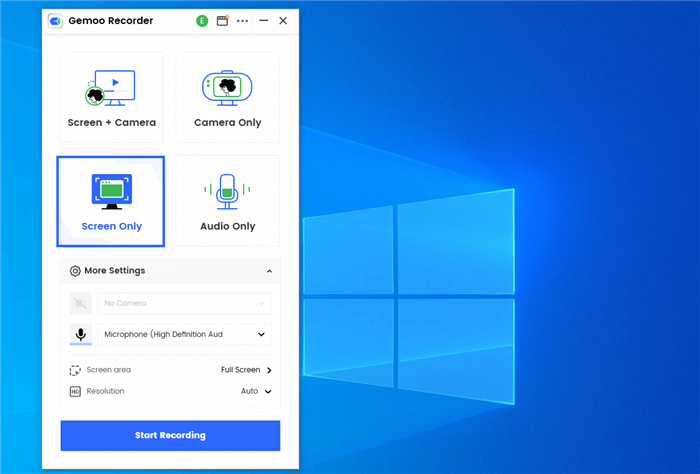
Choose the Screen Only Mode
Step 4:After the recording process is finished, please click the red stop button to finish it.
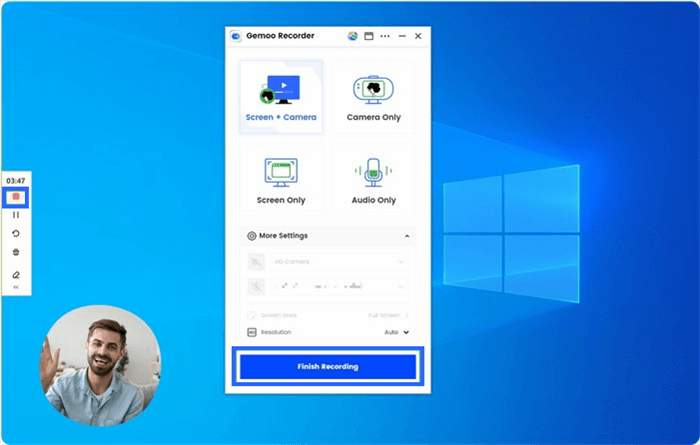
Finish Recording
Step 5: The recorded video will be uploaded to Gemoo Recorder automatically, or you can choose to save it locally.
Where Can I Find My Webex Recording?
Another question that people often ask is that “Where Can I Find My Webex Recording?” You’ll get the answer here! Webex meeting recordings are stored locally on the device that was used to either host or join the meeting. The files are saved in a specific directory on your hard disk. It could be in a different spot on your device depending on the software you’re using and the preferences you’ve set.
Webex also works with other cloud services, including Dropbox, Microsoft OneDrive, and Google Drive. If you have established this connection, your Webex recordings could be automatically synchronized and stored to the selected cloud storage account. You may search for Webex recordings inside the included app, or you can visit the cloud storage provider you used to make the recording and go to the synchronized folder there.
Moreover, you can also choose to save your recordings to the Webex server or website. Because they are stored in the cloud, your recordings may be accessed from any device, everywhere there is an internet connection. Log in to your Webex account and go to the “Recordings” tab to access your saved Webex recordings. From this page, you can easily search through and retrieve previously recorded meetings.
Final Thought
Experiencing the annoying “Webex Recording not Showing Up” issue may interrupt work and inhibit efficient cooperation. With the information in this article, however, you may remove this roadblock and guarantee that your priceless recordings will always be available. Moreover, if you have any other views, recommendations, or experiences to give, we welcome you to leave a comment below.


