Computers are essential to the advancement of our world. They encourage research and innovation, improve automation and efficiency across many industries, and improve seamless communication and information sharing on a global scale. They provide convenience, adaptability, and minimal environmental impact. They can be used to conduct online meetings to foster collaboration by bridging geographical gaps. However, many people wish to capture the information presented during the live video calls but are unaware of how to do so.

Screenshot on a Gateway Laptop
Screenshots are now an important part of education and communication. They show pictures that help explain strenuous concepts and ideas. People use screenshots in different situations, like teaching how to use software, recording important moments in video conferences, and showing data or examples in academic papers. This article will show you different ways to take a screenshot on your Gateway computer, so let us get started without wasting any time.
Also Read: How to Screenshot on Samsung Laptop >
Table of Contents: hide
Screenshot On Gateway Laptop via Gemoo Snap
Screenshot On Gateway Laptop using Windows 10 Shortcuts
Capture On Gateway Laptop via Snip & Sketch
Screenshot On Gateway Laptop via Gemoo Snap
If you feel that the Windows screenshot tool does not meet your needs, try Gemoo Snap. It is a free, lightweight, and fast screenshot application that can satisfy a range of your needs, including quick screenshots, screenshots with feedback, image enhancements, pinned screenshots, cloud storage, and more. Gemoo Snap also allows you to use tagged photos to communicate more effectively.
In addition to its diverse screen capture options and cloud-saving capabilities, Gemoo Snap enables you to add text, arrows, shapes, and other annotations to better express your ideas. This feature is especially useful when providing input on a design, task, or mistake.
Gemoo Snap Key Features
- Capture any HTML element on a scrolling page within a chosen area, or capture the entire screen or a specific region.
- Easily share your screenshots publicly or privately while safeguarding your privacy.
- Post comments on the web page’s comment section to provide feedback.
- Copy your screenshots to the clipboard with ease.
- Save your screenshots immediately to Gemoo Cloud for editing, beautification, storage, or sharing.
- Add annotations such as text, arrows, and shapes to your images for better clarity.
Check how to screenshot on Gateway Laptop with Gemoo Snap step-by-step:
Step 1: Download and install Gemoo Snap on your computer, then sign up and log in to it.

Sign in Account
Step 2: Choose the screenshot mode that best suits your needs. If you want to take a quick screenshot, simply click the ‘Quick Screenshot’ button.
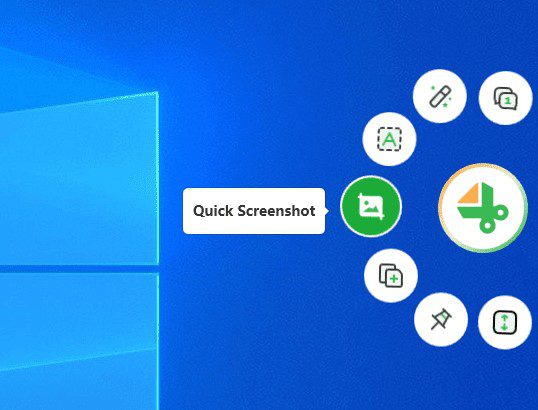
Click Quick Screenshot
Step 3: Once the screenshot has been captured, it will be automatically uploaded to Gemoo Cloud, where you can manage, organize, and share your screenshots.
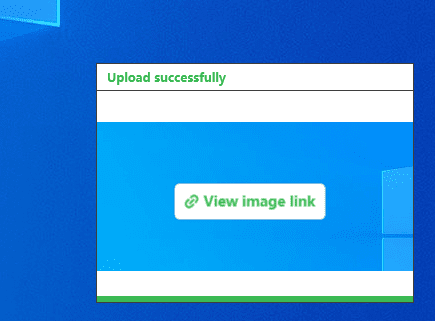
Upload Successfully
Screenshot On Gateway Laptop using Windows 10 Shortcuts
On your Gateway laptop, are you curious about how to take screenshots? Look nowhere else. Users can take screenshots easily and quickly in Windows without switching between apps or downloading additional software, thanks to Microsoft’s inclusion of useful keyboard shortcuts. These shortcuts offer a seamless way to capture particular areas of the screen or the entire screen, which is useful in various situations. This section will walk you through taking screenshots in Windows using the default keyboard shortcuts.
Step 1. Combine the “Windows,” “Shift,” and “S” keys.
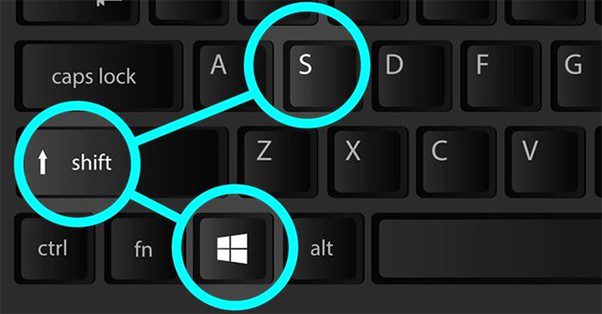
Press Windows Shift And S Keys
Step 2. Drag the cursor to select the capture area.

Click And Drag The Cursor
Step 3. The screenshot that was taken will be copied to the clipboard.
Step 4. Use “Ctrl” + “V” to paste the screenshot, or right-click once and then choose “Paste.”
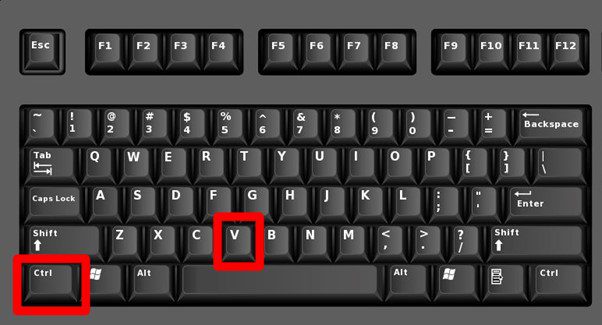
Click On Ctrl And V Keys
Capture On Gateway Laptop via Snip & Sketch
With Windows 10, Microsoft unveiled Snip & Sketch, a useful program created to make it easier to take screenshots and annotate them with drawings. Users can easily and precisely take screenshots of their entire screen, active windows, or specified areas with Snip & Sketch.
The tool has options that can be altered to suit unique preferences and needs. It is an invaluable tool for collaborative work, thorough information documentation, and the effortless sharing of visual content by streamlining the process of taking and editing screenshots.
Here are a few steps on how to use it effectively to take clear screenshots:
Step 1. Press the “Windows” key and look for “Snip & Sketch” to open the app.
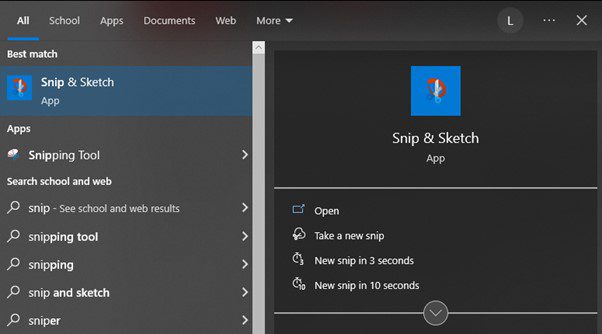
Search And Click On Snip And Sketch
Step 2. Click “New” and choose the type of snip you require.
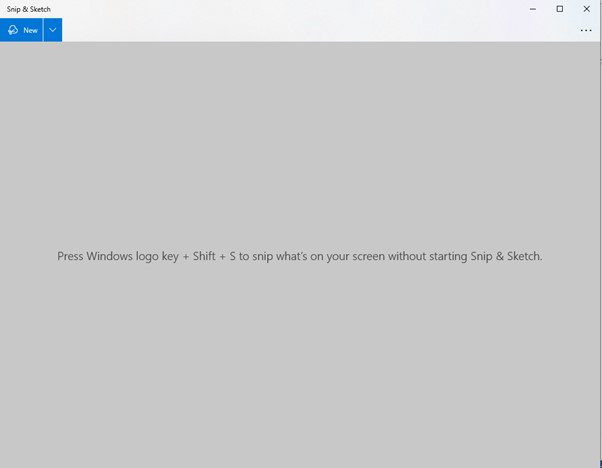
Click New And Choose The Required Type
Step 3. After taking the screenshot, the editing page will open in Snip & Sketch.
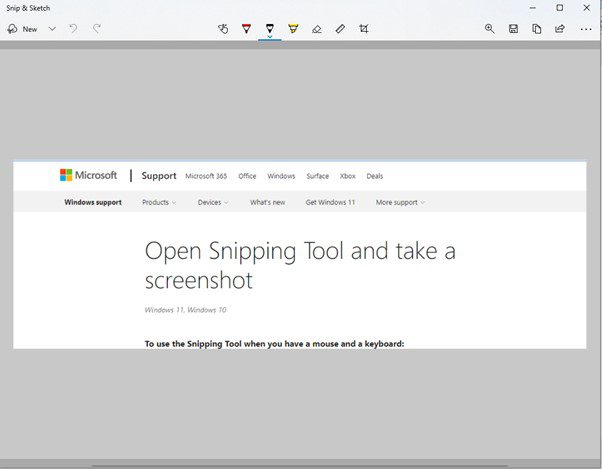
After Taking The Screenshot Editing Page Will Be Opened
Step 4. To save the screenshot, click the disc icon.
Click The Disk Icon To Save The Screenshot
Screenshot On Gateway Laptop with The Snipping Tool
Windows 10 comes with a useful app called The Snipping Tool. It facilitates quick and simple screenshotting. Users can accurately and quickly capture their screens with a straightforward interface. Customization options for the Snipping Tool include picking out particular regions or the entire screen. Besides this, users can add notes or highlight key elements after taking a screenshot, among other quick edits. Overall, Windows 10’s Snipping Tool is an easy-to-use and practical tool for taking and annotating screenshots. Here are a few steps on how to operate it.
Step 1. Type “Snipping Tool” in the Windows search bar and open it from the results.
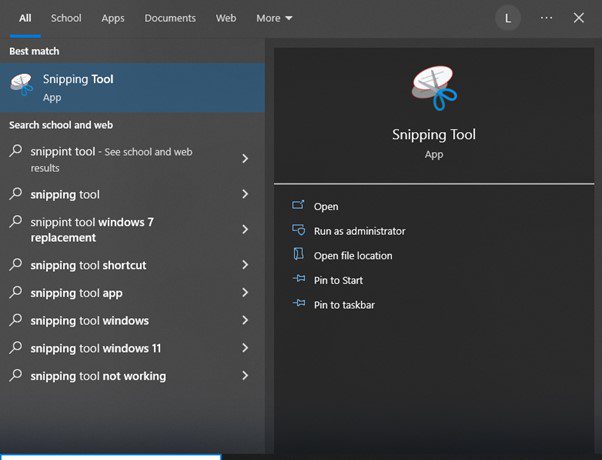
Search And Open Snipping Tool
Step 2. Click on “New” in the Snipping Tool window and choose your snip type according to your requirement.
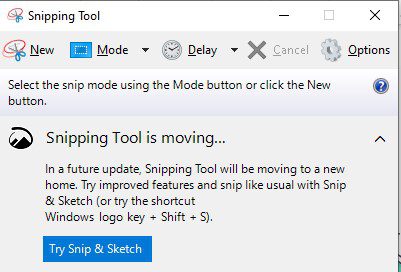
Click On The New Button And Select The Required Type
Step 3. Position your cursor over the area you want to capture.
Step 4. Click and drag your cursor and release to take the screenshot.
FAQ about screenshot on Gateway Laptop
Having doubts about how to take screenshots? Do not worry; this section will clear them all. Here are some famous FAQs.
1. Can I access my screenshots?
Yes, You can easily find your saved screenshots in Windows 10/11 by following these steps. To begin, launch File Explorer by pressing the Windows key and E key simultaneously. Then, locate and select either the Pictures or This PC folder. If you selected Pictures, look for a Screenshots folder within it. Alternatively, if you chose This PC, go to the Pictures folder and open the Screenshots folder within it. You can see and access all of your saved screenshots once you are in the Screenshots folder. This simple procedure allows you to quickly address and review your captured screenshots.
2. Can I take a screenshot of a scrolling page?
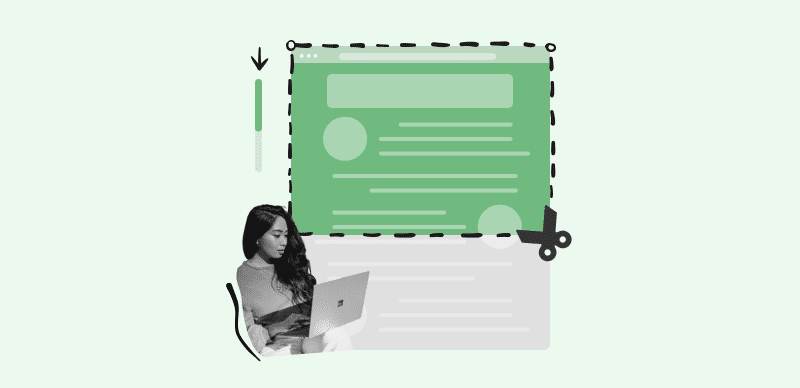
Yes! There are different ways to capture screenshots of a specific webpage or a window that scrolls. One option is to use special tools made by other companies to take scrolling screenshots. These tools allow you to capture the webpage, even parts not visible on your screen. Another option is to scroll the window and take screenshots of each part as it appears. Later, you can use software for editing images to combine all the screenshots into one complete picture. These methods allow you to capture and edit screenshots of long web pages or scrolling windows.
3. What is the easiest way to screenshot on a Gateway laptop?
Using the built-in keyboard shortcuts on a Gateway laptop is the easiest way to take a screenshot. Pressing the “Print Screen” or “PrtScn” key on your keyboard is popular. This takes a screenshot of the entire screen, which you can paste into your preferred image editing or document software. Another useful keyboard shortcut is “Alt + Print Screen,” which only copies the active window to the clipboard when it takes a screenshot of the screen. You can then paste it wherever you would like. These keyboard shortcuts are the quickest and most convenient way to take screenshots.
4. Is taking screenshots in a virtual meeting ethically right?
Capturing screenshots during virtual meetings can raise ethical concerns, and it is crucial to honor the privacy and confidentiality of the participants. Certain meetings may have specific regulations or policies regarding the usage of screenshots, so it is important to familiarize yourself with such guidelines beforehand. As a general guideline, seeking consent from all meeting attendees before taking and sharing screenshots is recommended. Moreover, responsibly handling and distributing the captured screenshots is essential, ensuring that confidential information is not exposed.
Final Thought
In conclusion, taking screenshots on Gateway laptops is a practical skill that can increase productivity and improve communication. It allows you to collect and share crucial information easily. Additionally, you can have more control and flexibility by taking screenshots of specific screen areas using programs like the Snipping Tool or Snip & Sketch. Practicing the straightforward techniques presented in this article can enhance your daily activities. If you find this article helpful, leave a comment and share it with other people so that they can benefit from it too.