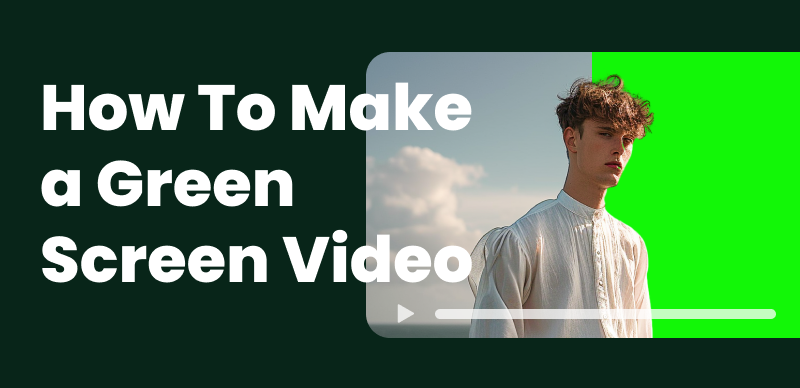
Have you ever wondered how filmmakers are able to place actors into fantasy worlds or exotic locations? The secret is using a green screen! Also called a Chroma key backdrop, a green screen lets you insert any background you want into a video shot in front of the green fabric. With some basic equipment, a bit of shooting practice, and video editing skills, you can learn how to make a green screen video.
How to Use a Green Screen
This beginner’s guide will explain what exactly green screens are, why they are used in video production, instructions for building your own on a budget, tips for filming with a green screen, and an overview of editing green screen footage. Whether you want to transport yourself to space or create a homemade movie, this article will teach you all about green screen terminology, setup, filming techniques, and video editing to help create professional-looking Chroma key composites.
Further Reading: How to Remix Instagram Reels Easily? >
Table of Contents: hide
What is a Green Screen, and How Does It Work?
How to Make Your Green Screen?
What is a Green Screen, and How Does It Work?
A green screen, also known as a Chroma key backdrop, is a surface colored in a single hue that allows media producers to insert and layer in additional visual elements. The most common color used for these backdrops is green since it differs most distinctly from human skin tones. That’s why this technology is referred to as “green screen” even though there is a choice of using other colors as well.
How does a Green Screen Work?
The technique works by filming a subject against the green screen background, then removing or making the green color transparent through video editing processes and software. It reveals whatever else exists on the other layers below, enabling the person to be placed into a new environment or setting.
· C hroma Key Technology:
Chroma key technology works on the principle of color hues. Since green is strongly distinct from most colors in the scene, a process called keying can accurately detect and filter out only the green areas from the footage. This leaves behind space that can then be filled in with other visual elements like photos, videos, graphics, etc. The subject will appear integrated into the new background seamlessly.
· Flexibility and Control
Compared to shooting on location, green screens offer greater flexibility and control over the environment. It’s also far cheaper than constructing elaborate sets or using visual effects teams to build computer-generated scenes from scratch. The technology has been around since the 1950s, becoming popularized in movies and weather broadcasts. As both video editing software and green screen materials have improved, their use has expanded rapidly thanks to affordability and accessibility.
· Customization
Green screens allow media creators to place subjects anywhere imaginable—from exotic destinations to fantasy worlds. They provide almost unlimited options for custom backgrounds compared to shooting a fixed physical location. With some creative thinking and video editing skills, the possibilities are endless: using green screens for compositing footage and transforming scenes.
Further Reading: What Is Chroma Noise >
Why Use a Green Screen?
Green screens provide videographers, photographers, and other content creators with a highly versatile tool for enhancing their videos and crafting custom scenes. Here are some of the major benefits of using a green screen:
· Place subjects in any location without travel:
Want to interview someone in the Egyptian pyramids or on top of Mount Everest? By filming in front of a green backdrop, you can digitally insert exotic locations without leaving your studio. It saves significant time and money compared to shooting on-site.
· Create fantastical environments not possible in real life:
Green screens allow you to build scenes that could never exist physically, like placing someone into an alien world or underwater fantasy. You can use many options.
· Lower costs than on-site shooting or set building:
Renting out locations or constructing elaborate sets requires major budgets. A rightly done basic green screen setup will not cost much.
· Saves time over travel and production:
Getting cast/crew to a location takes extensive planning. A green screen makes inserting backgrounds a breeze in post-production.
· Combine multiple footage sources seamlessly:
With a green screen, it’s easy to layer in other clips, graphics, animations, etc., for dynamic composite scenes.
· Greater control over the final look:
Want a sunny beach backdrop but shot on a cloudy day? The green screen gives you total control over the environment’s lighting, mood, details, and more.
Whether you want to transport viewers or create a fictional universe, green screens eliminate the physical limitations of shooting on location. With some creativity and video editing skills, the possibilities are truly endless for world-building using DIY green screen setups.
How to Make Your Green Screen?
Making your DIY green screen is a budget-friendly way to have a backdrop for Chroma key filming. Here are some methods for creating homemade green screens:
Using Green Craft Paper
For a quick and easy option, try using green craft paper. It is an affordable, temporary solution that works well when you need a portable green screen.
Step 1: Select heavyweight green craft paper or poster board in a matte finish. Use 3-4 sheets to cover your desired backdrop area.
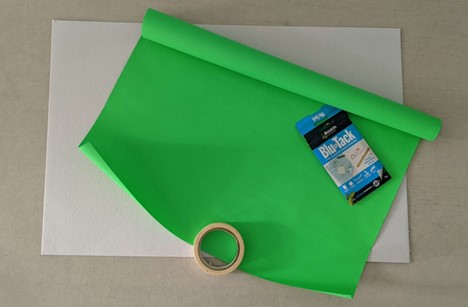
Get Green Craft Paper Or Poster Board
Step 2: Tape the sheets edge-to-edge onto a blank wall or plywood board. Remove all the creases appearing on the paper.
Step 3: Use strong, diffuse lighting pointed at the paper to avoid shadows. Avoid direct lighting that can cause glare.
Step 4: Film your subject at least 6 feet in front of the craft paper backdrop. Follow tips for green screen filming.
Subject At 6 Feet
Step 5: In video editing, use a Chroma key filter to remove the green. Add Matte Cleaner to refine edges and reduce noise.
Using Disposable Tablecloth
For a reusable backdrop, disposable plastic tablecloths work well. The material is durable and can be fixed to a frame.
Step 1: Select an inexpensive green plastic disposable tablecloth with a matte surface. Tape down or use thumbtacks to secure it taut on a wall.
Step 2: Remove or avoid creases, wrinkles, and folds, which can cause issues with the keying process. Iron on a low heat setting if needed.
Step 3: Follow the lighting and filming guidelines above. Position the subject at least 8 feet away to minimize shadows and spills onto the subject.
Step 4: Use Chroma key filtering and Matte Cleaner tools to remove the backdrop and refine edges around your subject.
Using Disposable Tablecloth
Using Green Matte Paint
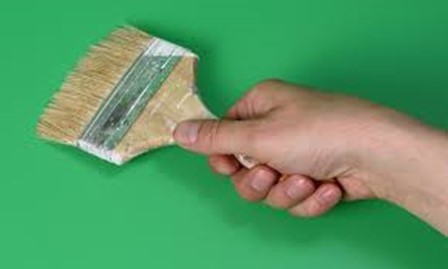
For a permanent studio green screen, paint a wall or board green. It creates a smooth, seamless backdrop.
Step 1: Paint a blank wall or plywood board using dark matte green paint. Allow to fully dry. Apply 2-3 coats to ensure a rich, even color.
Step 2: Follow the tips above for a smooth, well-lit surface. Position lights at 45-degree angles to avoid glare.
Step 3: During filming and editing, follow the same methods described above for removing the green backing. The flat-painted surface works great for keying.
With some DIY alternatives and editing finesse, you can create effective green screens on a budget. Experiment to see which methods work best for your production style and video content needs.
Using Green Matte Paint
How to Shoot with a Green Screen?
Proper setup and shooting techniques are key to getting good footage for Chroma key compositing. Follow these tips when filming in front of a green screen:
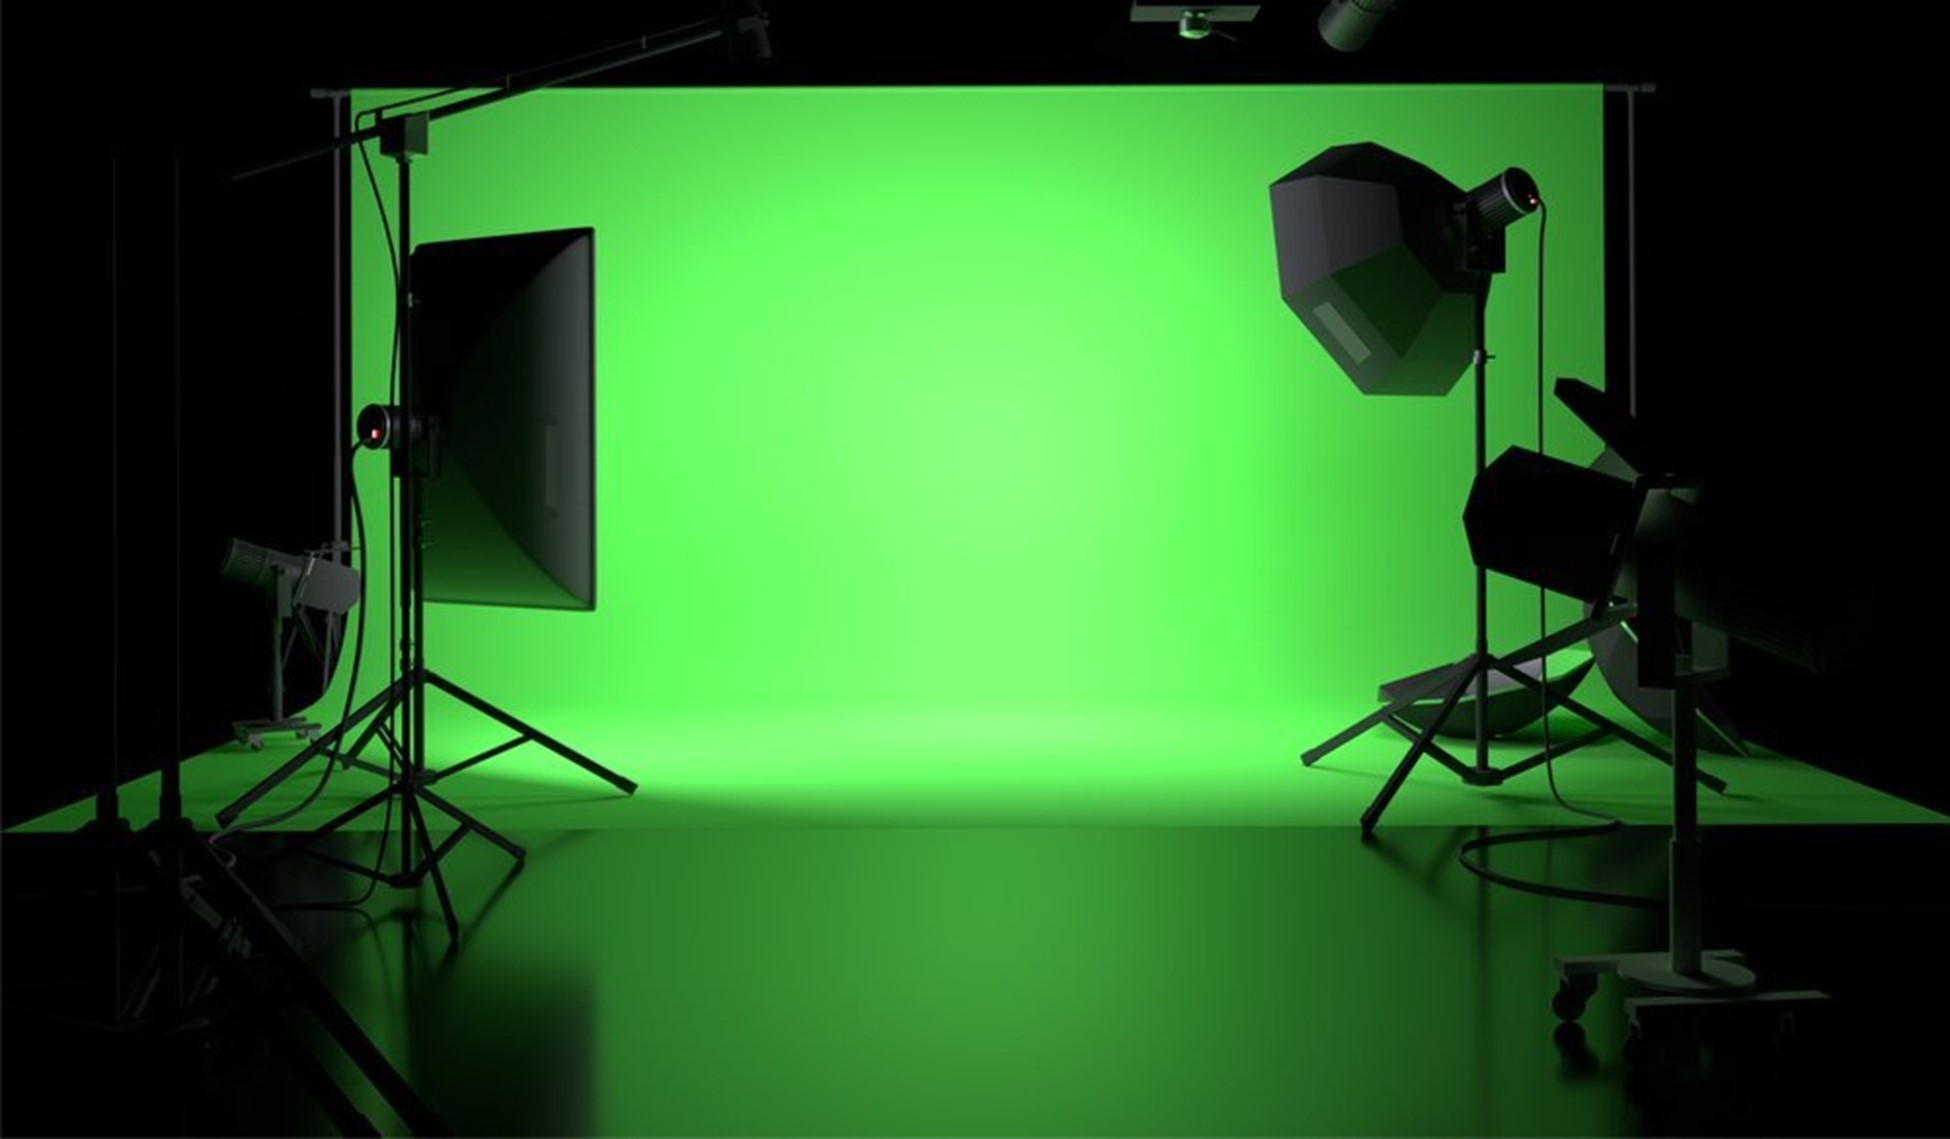
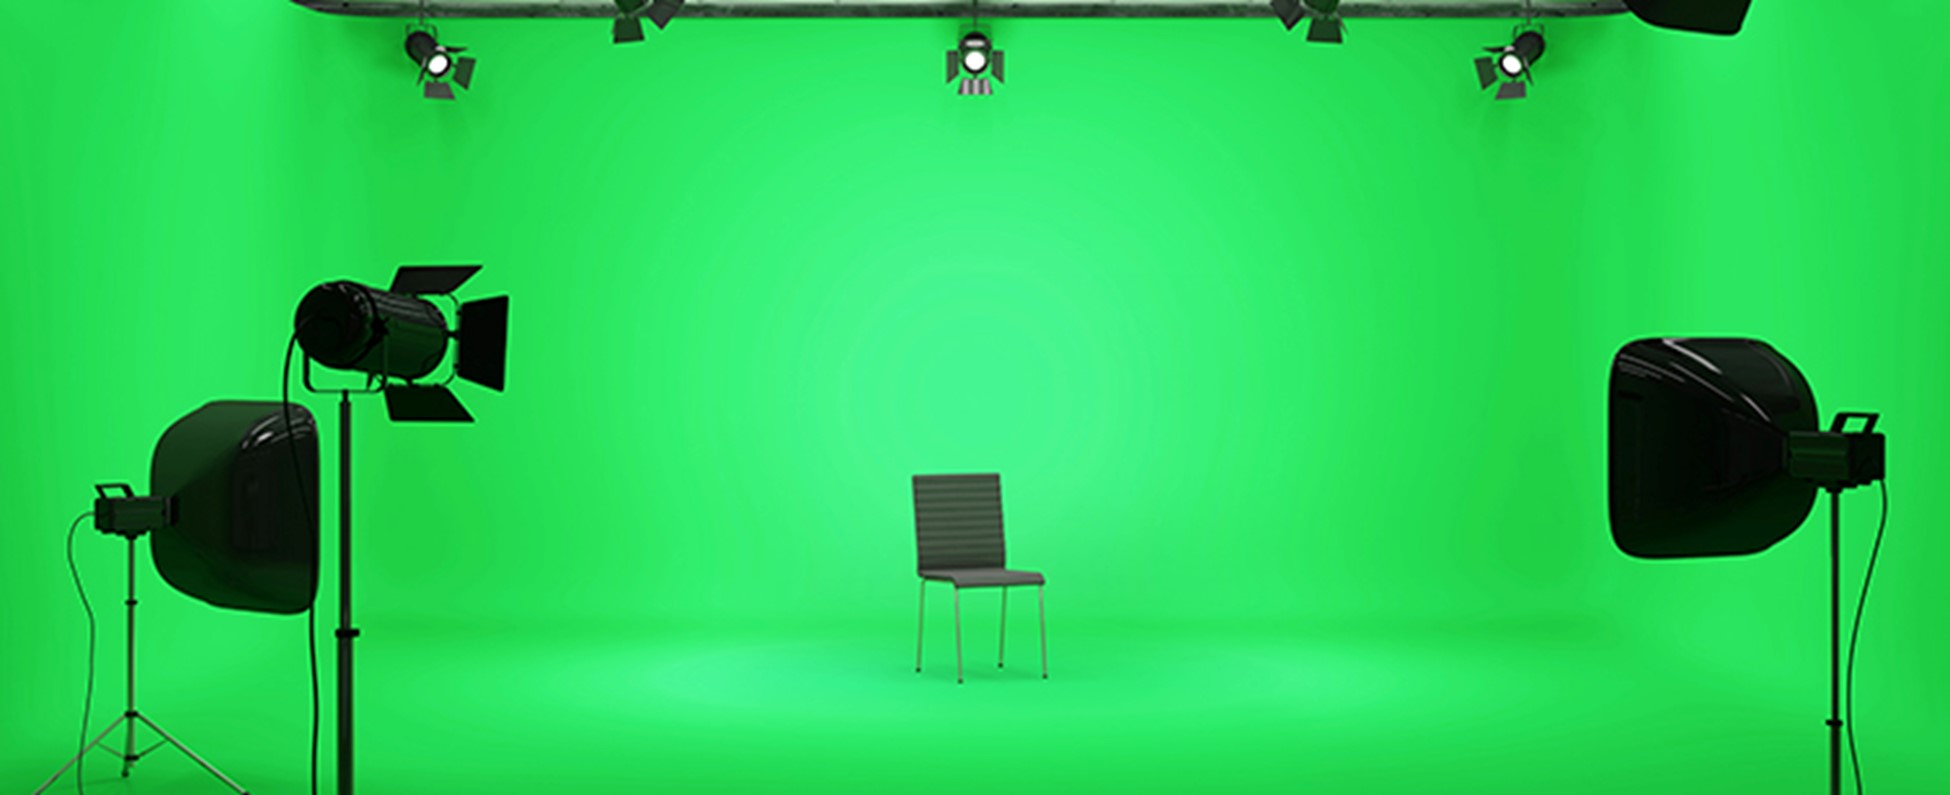
Prepare the Green Screen Backdrop
· Use a wrinkle-free screen that covers the entire background. Tape down or mount taught on a frame.
· Position the screen far enough from the subject to avoid shadows or spill onto them.
· Light the backdrop evenly from corner to corner with diffuse lighting. Avoid direct light causing hot spots.
Set Up Lighting
- Place key light, fill light, and backlight to illuminate the subject evenly. Use softboxes or diffusers.
- Match the brightness and color temperature of subject lighting to green screen lighting.
- Check for shadows or green spills on the subject and adjust lights as needed.
Set Up Lighting
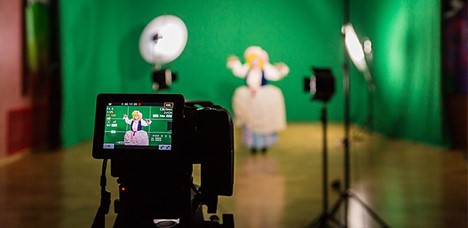
Position the Camera
- Mount the camera on a tripod and place it where the subject will be clearly separated from the background.
- Frame shots leave adequate space around the subject to allow for background placement.
- Use medium close-up and close-up shots. Wider angles increase the risk of spillage.
- Record in the highest resolution possible with a sharp focus on the subject.
Position The Camera
Film the Subject
- Instruct the subject to avoid direct contact with the screen to prevent contamination.
- Capture a variety of angles and movements for editing flexibility.
- Take some shots with the subject turning and moving to map edges in the post.
- Insert physical markers to track movements and assist with editing if needed.
Maintaining consistency in setup, lighting, camerawork, and subject positioning will provide clean footage to work with in post-production. Test different configurations and watch the recorded footage to improve your green screen shooting technique.
How to Edit Green Screen Footage?
Once you have captured your footage in front of a green screen backdrop, the real magic happens in post-production when editing the video. This process involves digitally removing the solid green background and compositing the foreground subject onto a new background of your choice. The editing stage offers immense creative possibilities.
The basic workflow includes bringing your footage into a video editing program, using Chroma key tools to key out the green screen, smoothing edges around your subject, inserting new background imagery, color correcting to match lighting, adding graphics or text, adjusting perspective if needed, and exporting the final composite video. While the editing process can seem complex for beginners, with some practice and video tutorials to follow, anyone can learn to produce professional-looking green screen videos using affordable consumer software. The results are truly only limited by your imagination and creativity.
Also read: How to Make a Slideshow with Music: A Step-by-Step Guide >
Final Thought
We hope this beginner’s guide provided you with a helpful introduction to the world of green screens and video compositing. Learning how to make a green screen video opens up endless possibilities for content creation. Don’t be intimidated by the process – with basic supplies, shooting tips, and video editing software, you’ll be ready to produce your Chroma key creations in no time. Feel free to reference this guide for setup instructions, filming techniques, and editing tips. The most important thing is to get hands-on experience and start experimenting with your projects. Put your new green screen knowledge into action and have fun seeing where your creativity takes you! We’d love to see the videos you make, so please come back and share links in the comments section below.