How to Make a Slideshow with Music: A Step-by-Step Guide

In today’s digital age, creating a picture slideshow with music has become a popular way to share memories, showcase products, or create engaging presentations. Adding music to your slideshows enhances the visual experience, evokes emotions, and sets the mood. This comprehensive guide will explore three different methods to create a slideshow with music. We’ll cover the best way to make a picture slideshow with music online, how to make a slideshow with music on Mac, and how to make a slideshow with music on Windows.

How to Make a Slideshow with Music
Table of Contents: hide
Best Way to Make a Picture Slideshow with Music Online
How to Make a Slideshow with Music on Mac
Part 1: Best Way to Make a Picture Slideshow with Music Online
We are creating a picture slideshow with music online, which offers convenience and accessibility. Here, we will discuss the best online tools available for this purpose.
One popular online tool for creating slideshows is Clippa Video Editor. Its user-friendly interface and extensive features make it an ideal choice. Among its impressive features, one standout capability is its ability to make a slideshow with music. Whether you want to compile memorable photos for a special occasion, create a promotional presentation, or share a visual story, Clippa offers a seamless and intuitive experience. Users can easily upload their images, arrange them in the desired order, and select from a wide range of music options to set the perfect mood. With customizable transitions, effects, and timings, Clippa ensures your slideshow comes to life, engaging viewers and leaving a lasting impression.
To create a slideshow using Clippa, follow these steps:
Step 1: Sign up or log in to Clippa.
Visit the Clippa website and sign up for a new account or log in if you already have one.
Step 2: Import and arrange the desired pictures.
Upload the pictures you want to include in your slideshow. Arrange them in the desired order by dragging and dropping them.
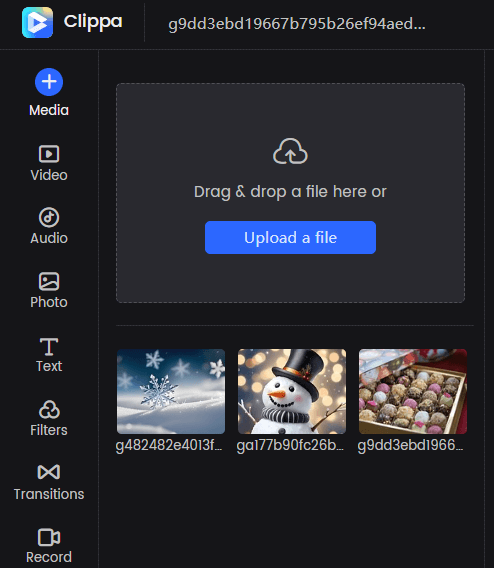
Upload Media Files from Your Computer
Step 3: Add music to the slideshow.
Clippa provides a vast music library. Select a suitable track that complements the mood and theme of your slideshow. You can also upload your music files if desired.
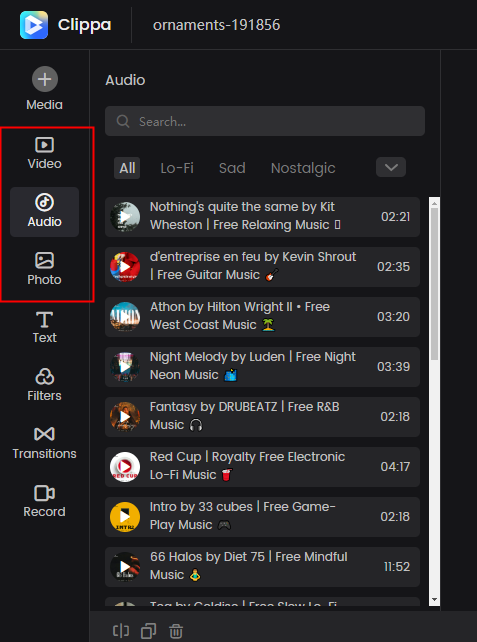
Add Music from Stock Media
Step 4: Customize transitions, effects, and timings.
Enhance your slideshow by adding transitions between slides, applying effects, and adjusting the timing of each slide.
Step 5: Preview and save the slideshow.
Preview your slideshow to ensure everything looks and sounds perfect. Once satisfied, save the slideshow to your desired format, such as MP4.
Part 2: How to Make a Slideshow with Music on Mac
Mac users have access to various software options for creating slideshows with music. One such popular software is iMovie. iMovie is an exceptional video editing software designed exclusively for Mac users. It allows users to unleash their creativity and produce professional-looking videos. Among its impressive features is that iMovie can create stunning slideshows with music, enabling you to craft visually captivating slideshows enhanced by carefully synchronized music.
Let’s explore how to create a slideshow with music using iMovie:
Step 1: Launch iMovie and create a new project.
Launch iMovie and start a new project by selecting the appropriate settings.
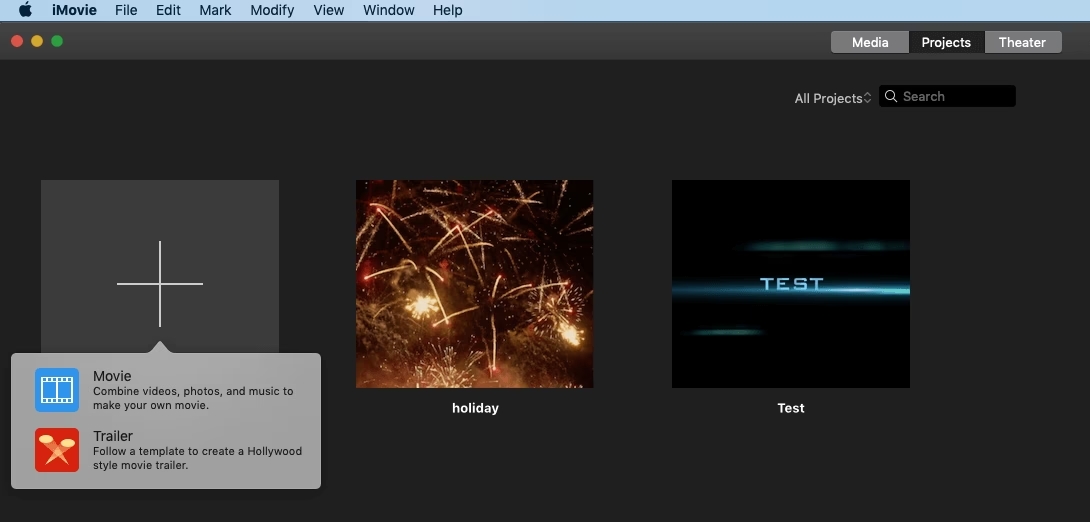
Create New Project
Step 2: Import and arrange the pictures in the desired order.
Import the pictures you want to include in your slideshow into iMovie and arrange them in the desired order by dragging and dropping.
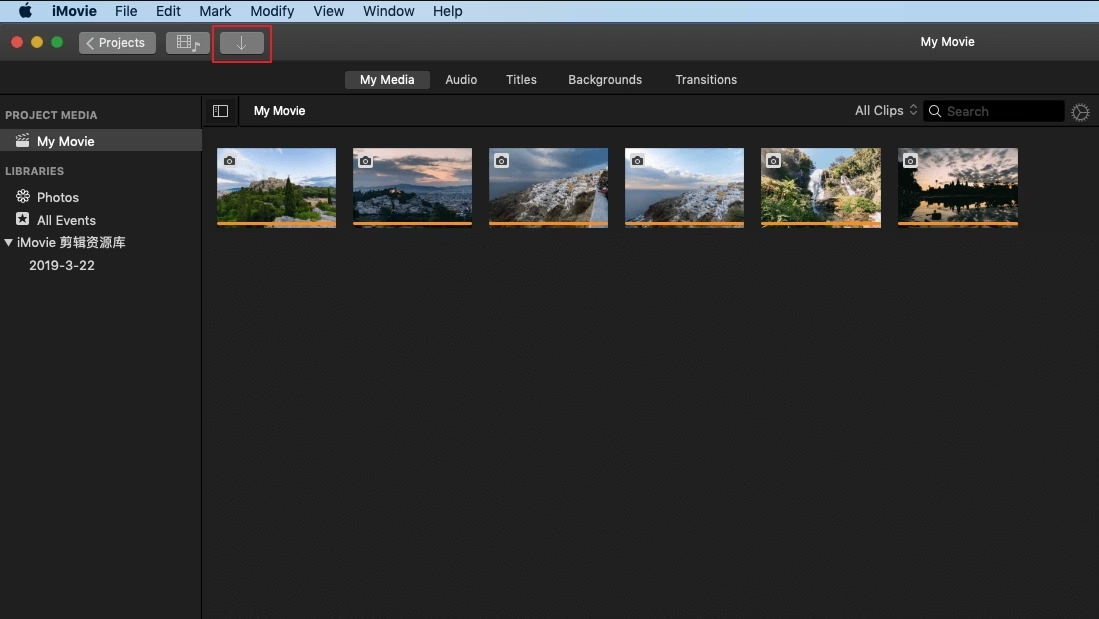
Import Slide Show Photos
Step 3: Add music to the slideshow.
To add music, go to the “Audio” tab in iMovie, explore your music library, or import your music. Please choose the desired track and drag it onto the timeline.
Step 4: Customize transitions, text, and effects.
Customize your slideshow by adding transitions between slides, incorporating text overlays, and applying effects to individual slides.
Step 5: Adjust timings and preview the slideshow.
Fine-tune the timing of each slide to synchronize with the music and preview the slideshow to ensure a seamless experience.
Step 6: Export and save the slideshow.
Once satisfied with the slideshow, navigate to the “File” menu, select “Share,” and choose your preferred export format. Save the slideshow to your desired location for sharing or future use.
Part 3: How to Make a Slideshow with Music on Windows
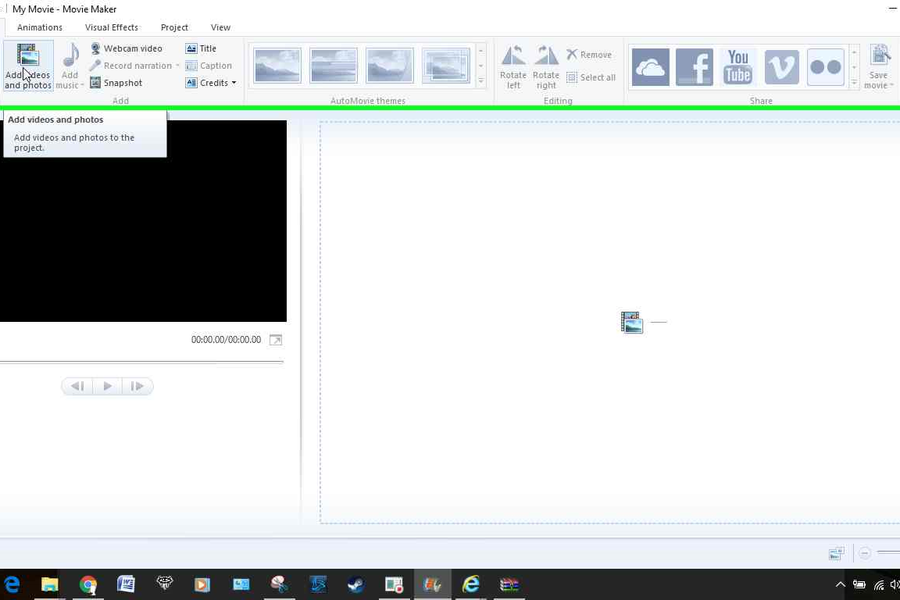
Windows users can create slideshows with music using software like Windows Movie Maker or Photos. Windows Movie Maker is a popular video editing software designed for Windows users. It empowers users to create impressive videos effortlessly. Whether you’re sharing cherished memories or creating a professional presentation, Windows Movie Maker provides the tools to create stunning picture slideshows with accompanying music.
Here’s how to do it using Windows Movie Maker:
Step 1: Open Windows Movie Maker and create a new project.
Open Windows Movie Maker and create a new project, customizing the settings accordingly for your Windows computer.
Step 2: Import the pictures and arrange them in the desired order.
Import your desired pictures into Windows Movie Maker and arrange them effortlessly by dragging and dropping them in the perfect order.
Add the Pictures
Step 3: Add music to the slideshow.
Elevate your slideshow by adding music from your library. Click the “Add Music” button, browse your collection, select the preferred track, and import it seamlessly.
Step 4: Optimize Music Slideshow with transitions, effects, and text.
Enhance your slideshow by adding transitions between slides, applying effects, and including text overlays if desired.
Step 5: Adjust timings and preview the slideshow.
Achieve synchronization by adjusting slide timings to harmonize with the music. Preview the slideshow to ensure a flawless and captivating experience.
Step 6: Save or export the slideshow.
Preserve your masterpiece by saving the project for future edits. When ready for the final version, export the slideshow by selecting “Save Movie” in the “File” menu. Please choose your desired format and location to save it in.
Frequently Asked Questions Making a Music Slideshow
- Can I use copyrighted music in my slideshow?
Using royalty-free or properly licensed music is generally advisable to avoid copyright infringement. Some websites and platforms offer royalty-free music, which can be used in your slideshows without legal issues.
- Can I adjust the timing of the slides to match the music?
Yes, most slideshow software offers the option to adjust the timing of each slide. It allows you to synchronize the transitions between slides with the music, creating a more engaging and cohesive experience.
- Can I customize the visual effects and transitions in my slideshow?
Yes, slideshow software typically provides a range of visual effects and transitions that you can apply to your slides. These features allow you to add creative elements and enhance the visual appeal of your slideshow.
Conclusion
Creating a slideshow with music is a fantastic way to tell stories, share memories, or engage your audience. In this guide, we explored three methods: making a picture slideshow with music online via Clippa, creating a slideshow with music on Mac using iMovie, and making a slideshow with music on Windows using software like Windows Movie Maker. Each method offers unique features and capabilities to help you bring your vision to life. Whether you prefer online tools’ convenience or dedicated software’s versatility, you now have the knowledge and step-by-step instructions to create stunning slideshows with music. So go ahead, unleash your creativity, and captivate your audience with a memorable slideshow that combines the power of visuals and music.