Keeping your computer tidy is highly recommended to everyone, and that means deleting old content from time to time. For most people, screenshots are among the types of files that accumulate the most rapidly, so learning where to find these screenshots on Mac and how to permanently remove screenshots on Mac is an essential computer literacy skill.
If you are using a Mac, you are probably familiar with this issue and already have more screenshots than you know what to do with. It won’t be too hard to get rid of them completely and free up valuable space, but there are some things you should know before you start the process.
We will try to respond to some of the most important questions related to deleting screenshots from a Mac device, taking into account the perspective of the user.
Also Read: How to Remove Shutterstock Watermark Online >
Where are Screenshots Saved on a Mac Computer?
Knowing where to find screenshots is the first step toward being able to remove them from the machine. Of course, for anyone using a MacBook for a while, the answer to this question is painfully obvious. That’s because screenshots are placed on the desktop by default (where it’s impossible to miss them) and if they are not cleared out periodically they tend to spread all over the screen. This may be a surprise to users who are accustomed to iOS devices, which save all screenshots in the Library app.
There are ways to keep your screenshots organized on a Mac laptop as well. Some users like to create a stack specifically for screenshots, which helps to reduce the presence of those files on the desktop. However, the images remain saved on the hard disk and will stay there until they are deleted. Sooner or later, their accumulated file size will become a burden and the Mac owner will need to take action to free up space.
How to Delete Screenshots on a MacBook Manually?
Manual deletion of screenshots on a MacBook computer is really simple and doesn’t differ from the procedure you would use to remove any type of file.
- To delete screenshots, you can find them, select the ones you want to remove, and press Command + Delete to send them to the Trash folder.
- Alternatively, you can right-click on the image and choose Move to Trash or drag-and-drop the file to the trash bin icon.
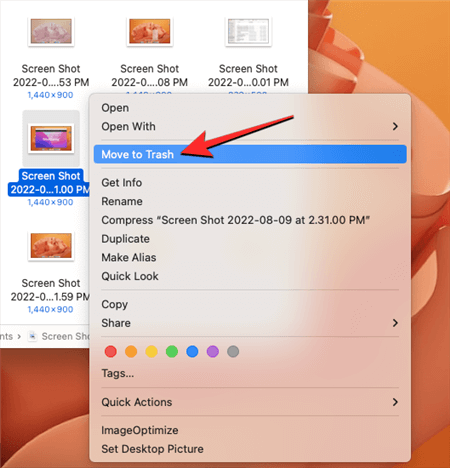
Choose Move to Trash
- To delete multiple screenshots at once, you can select several images by pressing and holding the Shift key for adjacent images or the Command button for non-adjacent images.
- Once the screenshots are selected, right-click on any of the highlighted files and choose Move to Trash.
- If the screenshots are stored in a separate stack, you can right-click on the desktop, select Use Stacks, choose the Screenshots stack, and follow the same procedure to send the stack contents to Trash.
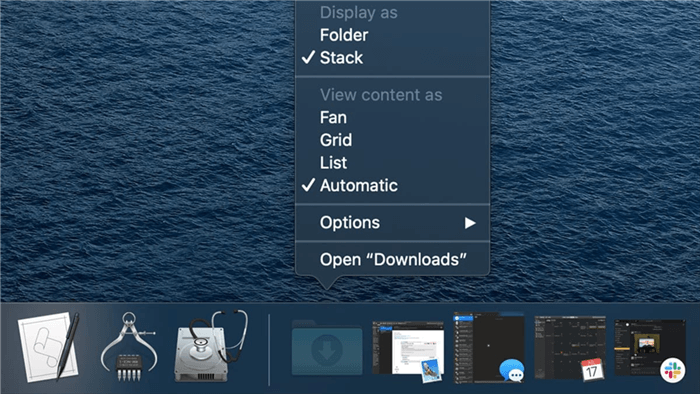
Choose the Screenshots Stack
- Remember to empty the Trash folder to permanently delete the screenshots and free up space on your computer.
What to Do if You Can’t Delete Screenshots on a Mac?
In a vast majority of cases, screenshot deletion should go without the slightest issue, but some users report problems with this task. Instead of deleting the images, they receive a message that the chosen action can’t be performed. This typically occurs when the user doesn’t have permission to remove files (i.e. on a work computer) or when there is a random bug with MacOS.
While this situation is certainly very frustrating, there are a few easy fixes that could help you get around this issue. Here are a few ideas worth trying:
- Move the screenshots to a different location on the computer and try deleting them from there
- Request from the network administrator to change the status of your permissions
- Disable the SIP function in the MacOS Recovery, delete the screenshot, then turn SIP on again
Tips. How to Take Screenshots on MacBook
Gemoo Snap is a powerful screen capture tool that offers various features for capturing, annotating, enhancing, pinning, and sharing screenshots. It supports capturing the full screen, selected windows, and specific portions of the screen. The unique floating-action-button design provides a distinct user experience.
In addition, Gemoo Snap allows you to manually select and upload images to the Cloud. It is compatible with both Windows and Mac systems, making it a versatile choice for screen capture on either platform. Let’s explore the capabilities of Gemoo Snap:
- Quick Screenshot – Quickly and efficiently capture images of anything on your screen, including webpages, documents, and videos.
- Screenshots to Clipboard – The clipboard screenshot feature enables you to save screenshots to your clipboard for easy sharing via email or messaging apps.
- Recognize Text from Screenshots – With the OCR feature, you can extract text from your screenshots and save it as a separate file. This is especially helpful for extracting text from documents or images.
- Scrolling and Screenshot – For lengthy web pages or documents that require scrolling, Gemoo Snap offers scrolling capture, allowing you to capture screenshots of the entire page.
- Screenshot & Feedback – You can capture screenshots and provide feedback to your team or colleagues, making it particularly useful for remote workers or collaborative projects.
- Screenshot & Beautify – You can crop, resize, and add text to your screenshots, making it easy to highlight important information for tutorials or instructional materials.
Now, follow the detailed steps below to take a screenshot on your Mac computer:
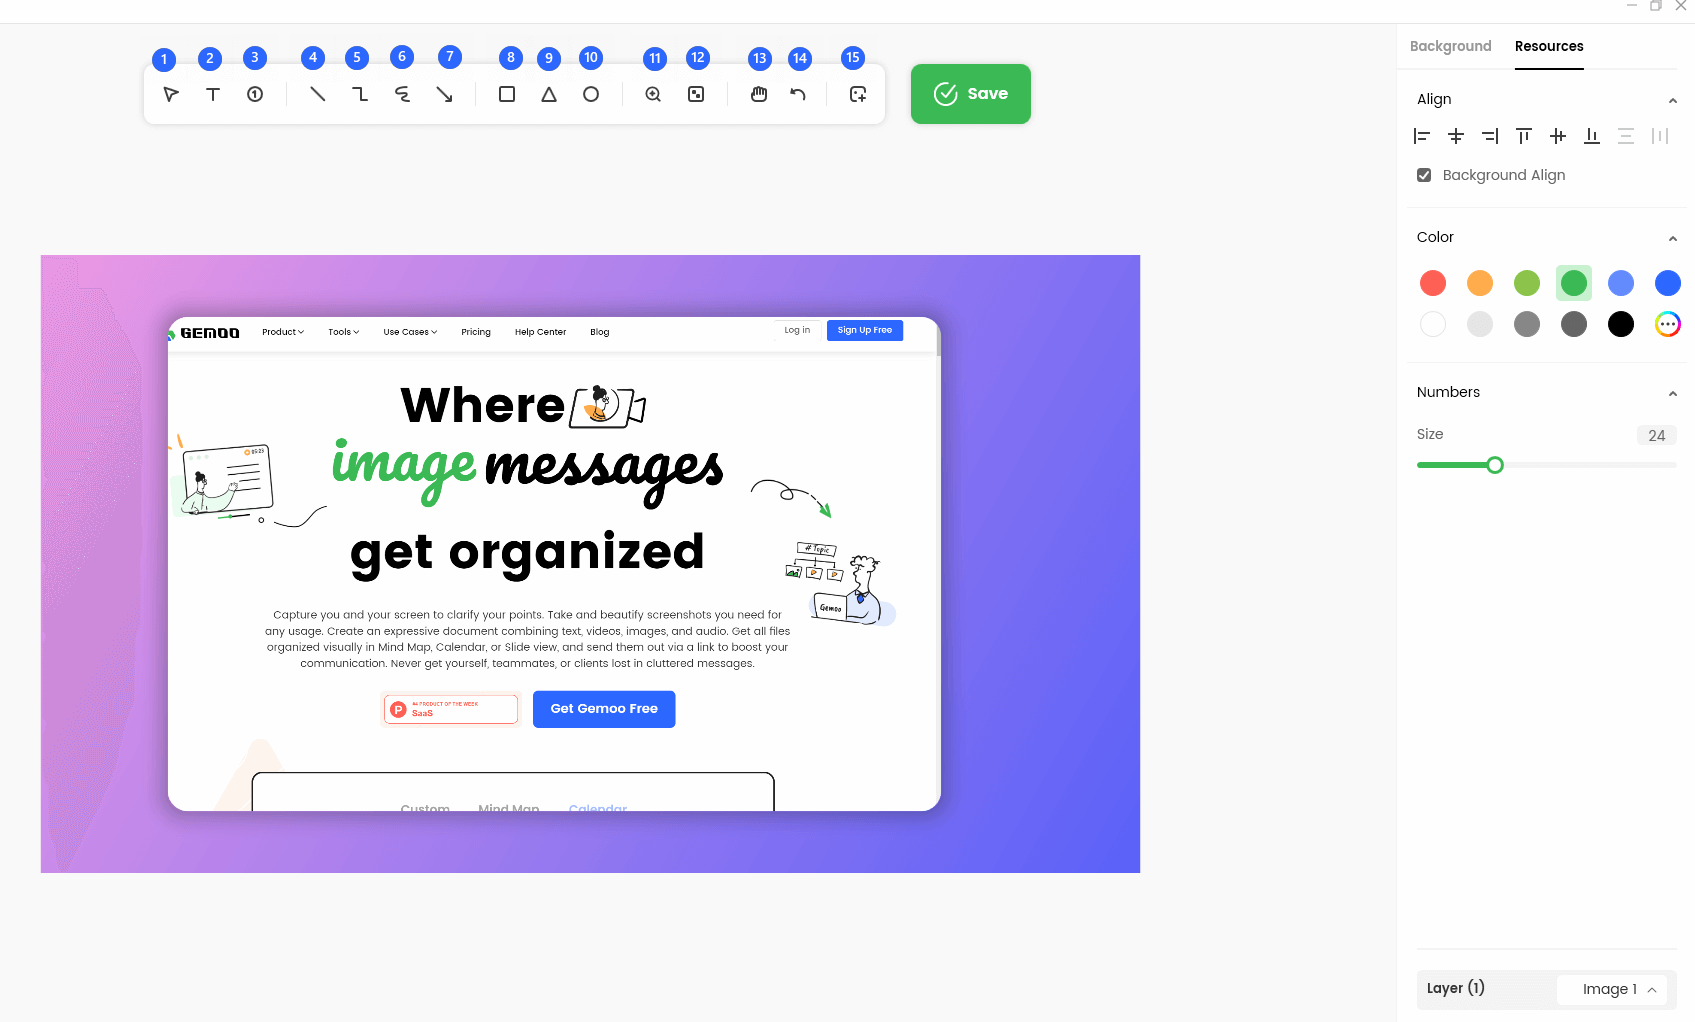
Step 1. Download and install Gemoo Snap on your Mac computer. Launch Gemoo Snap and enter your account and password to log in.

Gemoo Snap Interface
Step 2. Choose the screenshot mode you need. For example, we will use the Screenshot & Beautify mode as an example.
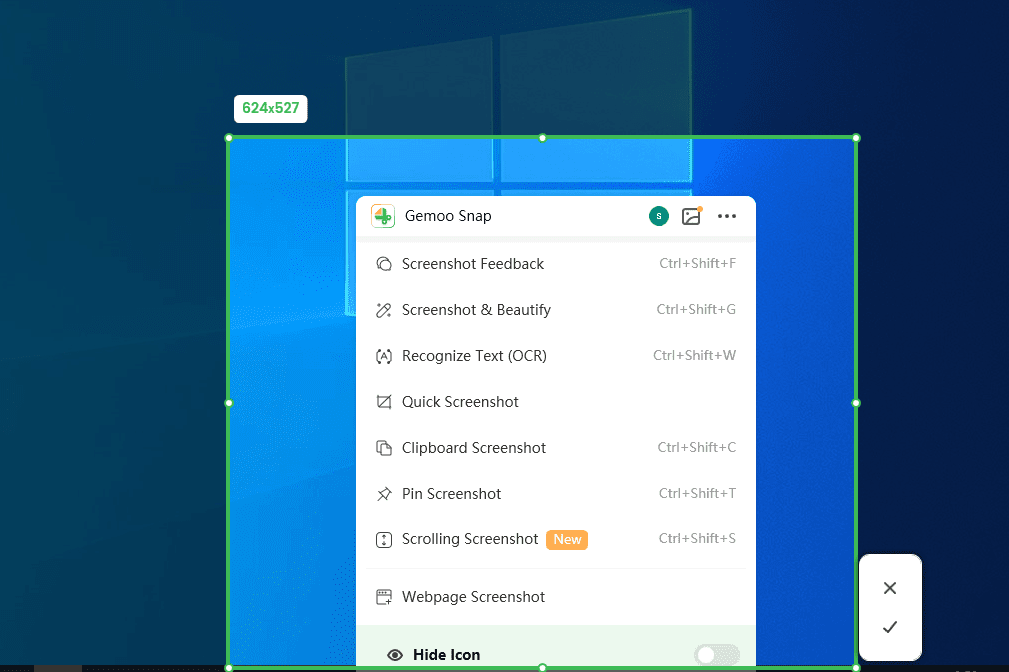
Customize the Desirable Region
Step 3. After taking a screenshot you can add text, numbers, shapes, lines and mosaics to beautify your image easily. No professional skills are required.
Annotate the Screenshot
FAQs about Deleting Screenshots in MacOS
What should I do if I can’t find my screenshots on my desktop?
Desktop is the default location where your Mac is storing all screenshots you take unless instructed otherwise. If you can’t find recent screenshots there, it’s likely that a different destination folder was previously specified. You can try to find where the screenshots are kept by using the Finder app.
Is it possible to completely remove a screenshot from Mac without sending it to Trash?
When you are immediately certain that you want a screenshot to permanently disappear from your computer, you can use a shortcut that bypasses Trash. By pressing the keys Option + Command + Delete all at the same time, you can erase the image completely, making it impossible to retrieve later.
How often should I delete all old screenshots from my Mac computer?
Cleaning up your desktop or Screenshots stack in regular intervals is a good idea if you are snipping a lot of images. Doing it once per month should be enough for most users, but if your desktop is filling up faster than that you can switch to a weekly deletion schedule.
Conclusion
It takes just a little bit of effort to remove all screenshots you don’t need from your Mac, so you shouldn’t delay this maintenance step. Even if you have lots of screen captures piled up on your desktop, eliminating them completely won’t take more than a few minutes. It’s important to remember that images are not gone from the hard disc until they are removed from Trash, so users need to know how to perform this step in addition to clearing out the desktop.