How to Add Text in Adobe Premiere Pro
Adding text to your videos is a crucial aspect of video editing that can significantly enhance your message and engage your audience. Whether you’re creating a YouTube video, a social media post, or a professional film, incorporating text can help convey important information, emphasize key points, and add visual interest to your project. Adobe Premiere Pro, a powerful video editing software, offers a wide range of tools and features for adding and customizing text in your videos. In this guide, we’ll walk you through the step-by-step process of adding text in Adobe Premiere Pro.
3 Steps to Add Text in Adobe Premiere Pro
Learn how to seamlessly incorporate text into your videos with Adobe Premiere Pro using these three easy steps.
Step 1. Getting Started with Adobe Premiere Pro
Before you can add text to your video, you need to set up your project in Adobe Premiere Pro. Here’s how to get started:
- Launch Adobe Premiere Pro and click on “New Project.” Choose a name for your project and select a location to save it.
- Click on “File” > “Import” to bring your video footage into the project. You can also drag and drop your files from your computer into the Project panel.
- Right-click on your imported video and select “New Sequence From Clip.” This will create a new sequence that matches your video’s settings.
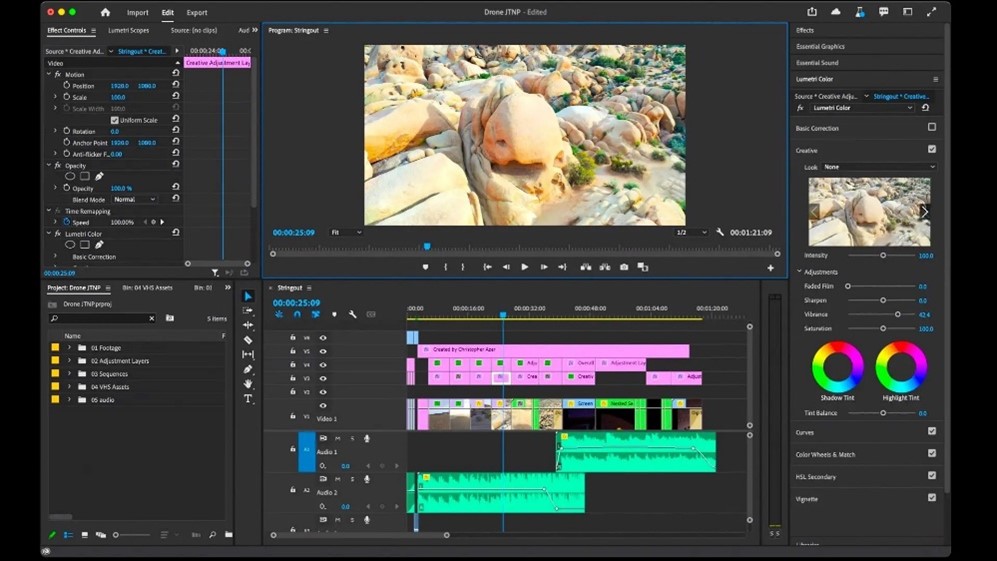
Adobe Premiere Pro
Step 2. Adding Text in Adobe Premiere Pro
Now that your project is set up, it’s time to add text to your video. Follow these steps:
Using the Type Tool
- Select the Type Tool (T) from the Tools panel.
- Choose your desired text font, size, and color from the Essential Graphics panel.
- Click on the video preview window to position your text in the frame.
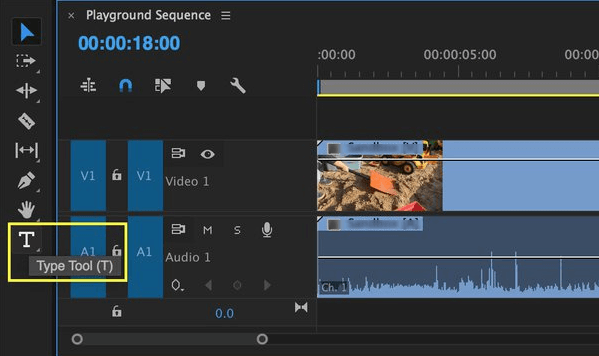
Click the Type Tool
Creating Text Layers
- Text layers are separate from video layers, allowing you to edit and animate text independently.
- To add a new text layer, click on the “New Item” button in the Project panel and select “Title.”
- Double-click on the title to open the Title Editor, where you can enter and format your text.
Formatting Text
- Use the alignment buttons in the Essential Graphics panel to change text alignment and line spacing.
- Apply text styles such as bold, italic, or underline to emphasize specific words or phrases.
- Create bullet points or numbered lists to organize your text and make it easier to read.
Step 3. Customizing Text Appearance
In the Effects panel, browse the “Video Effects” folder and expand the “Text” category to find various text effects. Drag and drop an effect onto your text layer to apply it. Adjust the effect properties in the Effect Controls panel to fine-tune the appearance.
The Essential Graphics panel offers a library of pre-designed text templates that you can easily customize to fit your video’s style. Browse the templates and drag one onto your text layer. Modify the template elements, such as font, color, and size, to match your desired look.
Add movement and visual interest to your text by applying preset animations from the Essential Graphics panel. For more control, create custom animations using keyframes. Move the playhead to the desired start and end points of your animation, and adjust the text properties to create the animation effect.
How To Add Captions and Subtitles with Adobe Premiere Pro
In addition to adding text for titles and graphics, Adobe Premiere Pro also allows you to create captions and add subtitles for your videos. This is particularly important for improving accessibility and reaching a wider audience. To add captions or subtitles:
Step 1. Go to “File” > “New” > “Captions” to create a new caption file.
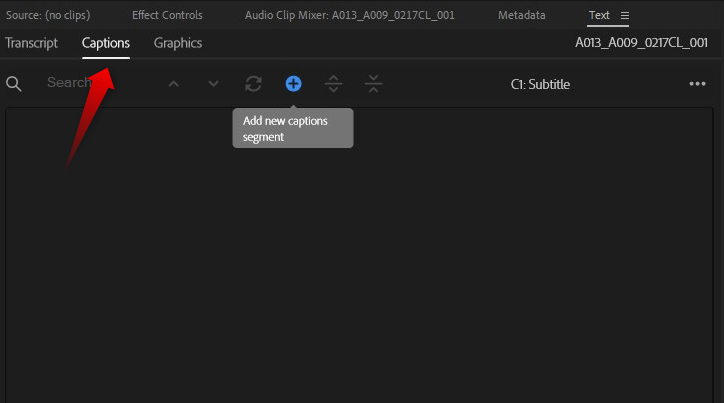
Create a new Caption
Step 2. In the Captions panel, enter your captions or subtitles and set their timecodes to sync with the video.
Step 3. Customize the caption style, such as font, size, and color, to ensure readability.
Step 4. Export your captions as a separate file or burn them into the video during export.
Premiere Pro Captioning Alternative to Add Captions on Video
If you find the built-in captioning tools in Adobe Premiere Pro too time-consuming or complex, you can consider using a dedicated captioning software such as CapUp.
CapUp is an innovative AI-powered solution for video captioning that simplifies the task of adding subtitles to your videos. With its sophisticated natural language processing technology, CapUp automatically produces captions in a multitude of languages with high precision and perfect timing. This tool not only boosts the accessibility of your content but also strengthens viewer interaction.
Here’s what sets CapUp apart:
- Auto Captions Generation: Auto AI-driven creation of captions in multiple languages, no more manual editing.
- Stylish Templates: Access to the latest social media influencer’s caption templates such as MrBeast, Alex Hormozi, and Ali Abdaal to enhance your video’s visual impact.
- Dynamic Effects: Engaging transitions and effects, such as the Zoom-in opening, to captivate your audience from the start.
- Smart Zoom: Use of smart zooms to emphasize critical points and extend the time viewers spend watching.
- Sound Effects: The ability to add sound effects to your videos for a richer scene and deeper emotional impact.
- Time-Saving & Shareability: Designed for efficiency, CapUp helps you create content that’s ready to go viral on social platforms like TikTok, Instagram Reels, and YouTube Shorts, helping you reach a wider viewership.
Please follow the steps below for using CapUp to add captions to a video:
Step 1. Access CapUp and Import Your Video
Begin by logging into your CapUp account. You can then upload your video file either by using the drag-and-drop feature or by selecting it from your computer’s storage.
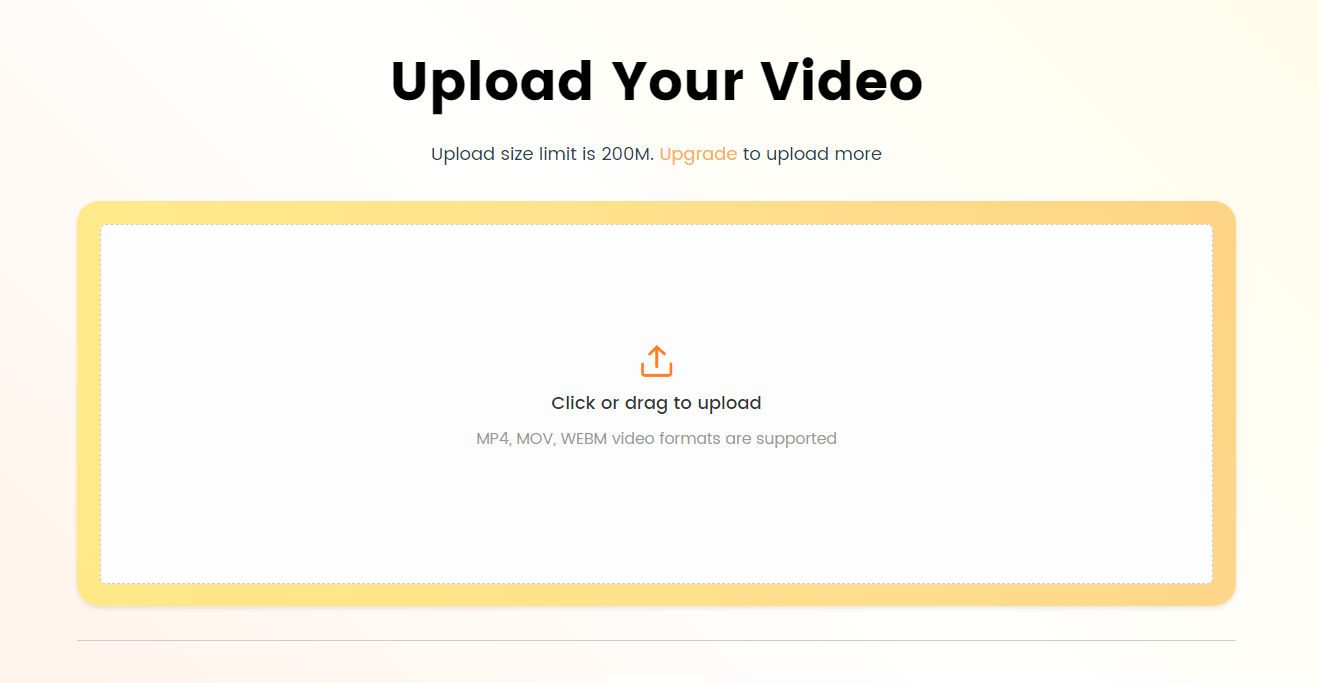
Log in and Upload the Video
Step 2. Determine the Video Language
Navigate to the language selection dropdown menu and choose the language of your video from the available options, which may include English, German, Spanish, French, Portuguese, and various other languages. Then, CapUp will generate captions for you.
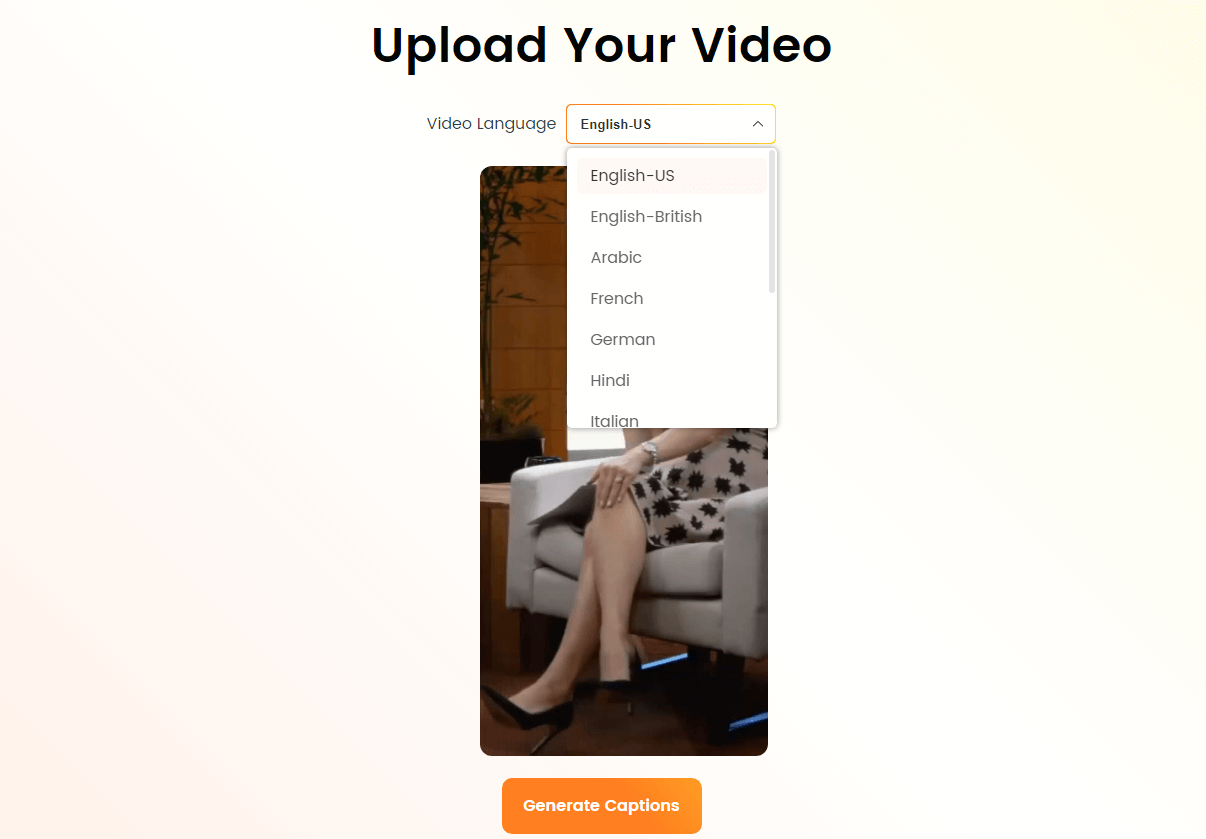
Select the Language that Matches Your Video
Step 3. Choose with a Template
Navigate to the “Template” section and select another design template from popular influencers to enhance your video’s visual appeal.
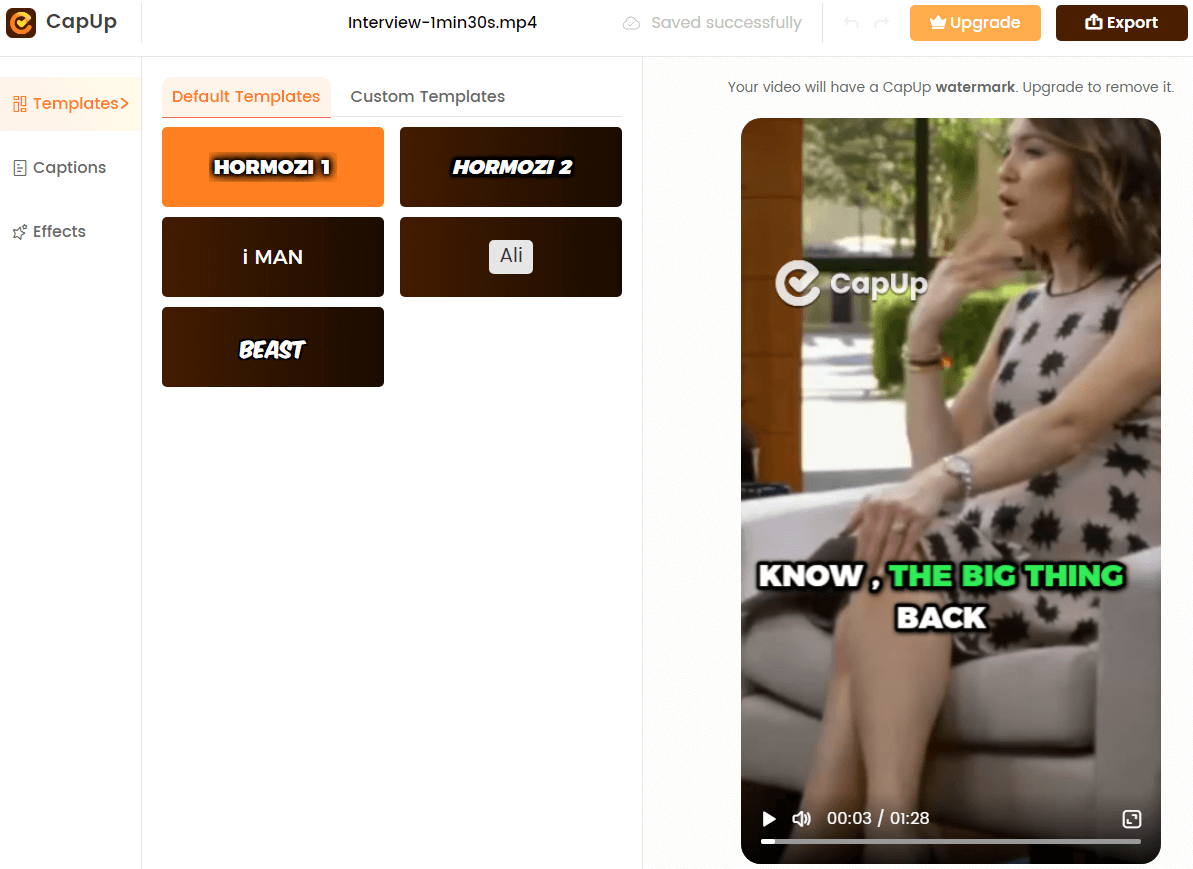
Select the Caption Templates
Step 4. Customize your Template
If needed, make adjustments to the template to suit your content and style. Fine-tune the captions for precision and to boost their impact. You have the flexibility to modify fonts, add emoticons, and incorporate sound effects and animations into your subtitles.
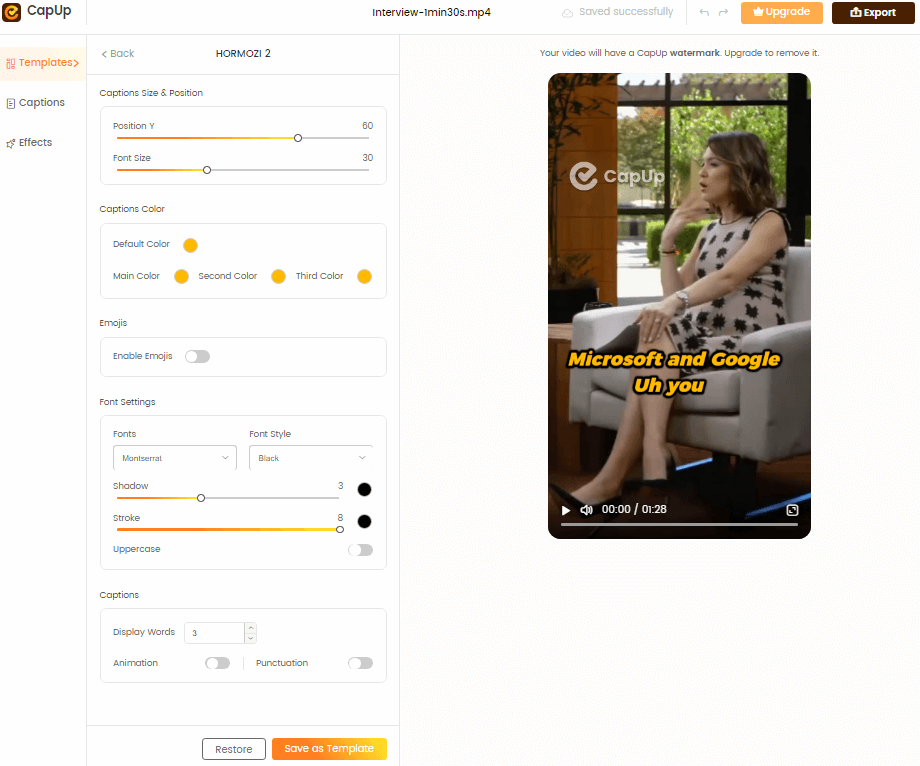
Save as Template
Step 5. Finalize with a Cover Image and Export
To add a cover to your video, either upload a suitable image from your device or select a frame directly from your video content. After you’ve chosen the cover and are satisfied with your edits, proceed to click “Export” to finalize and save your video with the new captions.
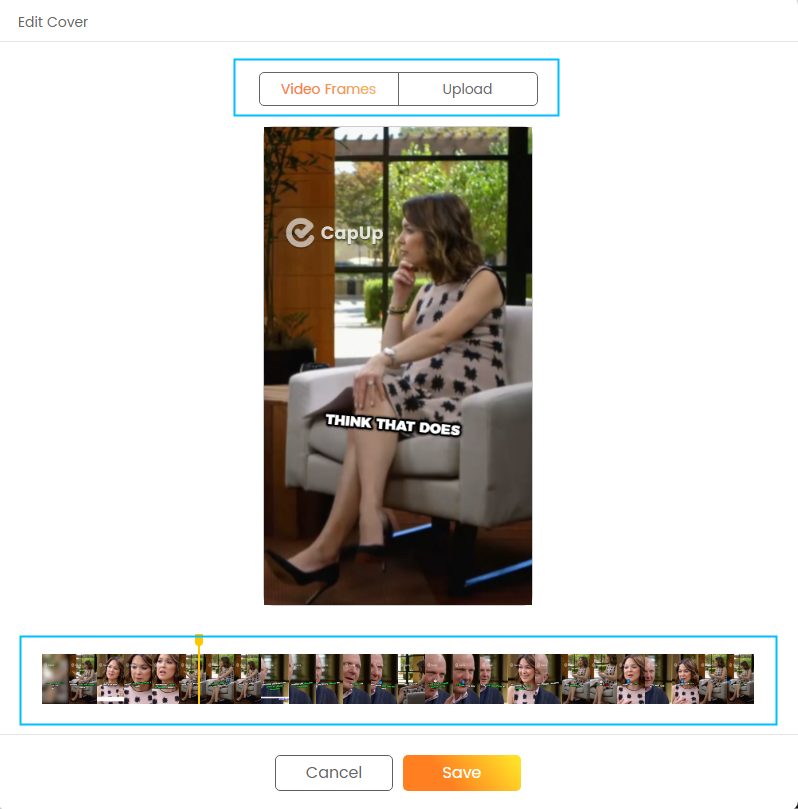
CapUp – Two Ways to Edit Video Cover
Troubleshooting Common Text Issues
While adding text in Adobe Premiere Pro is relatively straightforward, you may encounter some common issues. Here’s how to troubleshoot them:
Fixing text that appears pixelated or blurry
Ensure that your text layer is set to a high enough resolution and that you’re using a compatible font format (e.g., TrueType or OpenType). Also, avoid excessive scaling or resizing of your text.
Resolving text layer display problems
If your text layer isn’t appearing in the video preview, check that the layer is enabled (eye icon) and that it’s positioned above the video layer in the timeline. Adjust the layer’s opacity and blending mode if needed.
Addressing text animation glitches
If your text animations aren’t playing smoothly, try rendering the preview by clicking on the “Render Effects In Work Area” button. Also, ensure that your system meets the minimum requirements for running Adobe Premiere Pro.
FAQs on How to Add Text in Adobe Premiere Pro
Can I add text to multiple clips at once in Adobe Premiere Pro?
Yes, you can create a text layer and extend it across multiple clips in the timeline. This is useful for creating consistent lower thirds or subtitles throughout your video.
How do I change the duration of my text layer?
To change the duration of a text layer, simply click and drag the edges of the layer in the timeline to extend or shorten it.
Can I add animated text presets in Adobe Premiere Pro?
Yes, Adobe Premiere Pro offers a variety of animated text presets in the Essential Graphics panel. You can also create your custom animations using keyframes.
Conclusion
Adding text to your videos in Adobe Premiere Pro is a powerful way to enhance your message, engage your audience, and create professional-looking content. By following the step-by-step guide outlined in this article, you can easily add and customize text layers, apply effects and animations, and troubleshoot common issues.
Remember, practice makes perfect. The more you experiment with the text tools and features in Adobe Premiere Pro, the more comfortable and creative you’ll become in incorporating text into your video projects.
For more in-depth tutorials and resources on video editing with text, check out the official Adobe Premiere Pro documentation and user forums, as well as online learning platforms like Udemy and Skillshare.
Happy editing!