It doesn’t take a whole lot of preparation to start making and posting YouTube videos on just about any topic you care about. This digital content hosting platform makes it very simple to share your videos, which encourages beginners to choose YouTube over similar cloud services. As a consequence, videos of any length and quality level can be found on this cloud platform.
Best Video Format for YouTube
The simplicity of access shouldn’t be confused with a lack of options, and users who are aware of the most optimal settings can have more success on YouTube. Choosing the right video format is one of the first decisions that content owners should make since it could significantly affect how the video performs. There are quite a few possibilities, so it’s best to learn more about the supported video formats and the benefits and downsides of converting your video to any of them before uploading to YouTube.
Further Reading: 10 Best Text-to-Speech Generators for YouTube Videos >
Which Video Formats is YouTube Compatible With?
In terms of supported video formats and codecs, YouTube is actually quite flexible. There are numerous file formats you can upload to this platform, including most that are popularly used when creating and saving videos. To help you make sense of all the possibilities, we will provide a full list of supported formats along with a brief explanation of what each of them is good for.
- MP4 – a well-balanced multimedia format that delivers solid image quality
- MOV – format popular with Apple device owners that plays well online
- MPEG4 – mostly used for uploading compressed video files
- AVI – multimedia container format that offers good synchronization with audio
- WMV – frequently used for video content sold through online channels
- MPEG PS – format commonly used storing conent on for DVD’s and HD DVD’s
- FLV – native format for Flash videos made with Adobe software
- 3GPP – somewhat obsolete format that was primarily used on 3G phones
- WebM – very flexible alternative to HTML5 technology suitable for audio/video storage
- DNxHR – Irreversible post-production codec for videos with resolution higher than 1080p
- ProRes – video format ideal for videos of very high quality (over 8K)
- CineForm – open-source video codec that offers conversion with no loss of quality
- HEVC (h265) – video compression standard widely used for Advanced Video Coding
What Is the Best Video Format for YouTube?

What is the Best Video Format for YouTube
Now that we presented all the formats you could possibly use on YouTube, it’s time to ask the most important question – which one is the most optimal for your video? While the answer depends on the technical characteristics of the video and the objectives you want to achieve online, one format stands out as the best solution in the vast majority of cases.
MP4 is widely considered to be the best format for YouTube and a huge portion of videos you can find on this platform were uploaded in this format. It offers a good compromise between file size and image quality, and is compatible with YouTube’s back-end software so there are no issues with playback. However, in specific situations where you need to retain the highest quality possible, it may be better to keep the file in its original format that to risk losing some sharpness during the conversion. Thus, you should make the ultimate decision about video format only after carefully considering the specifics of your video and the possibilities for conversion.
Tips for Creating High-Quality Videos for YouTube
The technical side of publishing your videos on YouTube may be simplified to the point that anyone can do it, but there are still some tricky details to pay attention to. The following tips and based on expert advice, and they can help you push the quality of your videos closer to a professional level. Here are a few that can be useful to almost every creator with a fast-growing YouTube channel.
Use a High-end Screen Recorder like Gemoo
The quality of the original video is the single most important factor that decides how well the clip will fare online. You can inexpensively gather a lot of great material for your videos by using a tool like Gemoo Recorder to capture content from your screen or webcam and quickly create great-looking videos.
Gemoo Recorder is a versatile tool for digital audio workstations and screen recording. It excels in capturing high-quality music, vocals, conversations, and interviews. With the ability to record from multiple sources, seamless audio and video recording, limitless audio recording, diverse video options, watermark-free 4K video quality, and compatibility with Windows and Mac, it’s the ultimate choice.
Here are the detailed steps on how to use Gemoo Recorder to quickly create great-looking videos:
Step 1. Free download Gemoo Recorder and install it on your Computer > Sign in to your account > Choose one record mode to start creating your video.
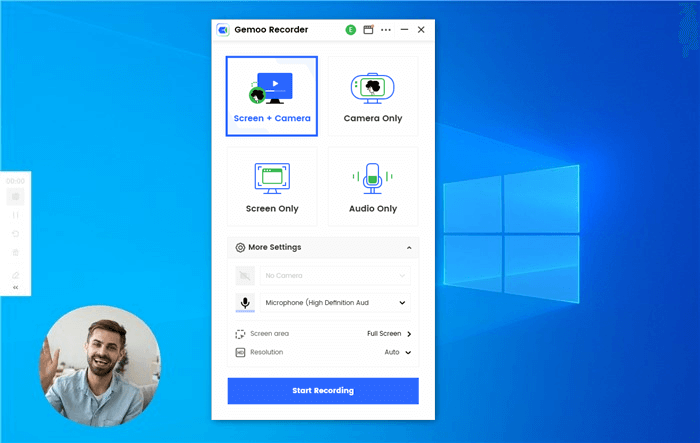
Select Screen & Camera Recording Mode
Step 2. To control your recording process, simply tap on the control panel located in the left sidebar. From there, you can view the recording time, pause/resume or finish the recording, restart it if needed, delete unwanted recordings, and add annotations.
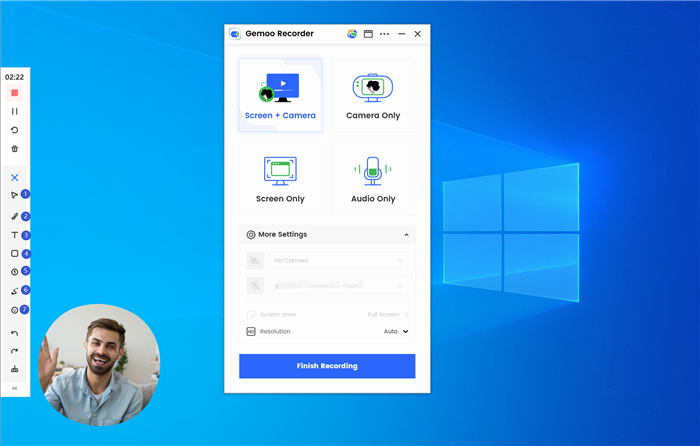
Annotate Record Videos
Want to add eye-catching subtitles to your YouTube videos, especially YouTube Reels, to boost your viewership? CapUp harnesses the power of AI to generate subtitles with emojis, sound effects, and motion effects for your videos in just a few seconds. Try it out for free now!
Step 3. When you click on the Finish Recording button, your video will be automatically uploaded to Gemoo. All your videos will be stored in the cloud.
Use Recommended Video and Audio Codecs
In addition to the most appropriate video format, you should also make sure to use the right codecs that will ensure compatibility with YouTube. Standard codecs that work well on this platform are H.264 for video and AAC-LC for the audio component of your clip.
Set up an Aspect Ratio that Fits well with YouTube’s Player
To put it simply, aspect ratio determines the shape of your video so if it’s not set up properly it might result in some parts of the screen remaining empty. For videos uploaded to YouTube, a 16:9 aspect ratio is recommended since it best fits the dimensions of YouTube’s online player.
Optimize the Video for Social Networks
While YouTube may be the place where your video will be hosted, it will primarily be viewed from social networks. That’s why you should carefully examine the technical requirements of all social media where you plan to promote your video and adjust the technical parameters to stay in compliance.

Optimize the Video for Social Networks
Balance image quality with file size
Videos in a higher resolution look better, but may be slow to load on weaker devices. That’s why you should calculate how video length and resolution affect the file size before finalizing the upload. Ideally, you want to stay far below the maximum file size of 120 GB.
FAQs about Best Video Format for YouTube
Does MP4 or MOV format ensure better quality of YouTube videos?
Both of these formats are accepted by YouTube and can be optimal in certain situations. However, broadly speaking MP4 is considered to be the better format between these two for videos of standard quality. However, if your video is already in the MOV format it might not be worth converting it.
What are the main downsides of choosing the wrong video format?
Some formats are incompatible with YouTube and such videos can’t be uploaded at all. In other cases, it might be possible to upload it but the file size may be very large or image quality might be compromised. That’s why it’s highly advisable to do some research and choose the right format.
Which video format I can use for videos in very high resolution?
Some of the formats commonly used to contain videos in very high resolution include ProRes and DNxHR. Both of those formats are accepted by YouTube, and should be used whenever the video is in 2K or higher resolution. Meanwhile, standard HD videos work well in MP4 or AVI formats.
Final Thoughts
The process of becoming a successful YouTuber requires you to learn many useful skills, including those dealing with the technical side. Converting the videos to a format that ensures optimal performance is a necessary step that should become a part of your uploading routine. This article explained the basics and singled out MP4 as the safest format for your videos, but we are just scratching the surface here. To really find the best format (and other parameters) you have to do some hands-on experimentation. That way you can ensure that your video looks great and runs smoothly no matter from which device it was opened and how fast the Wi-Fi connection may be. If you already have some experience with choosing video format for YouTube, don’t hesitate to share your opinion in the comment section.