Snipping tools are easy to use and may be accessed from any computer, laptop, or mobile device. You may think of it as analogous to using the computer’s Print Screen button. Cropping the picture, you may remove the background or focus on a specific screen area. Chromebooks may behave somewhat differently from Windows or Mac computers when it comes to capturing screenshots.
How to Snip on Chromebook
Moreover, people sometimes also wonder whether Chromebook has a snipping tool. And if you, too, are in this struggle, you’re at the right place. In this article, you’ll discover everything about Chromebook Snipping Tool, along with the alternatives. Let’s get going!
Table of Contents: hide
Do Chromebooks Have a Snipping Tool?
How to Screenshot on Chromebook Use Snipping Tool?
How to Edit A Screenshot On Chromebook?
What Is a Snipping Tool?
A snipping tool, an invaluable resource accessible via a combination of keystrokes, empowers individuals to effortlessly capture a designated region or the entirety of their screen. This remarkable tool facilitates the swift and convenient acquisition of images, text, or other forms of content. When engrossed in remote studying or work, the judicious employment of a snipping tool can notably economize your time by directly preserving photographs in the clipboard. You can readily disseminate the diligently acquired screenshots using platforms such as Google Classroom, Hangouts, Docs, and Slides.
Do Chromebooks Have a Snipping Tool?
Chromebooks include an in-built snapshot tool called “Capture” that allows users to capture screenshots and make basic modifications. Combining “Ctrl” and “Switch Window” will increase the utility. The screenshot you just took will show in the lower right corner of the screen; clicking it will reveal editing tools. Capture allows you to modify screenshots by cropping, drawing on them, adding comments, and saving them to your smartphone.
How to Screenshot on Chromebook Use Snipping Tool?
Wondering how to snip on Chromebook? This section will answer! Snipping on Chromebook is quite different from Windows and Mac, due to which people often get confused. Many people aren’t even aware that there are three modes of snipping on Chromebook, including:
Full-Screen Screenshots
The first one is taking a screenshot of your Chromebook’s full screen. With this mode, you can capture the whole screen of your Chromebook without any area being cropped.
Step 1: Access the Quick Settings panel by clicking the clock icon in the bottom right corner.
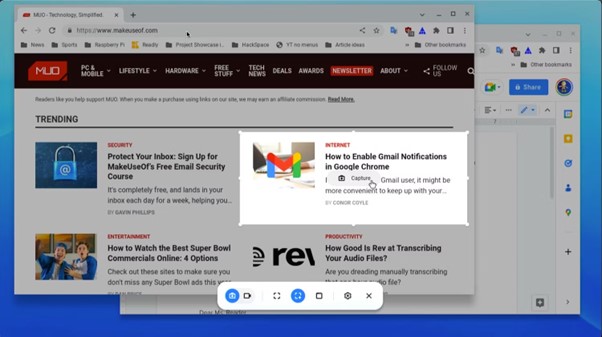
Step 2: Click on Screen Capture to open the Chromebook snipping tool.
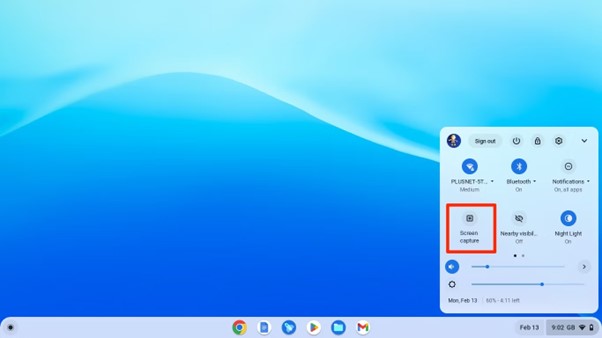
Click on Screen Capture
Step 3: A snipping toolbar will appear at the bottom. Select the Full-Screen option (the first one) to take a full-screen screenshot.
Partial Screenshot
With a Chromebook snipping tool at your disposal, you can also capture a partial screenshot. The partial screenshot feature lets you capture the only you want in your screenshot.
Step 1: Click the menu with the clock on your taskbar to access the Quick Settings menu.
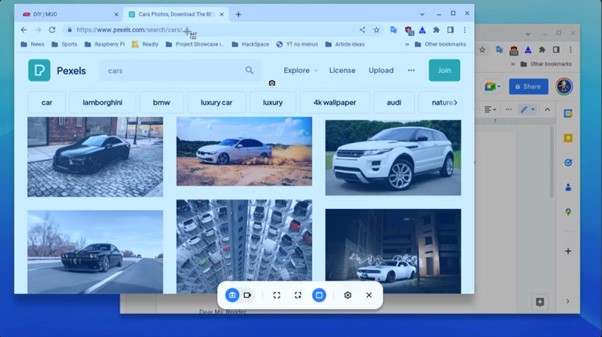
Step 2: Click on Screen Capture and select the Take Partial Screenshot option.
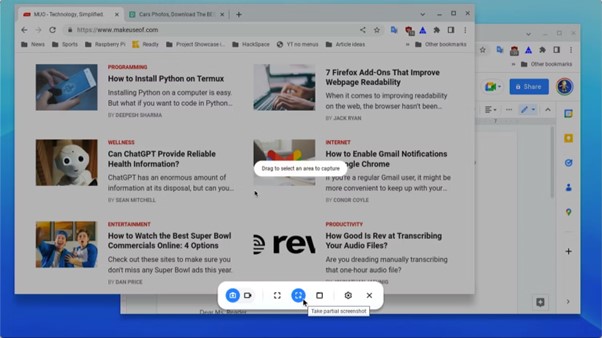
Select Take Partial Screenshot
Step 3: Now, select the area by right-clicking and dragging the mouse to capture it.
Select Capture Area
A Specific Window
Besides the two modes above, the Chromebook snipping tool lets you capture a specific window. With this mode, Chromebook users can snip a window of their choice while using multiple windows on their devices.
Step 1: To access the Quick Settings panel on your Chromebook, click the clock options in the bottom right of your taskbar.
Step 2: Open the snipping tool of the Chromebook by clicking the Screen Capture option.
Step 3: Select the Specific Window icon in the snipping toolbar and choose the window you wish to capture.
Select Specific Window
How to Edit A Screenshot On Chromebook?
Besides snipping the screen on Chromebook with a built-in tool, you can also edit the screenshots using its built-in editor. The built-in editor of Chromebook performs basic editing options to help you customize your pictures as well as screenshots. However, if you’re unaware of how to edit a screenshot on Chromebook, follow these steps:
Step 1: Open the file manager by clicking the Files option on your Chromebook.
Step 2: Go to the Downloads folders and open the screenshot you wish to edit.
Step 3: Now, from the toolbar above, choose the editing option and edit the screenshot accordingly. When done, click on Save.
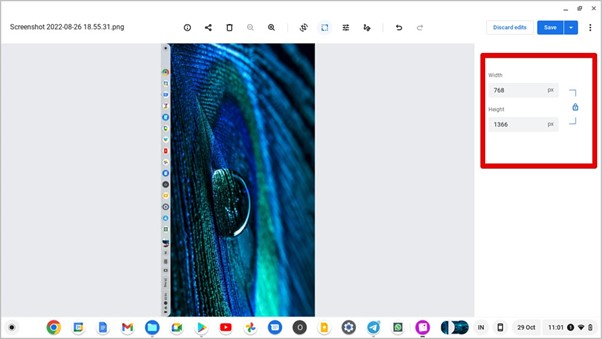
Click on Save
Where Is Chromebook Screenshot Saved?
Chromebooks have a dedicated screenshots folder for storing captured images. The “Downloads” folder is where Chromebooks automatically store any files you download. In Chrome OS, screenshots may be seen in the file manager. Chromebook screenshots are often stored in the “Files” > “Downloads” folder and have names that begin with “Screenshot,” followed by the time and date they were captured.
Best Alternatives to Chromebook Snipping Tool
Looking for the best alternatives to the Chromebook snipping tool? Try these tools:
Gemoo Snap
Take a fast snapshot or modify many screenshots at once with the help of Gemoo Snap. After capture is made, it will be sent to the Gemoo Cloud. You may then enhance the photos you’ve taken, send them out to your colleagues with a single click, and get their response.
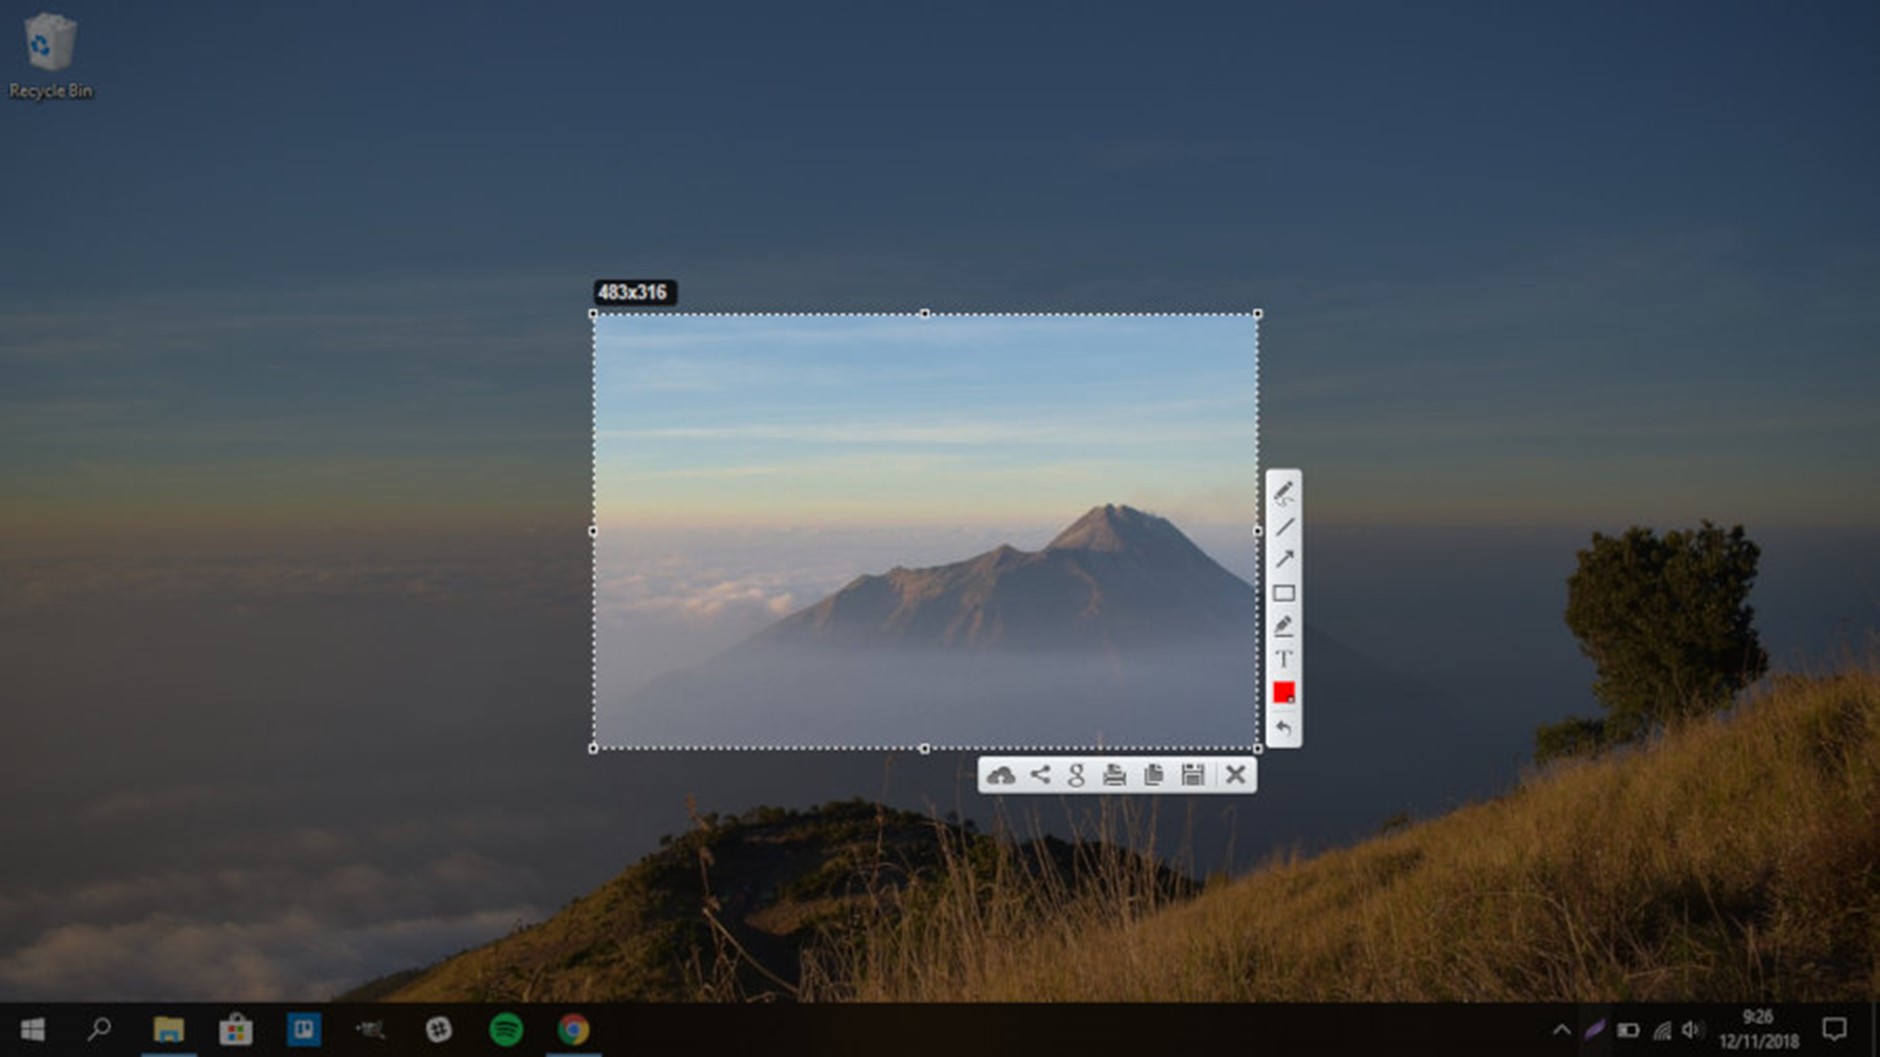
Gemoo Snap Interface
An Overview of Gemoo Snap
- Can streamline the process of copying, pasting, and sharing screenshots on your computer.
- Provides the option to use annotation tools to enhance your screenshots.
- After you’ve taken the snapshot, it gives you a shareable URL.
User Rating:
- G2: N/A
- Capterra: N/A
Price Plan: Free to $9.99 per month
LightShot
LightShot is a fantastic and free tool for Chromebooks, Windows, and Mac computers. You may add it as an extension to Chrome or run it independently. LightShot facilitates taking screenshots, modifying them, and sharing them. To back up the display of your Chromebook, take a screenshot, edit it as needed, and then transfer it to your computer or Google Drive.
LightShot Interface
An Overview of LightShot
- Provides a robust web editor that may be used immediately after screen capture or saved for further editing.
- By choosing any section of the website to capture, a screenshot may be copied to the clipboard.
User Rating:
- G2: 7/5 (121 Reviews)
- Capterra: 8/5 (35 Reviews)
Price Plan: Free to use
CloudApp
Zight, formerly known as CloudApp, is a popular screenshot app that allows users to share content quickly and easily. With CloudApp, a leading solution for annotated screenshots, you can communicate with more speed, context, and clarity. In addition, CloudApp’s screenshot tool is cross-platform, functioning on Mac, Windows, Chrome, and iOS devices.
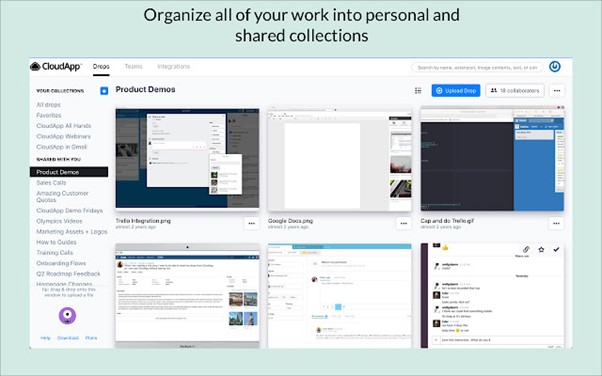
CloudApp Interface
An Overview of CloudApp
- Saves the photo in the cloud automatically, so you may access it from anywhere.
- You may change it to make it more concise or clear.
- Supports dropping files into messages through drag-and-drop.
User Rating:
- G2: 6/5 (1,193 Reviews)
- Capterra: 6/5 (181 Reviews)
Price Plan: Free to $9.95 per month
Greenshot
Greenshot is yet another Chromebook-snipping utility. It’s open-source, free, and notable for its user-friendly design and clean interface, as well as the diverse choice of screenshot styles and capture techniques, including scrolling screenshots.
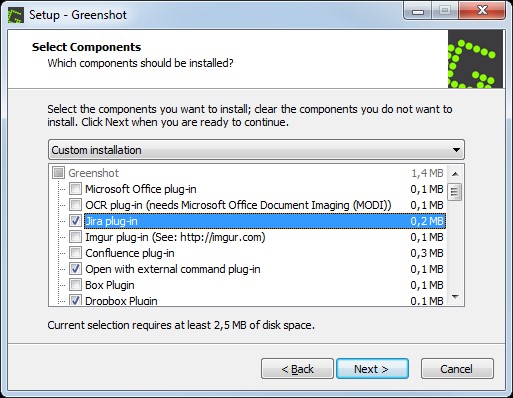
Greenshot Interface
An Overview of Greenshot
- Allows you to capture the whole screen, a selected window, or an area of your screen.
- Contains a function for capturing the last region from which you took a photo.
- Changes the key shortcuts in the picture editor settings.
User Rating:
- G2: 8/5 (151 Reviews)
- Capterra: 5/5 (26 Reviews)
Price Plan: Free to use
Snagit
SnagIt is a more advanced screen capture tool that needs a membership. When you launch the editor, you are presented with a home page that contains a library of all your photographs, videos, and files. You may also use tags to discover your picture and video files easily.
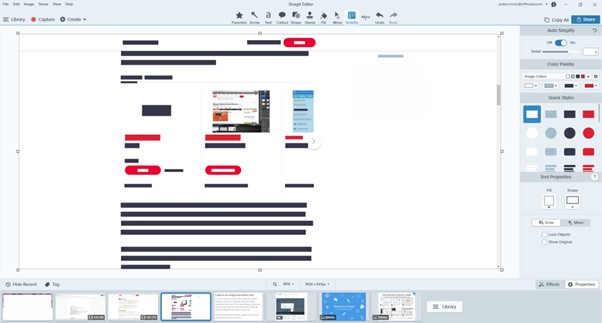
Snagit Interface
An Overview of Snagit
- Has a variety of templates from which to pick.
- Allows you to use your photos to construct a step-by-step procedure or to arrange them to produce a film.
- Lets you import photos and videos from your mobile device by connecting it to the app.
User Rating:
- G2: 6/5 (3,571 Reviews)
- Capterra: 8/5 (140 Reviews)
Price Plan: Free to $62.99
Final Thought
Snipping your screen has become essential in this age of information. Screenshots are used for various purposes whether it is a tutorial, stepwise guide, proof, or saving something catchy. And with Chromebook getting popular, people wish to learn how to snip Chromebook’s screen with the built-in tool. So, we hope you can easily use the Chromebook Snipping Tool after reading this article. Moreover, for any question or query regarding the Chromebook snipping tool, you can use the comments below.