Adding subtitles to your videos in iMovie is a great way to make your content more accessible and engaging to a wider audience. Whether you’re creating videos for social media, educational purposes, or personal projects, subtitles can help effectively convey your message. In this guide, we’ll walk you through adding subtitles or captions to your videos using iMovie on both Mac and iOS devices.
Table of Contents: hide
Subtitles vs. Captions: Which Do I Need?
Can iMovie automatically add subtitles to videos?
How to add subtitles or captions in iMovie on Mac
How to add subtitles or captions in iMovie on iPhone or iPad
How to edit and stylize subtitles in iMovie
Subtitles vs. Captions: Which Do I Need?
Before adding subtitles in iMovie, it’s important to understand the difference between subtitles and captions. Subtitles are primarily used to provide a text version of the dialogue or narration in a video for those who can hear the audio but may not understand the language. On the other hand, captions are designed to provide a complete transcript of the audio, including dialogue, sound effects, and other relevant information, making the video accessible to deaf or hard-of-hearing viewers.
When choosing between subtitles and captions, consider your target audience and the purpose of your video. If you want to make your content more accessible to a wider audience, including those with hearing impairments, captions are the way to go. However, subtitles will suffice if your primary goal is to provide language support for non-native speakers.
Can iMovie Automatically Add Subtitles to Videos?
iMovie has no built-in feature that automatically generates subtitles or captions for your videos. However, you can use third-party services or software to create subtitle files (e.g., SRT files) and import them into iMovie. Some popular subtitle-creation programs include Rev, Subly, and Amara. Once your subtitle file is ready, you can easily add it to your video in iMovie by following the steps outlined in the next sections.
How to Add Subtitles or Captions in iMovie on Mac
Adding subtitles or captions to your video in iMovie on Mac is straightforward. With just a few clicks, you can import your subtitle files and synchronize them with your video to create a more accessible and engaging viewing experience.
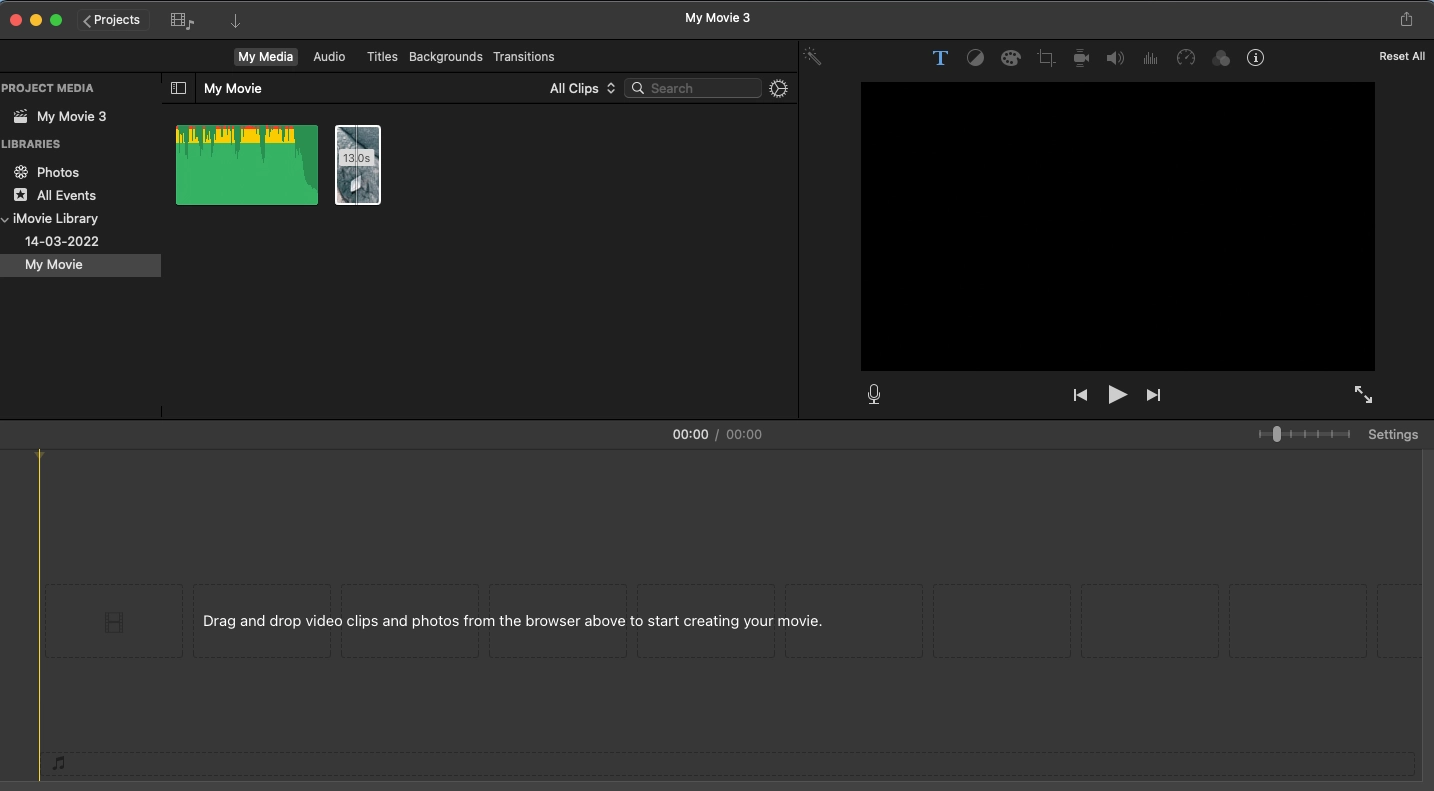
Step 1: Open your iMovie project and select the video clip you want to add subtitles to.
Step 2: Click on the “Titles” button in the top menu bar.
Step 3: Scroll down to the “Subtitles” section and choose a subtitle style that suits your video.
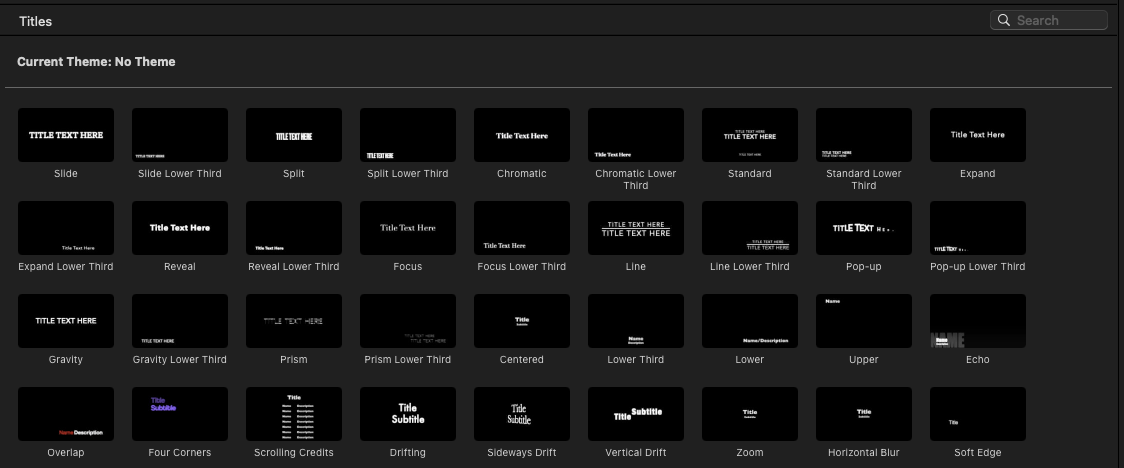
Choose a Subtitle Style
Step 4: Drag and drop the selected subtitle style onto your video clip in the timeline.
Drag and Drop the Selected Subtitle Style
Step 5: Double-click on the subtitle text to edit it. Type in your subtitle or caption text.
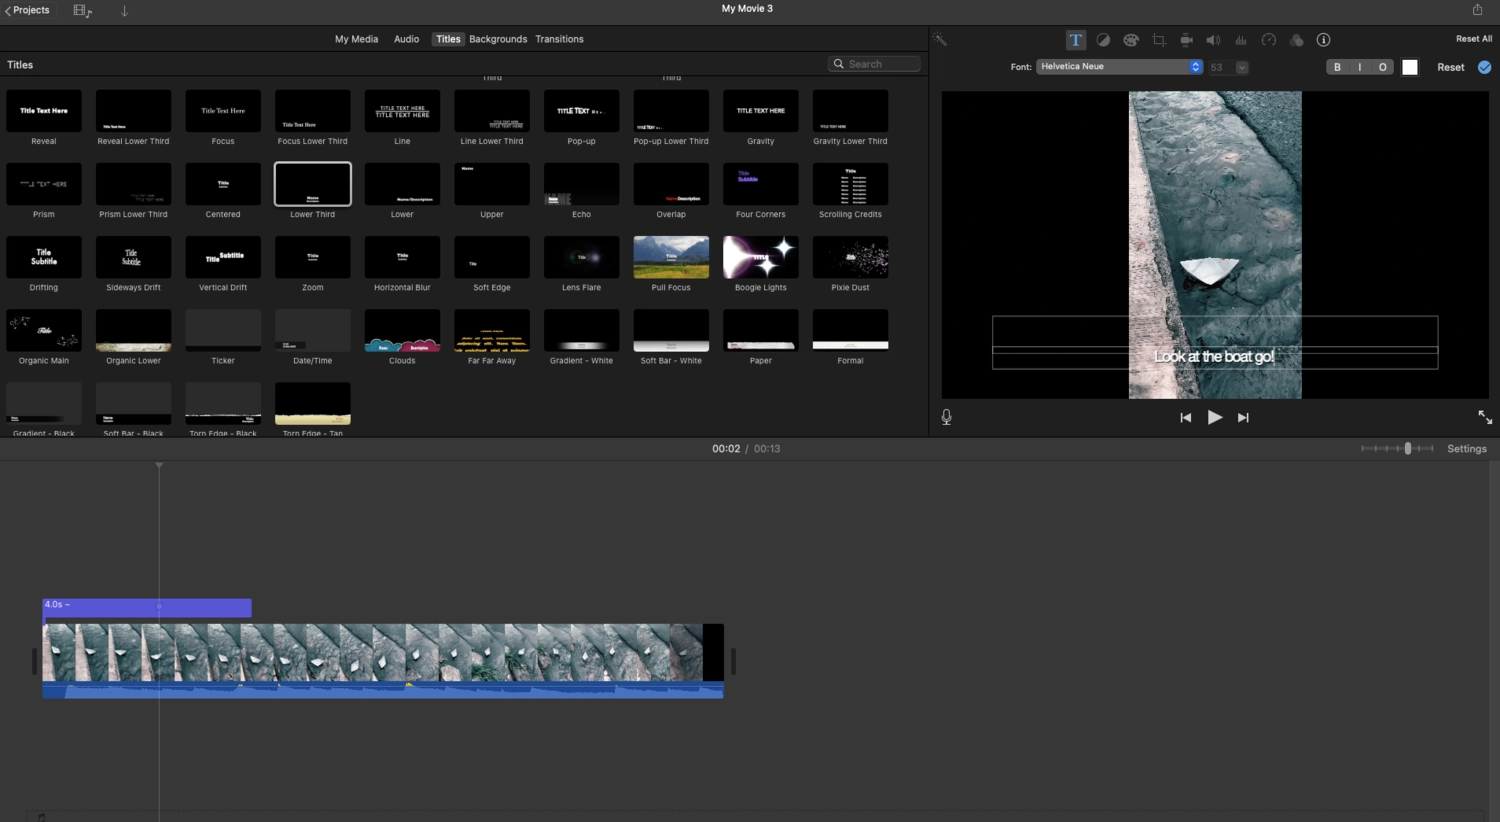
Type out Your Captions
Step 6: Adjust the timing of the subtitle by dragging the edges of the subtitle clip in the timeline to match the corresponding dialogue or audio.
Step 7: Repeat steps 4-6 for each subtitle or caption you want to add throughout your video.
Step 8: Preview your video to ensure the subtitles are synchronized with the audio and make any necessary adjustments.
How to Add Subtitles or Captions in iMovie on iPhone or iPad
Adding subtitles or captions to your videos in iMovie on iPhone or iPad is a straightforward process that can greatly enhance the accessibility and engagement of your content. Whether you want to make your videos more inclusive for deaf or hard-of-hearing viewers, or provide translations for international audiences, iMovie offers a simple way to add and customize subtitles directly within the app.
Steps to add subtitles or captions in iMovie on iPhone or iPad:
Step 1: Open the iMovie app on your iPhone or iPad and select the project you want to add subtitles to or create a new project by tapping the “+” button.
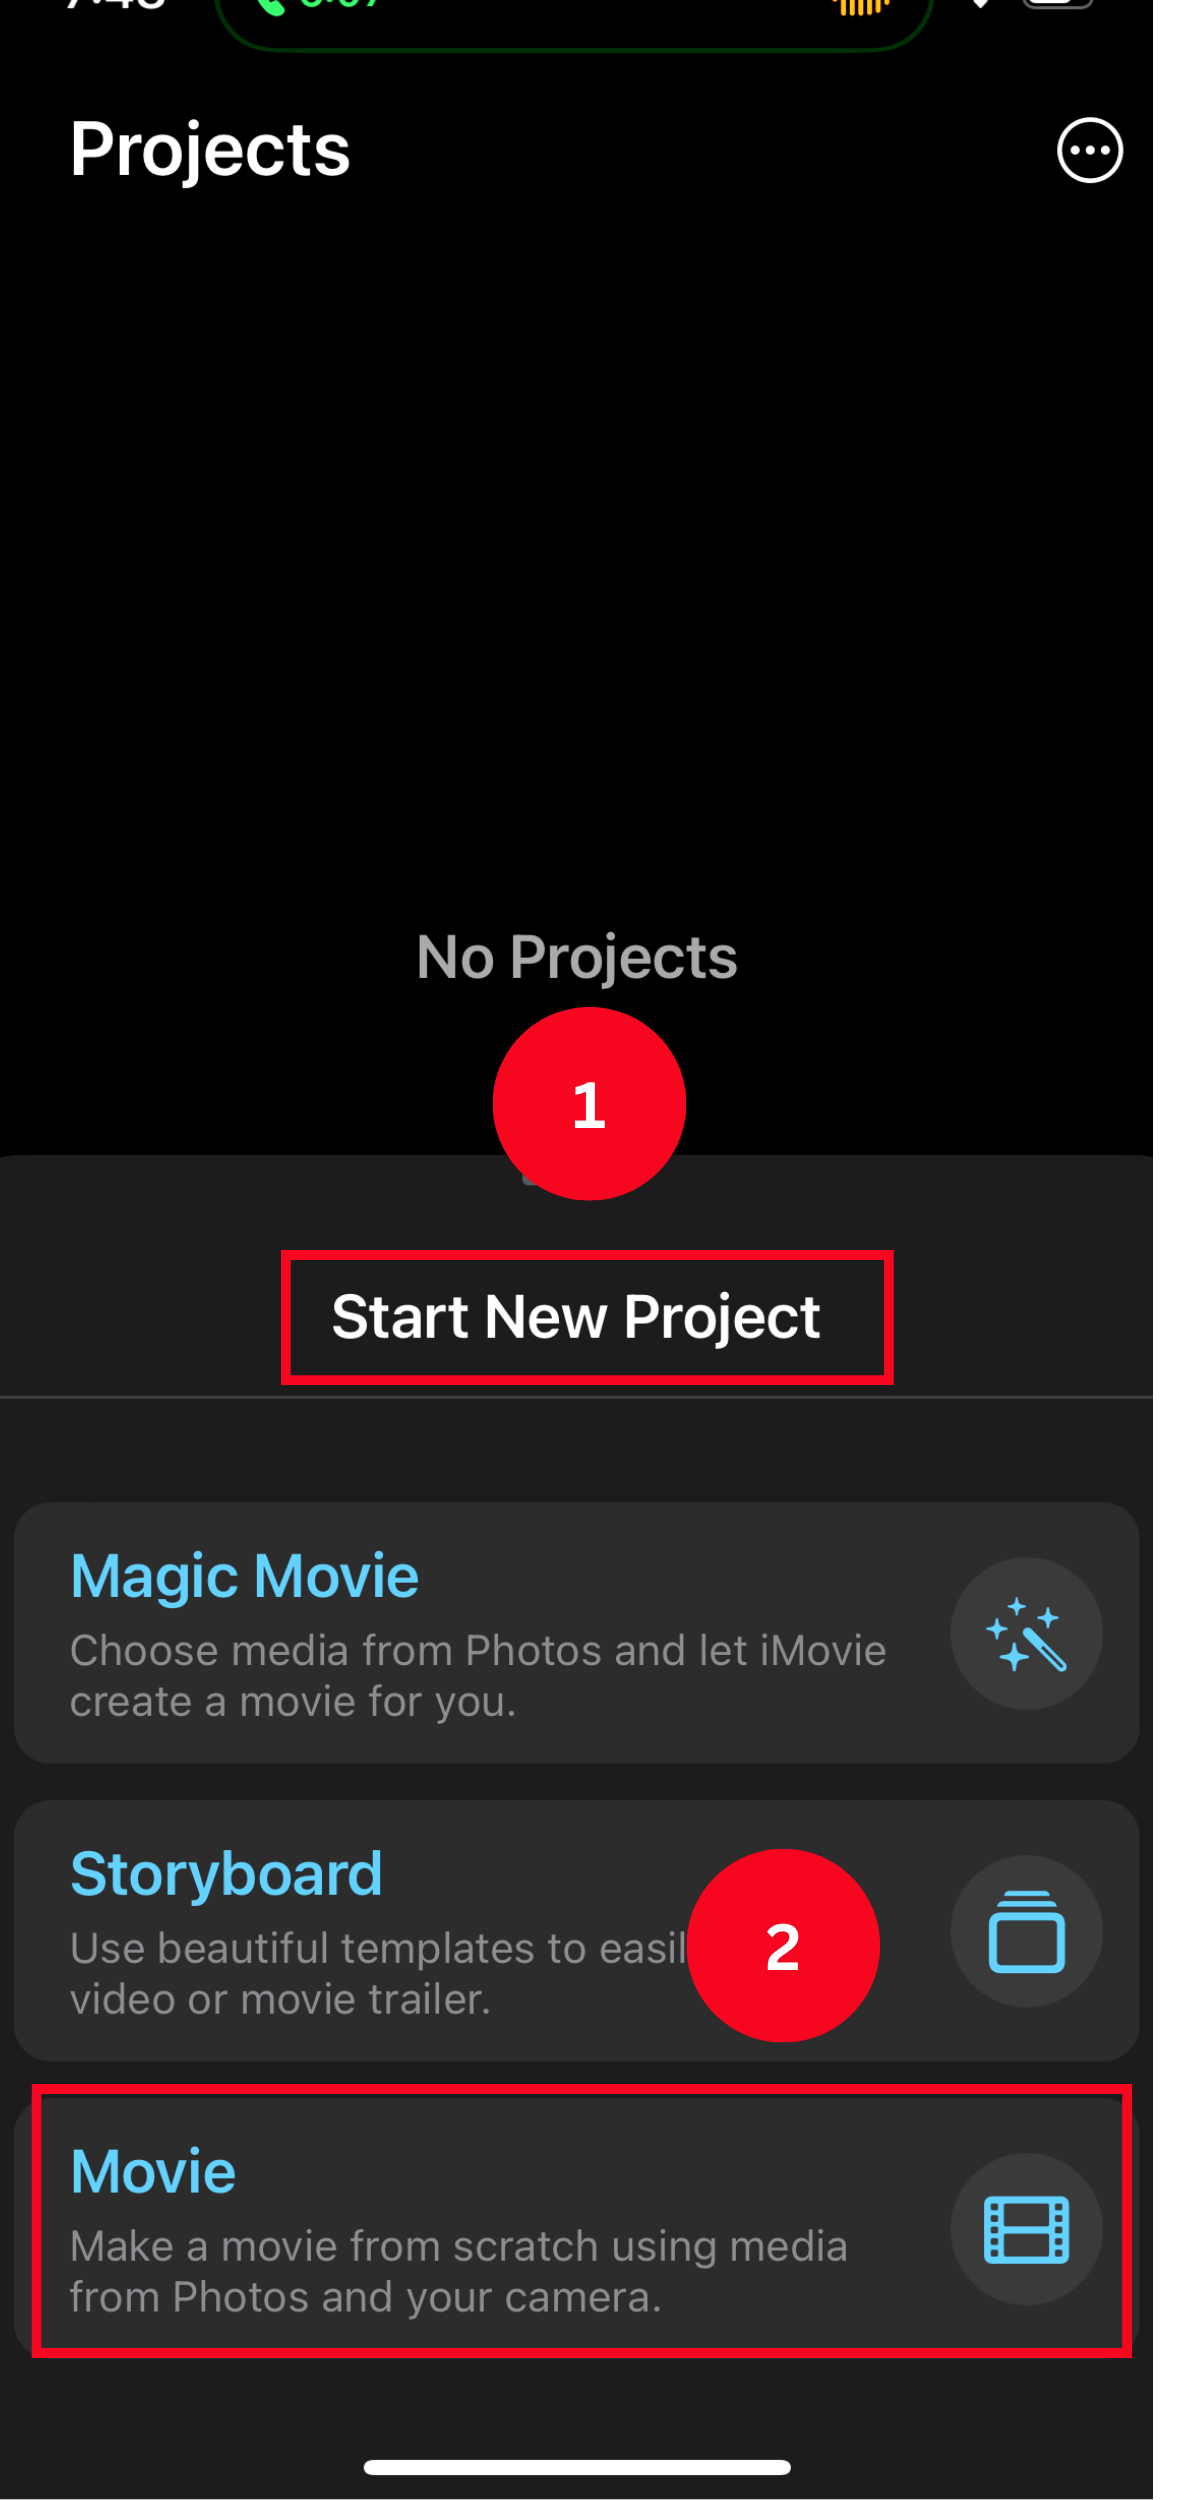
Create a New Project
Step 2: Tap on the video clip in the timeline where you want to add subtitles.
Step 3: Tap the “T” button in the bottom left corner of the screen to open the text editing menu.
Step 4: Select the “Titles” option from the list of available text styles.
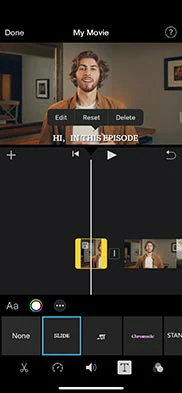
Type in Your Text
Step 5: Choose a subtitle style that suits your video from the various options provided, such as “Centered,” “Lower Third,” or “Subtitle.”
Step 6: Tap on the text field that appears on the video and type your subtitle or caption.
Step 7: Use the formatting options in the text editing menu to customize the font, color, size, and alignment of your subtitles.
Step 8: Adjust the duration of the subtitle by dragging the edges of the text box in the timeline to match the timing of the spoken dialogue.
How to Edit and Stylize Captions in iMovie
Customizing the appearance of your subtitles in iMovie is crucial for creating visually appealing and easy-to-read text that complements your video content. Follow these steps to edit and stylize your subtitles, ensuring they seamlessly blend with your video’s overall aesthetic.
Step 1: Select the subtitle clip you want to edit in the timeline.
Step 2: Click on the “Format” button in the top menu bar (Mac) or tap on the “Style” button (iPhone/iPad).
Step 3: Adjust the font style, size, color, and background to enhance the visibility and readability of your subtitles.
Step 4: Adjust the subtitle’s position and alignment to ensure it doesn’t obstruct essential visual elements in your video.
Step 5: Experiment with different text effects, such as drop shadows or outlines, to make your subtitles stand out.
Step 6: Preview your video to see how the stylized subtitles look and make any necessary adjustments.
Bonus Tip – Add Caption to Video with AI
While iMovie can add subtitles to videos, it is limited by its basic subtitle editing features, which can be time-consuming and may result in ordinary-looking videos. This is where CapUp comes in handy. It uses AI to automatically generate captions for you, simplifying the manual transcription process. The rich collection of sound effects, animations, and emoji resources breathes spectacular vitality into your captions.
- Trendsetting Templates: Elevate your content game with our curated collection of trendy caption templates. Stay ahead of the curve and craft visually stunning videos that resonate with your audience.
- Transitions and Effects: Mesmerize your audience with seamless transitions and effects that enhance your narrative. Replicating the top influencers’ signature Zoom-in opening effects and sound effects, your video will captivate viewers within the first 3 seconds.
- Strategic Zoom Highlights: Strategically placed auto zooms emphasize pivotal moments, boosting viewer engagement and extending watch times. Ensure your audience remains hooked from start to finish.
- Immersive Sound Effects: Elevate your storytelling with meticulously crafted sound effects that enrich scenes and amplify emotions. Curate an immersive experience that leaves a lasting impact on your viewers.
To create engaging subtitles for your video using CapUp’s AI-powered tools, follow these simple steps:
Step 1: Visit the CapUp official website and sign in to your account.

CupUp – Sign in Account
Step 2: Upload the video you want to enhance with captions.
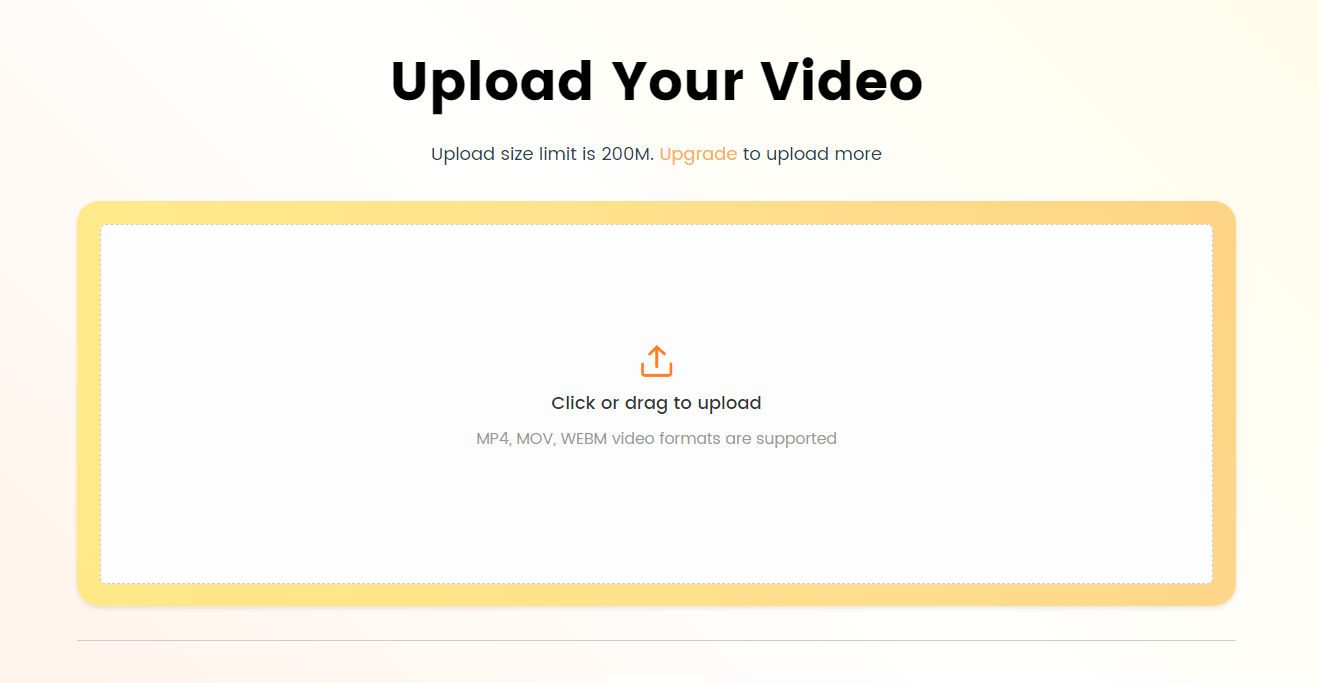
Log in and Upload the Video
Step 3: From the available options, choose the language spoken in your video.

Select the Language that Matches Your Video
Step 4: Browse through CapUp’s collection of popular templates and select one that best suits your content.

Add Captions to Videos Automatically with AI
Step 5: Let CapUp’s AI generate the captions for your video, then personalize the subtitles by adjusting the font, adding emojis, and incorporating sound effects to make your video more dynamic and engaging.

CapUp Outstanding Sound Effects
Step 6: Finally, select an eye-catching cover image or a captivating frame from your video to create a compelling thumbnail. Once you’re satisfied with the results, export your newly enhanced video, ready to captivate your audience.
FAQs about Adding Subtitles in iMovie
1. Can I import external subtitle files into iMovie?
iMovie does not have a built-in feature to import external subtitle files like SRT or VTT. However, you can create subtitles manually within iMovie using the “Titles” feature.
2. How do I sync my subtitles with the audio in iMovie?
To sync your subtitles with the audio, you’ll need to manually adjust the timing of each subtitle in the timeline. You can do this by dragging the edges of the subtitle clip to match the desired start and end times of the spoken dialogue.
3. Can I automatically generate subtitles in iMovie?
iMovie does not have an automatic subtitle generation feature. You will need to manually transcribe and add subtitles to your movie using the “Titles” feature.
Conclusion
Adding subtitles or captions to your videos in iMovie is a straightforward yet effective way to make your content more accessible and engaging for your audience. Follow the steps in this guide to easily add and customize subtitles on both Mac and iOS devices. Remember to choose between subtitles and captions based on your target audience and the purpose of your video. Although iMovie has no automatic subtitle generation feature, you can use third-party services to create subtitle files and import them into your project. With a little effort and creativity, you can enhance your videos with well-crafted and visually appealing subtitles that complement your content perfectly.