Accessibility for All: Creating Inclusive Video Content

Video content remains the most dominant media form today. We use it for entertainment, learning, connection, and more. Yet, its potential remains untapped if you don’t make your video content accessible.
In this article, we dive into how to make video content universally accessible, including considerations and best practices for video accessibility. We’ll also look into more specific steps, like caption and subtitle, transcript creation, and audio removal.
How to Make Your Videos Accessible
It’s time to make your content resonate with every viewer, regardless of their abilities (or disabilities, for that matter), to ensure no one gets left behind in our increasingly digital world.
Table of Contents: hide
Some Common Accessibility Problems with Content
Some Common Accessibility Problems with Content
Video accessibility involves suiting your video content to people who might have problems viewing it. There are several cases where video might not be readily viewable to your audience. These might include cases like the following:
Hearing Impairments
Videos without closed captions or subtitles are inaccessible to people who are deaf or hard of hearing. Consequently, they might miss essential dialogue and sound cues, rendering the content incomprehensible.
Visual Impairments
Not having audio descriptions means that people with visual impairments might miss key visual elements like actions, facial expressions, and text on the screen. This group misses out on significant visual information, which can be crucial for understanding the content.
Cognitive Disabilities
Complex layouts, fast-paced content, or lack of clear structure can be challenging for individuals with cognitive disabilities, such as Autism Spectrum Disorder or dyslexia. These issues might make it difficult for them to follow or comprehend the video content.
Motor Impairments
Videos that require interaction (like e-learning content) without proper keyboard navigation can be inaccessible for people with motor impairments who cannot use a mouse. They may not be able to participate fully in the interactive elements of the video.
Photosensitive Epilepsy
There are over 50 million peoplewho have epilepsy. Videos with flashing lights or rapid transitions can trigger seizures in people with photosensitive epilepsy. This restricts their ability to watch and enjoy various video content safely.
Color Vision Deficiency
Reliance on color alone to convey video information can be problematic for individuals with color vision deficiencies. As a result, color-blind or deficient viewers could miss crucial information or misinterpret content due to their inability to distinguish certain colors.
What You Need to Make Your Video Content More Accessible
So, what are some elements and settings you can set up to make your video content more accessible? Here are the most common ones you should add to your video creation workflow:
1) Captions and Subtitles
Provide accurate captions for the hearing impaired. Ensure they convey the dialogue, other relevant sounds, and audio cues. Captions should be synchronized with the audio. This can also attract viewers who might not have disabilities. Around 80% of people who watch videos with captions don’t have hearing impairments.
2) Audio Descriptions
Include audio descriptions for visually impaired viewers. These descriptions should narrate the visual elements of the video, like actions, characters, scene changes, and on-screen text.
3) Transcripts
Aside from closed captions and subtitles, offer full transcripts of the video content. This is helpful for individuals who prefer or require reading over listening and benefits those who want to search for specific information within the video quickly.
4) Contrast and Colors
Use high contrast and avoid color combinations that are difficult for color-blind individuals to distinguish. Ensure that information conveyed with color is also available without color.
5) Sign Language Interpretation
Consider including a sign language interpreter in the video for key content, especially educational or governmental. Several people with special education careers might know sign language. You can partner with these professionals to interpret sign language in your videos.
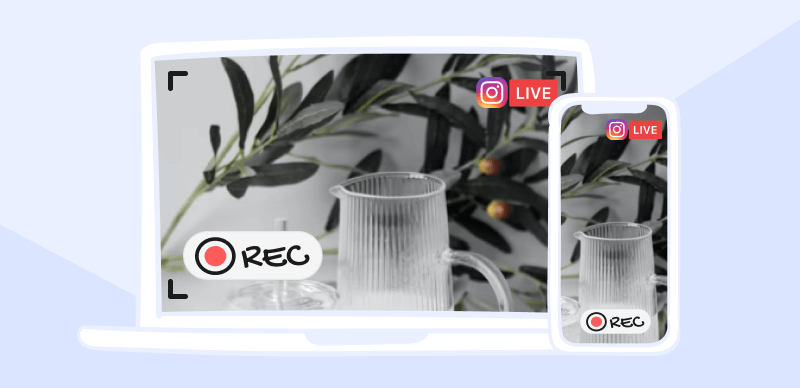
6) Responsive Design
Ensure your video content is accessible on various devices, including smartphones, tablets, and computers, adapting to different screen sizes and orientations.
7) Avoiding Seizure-Triggering Content
Be mindful of content that could trigger seizures, such as rapid flashing or strobing effects. If you have triggering content, add a warning at the beginning of the video and make it as clear as possible.
Some Video Editing Tricks to Help with Accessibility
Here’s a look at some video editing tricks and best practices to help you create more accessible video content:
Adding Transcripts and Captions
Here’s how to add transcripts to your video content:
Step 1. Create a Transcript File – You can manually do this by watching the video and typing the spoken content. Include relevant non-verbal sounds and speaker identifications. Alternatively, use software like YouTube’s automatic captioning or dedicated transcription services. These tools can save time but often require editing for accuracy.
Step 2. Edit and Format the Transcript – Correct spelling, grammar, or content errors. Format the transcript for clarity – use paragraphs, headings, or speaker labels as needed.
Step 3. Add the Transcript to Your Video -Add the transcript text directly on the page where you’re hosting the video. Platforms like YouTube allow you to add a transcript file directly. This can be used for closed captions or as a separate accessible transcript.
Here’s how to add dynamic and engaging captions to your video with CapUp:
Step 1. Prepare Your Video File – Prepare for a video to go viral. Log in to CapUp and upload the video to CapUp.
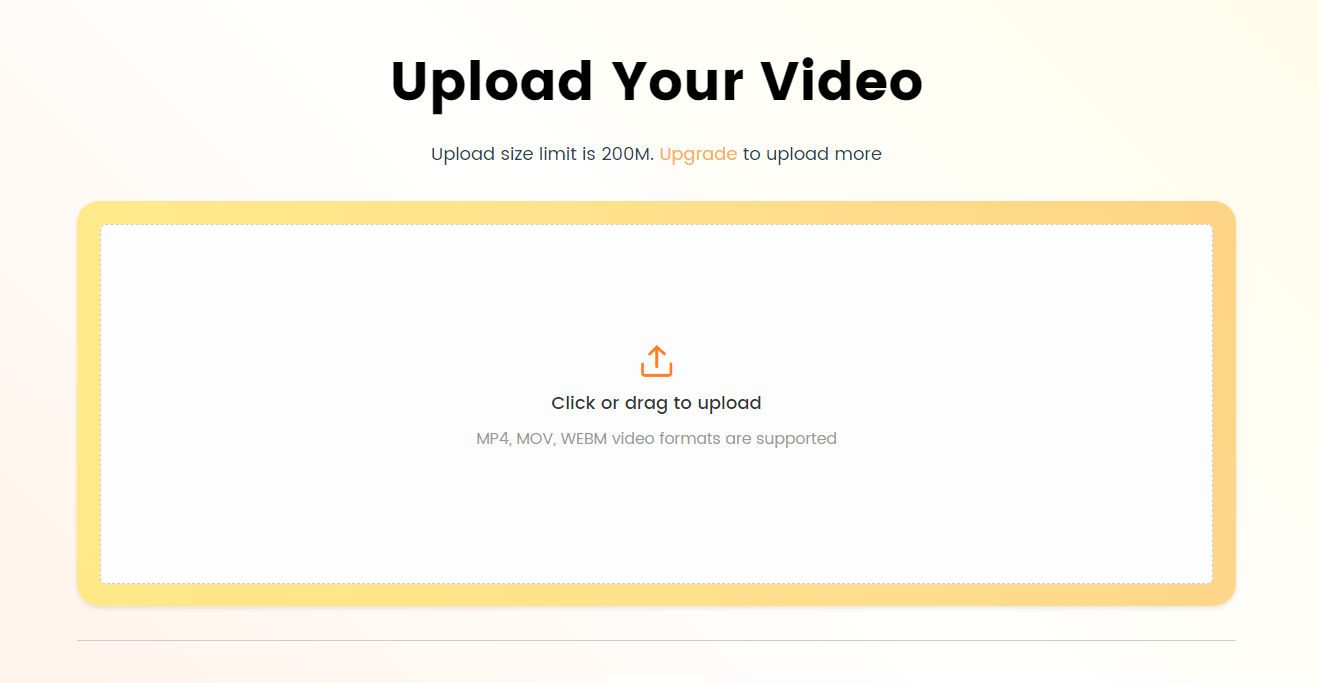
Log in and Upload the Video
Step 2. Select the Language and Generate Captions – Select the language that matches your video language. And then click Generate Captions to get started.
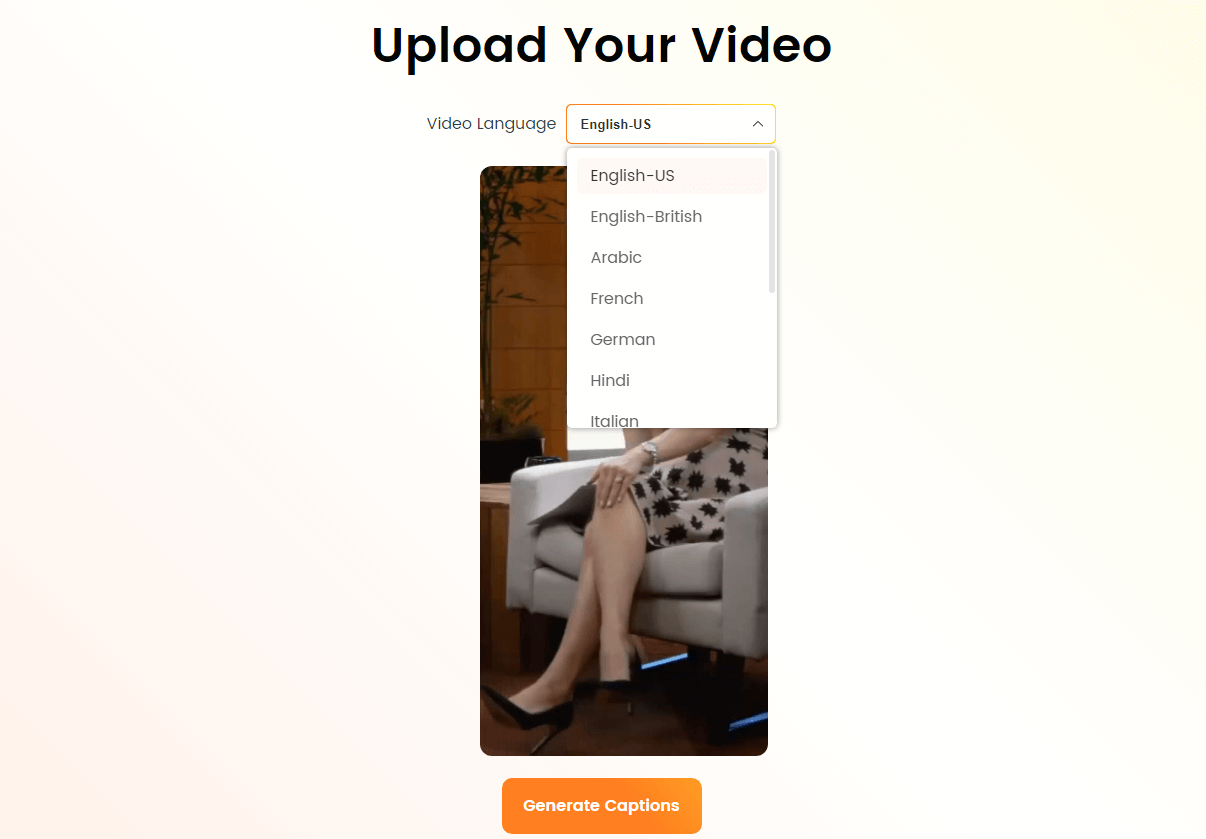
Select the Language that Matches Your Video
Step 3. Choose a Default Caption Template – Choose an influencer’s caption template. Break captions into chunks that are easy to read and follow along with the video. Ensure captions match the spoken word and are synchronized with the audio.
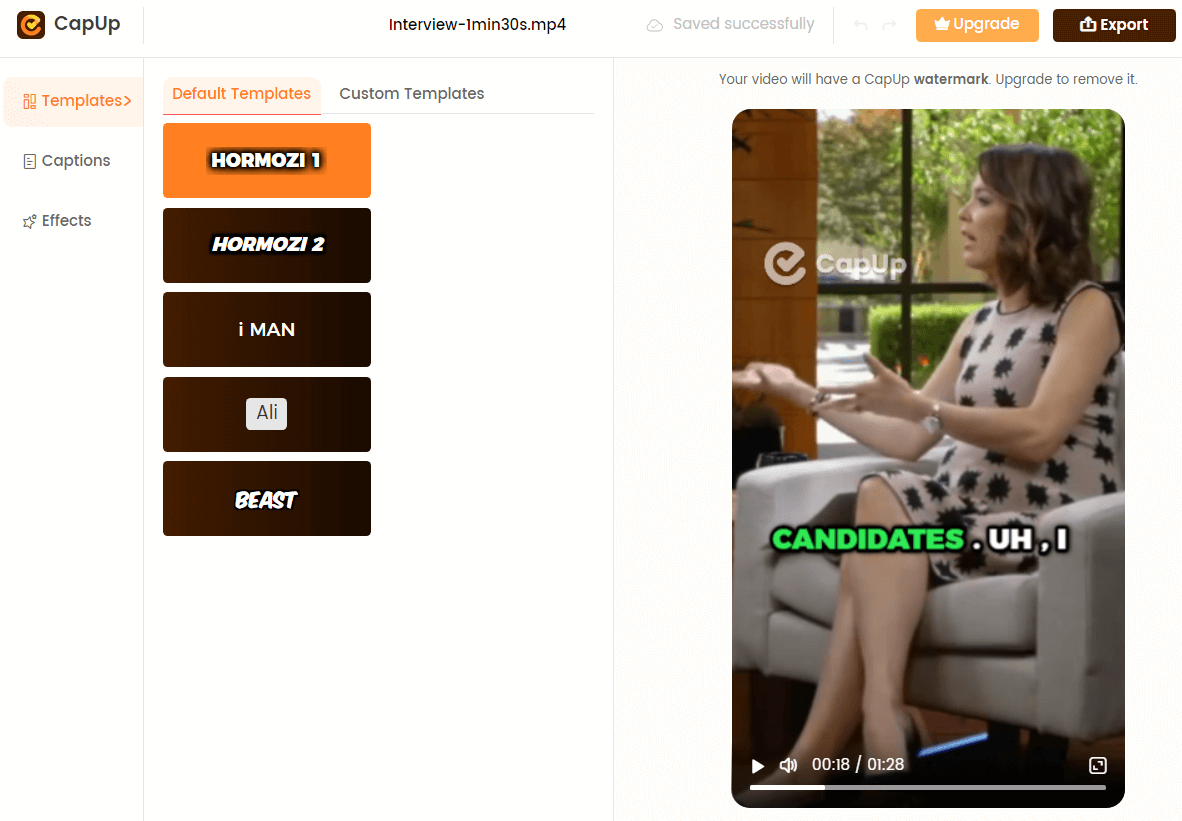
Select the Preset Caption Template and Customize the Template
Step 4. Adjust Captions Frame by Frame – Preview the caption generation effect and adjust the captions’ color, emojis, sound effects, and other parameters under the Captions and Effects options.
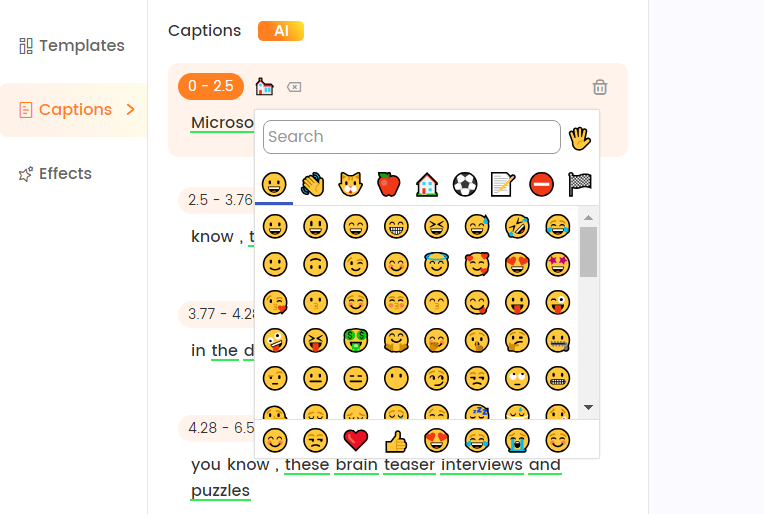
Add and Adjust Emojis
Step 5. Save the Video with Captions – Add a cover photo and save it to your computer.
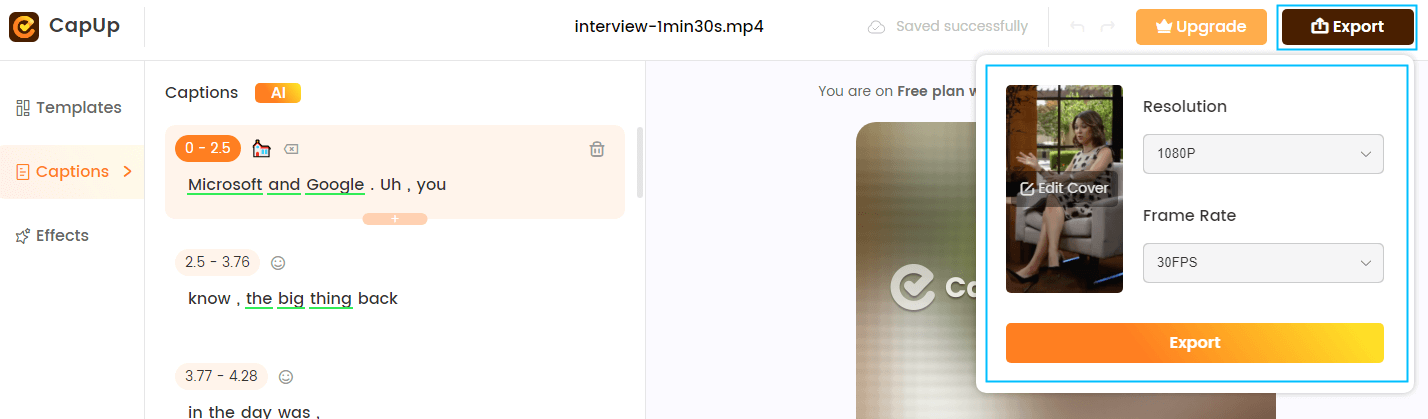
Export the Video
How to Remove Audio from Video
Removing audio from a video can be useful for various purposes, such as creating a silent background clip or preparing a video for new voiceover or music. Below, we’ll guide you through different methods to extract audio from video, including how to remove audio from video online and on your phone using free tools.
Online Tools
- Choose an Online Tool – Search for “how to remove audio from video online free” for a suitable web-based tool. These tools are convenient as they don’t require software installation.
- Upload Your Video – After choosing a tool, upload your video file. Most online tools support various video formats.
- Remove the Audio – The interface usually has a clear option to remove or mute the audio track from your video. Select this option.
- Download the Muted Video – After completing the process, download the video.
On Your Phone
- Choose a Video Editing App – When learning how to remove audio from a video on your phone, download a video editing app from your phone’s app store. Many of these apps offer the feature to remove audio.
- Importing Your Video – Open the app and import the video from which you want to remove the audio.
- Edit the Audio – Look for an option like ‘Edit Audio,’ ‘Detach Audio,’ or ‘Mute.’ Selecting this will either remove the audio track or mute it.
- Save the Edited Video – Save the edited video to your phone. Play it to ensure the audio has been removed as desired.
When following any of these options, it’s best first to search how to remove audio from video online free because plenty of options are available. Some options you should check out include:
Embracing Inclusivity
Accessible video creation should encourage users to embrace inclusivity at every step of content production. Implementing the above practices lets creators contribute to a more empathetic, understanding, and accessible world.
Commit to breaking barriers and opening doors to ensure everyone can experience, enjoy, and engage with your video content. This way, you contribute to a media landscape that reflects and respects everyone.