In today’s globalized and digitally connected world, video content has become an integral part of communication, entertainment, and education. However, to ensure that your videos reach and engage the widest possible audience, it is crucial to make them accessible to people with hearing impairments, language barriers, or those who simply prefer to watch videos with subtitles. Adding subtitles to your videos not only promotes inclusivity but also offers several other benefits that can significantly enhance the impact and reach of your content.
How to Add Subtitles to Your Video
Moreover, subtitles can greatly boost viewer engagement and retention. Many people watch videos in situations where they cannot rely on audio, such as in noisy environments, public spaces, or when they need to keep the volume low. By offering subtitles, you allow viewers to follow along with your content even in these scenarios, increasing the likelihood of them staying engaged and watching your videos for longer periods.
In the following sections, we will delve into the best methods for adding subtitles to your videos, as well as explore best practices and troubleshooting tips to ensure that your subtitles are effective, engaging, and accessible to all viewers.
4 Best Methods to Add Subtitles to a Video
In this part, we will explore 4 highly effective methods for adding subtitles to videos, providing you with practical solutions to enhance accessibility, improve comprehension, and reach a wider audience with your video content.
CapUp
CapUp is an AI-powered auto subtitle generator, that can quickly generate captions and subtitles for videos. CapUp features an automatic 9:16 cropping function and boasts a range of capabilities such as influencer templates, auto-zoom effects, keyword highlighting, and sound effects, enabling it to quickly create viral short videos with explosive potential for you.
Main features of CapUp:
- It offers the latest popular subtitle templates, such as those from Alex Hormozi, Ali Abdaal, Iman Gadzhi, and MrBeast, to enhance the visual appeal of the content.
- It allows for the use of automatic emojis to add emotional depth and to highlight keywords for emphasis.
- Strategic auto-zoom is employed to focus on important moments and extend the viewer’s watching time.
- You can easily add sound effects to their videos to enrich the scene and intensify emotions, providing a more immersive experience.
Steps to add subtitles in CapUp:
Step 1. Logging into your CapUp account. Simply upload your video with a single click.
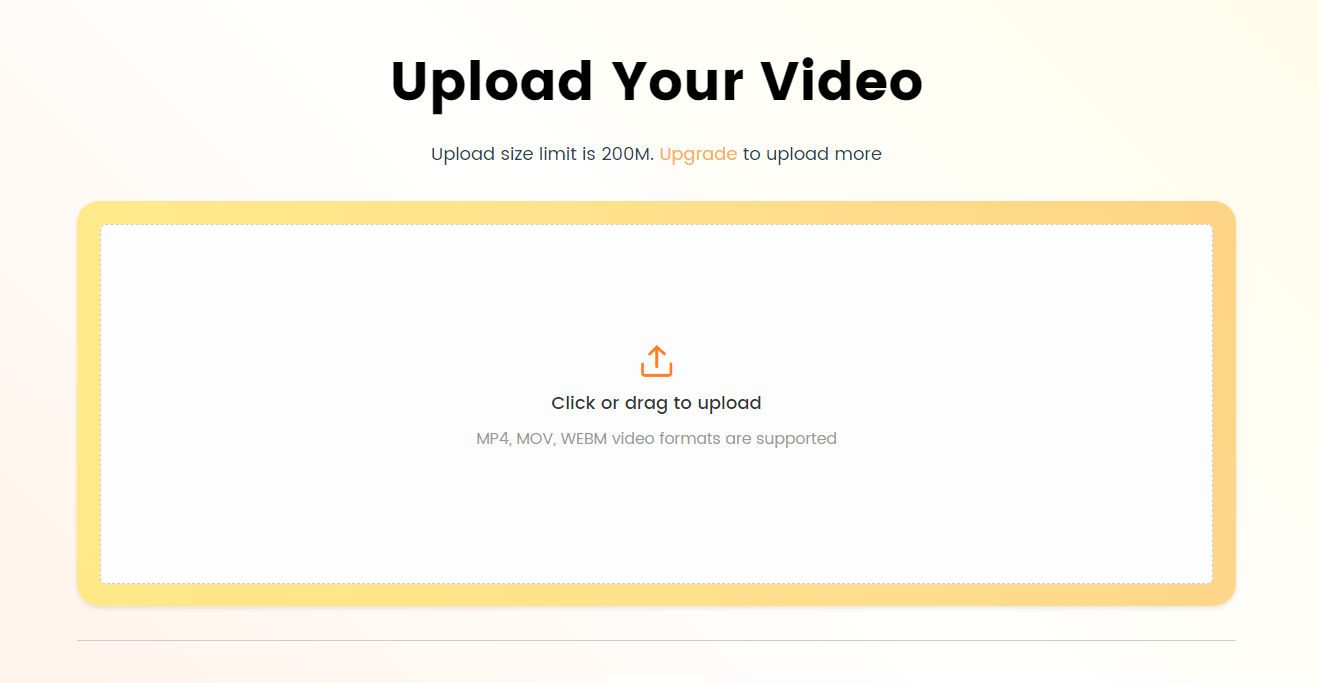
Log in and Upload the Video
Step 2. From the available options, choose the language for your video. Once selected, let CapUp process your video.
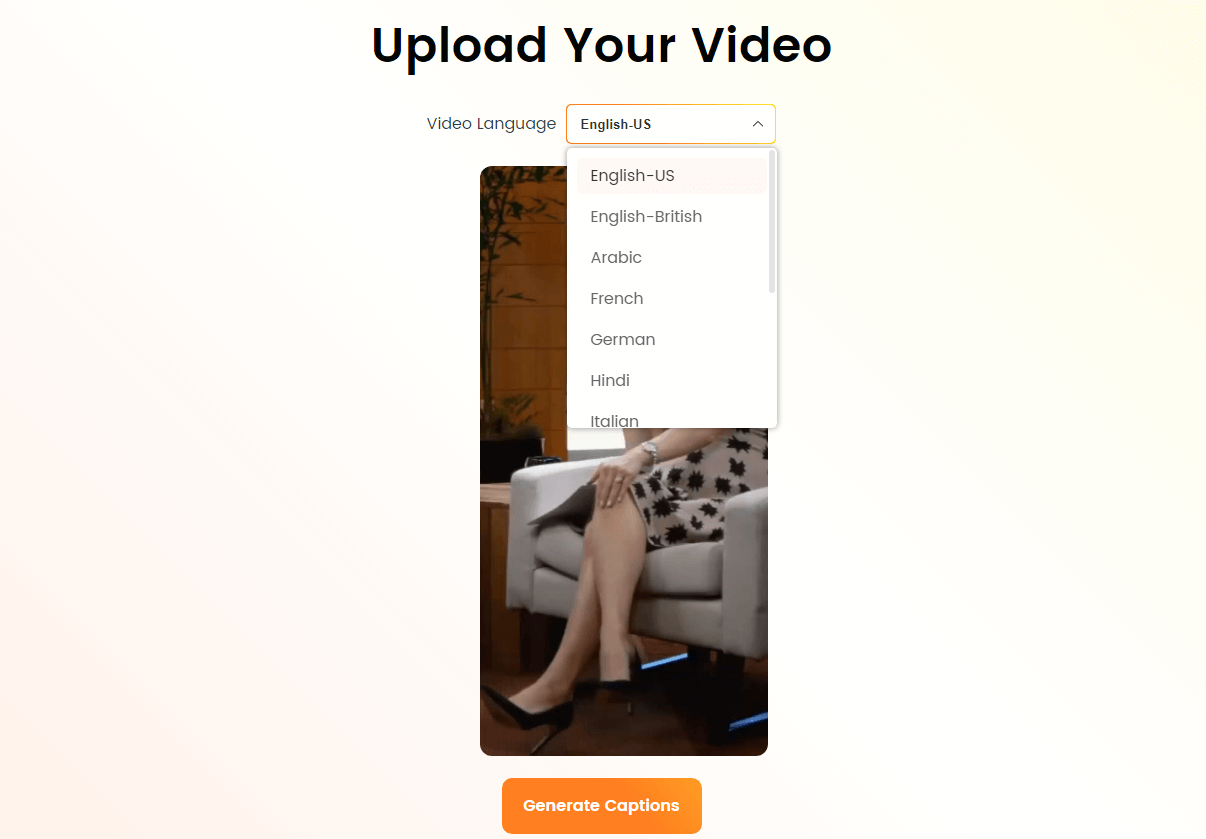
Select the Language that Matches Your Video
Step 3. Navigate to the “Template” section and select a design template from popular influencers to enhance your video’s visual appeal.
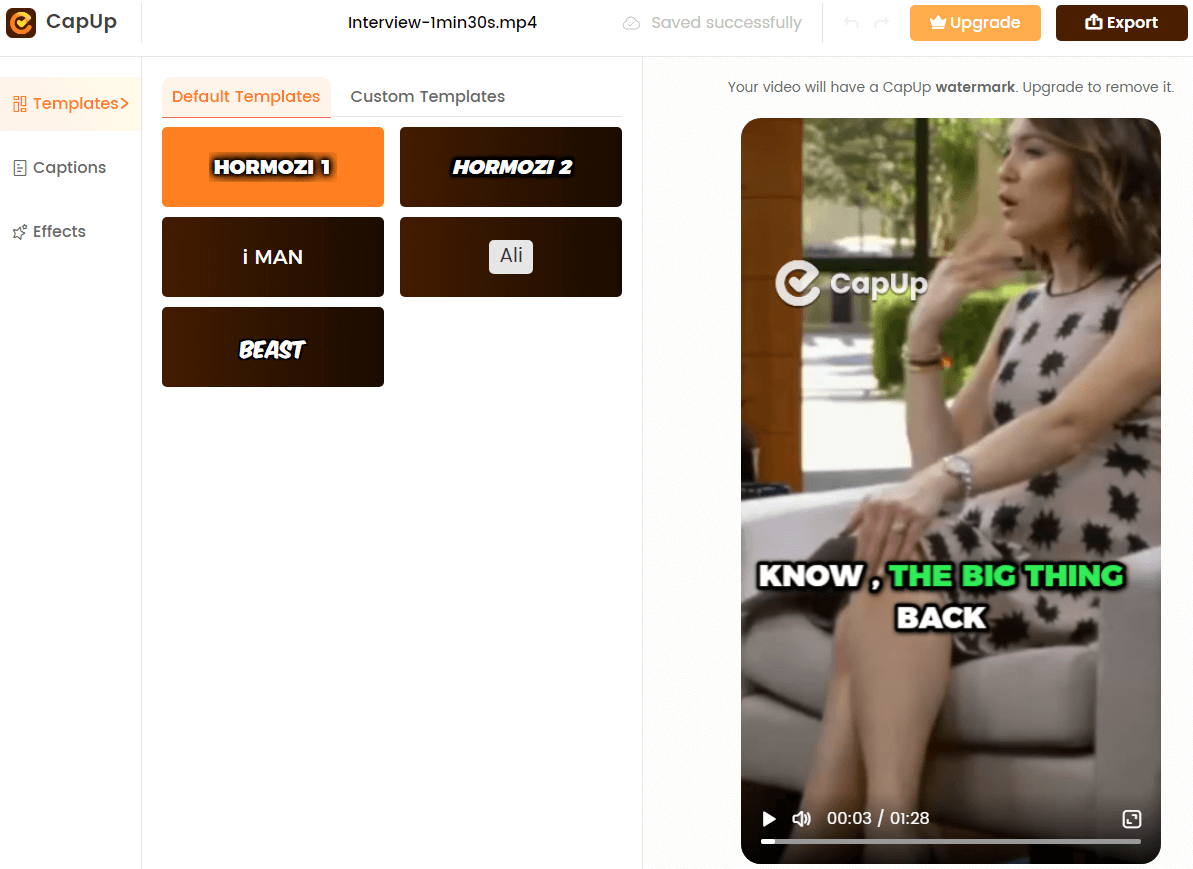
Select the Preset Caption Template
Step 4. If needed, make adjustments to the template to suit your content and style. Fine-tune the captions for precision and to boost their impact. You have the flexibility to modify fonts, add emoticons, and incorporate sound effects and animations into your subtitles.
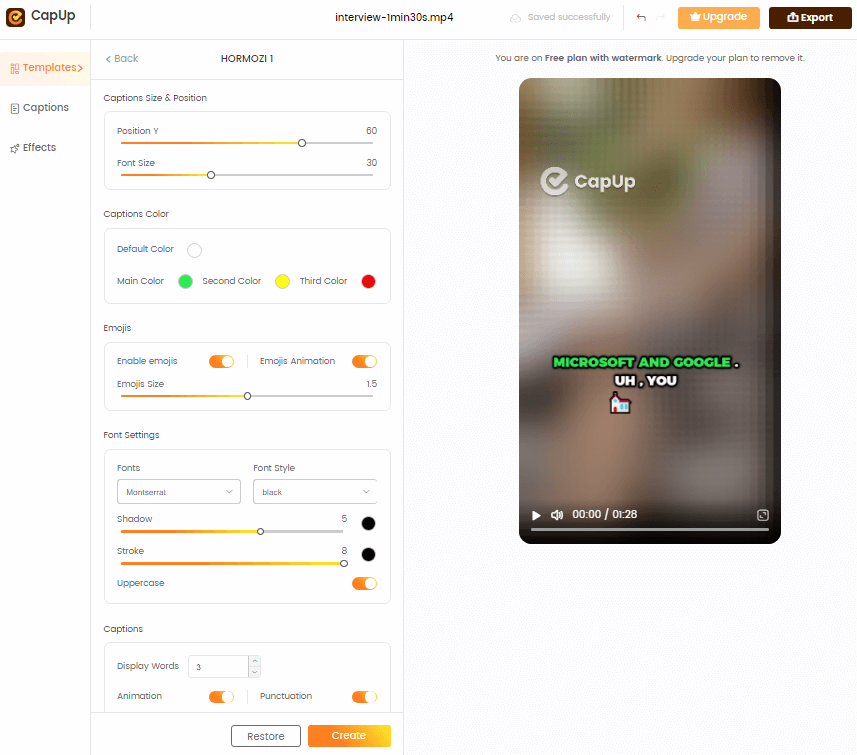
CapUp – Customize the Template Setting
Step 5. Select a frame from your uploaded video or upload a new image to serve as the cover for your video. Once you’re satisfied with your edits, click “Export” to finalize and save your YouTube Shorts ready for sharing.

CapUp – Two Ways to Edit Video Cover
CapCut
CapCut is a user-friendly, mobile-first video editing app that allows you to easily add subtitles to your videos. With its intuitive interface and powerful features, CapCut is an excellent choice for beginners and professionals alike.
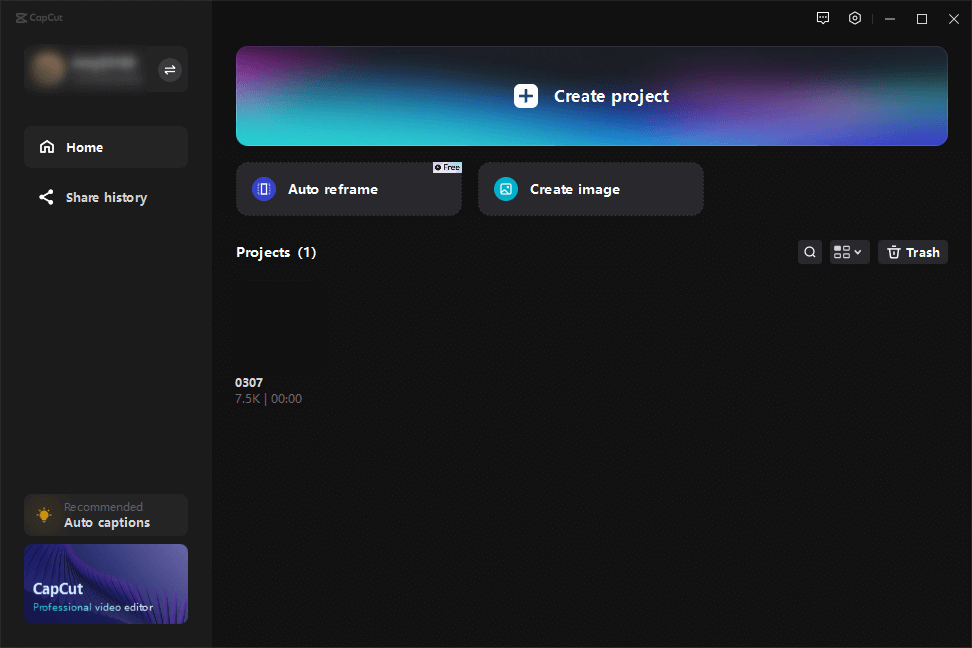
Open CapCut and Sign in to Your Account
Key features:
- Automatic subtitle generation from speech
- Customizable subtitle styles and fonts
- Easy subtitle timing adjustments
- Mobile-friendly interface
Steps to add subtitles in CapCut:
Step 1: Import your video into the CapCut app.
Step 2: Select the “Text” option and choose “Auto Captions.”
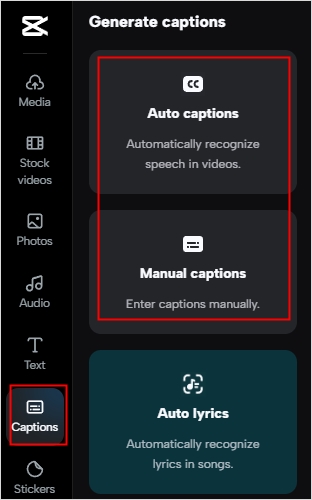
Choose Auto-Caption
Step 3: Review and edit the generated subtitles for accuracy.
Step 4: Customize the subtitle style, font, and color.
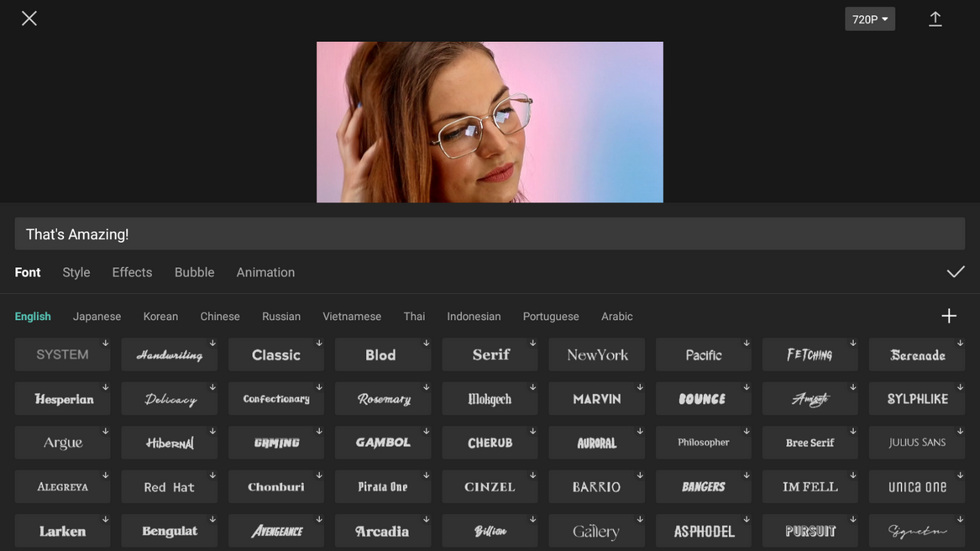
Customize Your Text
Step 5: Export the video with embedded subtitles.
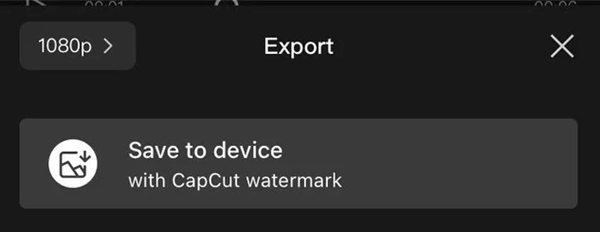
Export the Video
Adobe Premiere
Adobe Premiere is a professional-grade video editing software that offers a comprehensive set of tools for adding subtitles to your videos. Its robust features and customization options make it a top choice for experienced video editors.
Key features:
- Support for multiple subtitle formats (SRT, WebVTT, etc.)
- Customizable subtitle styles and positioning
- Ability to import and edit subtitle files
- Integration with other Adobe Creative Suite applications
Steps to add subtitles in Adobe Premiere:
Step 1: Import your video into Adobe Premiere > Create a new caption track.
Create a new Caption
Step 2: Import or create your subtitle file > Adjust the timing and positioning of the subtitles.
Step 3: Customize the subtitle style and appearance > Export the video with embedded subtitles.
Final Cut Pro
Final Cut Pro is another professional video editing software that offers a seamless workflow for adding subtitles to your videos. Its intuitive interface and powerful tools make it a popular choice among video editors.
Final Cut Pro
Key features:
- Support for multiple subtitle formats (SRT, WebVTT, etc.)
- Customizable subtitle styles and positioning
- Ability to import and edit subtitle files
- Seamless integration with Apple’s ecosystem
Steps to add subtitles in Final Cut Pro:
Step 1: Import your video into Final Cut Pro.
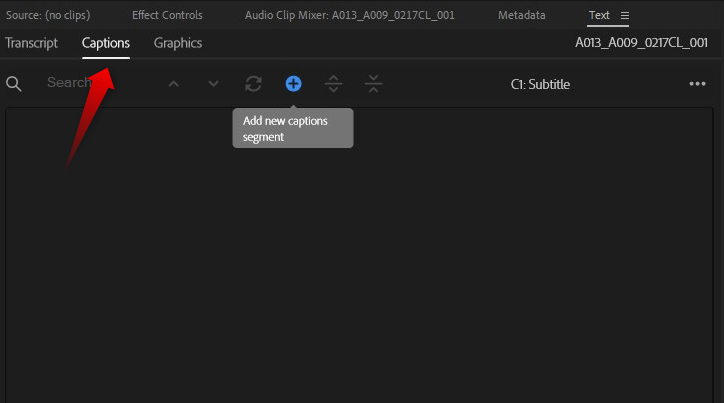
Step 2: Create a new caption track.
Create a New Caption Text
Step 3: Import or create your subtitle file.
Step 4: Adjust the timing and positioning of the subtitles.
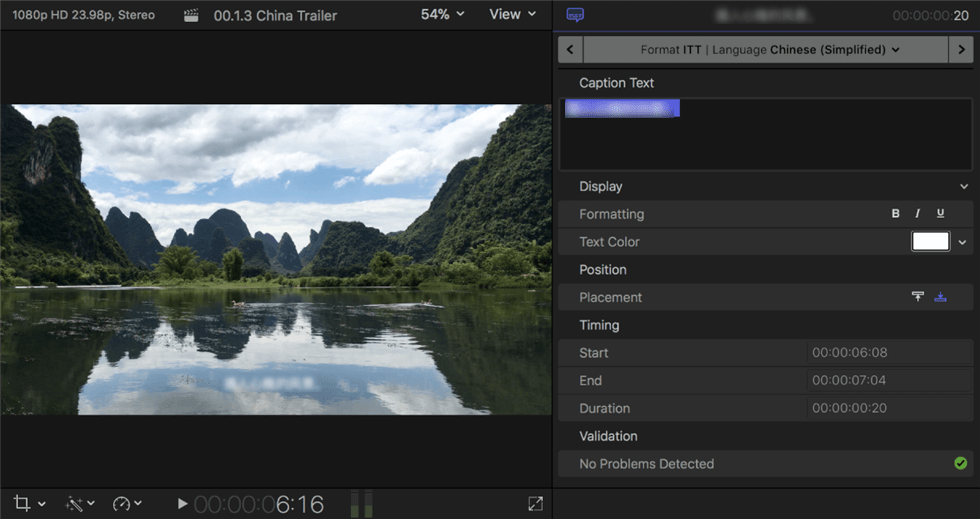
Step 5: Customize the subtitle style and appearance in Final Cut Pro.
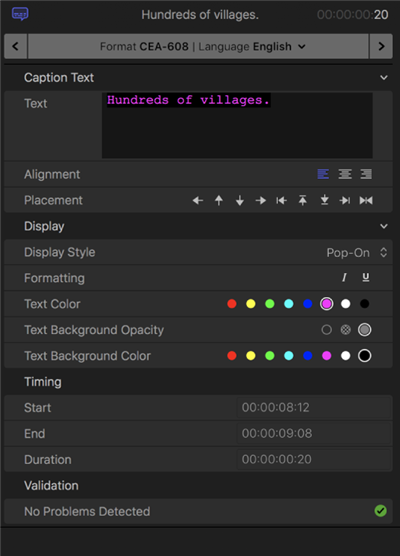
Customize the Subtitle Style
Step 6: Export the video with embedded subtitles.
4 Tips for Subtitle Creation
Keeping subtitles concise and easy to read
When creating subtitles, it is crucial to strike a balance between providing enough information and maintaining readability. Aim to keep your subtitles concise and easily digestible by limiting each subtitle to a maximum of two lines, with around 35-45 characters per line. This ensures that viewers can quickly read and comprehend the text without missing important visual elements in the video. Additionally, use simple, clear language and avoid jargon or complex vocabulary that may confuse or alienate some viewers.
Ensuring accurate timing and synchronization
Proper timing and synchronization are essential for creating effective subtitles. Subtitles should appear and disappear in sync with the spoken words, allowing viewers to follow along naturally. To achieve this, ensure that each subtitle has adequate reading time, typically around 3-7 seconds, depending on the length and complexity of the text. Avoid overlapping subtitles with scene changes or important visual elements, as this can distract or confuse viewers. Regularly review and adjust the timing of your subtitles to maintain a seamless viewing experience.
Choosing the appropriate font style and size
The font style and size used for your subtitles can significantly impact their legibility and overall effectiveness. Choose a clear, legible font such as Arial, Helvetica, or Verdana, which are widely supported and easy to read on various devices. Ensure that the font size is large enough to be easily readable on different screen sizes, from smartphones to large televisions. Additionally, use a contrasting color for the subtitle text against the background to enhance visibility and reduce eye strain. White text with a black outline or shadow is a common and effective choice.
Considering language and translation options
To maximize the reach and impact of your videos, consider providing subtitles in multiple languages. This allows you to cater to a broader, international audience and expand your content’s potential viewership. When translating subtitles, ensure that the translations accurately capture the meaning and tone of the original content.
Troubleshooting Common Issues of Subtitles
Fixing subtitle synchronization problems
- Adjust the timing of individual subtitles to match the spoken words
- Use a subtitle editor with waveform representation for precise synchronization
- Ensure consistent time codes throughout the subtitle file
Resolving encoding and compatibility issues
- Use widely supported subtitle formats (e.g., SRT or WebVTT)
- Ensure the subtitle file is correctly encoded (UTF-8 is a safe choice)
- Test the subtitles on various devices and platforms for compatibility
Handling missing or incorrect subtitles
- Proofread the subtitle file for spelling and grammatical errors
- Fill in any missing subtitles or correct inaccurate ones
- Consider using a professional subtitle service for high-quality results
FAQs of Adding Subtitles to a Video
How long does it take to add subtitles to a video?
The time required to add subtitles to a video depends on the length of the video, the complexity of the content, and the method you choose. On average, it can take anywhere from a few minutes to several hours, depending on these factors.
Can I add subtitles to videos on my phone?
Yes, there are mobile apps like CapCut that allow you to add subtitles to videos directly on your phone. These apps offer user-friendly interfaces and automated subtitle generation features, making the process quick and easy.
Are there any free tools for creating subtitles?
Yes, there are several free tools available for creating subtitles, such as Aegisub, Subtitle Edit, and DaVinci Resolve. These tools offer basic subtitle creation and editing features, although they may have limitations compared to paid software.
How can I translate my subtitles into different languages?
To translate your subtitles into different languages, you can either use automated translation tools like Google Translate or hire professional translation services. If using automated tools, be sure to proofread the translations for accuracy and make necessary corrections. For high-quality translations, it’s best to work with native speakers or professional translators who understand the nuances of the target language and culture.
Conclusion
Adding subtitles to your videos is a crucial step in making your content more accessible, engaging, and SEO-friendly. By following the methods and best practices outlined in this article, you can effectively add subtitles to your videos using tools like CapCut, Adobe Premiere, or Final Cut Pro. Remember to keep your subtitles concise, well-timed, and properly formatted to ensure the best viewing experience for your audience. Start implementing subtitles in your future videos and witness the positive impact they can have on your content’s reach and engagement.