How to Add Subtitles to Windows Media Player

Subtitles play a crucial role in enhancing the viewing experience of videos, making them accessible to a wider audience. They are particularly useful for those who are deaf or hard of hearing non-native speakers, or those who are watching videos in noisy environments. Windows Media Player, a popular media player, has built-in subtitle support, allowing users to easily add and customize subtitles for their videos.
Table of Contents: hide
How to Add Subtitles to Windows Media Player
Customizing Subtitle Appearance
Alternative Methods for Adding Subtitles
Benefits of Using Subtitles in Windows Media Player
Preparing the Subtitle File
Before adding subtitles to your video in Windows Media Player, make sure you have a compatible subtitle file. Windows Media Player supports various subtitle file formats, including SRT, SUB, SMI, and more. To ensure seamless integration, make sure your subtitle file is formatted correctly and follows the proper naming conventions. The subtitle file should have the same name as the video file and be placed in the same folder.
How to Add Subtitles to Windows Media Player
Now that you have your subtitle file ready let’s dive into the process of adding subtitles to your video in Windows Media Player.
Step 1: Launch Windows Media Player and locate the video file you want to add subtitles to.
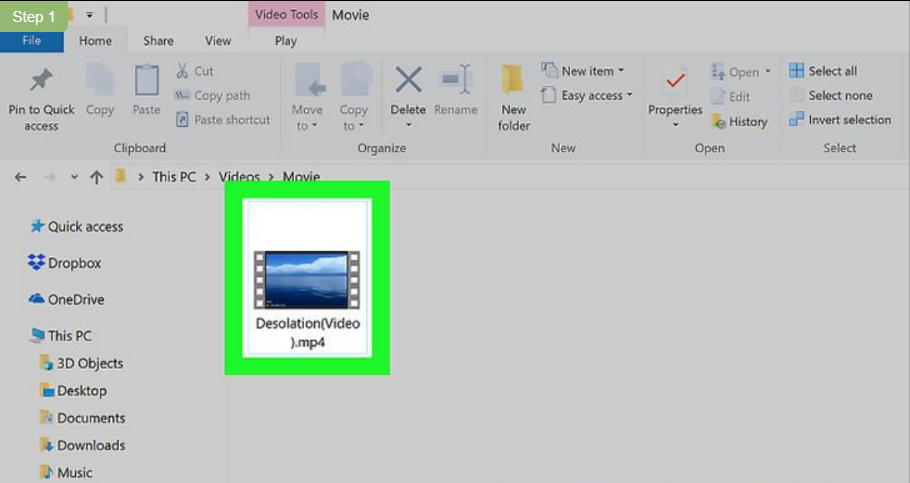
Locate the Video You Want to Use
Step 2: Place the subtitle file in the same folder as the video file, ensuring they have the same name.
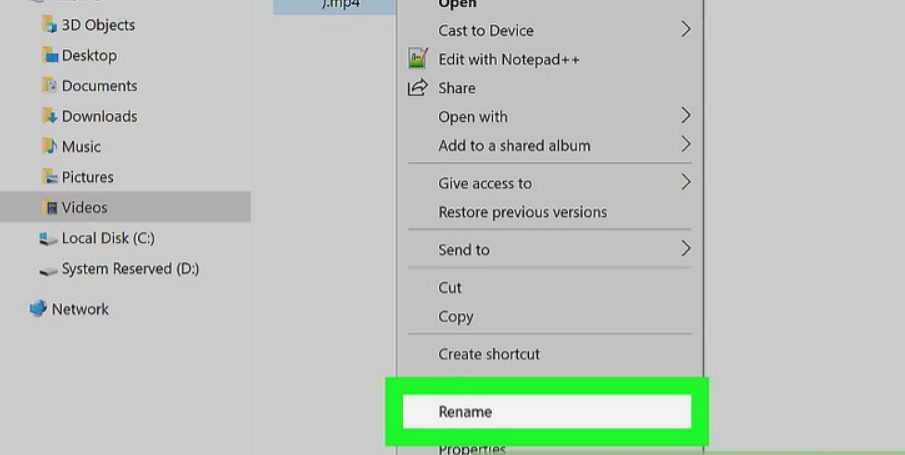
Rename the Video
Step 3: Enable subtitles in Windows Media Player by navigating to the “Play” menu and selecting “Lyrics, captions, and subtitles.”
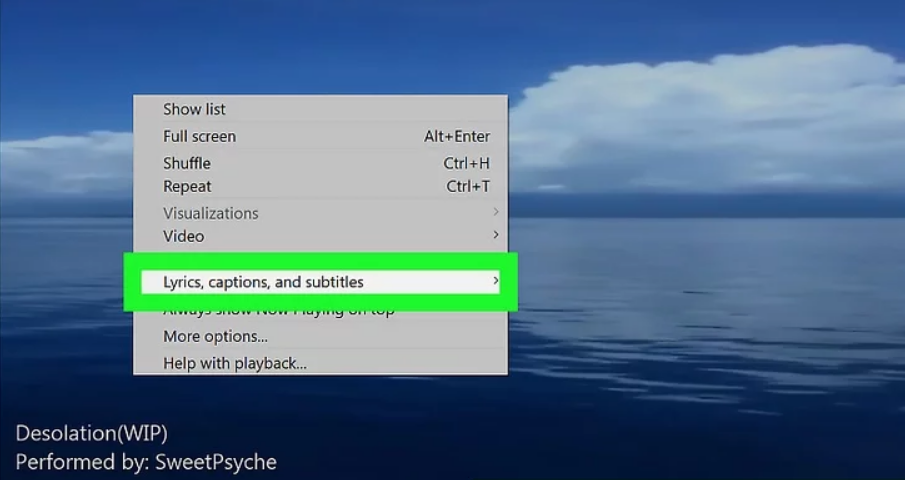
Select Lyrics, Captions, and Subtitles
Step 4: Select the desired subtitle file from the list of available options.
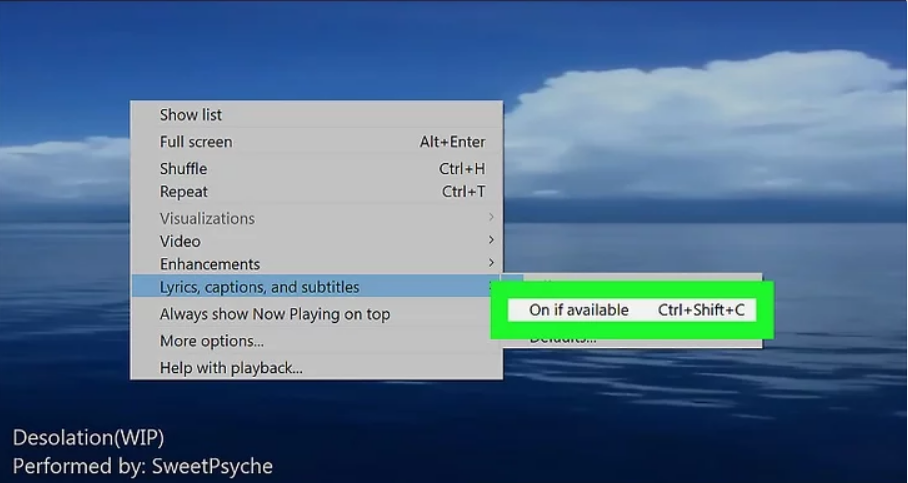
Click on If Available
Step 5: You can also use keyboard shortcuts to turn subtitles on or off. To enable or disable subtitles during playback, press “Ctrl+L”.
If you encounter any issues with subtitles not appearing, make sure the formatting of your subtitle file is compatible with Windows Media Player.
Customizing Subtitle Appearance
Windows Media Player offers various customization options to customize the appearance of subtitles to your preferences.
Step 1: Right-click video > “Lyrics, captions, and subtitles” > “Lyrics, captions, and subtitle settings.”
Step 2: In the “Font” section, use the “Font size” dropdown menu to select your desired subtitle font size.
Step 3: In the “Background” section, choose a transparent or solid color background for your subtitles.
Step 4: In the “Placement” section, use the “Position” dropdown menu to select where subtitles appear on the screen.
Step 5: Click “Apply” to save your settings. Subtitles will appear with your chosen font size, color, background, position, and alignment. Customized settings will be used for future videos unless changed again.
Alternative Methods for Adding Subtitles
While Windows Media Player offers a straightforward way to add subtitles, there are alternative methods you can try.
- Use external subtitle software like Subtitle Workshop or Aegisub to create and edit subtitle files.
- Embed subtitles directly into the video file using video editing software like HandBrake or VirtualDub.
- Explore other media players with advanced subtitle features, such as VLC Media Player or KMPlayer.
Benefits of Using Subtitles in Windows Media Player
Adding subtitles to your videos in Windows Media Player offers several benefits:
- Improved accessibility: Subtitles make videos accessible to deaf and hard-of-hearing viewers, ensuring they can enjoy the content alongside everyone else.
- Enhanced comprehension: By reading the subtitles while watching the video, non-native speakers can better understand the dialogues and narration.
- Flexibility: Subtitles allow you to watch videos in noise-sensitive environments, such as public spaces or when you need to keep the volume low.
Bonus Tips – Add Subtitle using AI Subtitle Generator
CapUp can automatically generate accurate and synchronized subtitles for your content. By using the power of artificial intelligence, CapUp analyzes your video’s audio and creates captions that match the spoken words, ensuring that your message is effectively conveyed to your audience. Whether you’re creating videos for social media, educational purposes, or business presentations, CapUp saves you time and effort while enhancing the accessibility and engagement of your content.
Key Features of CapUp
- Integrate trending caption templates from TikTok, Instagram, and YouTube Shorts for fresh, engaging content.
- Use emojis to add emotional depth, emphasize key points, and make videos more relatable and appealing.
- Capture attention through high-impact “zoom in” effects, and eye-catching sound effects within the first 3 seconds.
- Strategically magnify important moments to extend watch time, boost engagement, and ensure critical messages are noticed.
Step 1. Log in to CapUp and upload a video:
Log in to CapUp and drag and drop or upload reel videos from your computer.
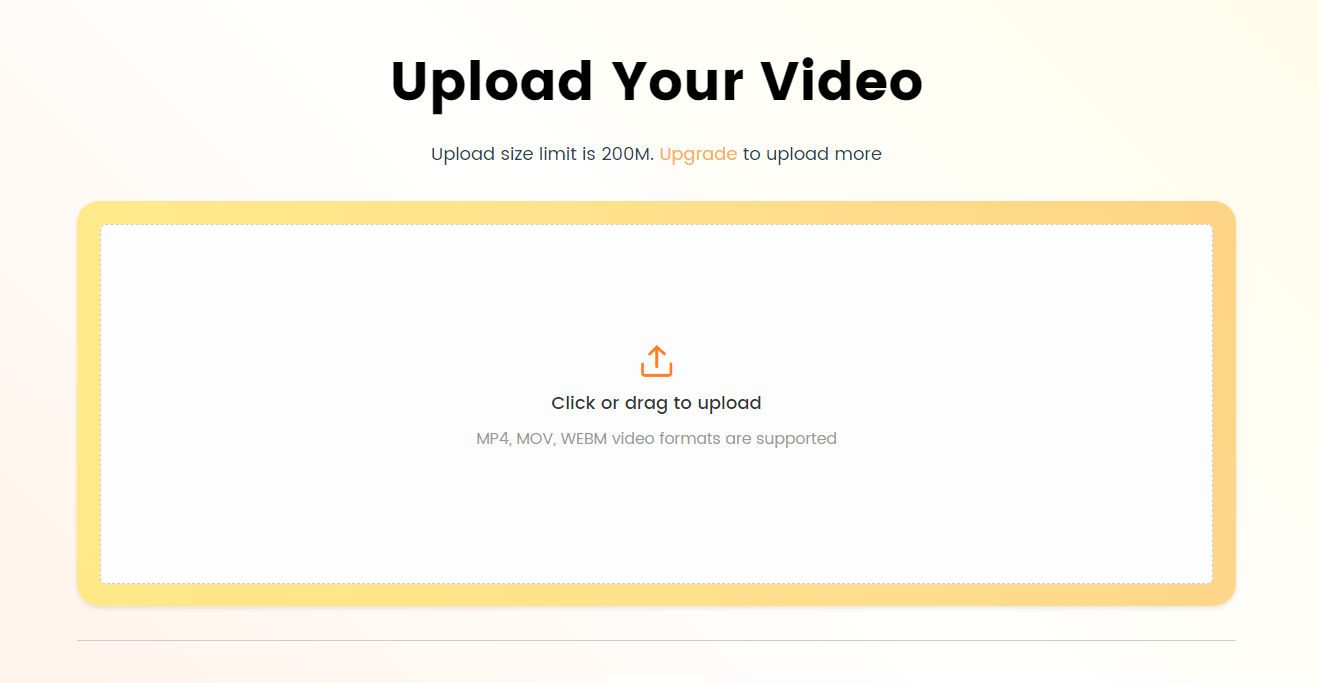
Log in and Upload the Video
Step 2. Select a language:
Use the drop-down menu to select a video language from a list of supported languages, including English, German, Spanish, French, Portuguese, and more.

Select the Language that Matches Your Video
Step 3. Select a template and generate:
Click on “Templates” and select the top influential designs. Then, let CapUp create your video. Then, you can click “Captions” and “Effects” to edit the title, including fonts, emoticons and sound effects.

Add Captions to Videos Automatically with AI
Step 4. Add a cover and export:
Add a cover by uploading an image or selecting a frame from your video. When you are satisfied, click “Export” to save the video.
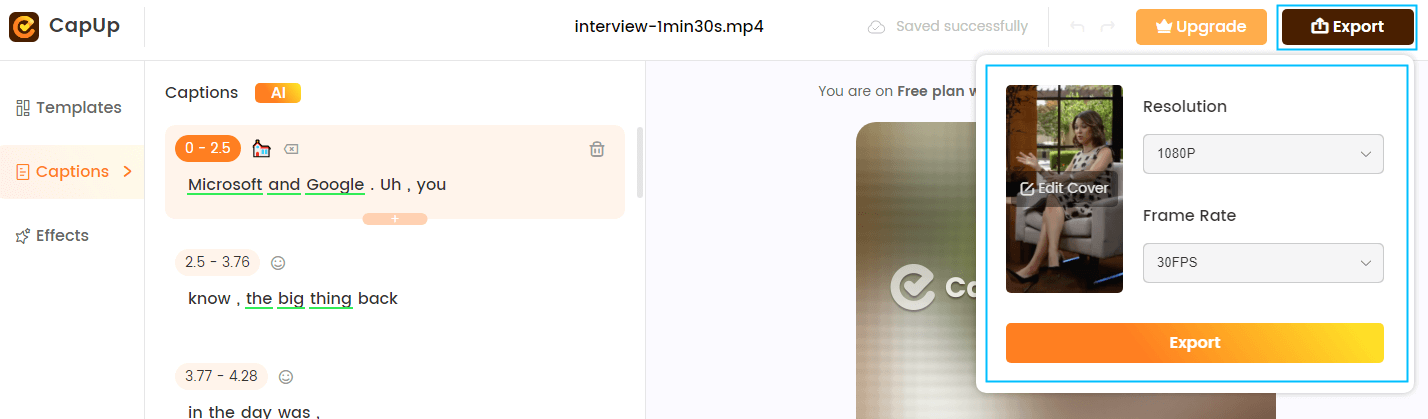
Export the Video
Frequently Asked Questions
1. Can I use multiple subtitle files for a single video?
Yes, you can have multiple subtitles files for a single video in different languages. However, you can only enable one subtitle file at a time in Windows Media Player.
2. How do I synchronize subtitles with video playback?
If you notice that the subtitles are out of sync with the video, you can use subtitle editing software to synchronize the subtitles with the video playback.
3. Are there any limitations to the number of supported subtitle formats that can be used?
Windows Media Player supports a wide range of subtitle formats, including SRT, SUB, SMI, and more. However, if you encounter a subtitle format that is not supported, you can use subtitle conversion tools to convert it to a compatible format.
Conclusion
Adding subtitles to your videos in Windows Media Player is a straightforward process that greatly enhances the viewing experience. With the step-by-step guide in this post, you can easily prepare your subtitle files, enable subtitles, and personalize their appearance to suit your preferences. Whether you’re watching videos for entertainment, learning, or accessibility, subtitles offer a significant addition to your media playback.