Lenovo is one of the leading PC manufacturers in the world, putting millions of desktops and laptops on the market every year. Most Lenovo computers are compatible with Windows, and a great majority uses some version of this operative system and the tools that come with it. Older models may still run an obsolete Windows version, while new computers typically ship with Windows 10 or Windows 11.
You can do everything on a Lenovo PC that you can on any Windows-based device, including taking a quick screenshot with built-in tools only. Making a screenshot is one of the simplest actions that many users do several times every day, and it doesn’t take more than a few seconds to complete. Of course, there are numerous details that matter, from where the screenshot is saved to what modifications can be made to it without the need to use an external editor.

How to Screenshot on a Lenovo Computer
This is why it’s worth spending a few minutes to learn how to screenshot on Lenovo PC and make good use of the tools you already have on the computer. This article will discuss several possible scenarios for instant screen grabbing and instruct you how to ensure that you are not spending more time on this task than is absolutely necessary.
Table of Contents: hide
How to Make a Screenshot on a Lenovo Computer
Option 1. Snipping Tool (Windows 7 and Windows 8)
Option 2. Snip & Sketch (Windows 10 and later)
How to Screenshot on Lenovo PC using Screenshot Hotkeys
How to Make a Screenshot on a Lenovo Computer
As we mentioned in an earlier section, every Window-based PC including Lenovo products is equipped with a native application intended specifically for screenshots. This application has evolved over time, so its exact form depends on the version of Windows you have on your computer. While the name of the app had been changed with the release of Windows 10 and some new important features had been added, different screenshot functions are available to all users and remain more or less the same.
Here is what you need to know about snipping content from the screen of your Lenovo PC using the built-in feature in Windows.
Snipping Tool (Windows 7 and Windows 8)
Snipping Tool is designed to capture content from the screen, and allows users to make certain choices regarding the size and shape of the screenshot, although the range of possibilities is very modest compared to commercial screenshot tools.
It is a very simple application and its interface doesn’t take long to learn, so even users with limited computer experience can quickly become adept at catching significant screen action at will. At the same time, this app gives you enough options to make the screenshot well suited for whatever purpose you had in mind.
Open Snipping Tool on a Lenovo Computer
Just follow these steps in order to snap anything that happens on your computer screen with Snipping Tool feature in Windows:
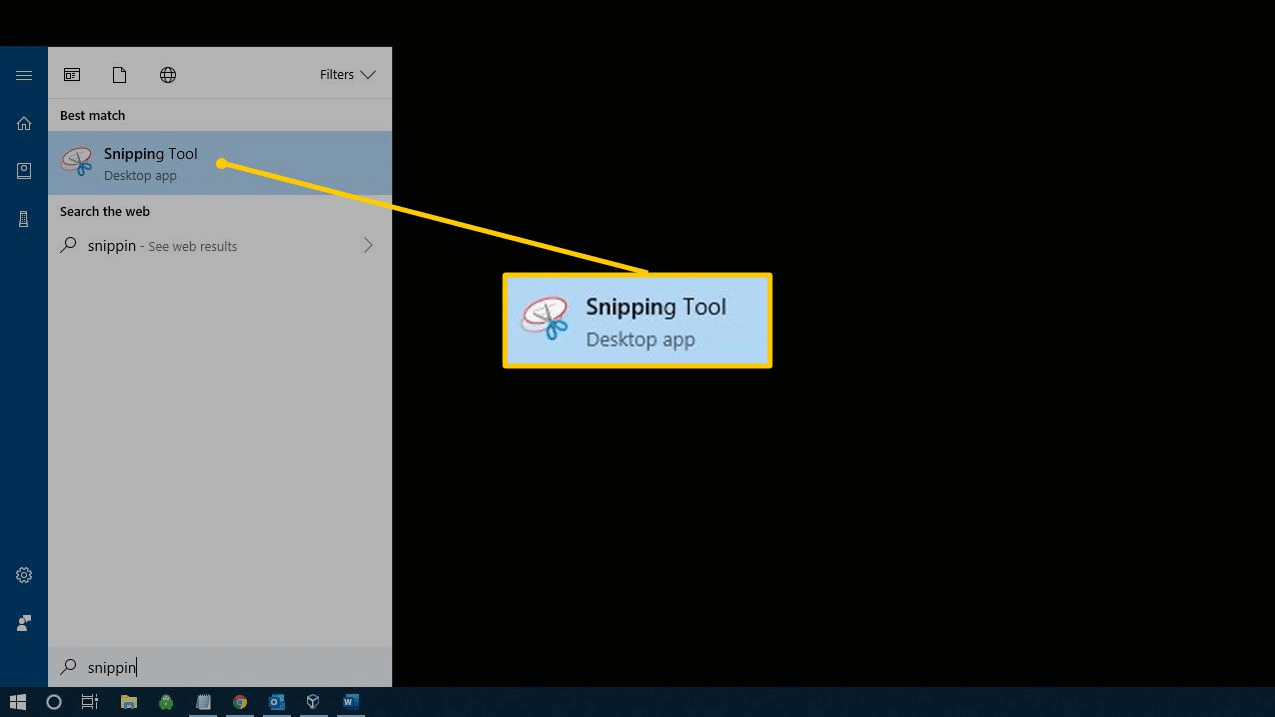
Step 1. Use the Search function in Windows to find Snipping Tool on your computer, or simply press Windows + SHIFT + S to make a quick screenshot.
Step 2. If you want to use any mode other than rectangular, click on the Mode menu and select another option (full-screen, window, or freeform).
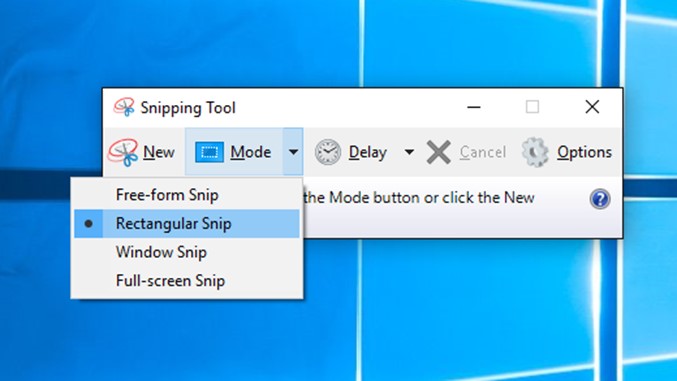
Choose Mode in Snipping Tool
Step 3. Mark the borders of the intended shot by dragging your mouse across the screen, and release the mouse button to snap the image currently between the lines
Step 4. The screenshot will be immediately copied to clipboard > Open Paint or another program and paste the image into a new document, then save the file to your hard drive or another location of your choice.
If the Snipping Tool not working on your computer, you can follow our guide to fixing this problem. Or change the method below.
Snip & Sketch (Windows 10 and later)
The screenshot app has been renamed and upgraded, so users with newer Lenovo computers who have Windows 10 or later should use an app called Snip & Sketch. If you would like to learn how to screenshot on Lenovo PC using Snip & Sketch tool, that won’t be very difficult regardless of your experience level.
On the other hand, this tool includes basic annotation and measurement features that were absent from Snipping Tool, so you can be more precise when capturing content and include text or various shapes and visual elements on top of the screenshot.
Screenshot on Lenovo PC using Snip & Sketch
Here is how Lenovo PC owners with Windows 10 or higher version of OS can easily capture snips from anywhere on their screens:
Step 1. Find and open the Snip & Sketch application on your Lenovo computer.
Step 2. Click on the New menu, then select a mode you want to use for your next snip
Step 3. Optionally use the Delay drop-down menu to postpone the screenshot for a set period of time (either 3 or 10 seconds)
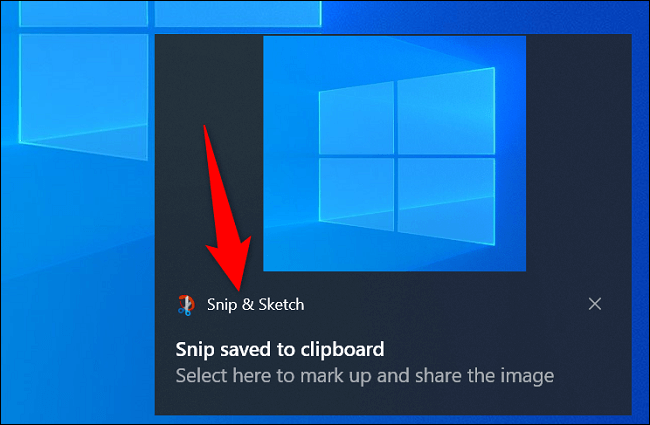
Step 4. After you take the snip and it appears in a new window, use the available tools to crop it, add text or other elements
Step 5. Copy the screenshot to another app, save it locally, or share it directly on online platforms
How to Screenshot on Lenovo PC using Screenshot Hotkeys
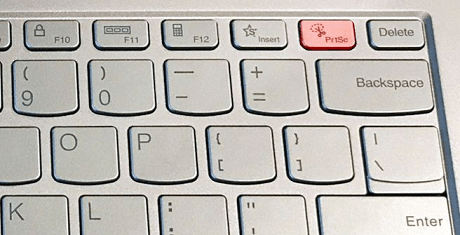
Another method relies on specialized hotkey combinations, and can be executed from the keyboard alone, without the need to run any app. PrtSc key that every PC keyboard includes is the most important command for this method, but by combining it with other keys it’s possible to activate specific functions.
Screenshot on Lenovo PC using Screenshot Hotkeys
Here is an overview of the possible actions you can accomplish with PrtSc key on a Lenovo PC.
PrtSc
If you press only the PrtSc key, you will instantly take a screenshot of the entire screen. This image will be sent to clipboard and you will have to paste it somewhere (i.e. into Paint, Word, or another program) before you can permanently save it. Be mindful not to make another screenshot before you have successfully saved an earlier one – this is quite easy to forget about.
Windows key + PrtSc
If you are holding down the Windows key while you press the PrtSc button, the result will be similar to the previous scenario, only the screenshot will be automatically saved in the Pictures\Screenshot folder on your Lenovo PC, saving you some effort. This method also captures the entire screen with all windows that are open at the moment when you snap the picture.
Alt + PrtSc
When used in combination with the Alt key, PrtSc hotkey allows you to take a screenshot containing only what can be found in the currently active window. This allows you to focus only on the important content and to ignore stuff like your desktop wallpaper, time and date on the taskbar, open web browser tabs and other elements that could draw attention away from your intended visual message.
How to Screenshot on Lenovo PC via Gemoo Snap
There is an even faster method for taking screenshots on your Lenovo desktop or laptop, suitable for all users who don’t intend to heavily annotate or edit the image. As a free tool, Gemoo Snap enables you to take, annotate, beatify, pin, share, and extract text from screenshots, enhancing the effectiveness of your communication over annotated images. If you need to comment on a design, assignment, or bug, just take a screenshot and add a quick annotation. Simply use the magnifying glass to highlight important details, add shapes and text to provide context, and you’ll have an awesome image. Let’s check Gemoo Snap’s key feature and try it for free.
Gemoo Snap Key Features
- Works well both on Windows and macOS, also available in Chrome extension.
- Instantly capture a full-screen in just one click.
- Beautify your captures easily by adding backgrounds, rounding corners, and drawing shapes.
- Extract texts from images, videos, PDFs, websites, etc. Capture and copy. Easy and fast.
- Take screenshots and add feedback, brush, text, a variety of shapes, mosaic, copy to clipboard, or share via link.
- Supports 2 ways to save screenshots, directly to the cloud or save locally.
Now, look at how to capture screenshots via Gemoo Snap.
Step 1. Please download and install Gemoo Snap on your computer first. Launch Gemoo Snap on your computer. Then please enter your account and password to log in Gemoo Snap.
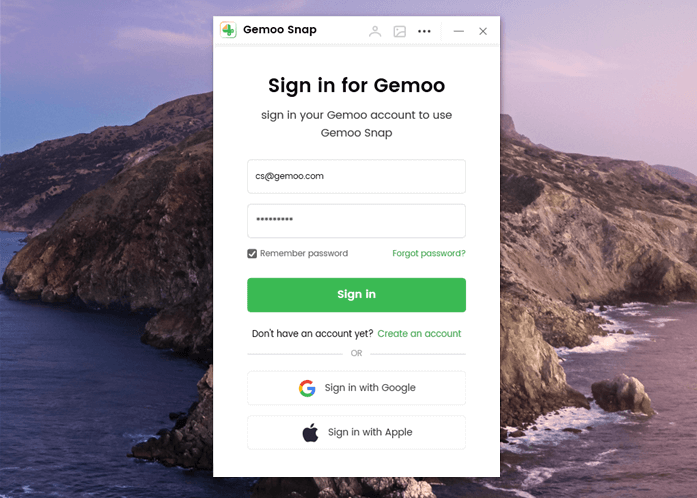
Sign in Account
Step 2. Please click the button Quick Screenshot on the main interface. And you can also tap the shortcut key PrintScreen to launch the function.
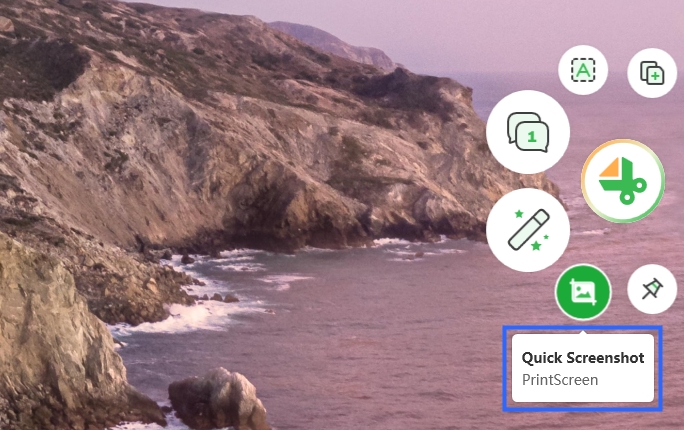
Quick Screenshot on Your Computer
Step 3. Please drag your mouse over the desired area to customize it and then let go. By default, Gemoo Snap will start by locating the mouse’s current location. You cannot change the size of the area once it has been framed.
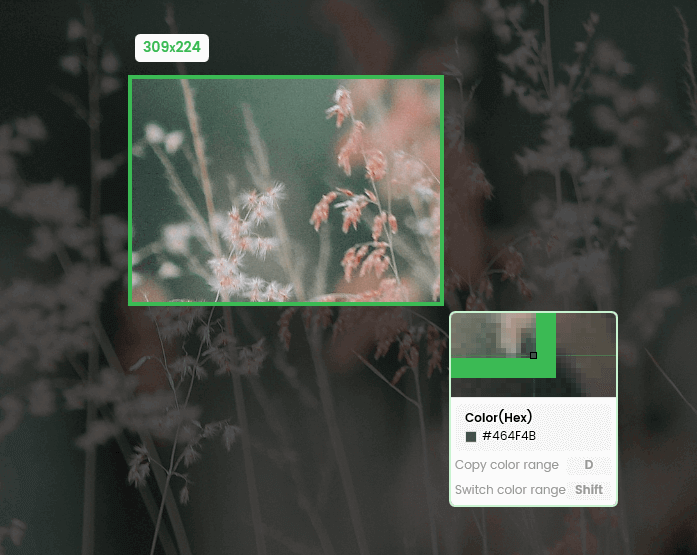
Frame The Screen
Step 4. After you complete the screenshot, you can choose to upload it to Gemoo Cloud automatically or save it locally, if the Upload Quick Screenshot image is enabled (It will show thumbnails in the lower right corner).
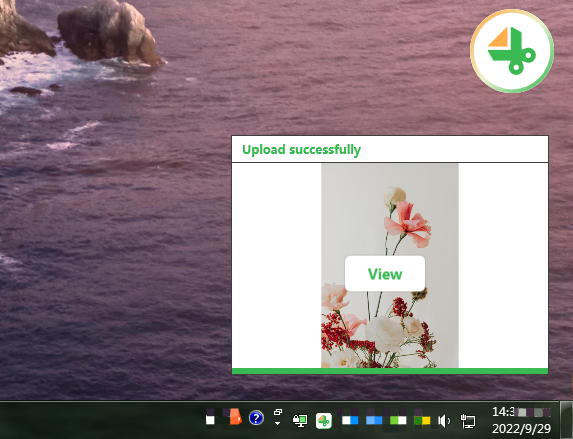
Upload Successfully
Frequently Asked Questions of Screenshot on Lenovo Computer
How do I take a screenshot on my Lenovo laptop with Windows 11?
You have several possibilities for taking a screenshot if your computer has Windows 11 installed on it. The easiest way is to use the keyboard shortcuts, but you could also run the Snip & Sketch app that lets you edit the screenshot in various ways. Finally, there are numerous third-party apps that let you make and annotate screenshots on Windows 11 and can be downloaded for free.
How do I take screenshot on my Lenovo Chromebook without a Windows key?
While Lenovo Chromebook laptops don’t have a Windows key on the keyboard, you can still use a combination of hotkeys to instantly collect snips from your screen. If you press the power button together with the volume down button and hold them down for a few moments, you will capture the current content of your screen.
How to screenshot on Lenovo tablet?
There are several ways to take a quick screenshot on a Lenovo tablet. Pressing and holding the power button together with volume down button as described above is probably the quickest and easiest available method. Another smart way to do it without needless complexity is to open the Google Assistant app and just say aloud ‘Take a screenshot’. Your command will be automatically executed.
Can I edit the screenshot with built in tools on Windows?
If you are using Lenovo computer with Windows 10 or Windows 11, you should have Snip & Sketch app on it that allows you to perform basic editing actions, such as cropping or adding text. For more serious edits, it’s best to use an external editor that comes with more advanced tools and allows you to convert the screenshot into any file format.
Is it possible to choose the shape and size of the screenshot on a Lenovo PC?
Yes, this can be done very easily. Built-in tools in Windows allow the user to choose between several screenshot modes. In practice, that means it’s possible to capture rectangular snips of any dimensions, or even to draw irregular shapes on the screen by hand and capture everything visible within the customized outline.
Final Words
Every Lenovo PC is equipped with solid screenshot tools, and users can readily snap images of their screen with next to no effort. In addition to dedicated keyboard shortcuts that instantly capture the screen, there is also a built-in screenshot app that offers decent functionality. That’s especially the case for owners of Lenovo computers with Windows 10 or better OS, as they have a more advanced version of the screenshot tool available. With this in mind, taking full or partial screenshots should be viewed as a routine action that virtually every user will be able to complete in seconds after learning how to use the relevant key combinations.