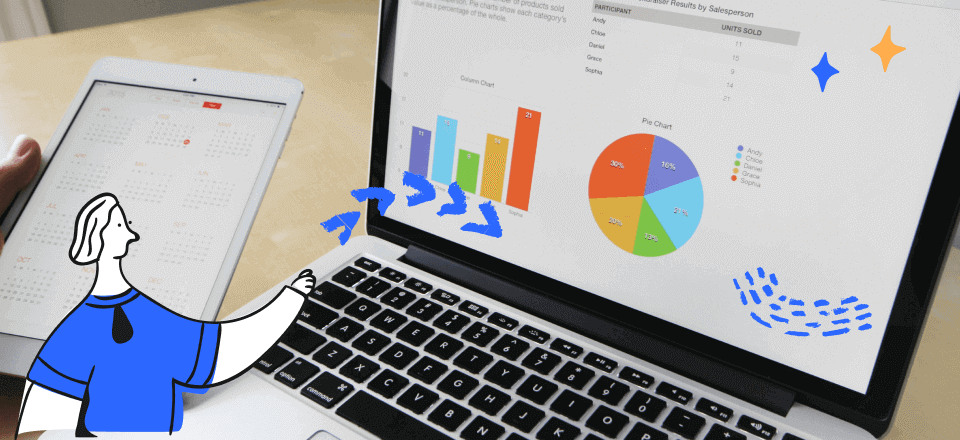
The purpose of training videos is to make instructional videos by audio and visual means. Compared to studying from books, the vivid video and audio make it much simpler for viewers to get to the point. There’s no denying that this format is rapidly gaining popularity among teachers, business people, and students for educational video content. However, the video’s quality and usefulness as a training tool can be greatly affected by the software used to make it.
How to Make Screen Recording for Training
That’s where a quality screen recording tool comes in. You can easily create high-quality training videos with the right software and equipment. So, if you wish to find the best tool for Screen Recording for Training, you’re at the right place. In this article, you’ll discover the finest ways and tools to record screens for training. Let’s get going!
Also read: How to Crop a Screen Recording on All Devices >
Table of Contents: hide
Why Would You Use a Screen Recorder for Training?
What Is the Best Training Recording Software?
How to Make Screen Recording for Training on Windows?
How to Make Screen Recording for Training on Mac?
Why Would You Use a Screen Recorder for Training?
Some of the reasons why you need screen recording for training are:
- How-to Videos: Screen recording allows you to capture the actions and steps taken on a computer screen, which can be used to create video tutorials or demonstrations on how to use a specific software or system. This can be especially useful for training employees or students on new technology or software.
- Visual Aid for Live Training Sessions: Screen recording can be used to record live training sessions and create visual aids that can be used during the session. It can help to supplement verbal instructions and make training more interactive for the audience.
- Webinar recording: Screen recording can be used to capture webinars or online training sessions, which can be later viewed by participants who missed the live session or as an archive for future reference.
- Video Tutorials for Customers: Screen recording can be used to create video tutorials that can be used for customer support or as part of product documentation. It can be helpful for customers who need assistance with a particular issue or feature.
Further Reading: Does Lockdown Browser Monitor and Record Your Screen During Exams >
What Is the Best Training Recording Software?
Among the most popular training recording software available in 2024, FocuSee is a popular choice for creating training videos and materials due to its robust auto zoom-in and other editing features. It allows for screen recording, and video editing, and adds subtitles to enhance the training content. To increase students’ engagement, you can also add interactive questions, quizzes, and hyperlinks to your recordings. This training recorder is workable on both Windows and Mac computers.
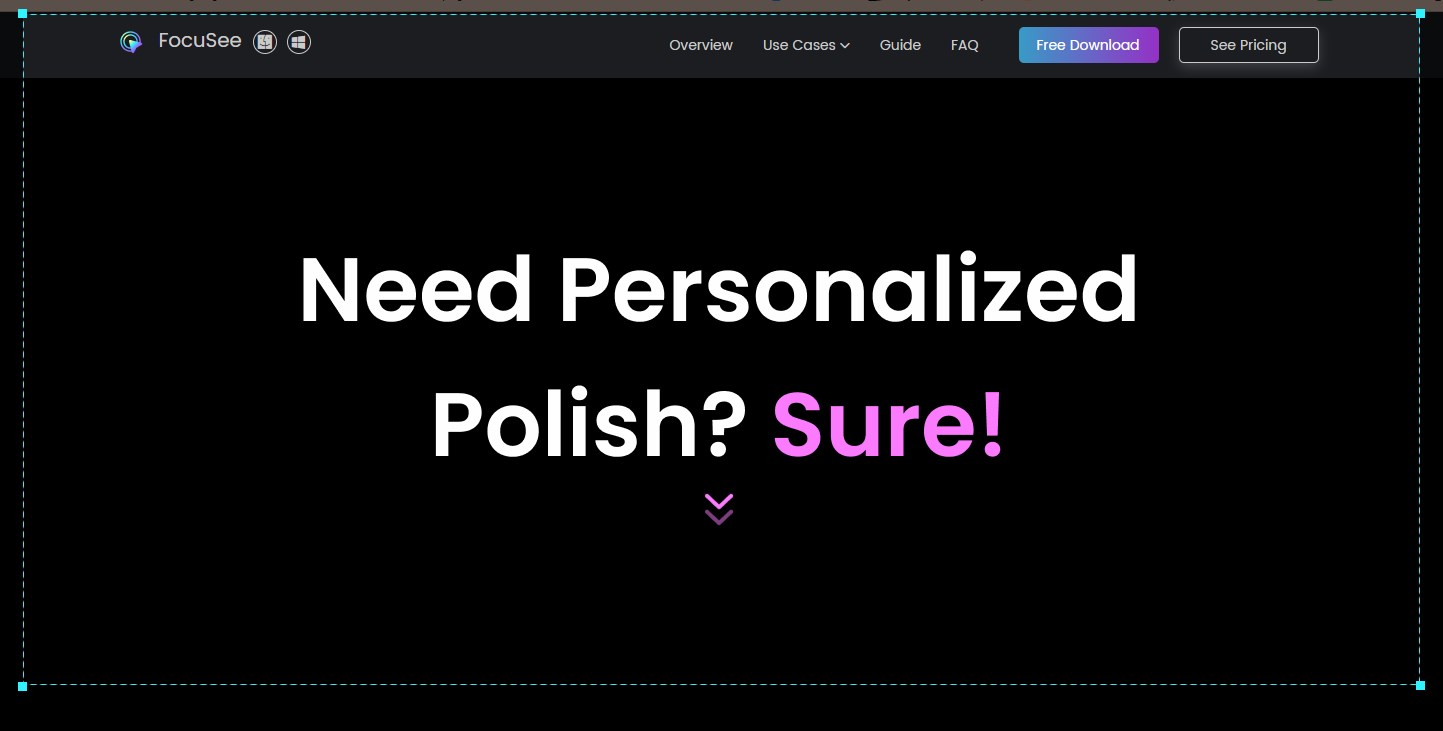
Step 1. Free install FocuSee and open it up. FocuSee offers different recording modes – Full Screen, Custom, and Window. Choose the mode that best suits your training material.

Choose the Custom Recording Mode
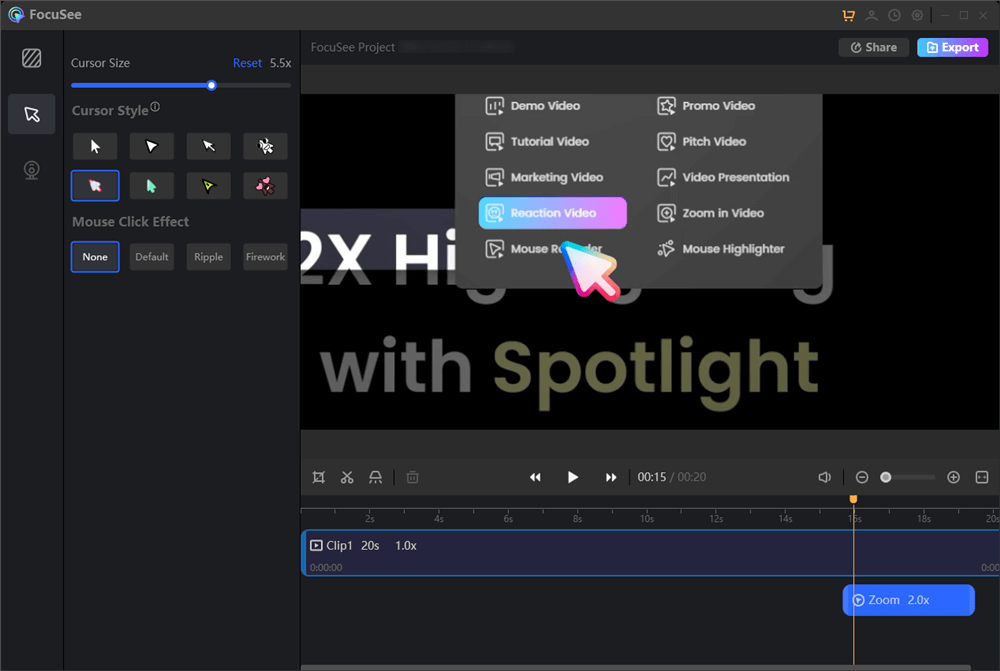
Step 2. Click the red REC button to start. Perform the actions you want to capture for your training material. In this progress, FocuSee will automatically apply the zoom-in effect to help you demonstrate specific elements on the screen.
Frame an Area to Record
Step 3. Once you’ve finished recording, click the stop button in the toolbar. Then you’ll be taken to the FocuSee editor.
Zoom in While Screen Recording
How to Make Screen Recording for Training on Windows?
You can record screen for training videos on Windows via Gemoo Recorder. With Gemoo Recorder, users can make a video recording of their desktop, complete with sound. The program has a wide range of features, including but not limited to creating tutorial videos, recording webinars, and recording video footage for use in presentations and marketing materials. Options for recording with audio, recording a selected screen region, and recording with a camera are all possibilities with Gemoo Recorder.
To understand how to record screen for training via Gemoo Recorder, follow the steps below:
Step 1: Download Gemoo Recorder and launch it on your Windows PC. Select Screen Only on Gemoo Recorder’s main page and click on Start Recording.
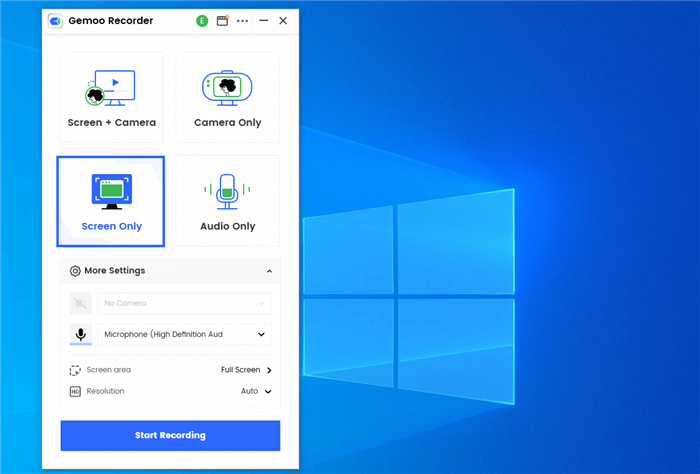
Screen Recorders for Teachers – Gemoo Recorder
Step 2: After a 3-second countdown, the recording will start.
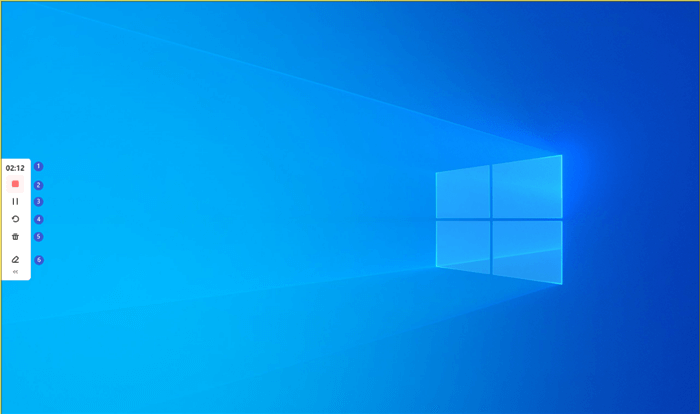
Start to Record the Screen
Step 3: After you’re done, click the Stop button on the left bar to stop the screen recording.
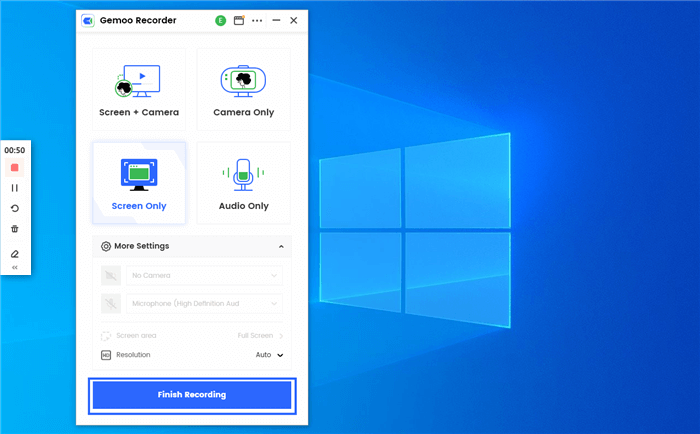
Finish Recording
How to Make Screen Recording for Training on Mac?
To record the screen on Mac for making training videos, you can use QuickTime Player. Apple Inc. created QuickTime Player, a media player and video recording program compatible with macOS. All sorts of music, video, and picture files can be played with it. In addition to playing video files, QuickTime Player also has a built-in screen recording capability. This feature records the user’s screen and microphone input and then saves the resulting file as a video file.
You can record your Mac screen via QuickTime Player by following the steps below:
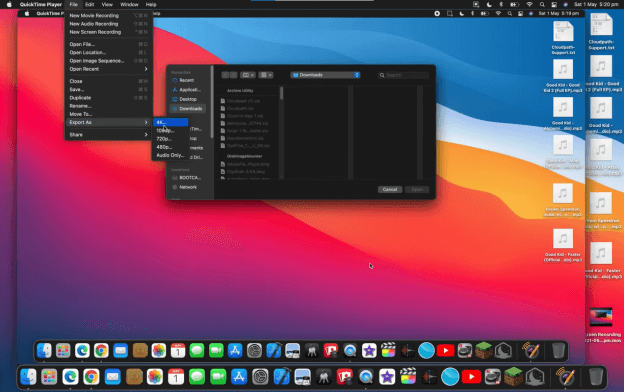
Make Screen Recording for Training on Mac via QuickTime Player
Step 1: On your Mac, open QuickTime Player and click on File from the main menu. Select New Screen Recording option.
Step 2: Now, the Screen Recording window will appear. Click the arrow next to the red button to open the microphone.
Step 3: Once done, click the Record button and select the area through your cursor. You can click the Stop button to stop recording the screen anytime.
Note: Click anywhere on the screen to record the whole area.
How to Make Screen Recording for Training Online?
Want to use an online tool to record screen for training? AceThinker is your best bet! AceThinker Screen Recorder is a versatile screen recording software developed by AceThinker, a software development company. It is compatible with Windows and Mac operating systems and allows users to capture their computer screen and audio. It has several features that enhance the recording process, such as recording a specific area and recording with audio. It has an in-built video editor that allows users to trim, crop, and add effects to the recordings. The software also allows users to schedule a recording session, making it a perfect tool for recording live streams or online classes.
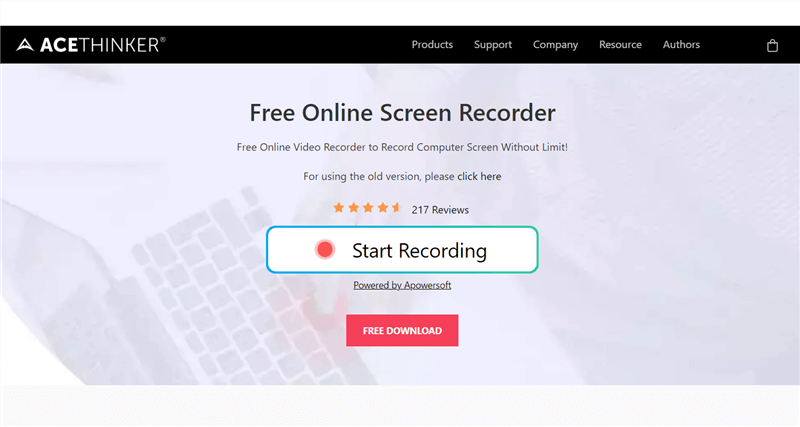
Make Screen Recording for Training Online via AceThinker
Step 1: Go to AceThinker’s site and click on the Start Recording button.
Step 2: Select the area you wish to record and click on the Microphone option to select the audio input.
Step 3: Click on the red REC button to start the recording screen for training. Once your training video is complete, click on the Stop button.
Top 4 Screen Recorders for Training
Want the best screen recording tools for training? Try these options:
Screencastify
Screencastify is a Google Chrome addon for recording the screen for training videos. Users may effortlessly record both their screen and webcam using its built-in functions. To start recording your screen, download the extension for your browser and hit the record button. It also records great-quality sound, making it simple to capture voiceovers to accompany your videos.
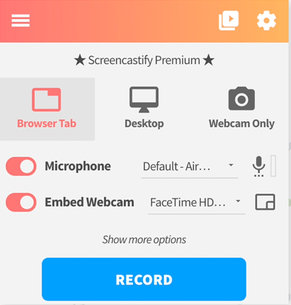
Screen Recorders for Training – Screencastify
Screencastify’s Good Features
- It allows you to share and store your recordings on Google Drive and YouTube.
- You can add text, shapes, and drawings to the recording while recording.
- It has mouse effects that highlight and draw attention to specific elements on the screen.
- It lets you set custom hotkeys for easy control during recording.
Supported Platform: Windows and Mac.
Customer Ratings:
- G2: 4.6/5 (66 Reviews)
- Capterra: 4.5/5 (136 Reviews)
Screencast-O-Matic
With Screencast-O-Matic, you can easily record your screen with a single mouse click. Screencast-O-Matic is a great tool for creating thorough video lessons on any topic, no matter how technical it may seem, since it records both video and audio. The videos may be easily uploaded to the cloud thanks to the program’s integrated cloud storage option. There are time constraints and a watermark on the final product if you use the free version.
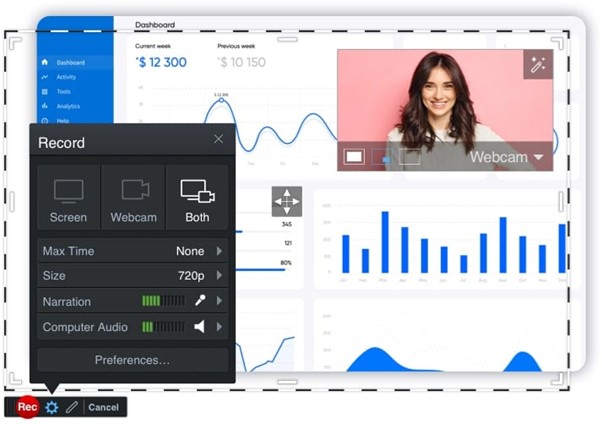
Screen Recorders for Training – Screencast-O-Matic
Screen-O-Matic’s Good Features
- With the premium version, you can record watermark-free for as long as you want.
- You can record video from both your screen and your webcam simultaneously.
- The premium version adds even more powerful editing tools to the tool.
- It has an intuitive design.
Supported Platform: Windows and Mac.
Customer Ratings:
- G2: 4.3/5 (67 Reviews)
- Capterra: 4.5/5 (49 Reviews)
Bandicam
Those looking for a straightforward, easy, and effective screen capture solution can go no further than Bandicam. It’s a handy tool for capturing screenshots and movies of everything shown on a computer. Bandicam can record various activities, including video games, webinars, Skype conversations, and classroom lectures. In addition, the program allows you to use the microphone on your computer to record voiceovers to go along with the screenshots you take. Also, the output is easily sharable on sites like Vimeo and YouTube.
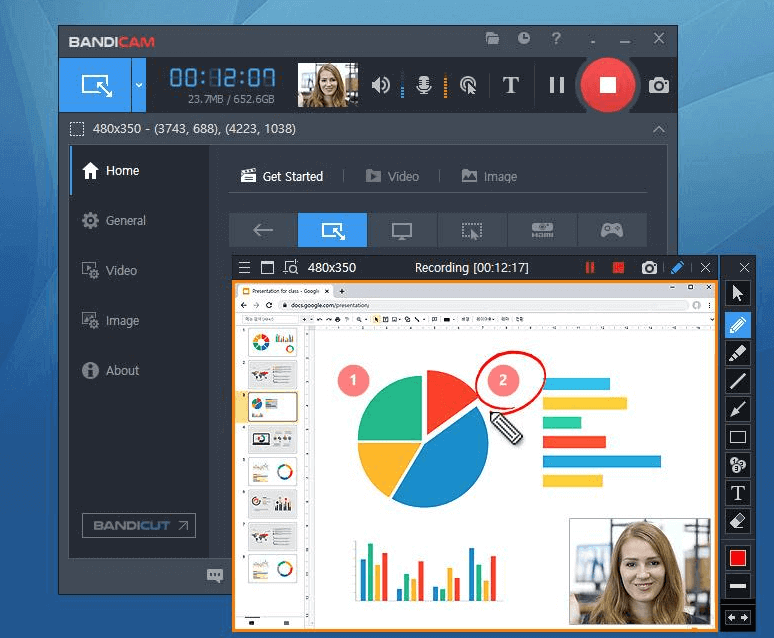
Screen Recorders for Training – Bandicam
Bandicam’s Good Features
- It allows you to record a region of the screen or an entire screen that uses the graphics APIs Vulkan, OpenGL, or DirectX.
- It simplifies saving screenshots in popular image formats, including JPG, PNG, and BMP.
- You can adjust the frame-per-second rate to your liking.
- The tool’s straightforward layout makes it simple to navigate.
Supported Platform: Windows and Mac
Customer Ratings:
- G2: 4.3/5 (33 Reviews)
- Capterra: 4.5/5 (88 Reviews)
Loom
Loom can record your screen and is compatible with both Windows and Mac. It may record the user’s screen, microphone, and camera simultaneously. As a bonus, it makes it simple for users to share the recordings with others by creating a link that can be sent through email, posted on social media, or embedded on a website. You can record video from your camera, annotate it, and even create shortcut keys for recording.
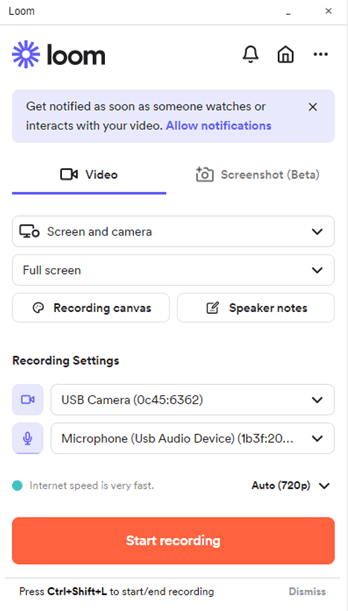
Screen Recorders for Training – Loom
Loom’s Good Features
- It allows you to record the video for 10 straight minutes.
- Its intuitive UI makes it useful both for individuals and groups.
- One notable function is copying a link to the recording directly to the clipboard, so you can easily send it to others.
- Adding text and a voiceover to your video to make it more engaging, informative, etc., is a breeze.
Supported Platform: Mac, Windows, Android, and iOS.
Customer Ratings:
- G2: 4.7/5 (975 Reviews)
- Capterra: 4.7/5 (327 Reviews)
Final Thought
Screen recording is a powerful tool for creating training materials. While creating screen recordings, it is important to keep in mind the purpose of the video, the target audience, and the information that needs to be conveyed. And we hope this article has clarified the process of making Screen Recording for Training. Moreover, with a wide range of screen recording options discussed, selecting the one that meets your specific requirements is essential. Feel free to comment on this article with any query and share it with others.


