Fixed! Missing Screen Capture Permission Mac
If you’re a frequent user of the screen capture feature to take a screenshot on a Mac, you can encounter the recurring issue of missing screen capture permission. When trying to capture your screen or taking a screenshot and receiving an error message stating that permission is not granted, it can reduce your productivity and leave you wondering about a solution. But don’t worry now! We’ve covered you with some straightforward ways to fix this common issue and restore your Mac’s screen capture features.
The screen capture feature on a Mac is a useful tool for capturing crucial moments, creating screenshot tutorials, and troubleshooting problems. However, this permission can occasionally disappear due to software updates or configuration changes, leaving users perplexed. The good news is that this issue can be resolved without vast technical knowledge. Let’s get started!
Table of Contents: hide
What Are Security Permissions on macOS?
Why Is Mac Missing Screen Capture Permission?
What Are Security Permissions on macOS?
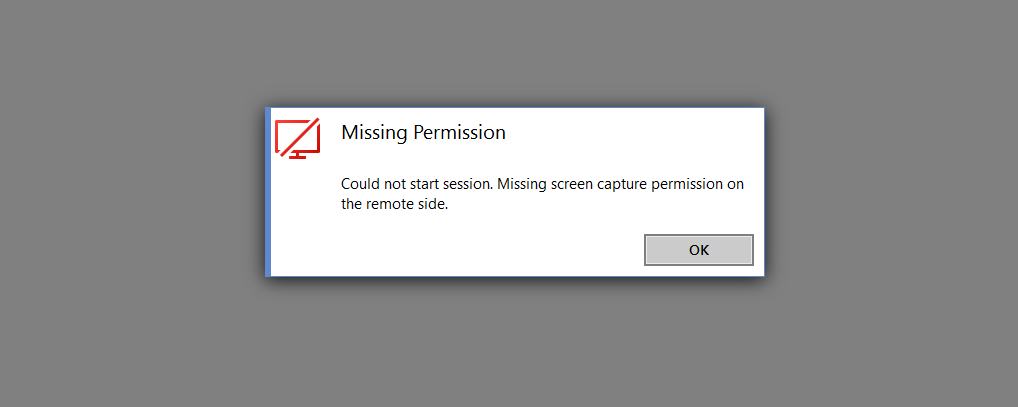
Missing Screen Capture Permission Mac
Security permissions are an important component of protecting the safety and privacy of your data and system on macOS. In layman’s words, they are a collection of rules that govern which activities or operations are permitted or prohibited for certain users and programs on your Mac. These permissions safeguard against unwanted access to important files, system settings, and resources.
When you install software or operate apps on your Mac, they can seek access to your camera, microphone, or documents. Because macOS is a security-conscious operating system, it asks for your permission before providing certain rights. This user-centric approach allows you to manage what programs can and cannot do on your system, protecting your personal information from exploitation. Furthermore, macOS employs rights to control system-level modifications, ensuring that only authorized users can alter key settings or install new applications.
Why Is Mac Missing Screen Capture Permission?
Several probable causes might be at the root of the aggravating problem that occurs when a Mac is not authorized to capture the screen. Let’s investigate some of the most typical factors that could be to blame for the lack of authorization to capture the screen and provide a quick explanation for each one:
✔️ MacOS privacy settings – The privacy settings on your Mac have been changed or reset, which is what caused the authorization to capture the screen to be removed. This is one of the probable reasons. Regaining access to the lost permission can be possible by checking and then modifying these settings.
✔️ Recent macOS update – After installing a new version of macOS, certain permissions can be reset or altered. You will need to adjust the screen capture permission after a recent update since it is conceivable that the permission was changed in some way.
✔️ Third-party security software – Because of the potential for security issues, some third-party security software or antivirus programs might occasionally interfere with the screen capture authorization and cause it to be blocked or disabled. The problem might be fixed by temporarily deactivating these programs or modifying their settings.
✔️ User account changes – If you have recently established a new user account on your Mac or made changes to existing user accounts, it is possible that the screen capture permission settings were not successfully transferred to the new account or set up for the new account. This can happen if you make changes to existing user accounts.
✔️ Application-specific settings – The authorization to capture the screen across the whole operating system can be bypassed by some programs thanks to their own granular permissions settings. Ensure the application whose screen you are attempting to record is set up properly by checking the options inside that program.
✔️ System integrity protection (SIP) – The System Integrity Protection (SIP) capability was added to macOS to safeguard essential system data and processes. If SIP is turned on, it has the potential to prohibit some updates, including changes to the permissions for screen capture. In rare cases, temporarily disabling SIP might assist in regaining access to the lost permission; nevertheless, extreme care should be given while adjusting SIP settings.
How to Enable Screen Capture Permissions on AnyDesk?
AnyDesk is remote desktop software that enables Mac users to access and control remote devices. To use AnyDesk’s screen capture feature, however, you must enable screen capture permissions on your Mac. This security measure prevents applications or websites that are not authorized or malevolent from recording your screen without your permission. AnyDesk supports two official methods for enabling screen capture permissions:
Use Configure Option
To learn how to use the configure option follow the steps below:
Step 1: Utilize the Configure icon within the AnyDesk application. This will access the Security & Privacy section of the macOS system preferences.
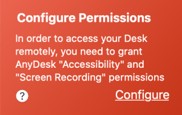
Configure Option
Step 2: Select the lock icon and input your password to access the settings. Then, you must click the Privacy tab and choose Screen Recording from the sidebar. You will see a list of screen-recording applications.
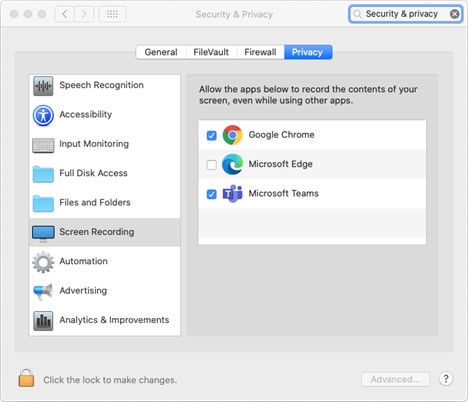
Permission Grant
Step 3: Check the box next to AnyDesk to permit it to capture the screen.
Step 4: AnyDesk must be closed and reopened for the modifications to take effect.
Use Permission Profiles
The second method is to use AnyDesk’s Permission Profiles functionality. This enables you to establish and modify several sets of permissions for various scenarios. You can, for example, establish a profile that permits screen sharing and another that allows full access.
Step 1: Permission Profiles can be accessed by clicking the gear icon in the AnyDesk app and then choosing Settings.
Step 2: Go to Security > Permission Profiles and choose the profile you wish to update or create a new one.
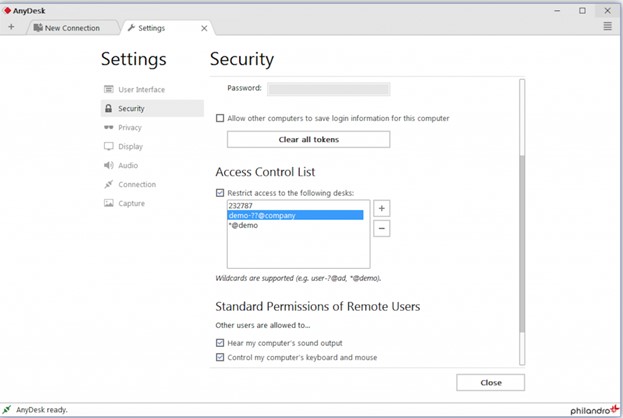
Permission Profiles Option
Note: You will see a list of permissions for that profile that you can activate or disable.
Step 3: You must allow the Screen Recording permission by ticking the box next to it.
Bonus Tip. How to Capture a High-quality Screenshot on Mac?
Taking a screenshot on a Mac is simple, using the keyboard shortcuts or the Screenshot application. If you want to capture a professional-looking screenshot of high quality, you can need a more sophisticated instrument. Gemoo Snap is a robust screen capture utility that enables you to capture and enhance photographs for any purpose, including social media, blogs, guides, image feedback, etc.
It provides multiple methods for screen capture, including the whole page, scrolling screen, a portion screen, elements, etc. Additionally, screenshots can be annotated, pinned, shared, and their text can be recognized, copied, and paste as well. Here’s how to use Gemoo Snap’s Quick Screenshot feature to capture a high-quality screenshot on a Mac:
Step 1: Get Gemoo Snap free and launch it on your computer.
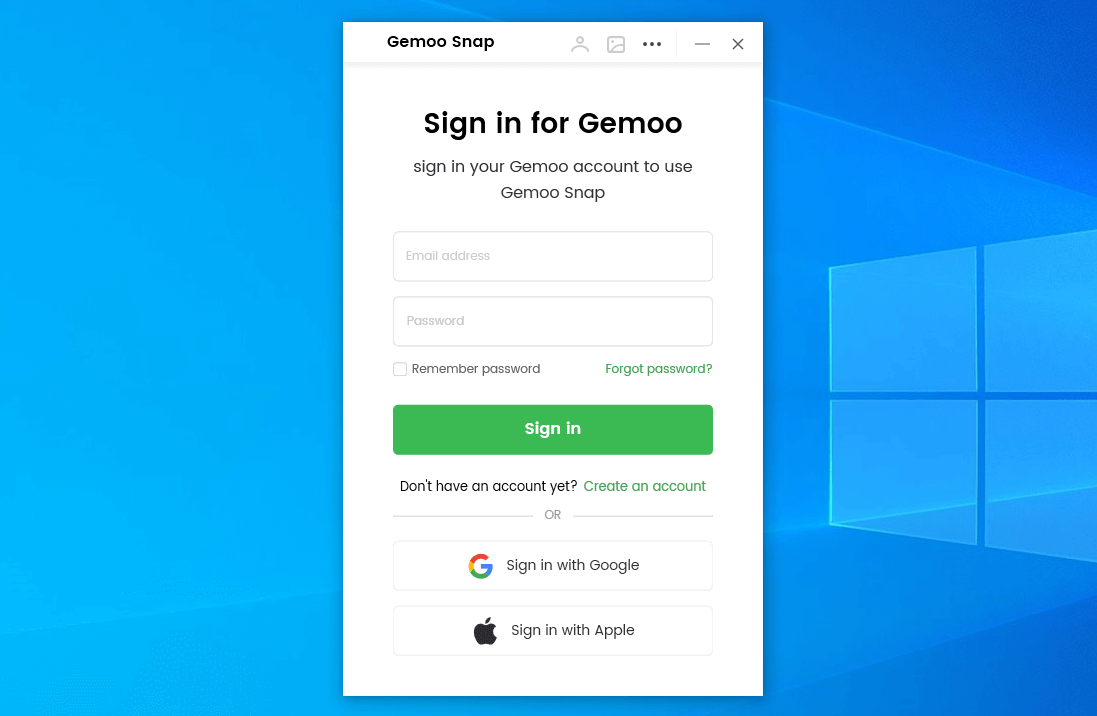
Sign in Account
Step 2: A floating action icon will appear on the right side of your screen. It can be dragged to any desired location. Select Quick Screenshot from the menu that appears when you click the floating action icon.
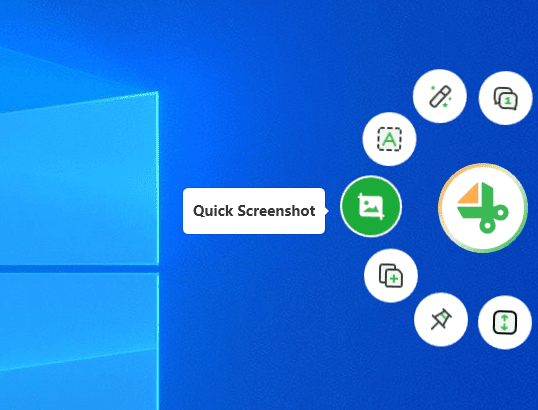
Quick Screenshot
Step 3: Your screen will display a crosshair cursor. It can be dragged to designate the desired capture area. Let go of the mouse handle to capture a screenshot. Depending on your settings, the screenshot will be automatically saved to your computer or the cloud with a shareable link.
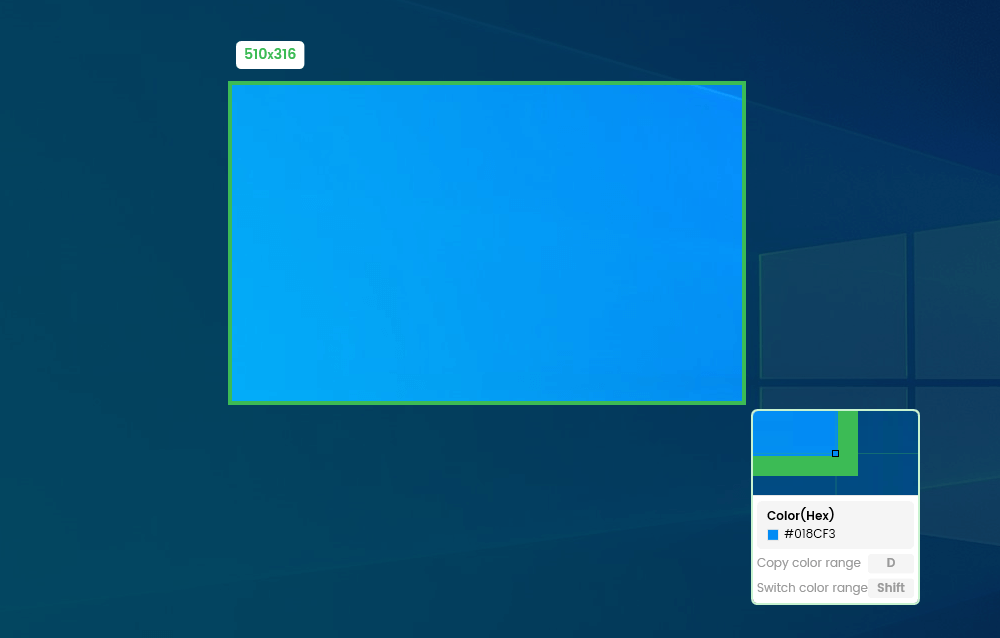
Frame the Screen
Step 4: You can access screenshots using the movable action icon interface or the Gemoo Snap application. Utilizing the tools provided by Gemoo Snap, you can also modify, beautify and enhance your screenshots.
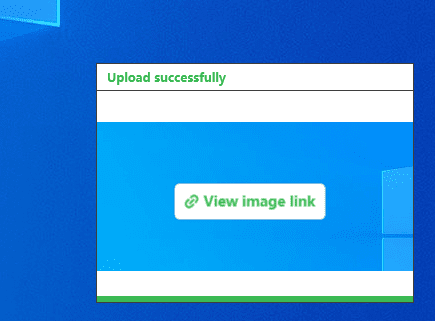
Upload Successfully
Final Thought
A common annoyance while using a Mac is the inability to capture the screen without special authorization. You can fix the problem and restore screen capture capabilities by investigating the underlying causes, including privacy settings, program interference, or recent upgrades.
You can improve your screenshot-taking experience by using robust tools like Gemoo Snap, allowing you to easily take detailed, high-quality screenshots. If you know what you’re doing and have the necessary resources, you can get around the lack of screen capture permission and keep capturing and sharing your screen with ease on your Mac. Let us know if this guide helped you. Good luck!


