Recording a song at home can seem daunting, but with the right tools and techniques, it is easier than you might think. Whether you are a seasoned musician or just starting, recording your music can be a great way to share your creativity with the world. So, if you are ready to unleash your creativity and take your music to the next level, grab your instrument and join us as we dive into the exciting world of home recording!

How to Record a Song from Home
This article will discuss how to record songs at home, from finding a noise-free location to choosing the right equipment, setting up your recording space, and downloading a Digital Audio Workstation (DAW) on your computer. We will then take you through recording, editing, mixing, and mastering your song. So, if you are ready to start recording your music, stick with us, and we will guide you through each step.
Also Read: Best 7 Guitar Recording Software >
6 Steps to Recording Songs at Home Without Equipment
Looking to record songs but need help figuring out where to start? Let us help you with 6 easy steps mentioned below:
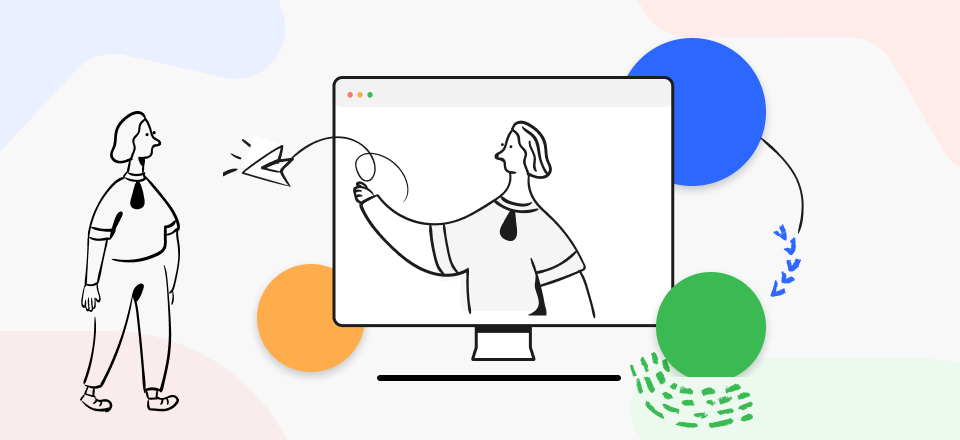
Find a noise-free location
Finding a noise-free location when recording songs at home is critical because external sounds or noises can interfere with your recordings, reducing their quality. Look for a spot in your home away from high-traffic areas, such as roads or busy streets, and from noise sources, such as appliances, air conditioning units, or other people. Finding a quiet and isolated spot can create a suitable environment for recording your songs.
Here are some additional tips:
- Consider using sound-absorbing materials such as curtains, carpets, or foam panels to minimize unwanted noise reflections.
- If you struggle to find a noise-free location in your home, consider using a closet or a small room with thick walls as your recording space. These spaces can help to reduce external noise and provide a more controlled recording environment.
Remember, the quieter the location, the better the quality of your recordings will be.
Find a Noise-Free Location
Install a DAW on your computer
A Digital Audio Workstation (DAW) is a software application and a digital studio that allows you to record and manipulate audio tracks for recording, editing, and producing audio files using a computer. With a DAW, you can create, edit, and mix multiple audio tracks, apply effects and filters, and adjust levels and pan positions.
DAWs have become an essential tool for musicians, producers, and audio engineers because they offer a flexible and efficient way to create professional-quality recordings without expensive hardware or equipment. Many different DAWs are available on the market, ranging from free to premium versions, and each has unique features and capabilities. The top three Digital Audio Workstations are:
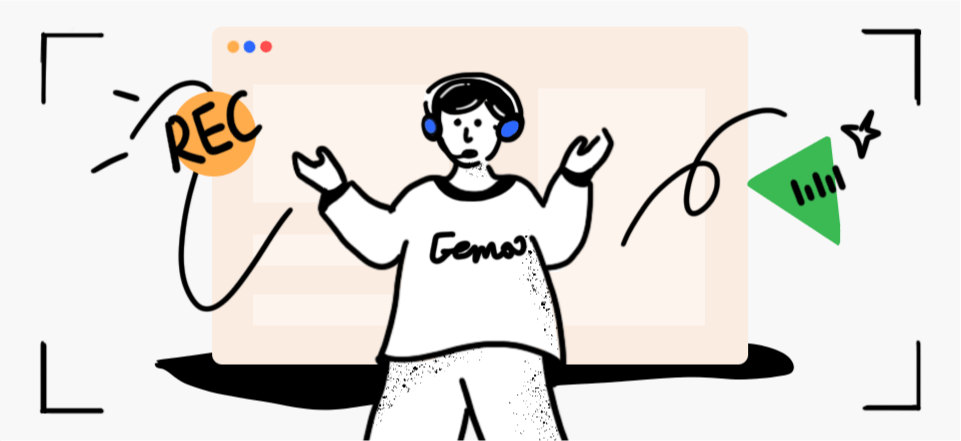
1. Gemoo Recorder
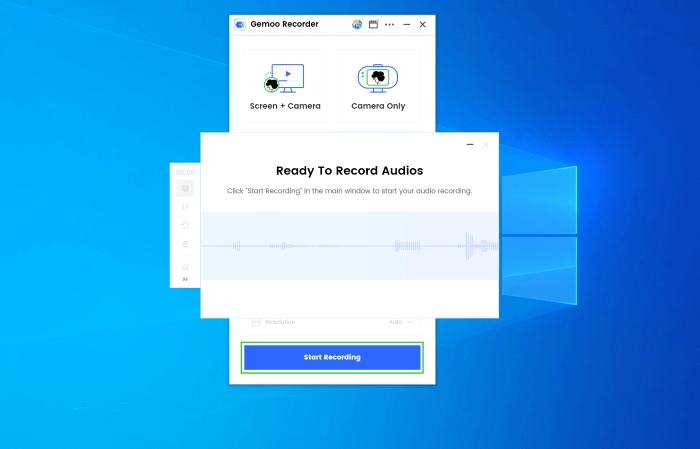
Initiate Audio Recording Process
Gemoo Recorder is an exceptional Digital audio workstation and a screen recording tool that can capture and record various sounds with superior quality, making it ideal for recording songs, music, dialogues, and interviews.
Furthermore, it has additional outstanding features like multiple sound source recording, smooth audio and video recording, unlimited audio recording, rich video recording options, 4K video quality without any watermark, and support for multiple platforms such as Windows, Mac, and Chrome.
2. Audacity
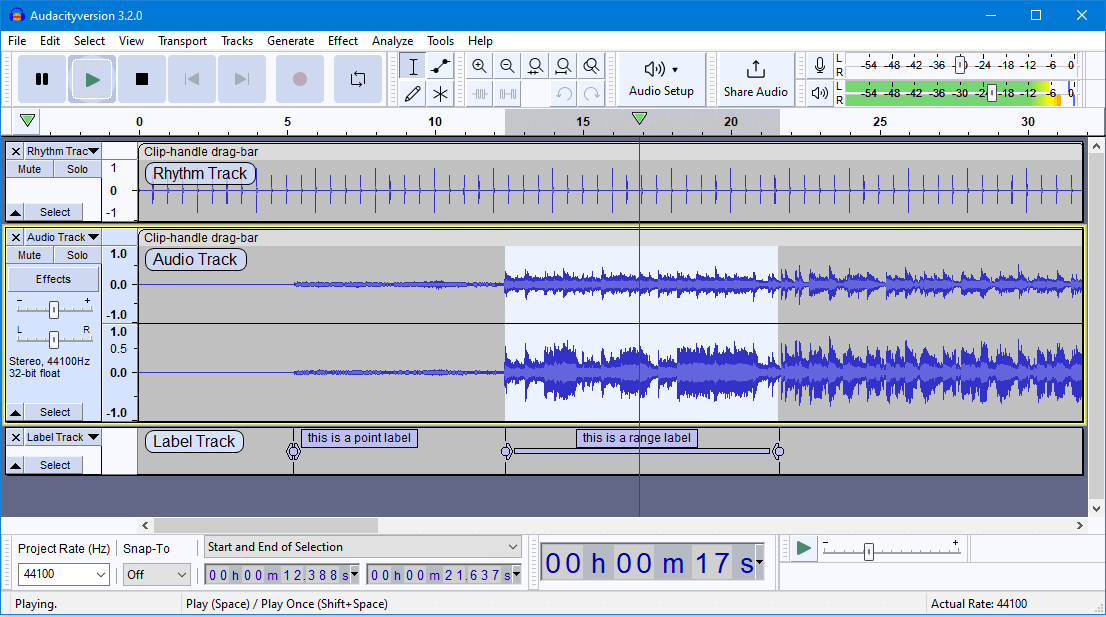
Audacity Interface
Audacity is a popular and free open-source Digital Audio Workstation (DAW) widely used for recording and editing audio files. It offers comprehensive features and tools comparable to many premium DAWs. Its user-friendly interface makes it accessible to both beginners and experienced users. It supports multiple audio formats, including WAV, MP3, and AIFF, and allows you to record live audio, import and edit pre-recorded tracks, and apply various effects and filters.
3. Garageband

Audacity Alternative – GarageBand
Garageband is a powerful and user-friendly Digital Audio Workstation (DAW) that comes pre-installed on all Apple devices. It is a versatile and easy-to-use DAW with many features and tools for recording, editing, and producing music. One of the unique aspects of Garageband is its intuitive interface, which makes it easy for beginners to start with music production. Besides this, it also offers drag-and-drop functionality, built-in loops and virtual instruments, and multi-track recording capabilities.
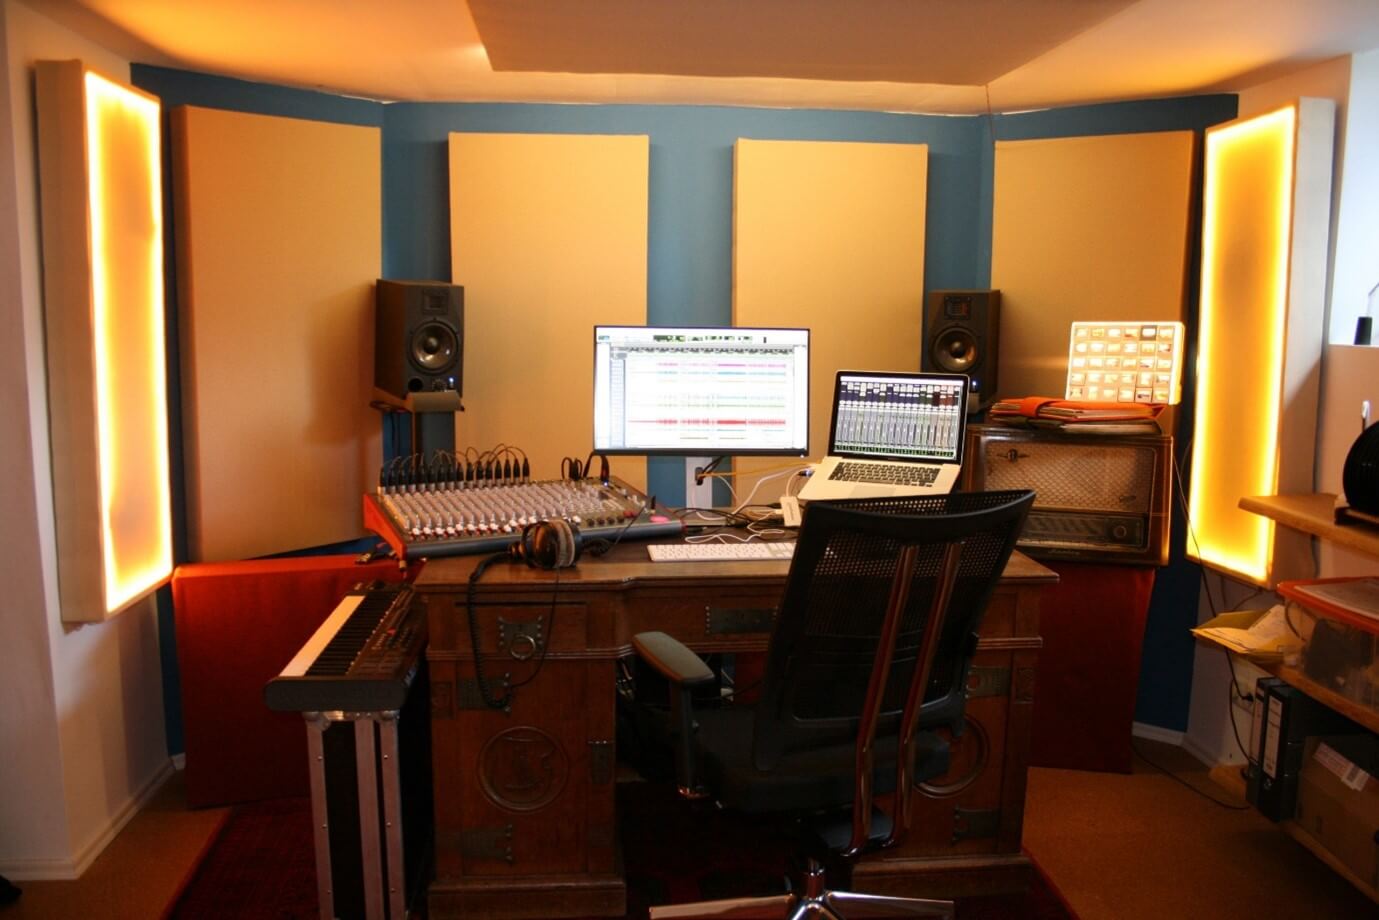
Adjust audio recording settings
Once you have chosen your preferred digital audio workstation (DAW) and set up your recording space, the next step in recording a song at home is to adjust your audio recording settings. These settings are crucial to ensuring that your recording is high quality and that you can capture the sound you want.
- Input Device:First, you need to select your audio input device. This could be your computer’s built-in microphone or an external microphone.
- Recording Format:You should also select the appropriate recording format and bit depth. A 24-bit depth and 48 kHz sampling rate are recommended for high-quality recordings.
- Recording Levels:You may also need to adjust the recording levels to ensure your audio is not too loud or You can do this by adjusting the input volume levels on your audio interface or within your DAW. Additionally, you can use a pop filter or windscreen to prevent unwanted pops and hisses in your recordings.
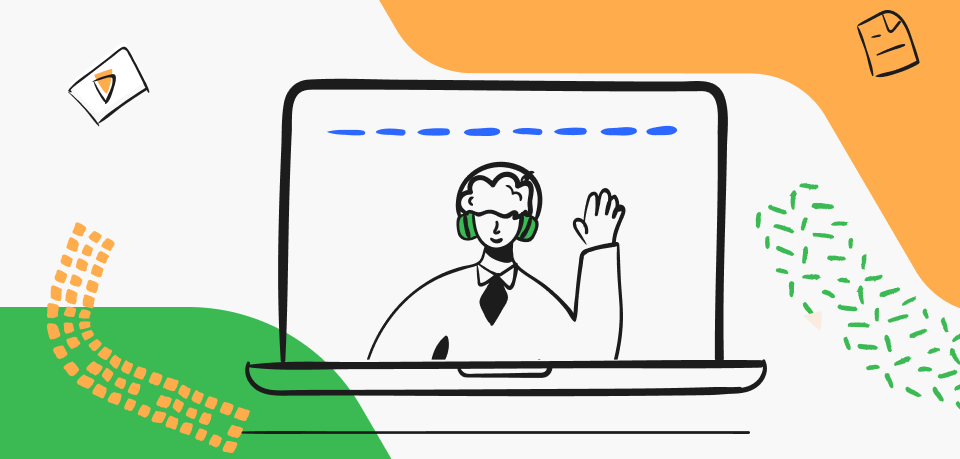
Connect the microphone
Once you have adjusted your audio recording settings, the next step in recording a song at home is to connect your microphone. A good quality microphone is essential for recording high-quality vocals or acoustic instruments. To connect your microphone, you will need to plug it into your audio interface or directly into your computer’s microphone input, depending on the type of microphone and equipment you are using. Ensure the microphone is securely connected and test it to ensure it works properly.
- Positioning of microphone: Positioning the microphone is also crucial for getting the best possible sound. Experiment with different microphone positions to find the best one for your voice or instrument. Generally, a cardioid microphone positioned at a slight angle to the sound source, such as pointing towards the mouth for vocals or the sound hole for acoustic guitars, will produce a good sound.
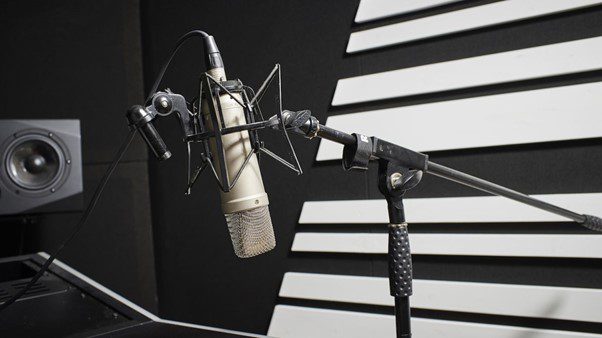
Connect The Microphones
Check for levels
After you have connected your microphone, the next step in recording a song at home is to check your levels. Levels refer to the volume of the sound you are recording, and it is important to ensure that they are not too high or too low. Begin by setting your levels before you start recording. You can do this by adjusting the input volume on your audio interface or within your DAW and then doing a test recording to check that the levels are appropriate. Your levels should be peaking at around -6 dB to -12 dB.
Start recording
Once you have checked your levels and made any necessary adjustments, it is time to start recording your song. Before you hit the record button, ensure you have everything you need – your instrument or backing track, lyrics, and other materials.
When you are ready to start recording, hit the record button in your DAW and start playing or singing. Remember to stay on time, tune in, and give it all you have. If you make a mistake during recording, do not worry – stop, take a breath, and start again from the beginning of the section. You can always correct any mistakes or flaws later in the editing process.
FAQs of Recording Music at Home
Are you still having doubts? Worry less! This section will answer some of the commonly asked questions to remove any ambiguity left, so let us look into that:
Q1. Do I need expensive equipment to record a song at home?
No, you do not need expensive equipment to record a song at home. The basic requirements include a computer, a microphone, and a digital audio workstation (DAW). You can find decent-quality microphones and DAWs at affordable prices, and some DAWs are even free to download and use.
Q2. Can I record a song using my smartphone or tablet?
Yes, you can record a song using your smartphone or tablet. Most smartphones and tablets have built-in microphones, and some even have basic recording apps. However, the quality of these recordings may be lower than those made with a dedicated microphone and DAW. Investing in a quality microphone is recommended if you are looking for a more professional-sounding recording. You can find various affordable options on the market that can significantly improve the sound quality of your recordings.
Q3. How can I share my recordings with others?
You can share your recordings with others by exporting them from your DAW as an audio file, such as an MP3 or WAV. You can then upload the file to a platform like SoundCloud or YouTube or share it with friends and family.
Q4. What is the best location for recording a song at home?
The best location for recording a song at home is a quiet room with minimal outside noise and echo. You can also consider using soundproofing materials to improve the room’s acoustics.
Final Words
In conclusion, recording a song at home can be a fun and rewarding experience. You can create high-quality recordings without leaving your house with the right tools and techniques. In this article, we have covered the 6 essential steps to help you answer how to record a song at home, from finding a noise-free location to checking levels and hitting the record button. Besides this, we have also shed some light on three of the DAWs. If this article has been helpful to you, be sure to share it with your friends and family who may be interested in recording their music. And do not forget to leave us your feedback in the comments section below.