Adding sound effects to a YouTube video can greatly enhance its impact, immersing viewers in a more engaging and dynamic audiovisual experience. Whether you want to create a suspenseful atmosphere, emphasize comedic moments, or simply add a professional touch to your content, incorporating sound effects can elevate the overall quality of your videos. By following a few simple steps and utilizing video editing tools, you can seamlessly integrate sound effects into your YouTube videos and captivate your audience with an immersive audio experience.
Add Sound Effects to YouTube Video
In this guide, we will explore the process of adding sound effects to YouTube videos, including selecting appropriate sound effects, using video editing software, and ensuring a balanced audio mix. Get ready to take your YouTube videos to the next level with the power of sound effects!
Table of Contents: hide
Can I Use Sound Effects in My YouTube Video?
Are Sound Effects on YouTube Free to Use?
Add Sound Effects to YouTube via AI
Can I Use Sound Effects in My YouTube Video?
Use Sound Effects in My YouTube Video
Yes, you can add sound effects to your YouTube videos during the video editing process. You can use video editing software like Clippa, Final Cut Pro, iMovie, or Davinci Resolve to add sound effects before uploading the video to YouTube.
Are Sound Effects on YouTube Free to Use?
YouTube provides a library of free sound effects and music, which you can use in your videos without facing copyright issues. However, not all sound effects found on YouTube or online are free to use; some may require licensing or permission from the copyright holder.
Add Sound Effects to YouTube via AI
CapUp automates the process of generating subtitles and synchronizing popular sound effects that perfectly match the added subtitles. By leveraging AI algorithms, you can use it to effortlessly add professionally crafted sound effects that elevate popularity, impact, and engagement of your videos. Whether you’re creating vlogs, YouTube Shorts, Instagram Reels, or TikTok videos, incorporating high-quality sound effects can greatly enhance the viewer experience and bring your content to spread viral.
Here’s a step-by-step guide on how to add sound effects to YouTube via AI
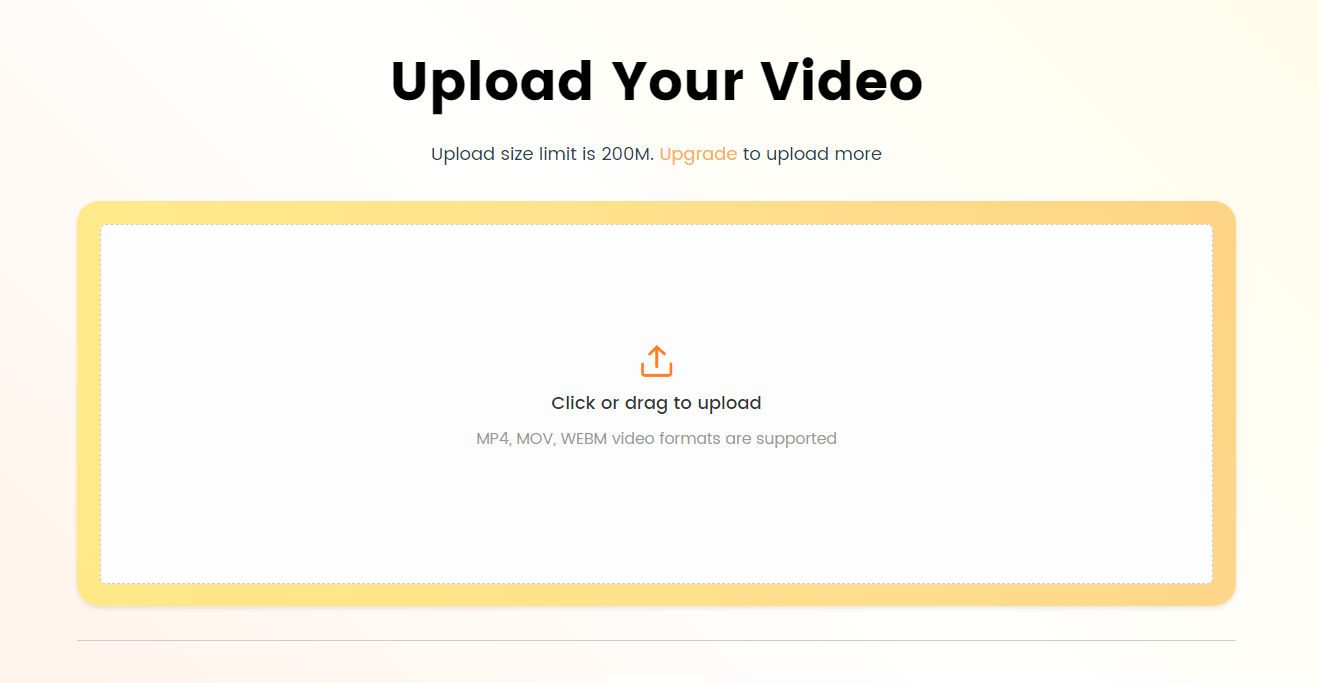
Step 1. Log in to CapUp and upload your YouTube video. If it’s a YouTube Shorts, you’ll directly jump to the next step after uploading. Resizing is required if the YouTube video is not in the 9:16 aspect ratio.
Log in and Upload the Video
Step 2. Choose your video’s language from the drop-down menu in CapUp, supporting various commonly used languages like English, German, Spanish, French, Portuguese, and more. Then click Generate Captions to automatically add captions for your YouTube video.

Select the Language that Matches Your Video
Step 3. In the Default Templates section, choose your preferred subtitle style, and customize fonts, sound effects, and emoji if desired. Then click the Save as Template button.
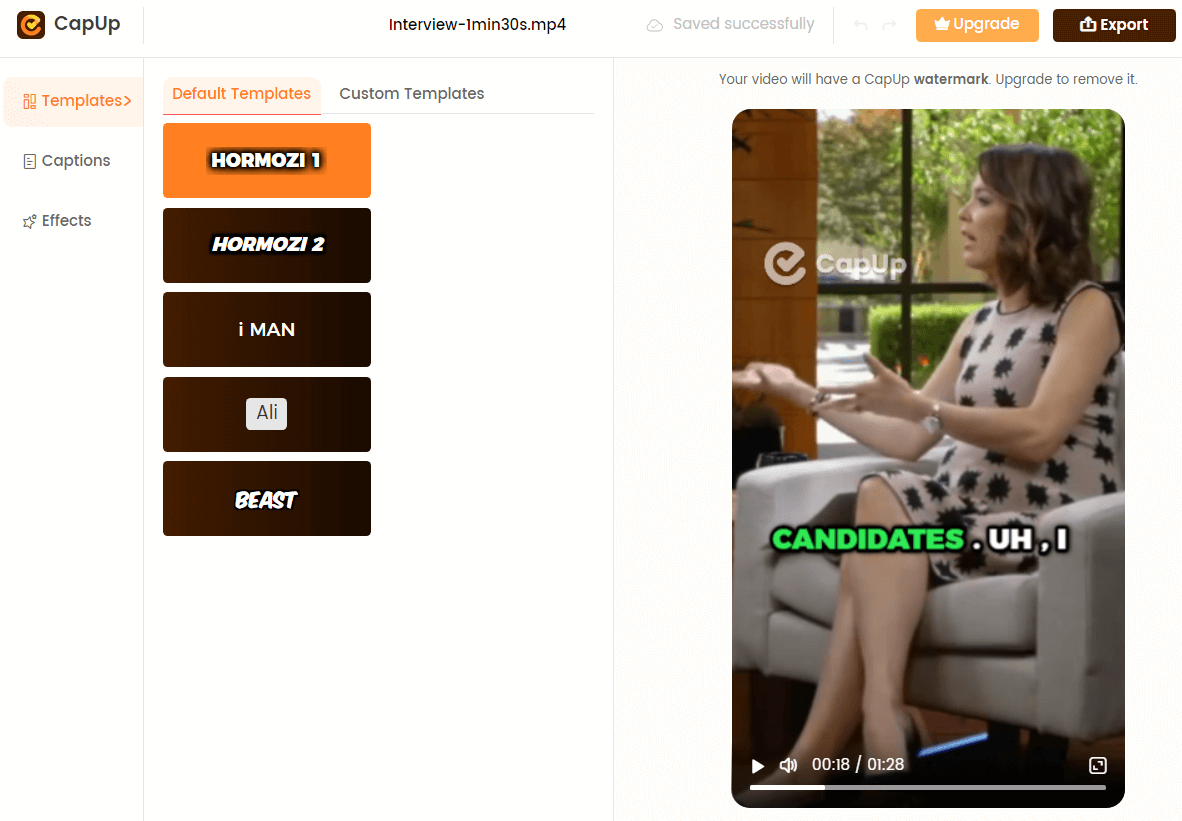
Select the Preset Caption Template and Customize the Template
Step 4. Afterward, you can customize the generated video’s captions by adjusting font, emojis, sound effects, and animations through the Captions and Effects options in CapUp.

CapUp – Rich Sound Effects
Step 5. Preview the subtitles and click Export to save your YouTube Shorts video.

Export the Video
Add Sound Effects to YouTube via Video Editing Tool
Adding sound effects to a YouTube video using a video editing tool is a fantastic method to elevate the overall quality and engagement of your content. In addition to the popular video editing tools mentioned previously, there are also newer options available in 2024. One such tool is Clippa, which offers a range of features that can enhance your YouTube videos.
Clippa is a video editing tool that provides a free platform for users to create and edit videos. It offers a diverse selection of music tracks in its video stock, making finding suitable sound effects for your YouTube video effortless. With Clippa, you can easily browse through different music genres, moods, and styles to find the perfect sound effects that complement your video’s theme and atmosphere.
Here’s a step-by-step guide on how to accomplish this.
Step 1. Open your browser and navigate to the Clippa dashboard. Upload your video footage to the Clippa video editor. You can either upload your video or choose from the available templates and customize them to fit your needs.
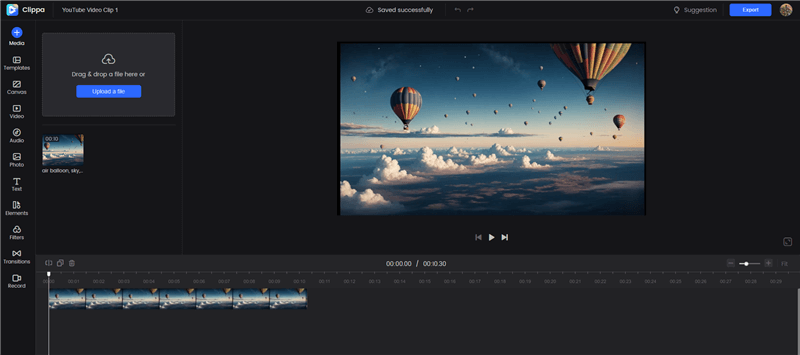
Upload Your Video Footage to Clippa
Step 2. Explore the Stock Audio within Clippa. You can search for specific genres, moods, or music styles that align with your video’s desired sound effects. Preview and select the sound effects that best suit your video. Alternatively, click on the Media button to upload music from your computer.
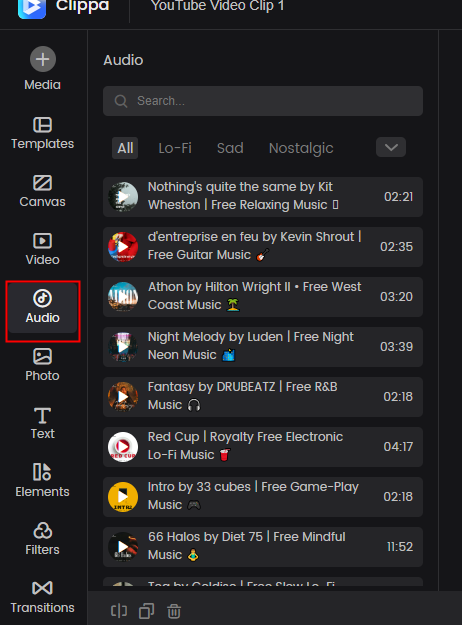
Explore the Stock Audio within Clippa
Step 3. Once you’ve chosen the sound effects, drag and drop them onto the audio track of your video timeline. Align the sound effects with the specific moments in your video where you want them to play. Also, you can adjust the volume levels of the sound effects to ensure they blend well with the existing audio in your video.
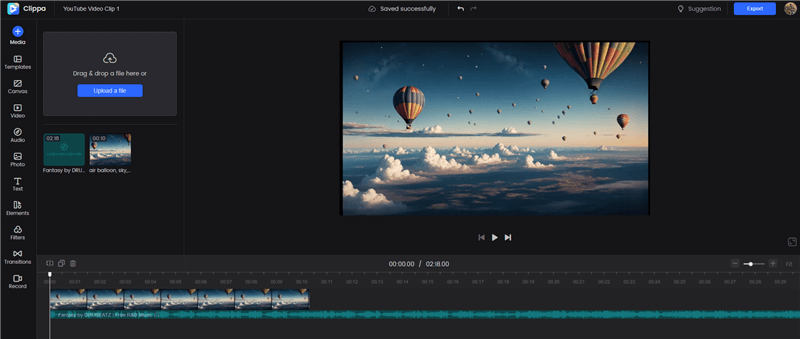
Add Sound Effects to Video
Step 4. Once you’re satisfied with the result, export your video from Clippa in a suitable format for YouTube, such as MP4.
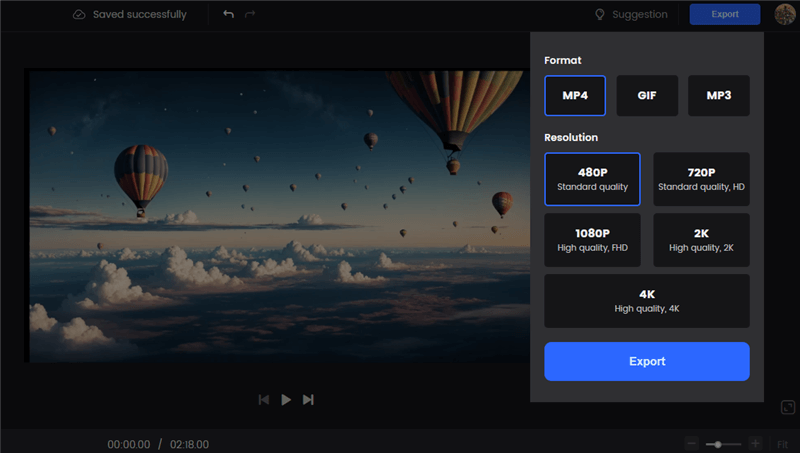
Export the Video
FAQs About Adding Sound Effects to YouTube
By the end of the post, we collect several frequently asked questions about adding sound effects to YouTube.
Can I use any sound effect I find on the internet in my YouTube videos?
No, you should only use sound effects that are licensed as royalty-free or are in the public domain unless you have obtained permission or a license to use copyrighted sound effects.
What file formats are suitable for sound effects on YouTube?
Most video editing software supports a wide range of audio file formats, including MP3, WAV, and AAC. It’s best to use high-quality sound effects in these formats to ensure the best audio experience for your viewers.
What should I consider when adding sound effects to my YouTube videos?
When adding sound effects, consider the volume balance between your main audio and the effect, the timing of the effect, and whether the sound supports the video content without being distracting. The sound effects should enhance the viewing experience, not detract from it.
How can I ensure the sound effects I use are not copyrighted?
To ensure the sound effects are not copyrighted, use reputable sources that offer royalty-free or public domain sounds, such as YouTube’s Audio Library, or purchase a license from a stock audio website. Always read the terms and conditions of the sound effect’s usage rights.
The Bottom Line
Incorporating sound effects into your YouTube videos can make a significant difference in the overall quality and viewer engagement. By following the steps outlined in this guide, you can easily add sound effects using video editing tools, creating a more immersive and captivating experience for your audience.
Remember to choose sound effects that align with the theme and mood of your video. Whether you’re aiming for a dramatic effect, comedic timing, or an ambient background, selecting the right sound effects is crucial. Additionally, be mindful of copyright restrictions and ensure you have the necessary rights to use the sound effects in your videos.


