Webinpaint: Remove Watermarks from Images and Explore Alternatives

Webinpaint Remove Watermarks
Watermarks are often added to images to protect copyrights and prevent unauthorized use. However, there are instances when you may need to remove a watermark from an image, such as when you want to use it for personal or professional purposes. Fortunately, there are powerful tools available like Webinpaint that can help you effortlessly remove watermarks while maintaining the integrity of the image.
What is Webinpaint?
Webinpaint is a cutting-edge online tool specifically designed for removing watermarks from images. Its advanced algorithms and intuitive interface make it a go-to solution for both casual users and professionals. With Webinpaint, you can achieve clean, watermark-free images in just a few simple steps.

Fiverr Watermark Reomver – Inpaint
Benefits of Using Webinpaint for Watermark Removal
- Online, no software download: Webinpaint is a web-based alternative to Inpaint, eliminating the need for software downloads. It can be accessed on any operating system, making it a convenient choice for online users.
- High-Quality Results: Webinpaint ensures that the removal process is seamless, leaving no traces of the watermark behind. The sophisticated algorithms intelligently analyze the image and replace the watermark with surrounding pixels, resulting in a natural and visually appealing outcome.
- User-Friendly Interface: Webinpaint boasts a user-friendly interface that requires no technical expertise. With its intuitive tools and straightforward layout, even beginners can easily navigate the software and achieve professional-grade results.
- Time-Saving Solution: Compared to manual methods of watermark removal, Webinpaint offers a significant time-saving advantage. The automated removal process eliminates the need for tedious pixel-by-pixel editing, allowing you to efficiently remove watermarks from multiple images in a fraction of the time.
- Versatility: Webinpaint is versatile in handling different types of watermarks. Whether you’re dealing with text-based watermarks, logos, or complex patterns, Webinpaint’s powerful algorithms can adapt and effectively remove them without compromising image quality.
How to Remove Watermarks Using Webinpaint [Step-by-Step Guide]
Step 1. Uploading the Image to Webinpaint
Start by uploading the image containing the watermark to the Webinpaint platform. You can either drag and drop the image or choose it from your local storage.

Upload Images
Step 2. Selecting the Watermark Area for Removal
Use the selection tool provided by Webinpaint to highlight the area with the watermark. The tool allows you to precisely define the region for removal.

Selecting the Watermark Area
Step 3. Applying the Watermark Removal Tool
Click on the “Erase” button, and let Webinpaint’s powerful algorithms work their magic. The tool will intelligently analyze the selected area and remove the watermark while preserving the original image quality.

Click on the “Erase” Button
Step 4. Previewing and Adjusting the Results
Webinpaint provides a preview of the edited image, allowing you to review the watermark removal and make any necessary adjustments. If you’re satisfied with the results, proceed to the next step.
Step 5. Saving the Watermark-Free Image
Once you’re satisfied with the edited image, click on the “Save” button to download it. Webinpaint ensures that the saved image is free from any traces of the watermark, ready to be used for your intended purpose.
Remove Watermark with Professional Software – Photoshop
When it comes to removing watermarks from images, Adobe Photoshop stands out as one of the most powerful and versatile tools available. With its extensive editing capabilities and advanced features, Photoshop provides a comprehensive toolkit for tackling even the most complex watermark removal tasks. Here is a step-by-step guide on how to remove watermarks using Photoshop:
Step 1: Open the image in Photoshop.
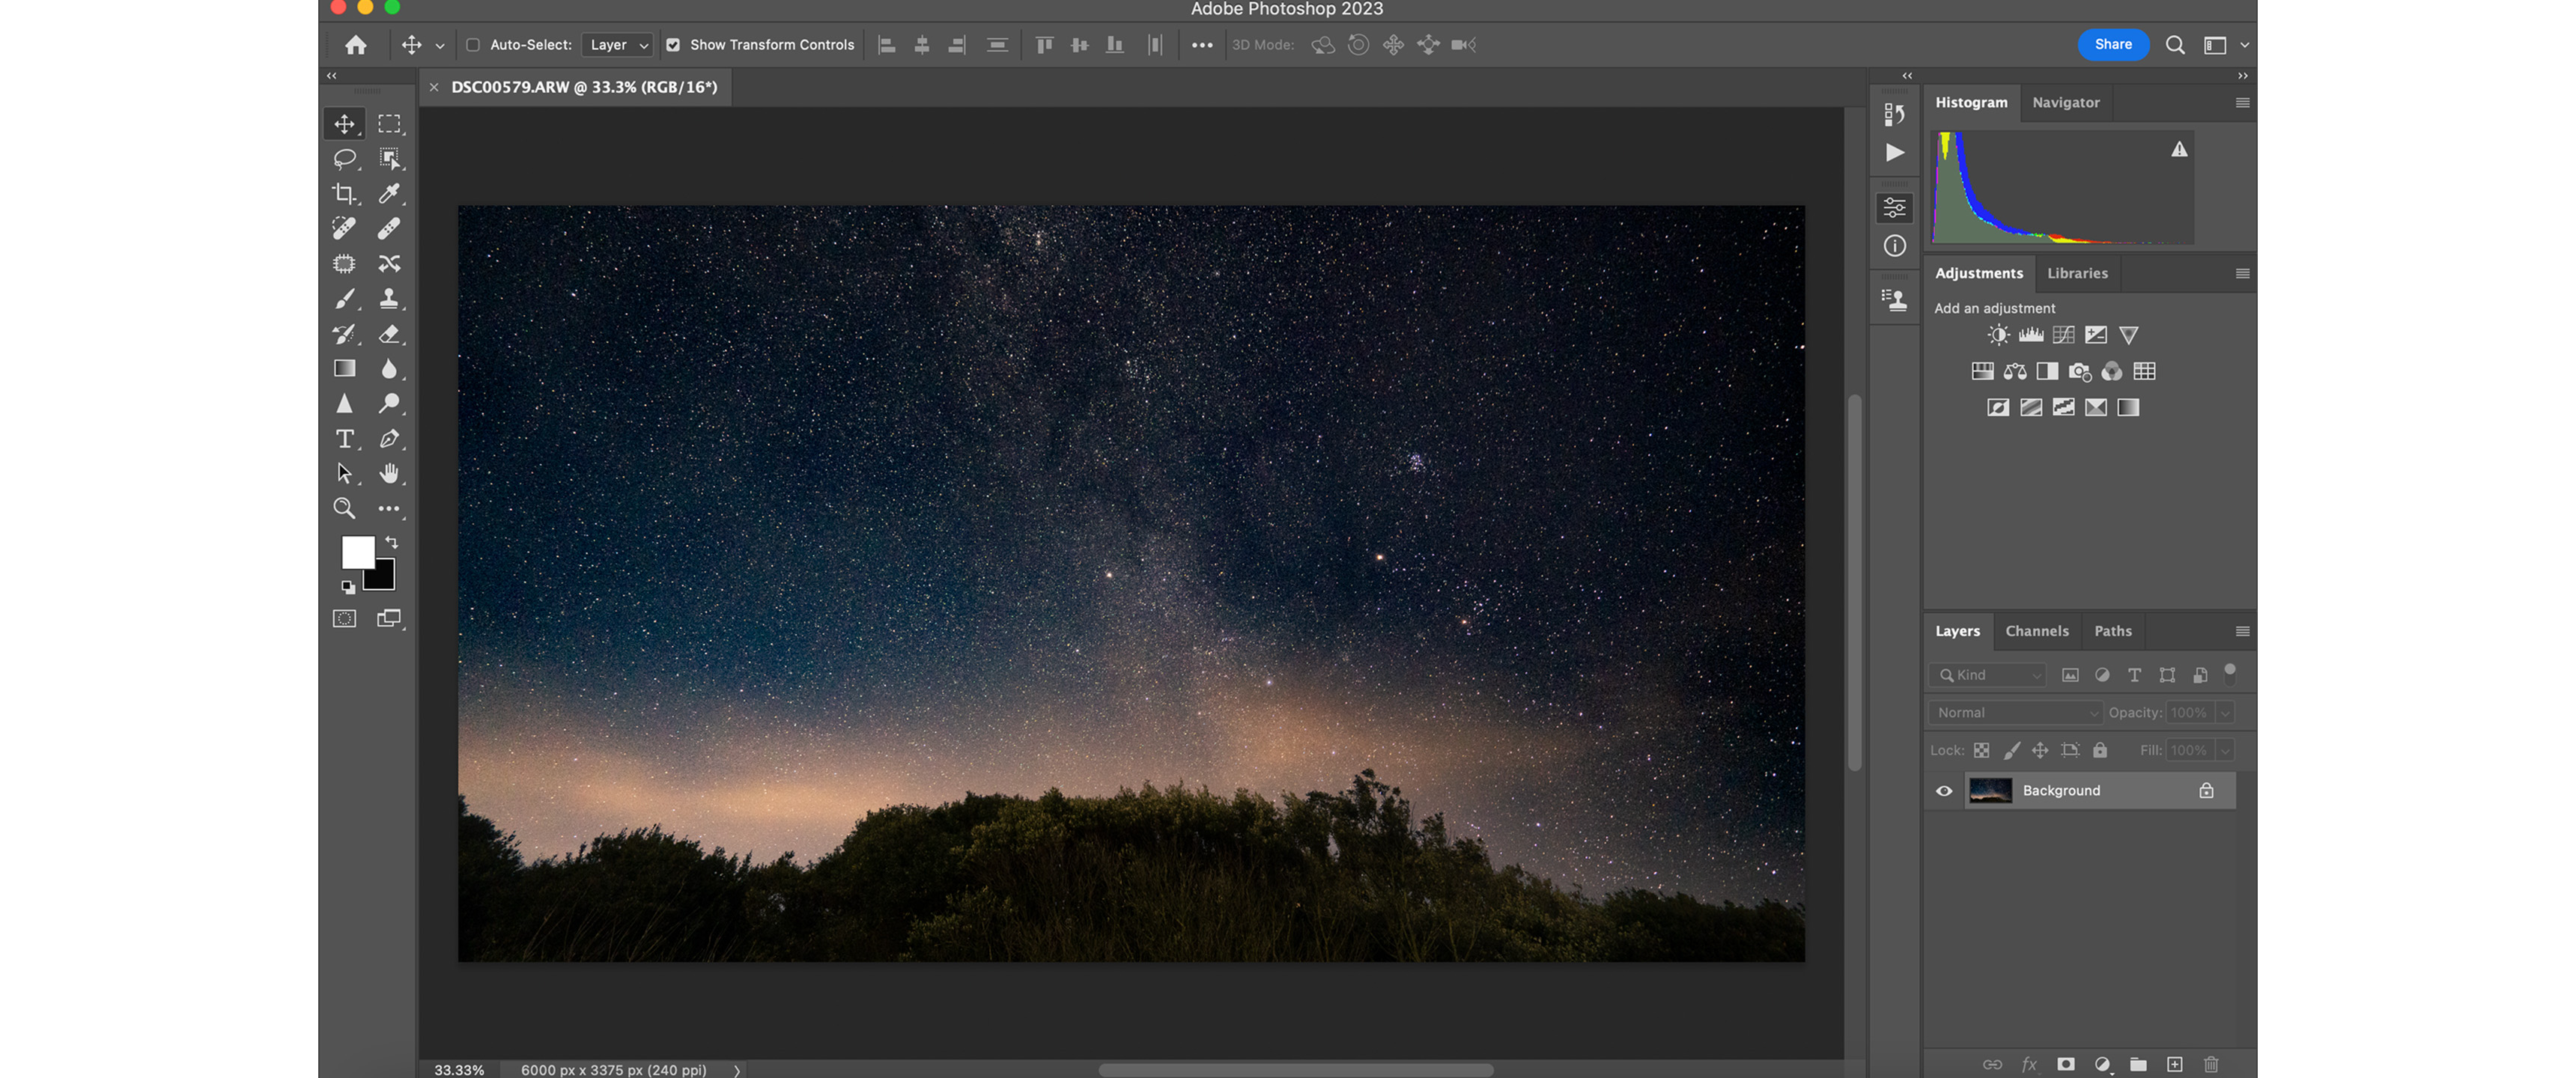
Adobe Photoshop Interface
Step 2: Duplicate the background layer for backup.
Step 3: Select the Healing Brush Tool.
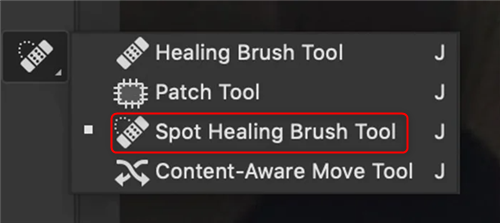
Select the Spot Healing Brush Tool
Step 4: Adjust the brush size, hardness, and opacity.
Step 5: Sample a clean area near the watermark.
Step 6: Carefully paint over the watermark to remove it.
Step 7: Use additional tools like Clone Stamp or Content-Aware Fill if needed.
Step 8: Refine and preview the edited image.
Step 9: Save the edited image with a new filename.
Tips for Effective Watermark Removal Using Webinpaint
- Experiment with different brush sizes and hardness settings to achieve precise removal results. For smaller and intricate watermarks, use a smaller brush size and a harder edge.
- In cases where the watermark extends into a complex area of the image, the clone stamp tool in Webinpaint can be handy. It allows you to clone and replicate adjacent pixels to seamlessly cover the watermark.
- Zoom in on the image to focus on specific areas and ensure accurate removal. This feature helps you achieve finer details and maintain the image’s overall quality.
- Webinpaint provides a range of settings and options for customization. Don’t hesitate to experiment with various settings to find the combination that produces the best results for your specific image and watermark.
Conclusion
Webinpaint is a powerful and efficient tool for removing watermarks from images. With its high-quality results, user-friendly interface, and time-saving capabilities, it has become the go-to choice for individuals and professionals alike. By following the step-by-step guide and implementing the provided tips, you can effortlessly remove watermarks and unlock the full potential of your images. Give Webinpaint a try and experience the convenience of watermark removal without compromising image quality.