How to Export and Save Cricut Design as JPG

Do you have any challenge trying to export, and save your Cricut design as JPG on a computer system? Then this platform is the right place to visit, as we are dedicated to helping designers fix whatever issues they encounter.
In this article, we will discuss in detail how to move your Cricut designs, and store directly to your local drive without losing the quality. Without further ado, let’s get started!
Also read: How to Extend Background in Photoshop? >
Table of Contents: hide
How to Export and Save Cricut Design as JPG?
Methods Quick View
| Method | Quick-Step | Recommended |
| Windows/Mac |
|
⭐️⭐️⭐️⭐️⭐️ |
What Is Cricut Design Space?
The Cricut design space is one of the most brilliant innovations available for you to connect your PC/mobile device with a Cricut machine so as to create designs, and upload them from the comfort of your home.
With this intuitive program, you can also edit designs according to your needs without difficulty. All thanks to the robust editing tools it supports. This program features several templates that you can select from and customise into lovely designs, instead of starting from scratch.
How to Export and Save Cricut Design as JPG?
Designs created on Cricut space are usually stored in SVG formats by default. This image format can only be stored, and moved within the Cricut space. If you wish to export your Cricut designs to your computer local drive, you should apply the instructions down here.
Mind you, the approach to export and save your Cricut design as JPG format differs for the different computer operating systems. We will look at the different guides, kindly apply the only that suits your operating system type:
Export & Save Cricut Design as JPG on Windows
How to export Cricut design to jpg? If you own a Windows computer, follow the stepwise guide given down here to export and save Cricut designs in JPG format:
Step 1: Add Cricut to your app list by installing a compatible version from the official website. Launch the program, and connect to a Cricut machine if you have one.
Step 2: If you have an old project you wish to export, click on My Projects to access all of your previous Cricut designs. However, if you just want to create a project, and export as JPG, tap on New Project.
Once the design page opens with your project on it, you will find grids at the background by default. To remove these grids, tap on the Hamburger sign at the upper left corner of your screen to access the Cricut menu. Here is a screenshot to help you understand this statement:

Remove Grids at the Background by Default
Select Settings from the list of options that appears. Tap on No Grid to remove grids from your design.
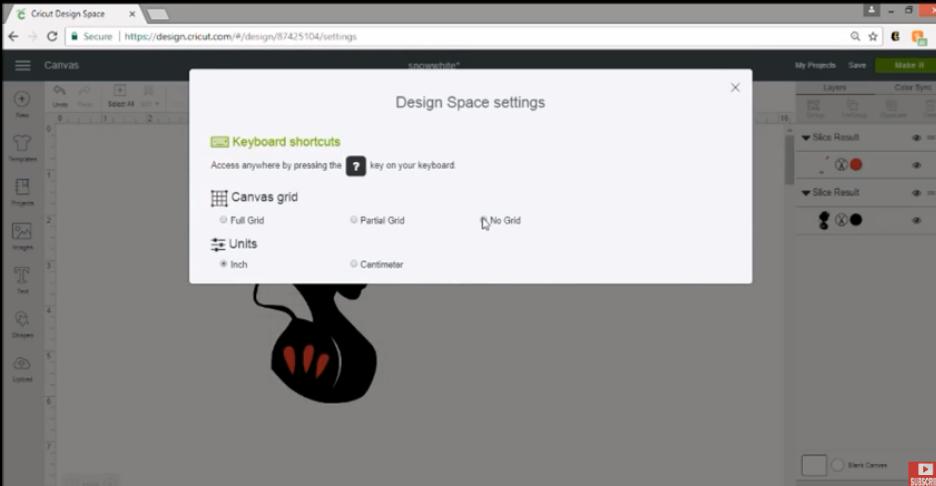
Tap on No Grid
Step 3: Next, launch the Snipping tool on your computer system to take a snapshot of the design you have on Cricut design space. To do that, type Snipping tool in the search toolbar at the bottom of your computer screen, and click on the corresponding icon.
Step 4: On completing the step above, the Snipping tool will automatically pop up on your screen.
Tap on New, and draw a rectangle around the design to take a screenshot. The response page down here will automatically come up:
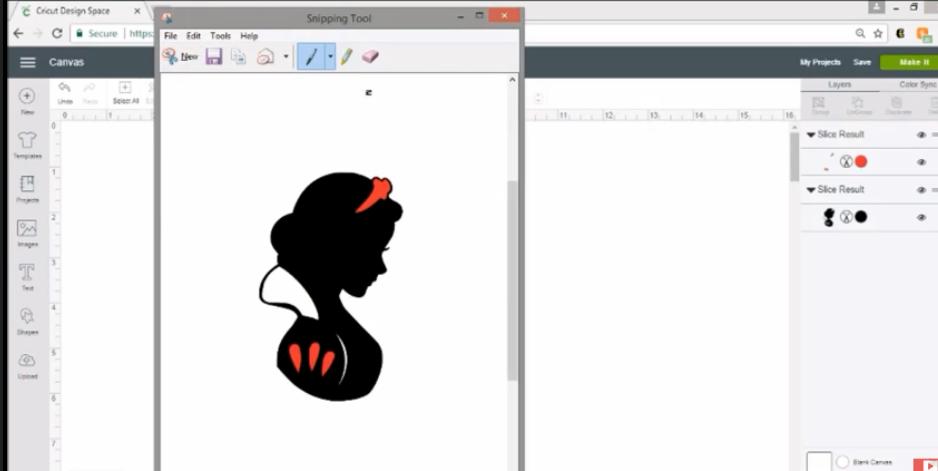
The Response Page
You can edit the image according to your needs. Once editing is finalized, click on File > Save. Select a destination path to save the image on your Windows computer system.
Export & Save Cricut Design as JPG on Mac
For Mac owners, here is the simple guide to export and store your Cricut design in JPG format:
Step 1: Instal the Cricut program, and launch it. When the program opens, login to your account and click on New Project to create a design. Alternatively, you can tap on My Projects to open your previously created designs.
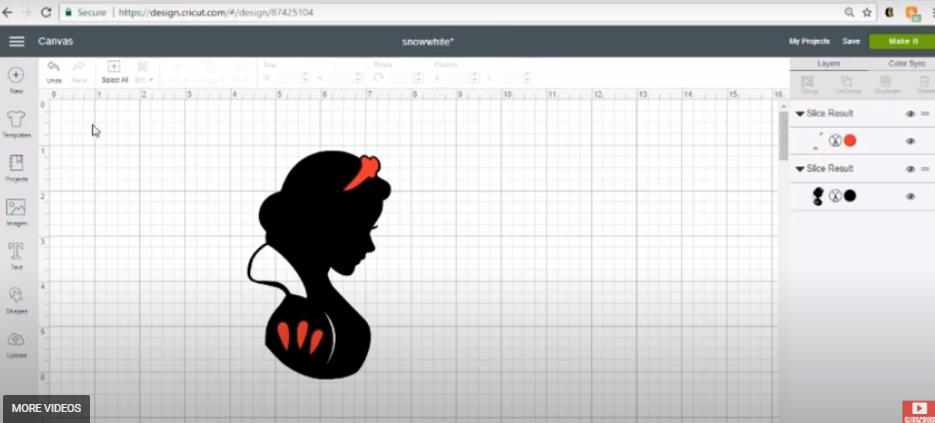
Step 2: Zoom out the design using the appropriate buttons, so you have a better resolution when exporting and saving to your local drive. Once done, press down the Cmd + Shift + 4 simultaneously to launch the screenshot tool.
Step 3: Next, create a path around the design you wish to save, and the screenshot tool will automatically capture the selected portion. The resulting image will be saved to your Mac local drive. Kindly check underneath screenshots to locate the image.
Further Reading: How to Fix Save Image As Not Working on Mac >
Where Does Cricut Save Files on Your Computer?
Cricut usually stores users’ designs on Cloud or Cloud & Computer depending on the selected destination path. The former destination path lets you store your designs online, while the latter stores the design online and offline for easy access.
Both destination paths are great, however, we advise that you select Cloud & Computer so you can easily access your designs in cases where you have poor or no internet connection. That being said, if you wish to setup a destination path to store your Cricut designs, follow the guidelines below:
Step 1: Run the Cricut design space, and sign in your account using the correct credentials. Once done, tap on the Hamburger sign at the top left corner of the page.
Select Your Preferred Option
Step 2: Scroll down, and click on Settings to access the response page down here.
Underneath General you will find the different storage options. Select your preferred option, and tap on Done to complete the setup.
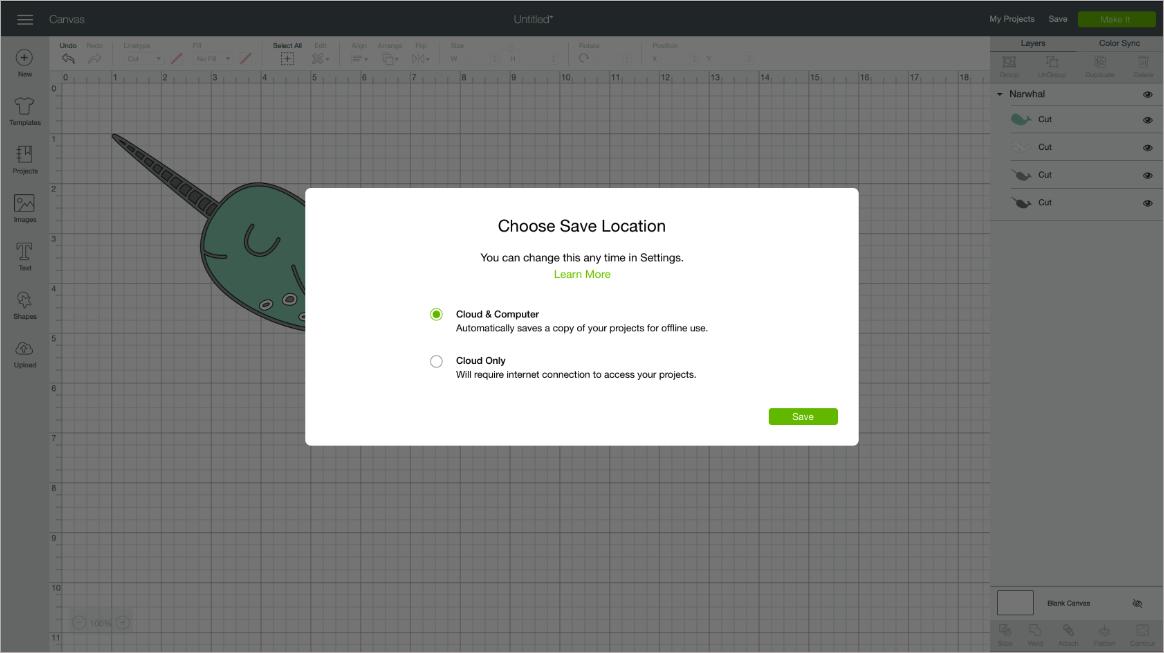
Select Your Preferred Option
Step 3: Now, try creating a project on your Cricut design space. Hit the Save button on completing the design. The resulting content will be stored in the selected destination path automatically.
To find your saved projects, locate and click on the My Projects tab situated at the right-hand corner of the Cricut design page.
FAQs About Saving Cricut Design
For extensive knowledge about exporting and saving Cricut designs in JPG format, check out the frequently asked questions and answers given down here:
How to save Cricut designs as PDF?
Saving Cricut designs as PDF isn’t difficult. Here’s the how-to guide you can follow to do that:
Step 1: Open Cricut and tap on My Projects to launch the design you wish to save as PDF.
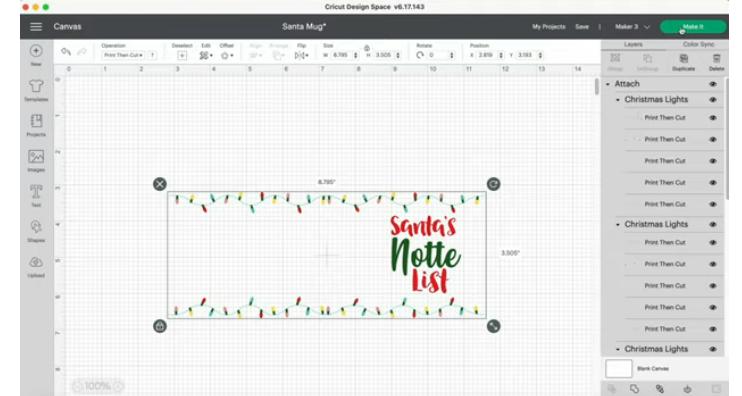
Launch the Design to Save as PDF
Step 2: Next, locate and tap on Make It at the top right corner of your screen and the response page down here will automatically come up:
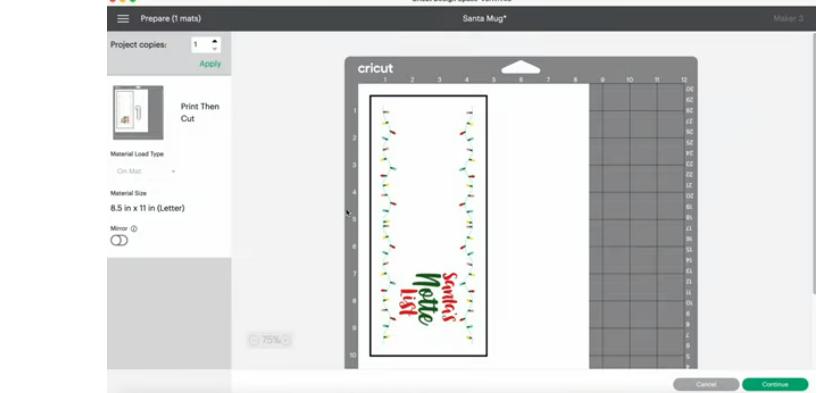
The Response Page
Now click on Send to Printer.
Click the drop down menu underneath the Printer icon and choose the appropriate PDF icon so the resulting content isn’t printed. Once done, toggle the slider next to Add Bleed left to disable the feature. Hit the Print button once done.
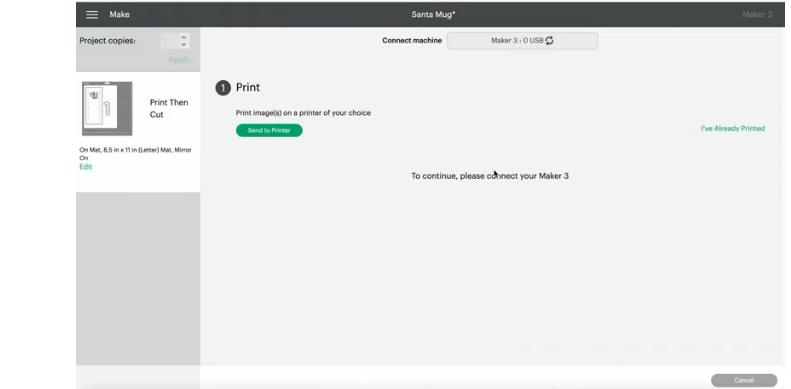
Send to Printer
Step 4: Now the interface down here will come up:
Select a Folder to Store the PDF
Select a folder to store the PDF and hit the Save button to complete the process.
How to save Cricut designs as SVG?
If you wish to save your Cricut design in SVG format, follow the procedure given down here:
Step 1: Open Cricut and import the image/design you want to save as SVG using the right keys.
Step 2: Zoom out the image or design, and use the screenshot tool on your device to take a snapshot of it. Once done, save the snapshot, then proceed to the next step.
Step 3: Import the snapshot and paste on a vector illustrator to edit and save in SVG format as requested.
How to upload images to Cricut Design Space?
With the procedure down here, you can quickly upload images to your Cricut Design Space without losing quality:
Step 1: Open the Cricut design space on your computer, and click on the green New Project icon at the upper right corner of the page.
Step 2: Click on the Upload button on the left sidebar of the Cricut page.
On the next screen, click on Upload Image> Browse. Cricut will automatically direct you to your local drive where images are stored to choose an image.
Step 3: After selecting an image, the page down here will come up:
Now tap on the green Upload button at the bottom right corner of the page. If you wish to import the image to Canvas, tap on Add to Canvas, Cricut will automatically upload to your design space.
How to save cricut design as PNG?
To save a Cricut Design as a PNG file, you can follow these steps:
- Open the Cricut Design Space software and open the design you want to save as a PNG.
- Click on the “File” menu in the top left corner of the screen and select “Export.”
- In the export menu, select “Save as a PNG” and choose the location where you want to save the file on your computer.
- Name the file and click the “Save” button.
- The design will be saved as a PNG file with a transparent background.
Final Thought
With the guide above, you can export and save your Cricut designs in JPG format on any computer operating system. Additionally, we looked at how to store Cricut designs in SVG and PDF formats. Follow the guide accordingly to get the best result.
If you want to convert so many HEIC files to JPG, just try the HEIC to JPG Converter.