Watermarks are often used by content creators to protect their intellectual property and prevent unauthorized use or distribution of their work. However, there may be instances where you need to remove a watermark for legitimate reasons, such as editing an image or creating a presentation.
Remove Watermark with Pixlr
In such cases, Pixlr, a popular cloud-based editing tool, can be a handy solution. While Pixlr does not provide an automated watermark removal feature, it offers powerful image editing tools that can be used manually to remove watermarks or remove stickers. In this guide, we will explore the process of removing watermarks with Pixlr, providing you with step-by-step instructions and techniques to achieve the best possible results. Whether you’re a beginner or an experienced user, this guide will help you navigate the watermark removal process using Pixlr, while also highlighting the importance of respecting copyright laws and obtaining necessary permissions. Let’s dive in and discover how to effectively remove watermarks with Pixlr.
Table of Contents: hide
Can You Remove Watermarks in Pixlr?
How to Remove Watermark with Pixlr?
What Is Pixlr?
Pixlr is a cloud-based image editing and graphic design tool. It provides users with a range of features and functionalities to edit, enhance, and manipulate images. Pixlr is known for its user-friendly interface and accessibility, as it can be used directly within a web browser or through mobile applications.
What Is Pixlr?
Pixlr offers both a free version and a premium version called Pixlr X and Pixlr E respectively. Pixlr X is the simpler version, providing essential editing tools such as cropping, resizing, adjusting colors, adding text, and applying filters. On the other hand, Pixlr E is more advanced and includes features like layers, advanced retouching tools, blending modes, and the ability to work with multiple images simultaneously. Overall, Pixlr is a versatile image editing tool suitable for both beginners and more experienced users looking to perform various editing tasks on images or create simple graphic designs.
Can You Remove Watermarks in Pixlr?
Pixlr does not provide a specific feature to remove watermarks from images automatically. The free version of Pixlr, known as Pixlr X, does not offer advanced editing tools such as content-aware fill or clone stamp tools, which are commonly used for watermark removal.
Can You Remove Watermarks in Pixlr?
However, Pixlr E, the premium version of Pixlr, does have more advanced editing capabilities and tools that can potentially help with watermark removal. In Pixlr E, you can use tools like the clone stamp tool or the healing brush tool to manually remove watermarks by sampling nearby areas and blending them over the watermark. This process requires some skill and patience to achieve satisfactory results.
Before learning how to remove watermarks with Pixlr, it’s important to note that removing watermarks from images without proper authorization may infringe upon copyright laws or terms of use. Watermarks are often used by content creators to protect their intellectual property and prevent unauthorized use or distribution of their work. It is generally recommended to seek permission from the copyright holder before using or modifying watermarked images or to use licensed, royalty-free images for your projects.
How to Remove Watermark with Pixlr?
While Pixlr does not have a dedicated tool for automatically removing watermarks, you can still attempt to remove them manually using the Clone Stamp Tool or the Healing Brush Tool in Pixlr E. Here’s a general step-by-step guide to removing watermarks using these tools:
Remember, manual watermark removal can be a time-consuming and challenging process, especially if the watermark covers a significant area or is placed over complex backgrounds. Additionally, it’s important to respect copyright laws and obtain the necessary permissions before modifying or using watermarked images.
Now, let’s learn how to remove the watermark with Pixlr.
Step 1. Launch the Pixlr E editor in your web browser and click on Open Image or drag and drop the image with the watermark into the editor.
Click on Open Image to Upload an Image
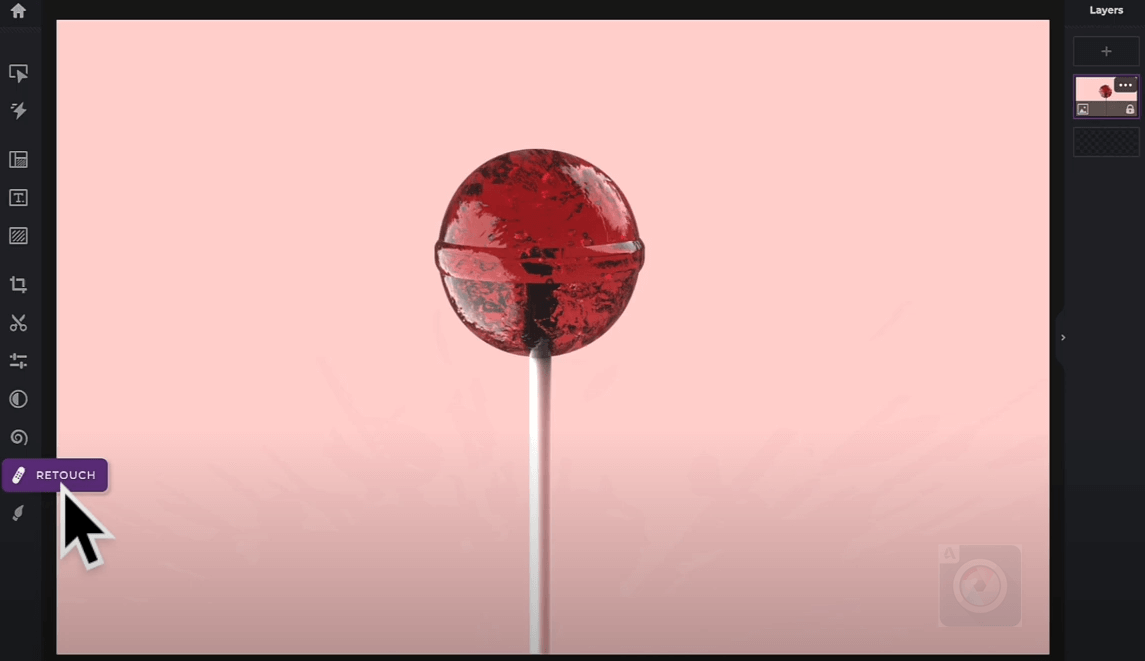
Step 2. In the toolbar on the left side of the editor, click on the RETOUCH icon to access the brush tools, then select the Clone Stamp tool. Adjust the brush size and hardness according to your requirements. A smaller brush size is useful for dealing with intricate details, while a larger brush size is better for larger areas.
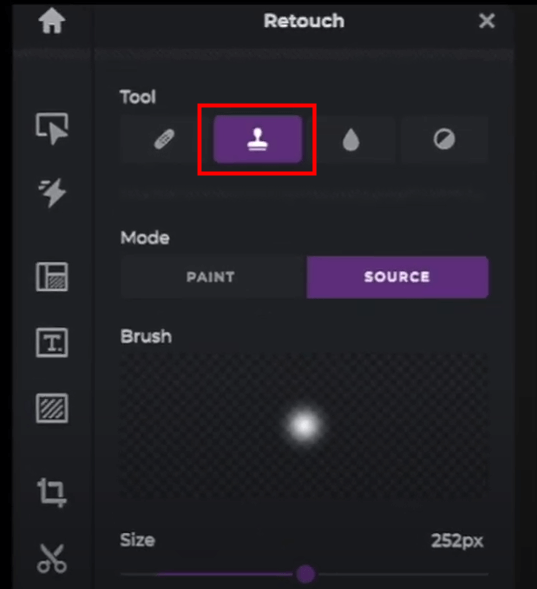
Clone Stamp Tool in Pixlr
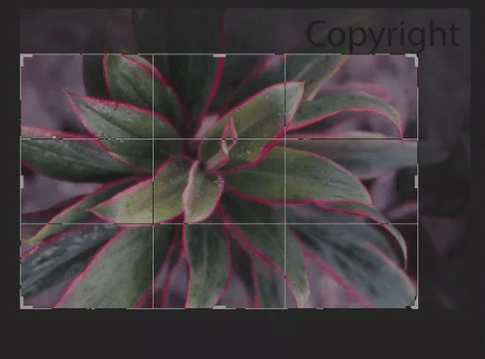
Step 3. Hold the Alt/Option key and click on an area near the watermark that closely matches the surrounding pixels. This area will serve as the source for the clone stamp.
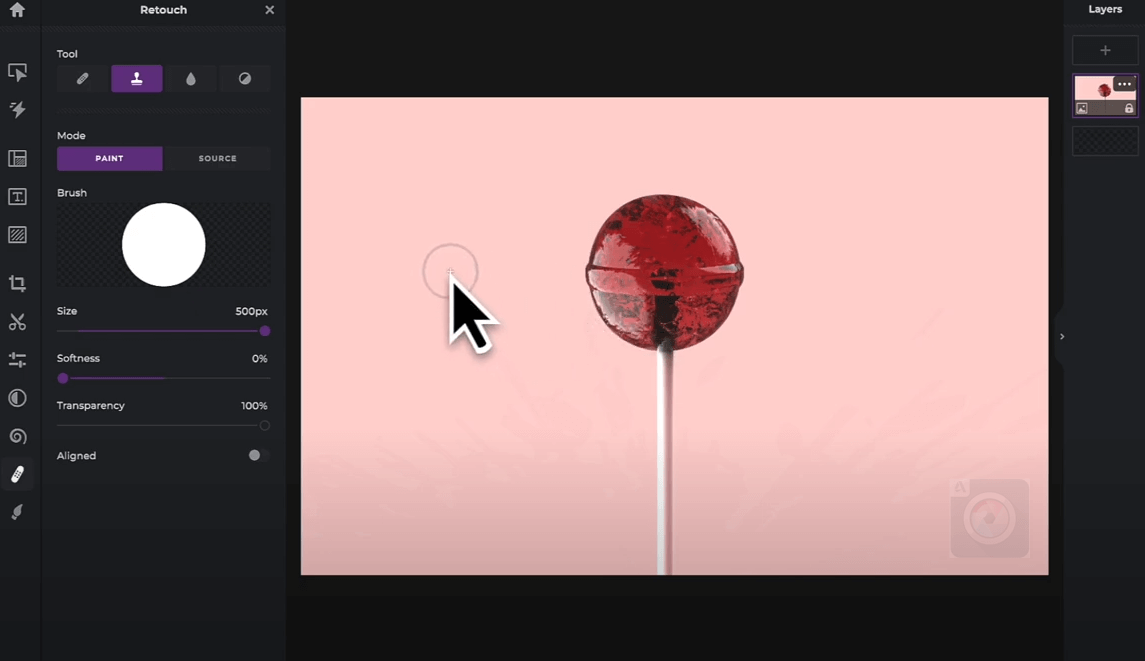
Pick an Area Near the Watermark
Step 4. Carefully paint over the watermark with the Clone Stamp Tool, using the sampled area to replace the watermark pixels. Use short, light strokes to blend the cloned pixels with the surrounding areas and maintain a natural appearance.
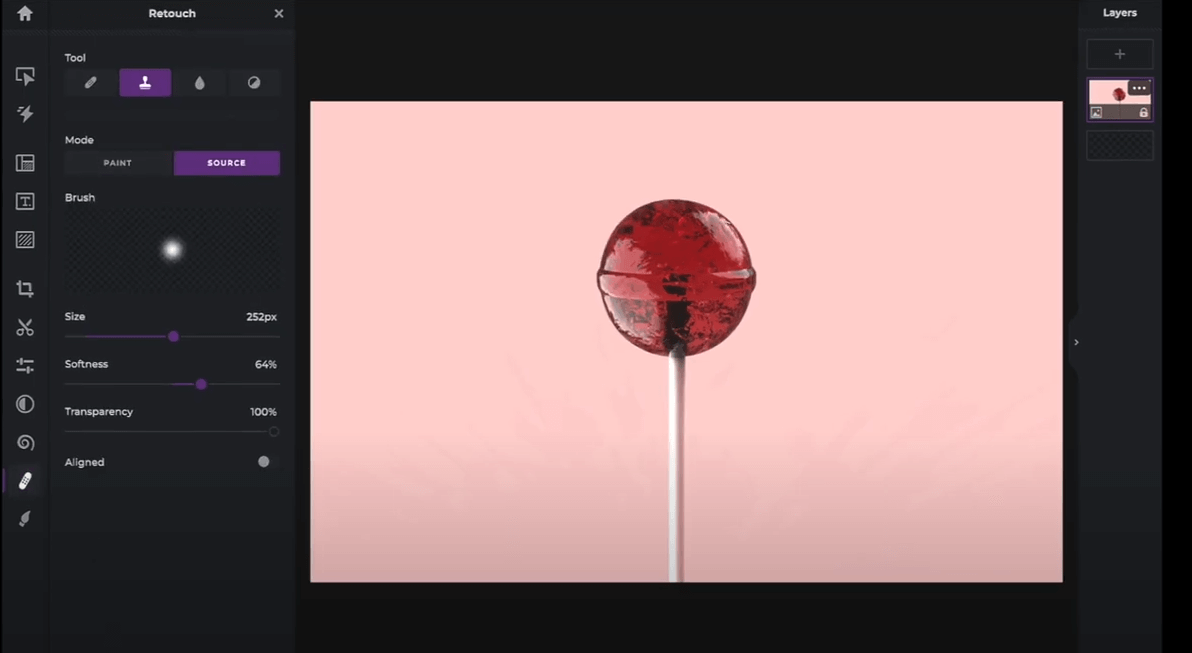
Remove Watermark with Pixlr
Continue cloning and blending until the watermark is completely covered. You may need to sample from multiple areas to achieve the desired result. Adjust the brush size and opacity as needed for different parts of the image.
Further Reading: How to Remove Getty Image Watermark >
Alternative Way to Remove Watermark from Pics/Videos
If you don’t want to remove watermark from pictures with Pixlr E’s Clone Stamp Tool or Healing Brush Tool, you can turn to an AI Watermark Remover. Among the most popular watermark removers in 2024, you can take Wipit for a free try. As a professional software, it removes watermarks, text, emojis, persons, or other types of unwanted overlays from images and videos. Here are some key features that are typically found in Wipit:
Wipit Key Features
- Remove watermarks from images and videos with AI.
- Handle various types of watermarks, including text-based watermarks, logos, and unwanted overlays.
- Precisely adjust the size, or position of the watermark removal area.
- Quickly preview the changes before saving them to your computer.
Steps to Remove Watermarks from Pictures with Wipit
Step 1. Free install Wipit and open it on your computer. Upload the images or videos you want to process.

Upload Images from Your Computer
Step 2. Choose the Select Area button and frame the watermark. Also, you can paint over or erase to define the watermark removal area precisely.
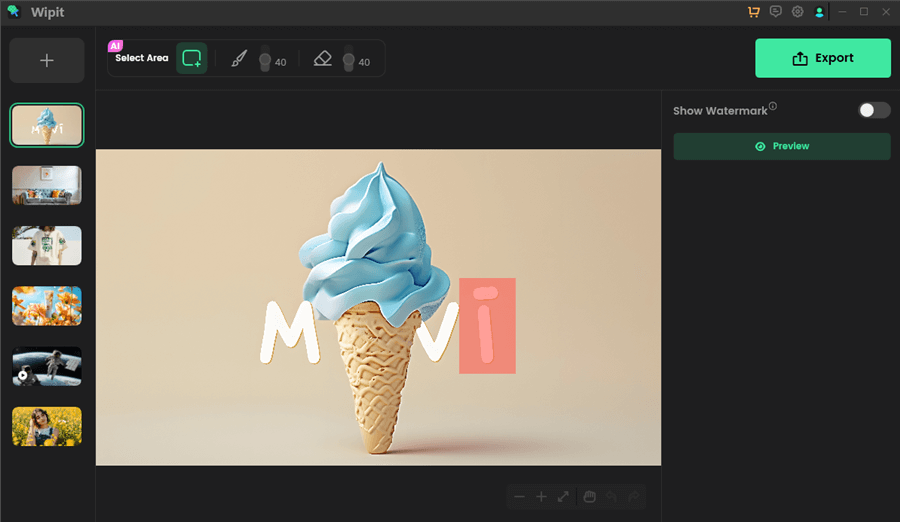
Frame the Unwanted Object on Photo
Step 3. Click the Preview button to check the effect and save it to your computer.
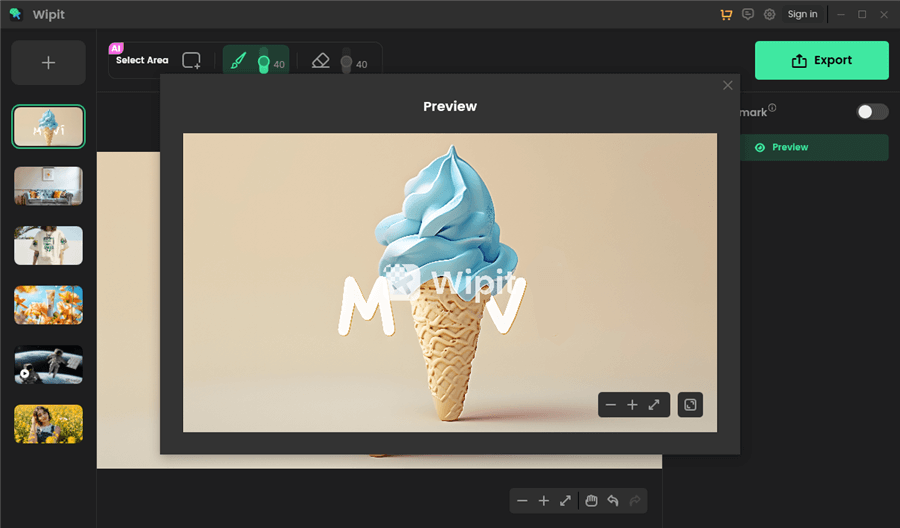
Preview Canva Watermark Removal Effect
Tips and Techniques for Effective Watermark Removal
When it comes to effectively removing watermarks using Pixlr or any other watermark removal tools, several tips and techniques can help you achieve better results. Consider the following:
🖌️Start with small, detailed areas: Begin by removing the watermark from smaller, less complex sections of the image. This allows you to practice your technique and gain confidence before tackling larger and more intricate parts.
🖌️Use a light touch and short strokes: To ensure a natural blend between the cloned pixels and the surrounding areas, use a light touch with the Clone Stamp Tool. Apply short, gentle strokes rather than long, heavy ones. This helps avoid obvious brush marks and maintains the overall integrity of the image.
🖌️Sample from multiple areas: Instead of relying solely on one source area for cloning, sample from multiple areas that closely match the surrounding pixels. This helps to blend the cloned pixels more effectively and creates a seamless integration with the rest of the image.
🖌️Adjust brush size and opacity: Adapting the brush size and opacity according to different parts of the image can enhance the accuracy of your watermark removal. Use a smaller brush size for detailed areas and a larger brush size for larger, more uniform sections. Adjust the opacity to gradually introduce the cloned pixels and ensure a gradual transition.
🖌️Take breaks and review your progress: Removing watermarks can be a meticulous process, so it’s important to take breaks to rest your eyes and mind. Periodically review your progress to ensure that the watermark removal looks natural and seamless. Stepping away and revisiting the image with fresh eyes can help you identify any areas that may need further refinement.
Final Thought
Throughout this guide, we have explored the process of removing watermarks using Pixlr, emphasizing the use of tools like the Clone Stamp Tool and the Healing Brush Tool. We have provided tips and techniques to enhance your watermark removal skills, such as starting with small areas, using a light touch, sampling from multiple sources, and adjusting brush settings.
In conclusion, with Pixlr and the techniques outlined in this guide, you have the tools to remove watermarks from images effectively. Remember to use this knowledge responsibly and ethically, respecting the rights of content creators and obtaining appropriate permissions. Happy editing!
