Among the leading smartphones in the market, the iPhone stands out as a versatile device that not only excels in its telecommunication capabilities but also offers an array of multimedia features. Whether you need to record a podcast, an interview, a voice memo, browser audio, or even a musical performance, the iPhone provides a convenient and portable solution for capturing audio on the go. In this guide, we will explore various methods and apps that allow you to record audio effortlessly using your iPhone. Whether you’re a professional or a casual user, by the end of this guide, you’ll have the knowledge and tools to capture crisp, clear, and high-quality audio recordings with your iPhone. Let’s dive in and discover the world of audio recording on the iPhone.
Where is the Record Button on iPhone?
The location and appearance of the Record button may vary depending on your iPhone model and the version of iOS installed. However, accessing the Control Center is a standard method to find and use the Record button for audio recording on an iPhone.
On iPhones running iOS 14 and later, the Record button is located in the Control Center. Here’s how you can access it:
The Record Button on iPhone
- Unlock your iPhone and go to the home screen.
- Swipe down from the top right corner (on iPhone models with Face ID) or swipe up from the bottom of the screen (on iPhone models with a Home button) to open the Control Center.
- In the Control Center, you’ll find various icons and controls.
- Look for the Record button, which resembles a circle inside a larger circle. It may not be visible immediately, so you may need to scroll or swipe left to find it.
- Once you locate the Record button, tap on it to start recording audio.
- A three-second countdown will appear, and then the recording will begin.
- To stop the recording, tap on the red status bar at the top of the screen, indicating that a recording is in progress. Alternatively, you can return to the Control Center and tap the Record button again to stop the recording.
What Is the Default Audio Recorder on iPhone?
The default audio recorder on an iPhone is the Voice Memos app. It comes pre-installed on iPhones and is designed specifically for recording audio. The Voice Memos app provides a simple and intuitive interface for capturing audio recordings with ease. It offers basic recording functionality, allowing you to start and stop recordings, as well as save and manage your recorded files.
The Voice Memos App
With the Voice Memos app, you can record various types of audio, such as voice memos, interviews, lectures, meetings, or even musical performances. It utilizes the iPhone’s built-in microphone to capture sound, delivering decent-quality recordings for everyday use.
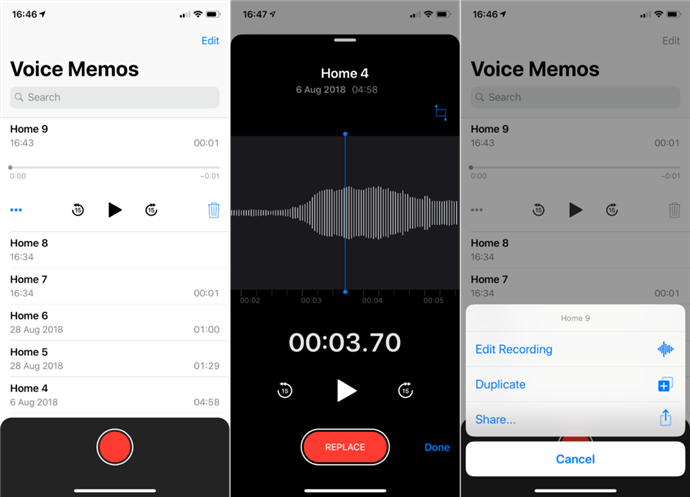
The Voice Memos app also offers additional features such as the ability to trim recordings, add labels to organize your recordings, and share your audio files through various platforms and apps.
Overall, the Voice Memos app serves as the default audio recorder on iPhones, providing a convenient and accessible solution for capturing audio recordings on the go.
How to Record a Conversation on iPhone?
On most versions of the iPhone, the Record button can be found within the Voice Memos app, which is a built-in application provided by Apple. To locate the Record button, follow these steps:
Record a Conversation on iPhone
- Unlock your iPhone and navigate to the home screen.
- Look for the Voice Memos app icon, which resembles a waveform on a white background. It is typically found on one of the home screens or in the Utilities folder.
- Tap on the Voice Memos app to launch it.
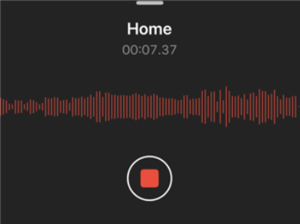
- Once inside the Voice Memos app, you will see a large red circular button at the bottom center of the screen. This is the Record button.
- To start recording audio, simply tap the red Record button once. The button will change to a waveform icon, indicating that the recording is in progress.
- To stop the recording, tap the red waveform button again. The recording will be automatically saved in the Voice Memos app.
It’s important to note that the exact appearance and location of the Record button may vary slightly depending on the version of iOS installed on your iPhone. However, you can usually find it within the Voice Memos app, easily accessible for recording audio.
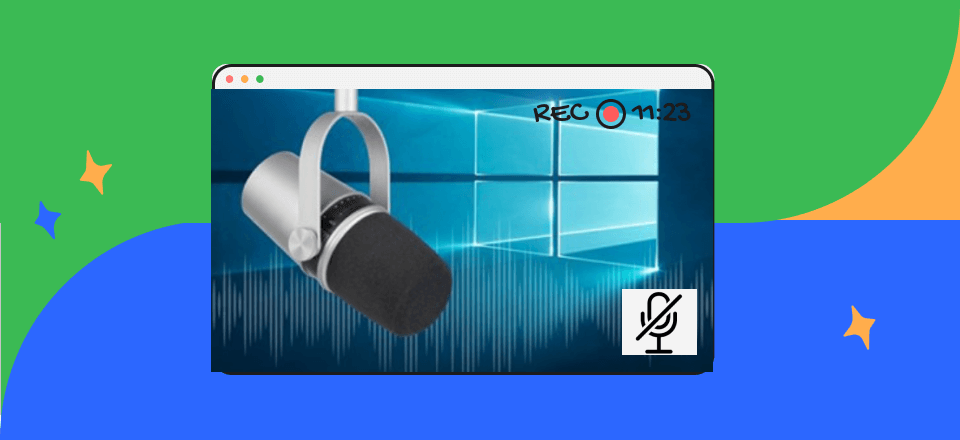
Bonus Tip. How to Record Screen with Audio on PC/Mac
Screen recording on your computer can also be easy with FocuSee. FocuSee is an innovative screen recording software designed to simplify the process of creating captivating videos with automated post-production. It offers a seamless solution for recording your screen with internal audio and external microphone sound. FocuSee takes care of tasks like following the cursor movement, applying dynamic zoom effects, and even automatically adding captions, saving you valuable time and effort.
Step 1. Free install FocuSee and launch it on your computer. Under the Device Setup option, choose the audio channel you want to capture. Then select a recording mode to get started.
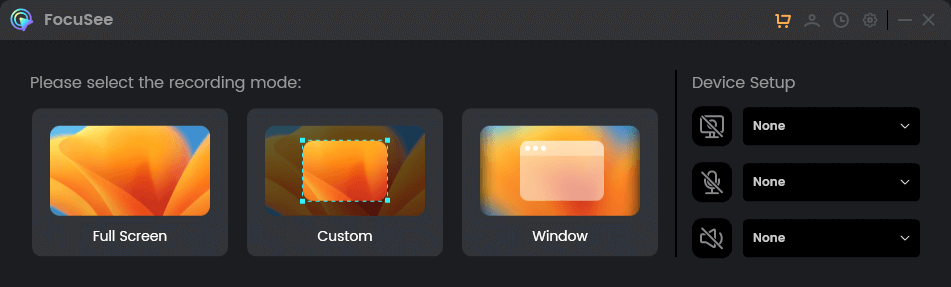
Choose a Recording Mode
Step 2. Hit the REC button to initiate the process. During the recording, FocuSee will capture both your internal sound and microphone.
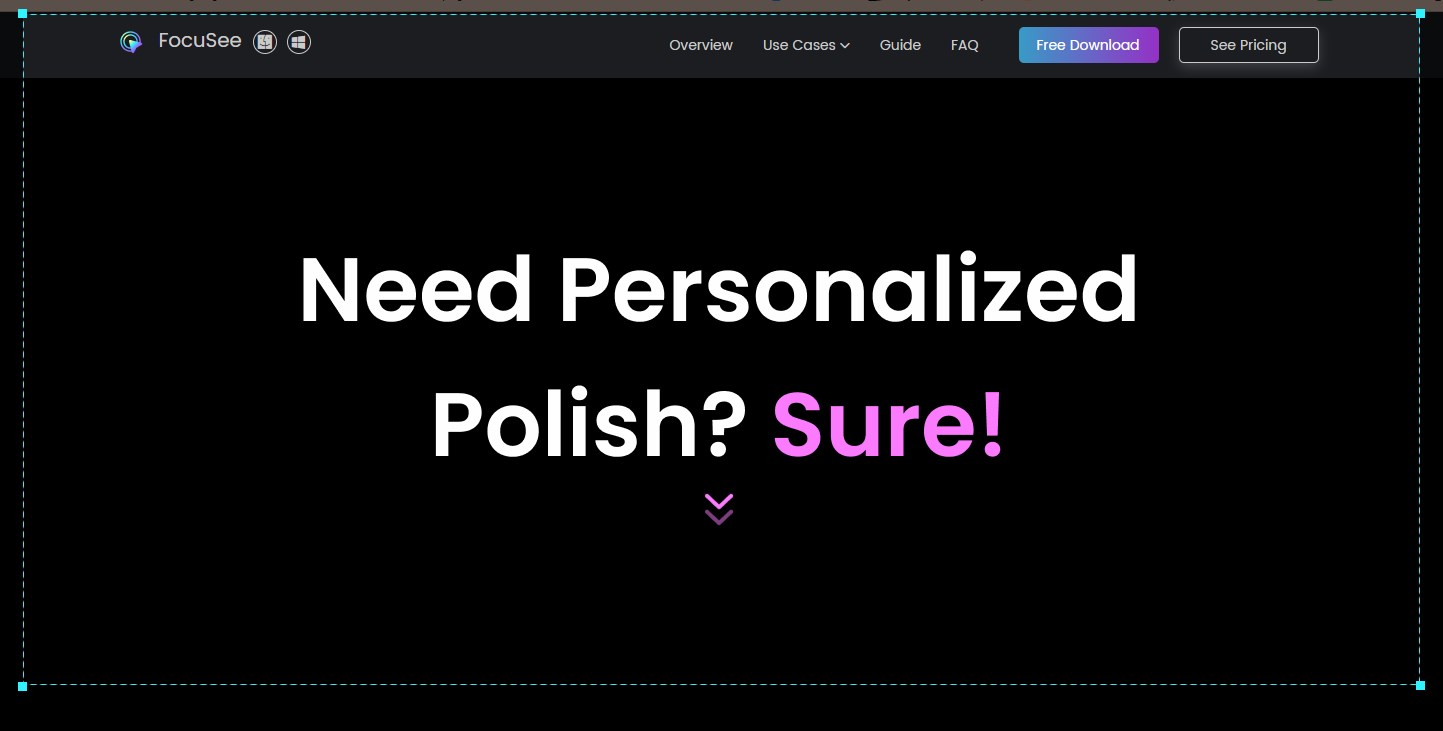
Frame an Area to Record
Step 3. Once you’ve finished recording, hit the red Stop button to complete the task.
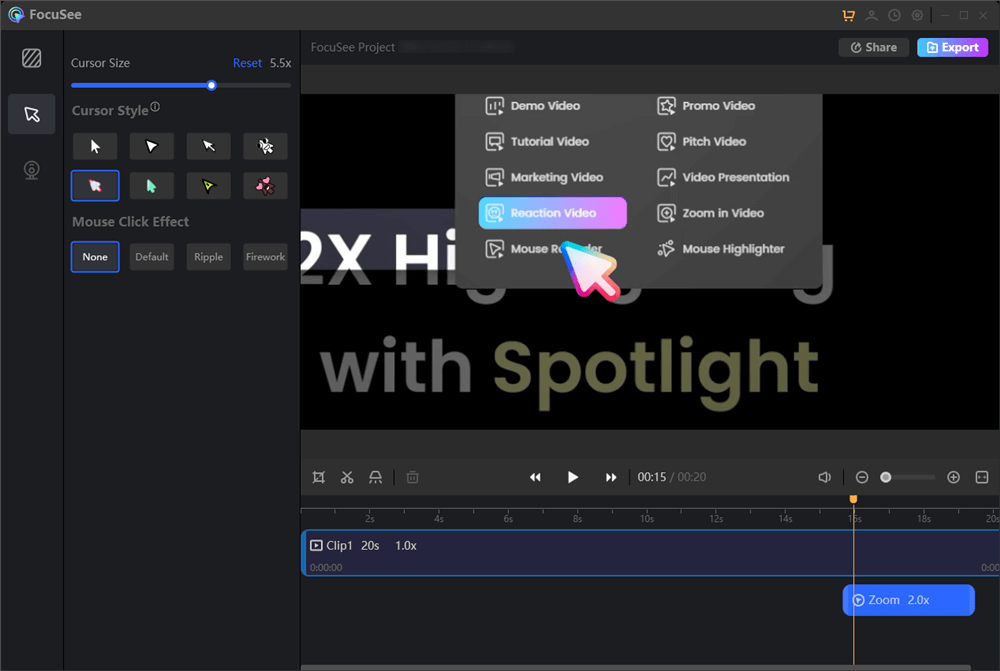
Edit Your Recording
Final Thought
In conclusion, recording audio on an iPhone is a straightforward process that can be accomplished using the default Voice Memos app. With just a few taps, you can capture voice memos, interviews, lectures, or any other audio you want to save. The Voice Memos app provides a user-friendly interface and basic recording functionalities, allowing you to start and stop recordings with ease.