Pixel Motion Blur is a sophisticated technique in the realm of motion blur visual effects that simulates the appearance of motion within a scene by selectively blurring pixels in the direction of movement. This method is particularly effective in creating a sense of speed and realism in both static and dynamic environments. In this article, we’ll introduce the basic concept of Pixel Motion blur and how to apply it on your own.
Table of Contents: hide
What Does Pixel Motion Blur Do?
How to Add Pixel Motion Blur After Effects?
Differences between Pixel Motion Blur and CC Force Motion Blur
Bonus Tip. Enhance Screen Recording with Automatic Motion Blur
What Does Pixel Motion Blur Do?
Pixel Motion Blur is a visual effect used in video editing and animation to simulate the blurring that occurs when objects move quickly. It analyzes the movement of pixels between video frames and creates a blur based on that movement.
What Is Pixel Motion Blur
Why to Use Pixel Motion Blur
- Smooth out fast-moving objects: It can make action sequences or animations look more fluid and less jerky, especially at lower frame rates.
- Enhance slow-motion footage: Slow-motion often looks too crisp and unnatural because of the higher frame rate. Adding a subtle motion blur can make it appear more realistic.
- Create stylistic effects: Motion blur can be used creatively to emphasize speed, action, or transitions in a video.
Limitations of Pixel Motion Blur
- Create artifacts: In complex scenes or with very fast motion, it might produce unwanted artifacts or unnatural-looking blur.
- Computationally intensive: Analyzing pixel movement can be demanding on your computer’s processing power, potentially increasing rendering times.
Overall, Pixel Motion Blur is a useful tool for making videos look more dynamic and realistic, but it’s important to use it judiciously and be aware of its limitations.
How to Add Pixel Motion Blur After Effects?
Pixel Motion Blur is a built-in effect in After Effects that helps you simulate the natural blurring of moving objects in your videos. It’s a relatively simple effect that analyzes the movement of pixels between frames and creates a blur based on that movement. Think of it like taking a photo of a speeding car — the car appears blurred because it moved while the camera’s shutter was open. Pixel Motion Blur recreates this effect digitally.
This effect is handy for smoothing out fast-paced action, enhancing slow-motion footage, or adding a touch of cinematic flair to your animations. While it’s a quick and easy way to add motion blur, it’s worth noting that it can sometimes produce unwanted artifacts, especially in complex scenes or with extremely fast motion. For more refined and accurate results, After Effects offers more advanced motion blur techniques like CC Force Motion Blur. However, for basic motion blur needs, Pixel Motion Blur is a good starting point.
To add Pixel Motion Blur in After Effects, take the following steps:
Add Pixel Motion Blur After Effects
Step 1. Import the video clip and choose a layer in the timeline that contains the footage you want to blur.
Step 2. Go to “Effects & Presets”, search for “Pixel Motion Blur”, and drag the effect onto your selected layer.
Step 3. Navigate to “Blur Length” in “Pixel Motion Blur” settings and increase this value to create a more pronounced blur.
Step 4. Start with small increments and preview your changes to avoid excessive blurring.
Differences between Pixel Motion Blur and CC Force Motion Blur
Both Pixel Motion Blur and CC Force Motion Blur are effects in After Effects used to create motion blur, but they work in different ways and produce different results.
Here’s a chart summarizing the key differences between Pixel Motion Blur and CC Force Motion Blur in After Effects:
Pixel Motion Blur Vs. CC Force Motion Blur
Bonus Tip. Enhance Screen Recording with Automatic Motion Blur
Despite the comprehensive motion blur capabilities within After Effects, there are scenarios where applying motion blur during the screen recording phase can be advantageous. By integrating this effect at the capture stage, you can streamline your workflow and achieve a more consistent look across your video content. To add motion blur effects to screen recordings, give FocuSee a try. It will automatically add motion effects to your recording when zooming in on the screen, moving the screen, and moving the mouse cursor.
Step 1. Free download FocuSee on your computer. Choose a recording mode to start screen recording.

Choose the Custom Recording Mode
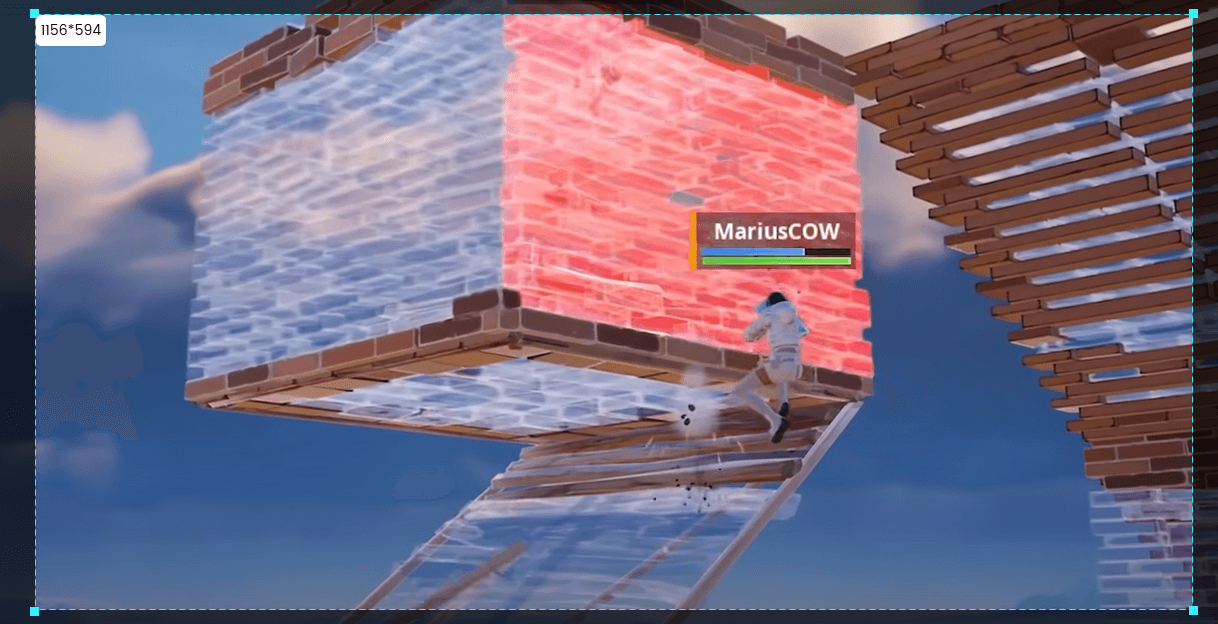
Step 2. Frame the recording area and tap the REC icon to get started.

Frame the Game Playing Area to Record
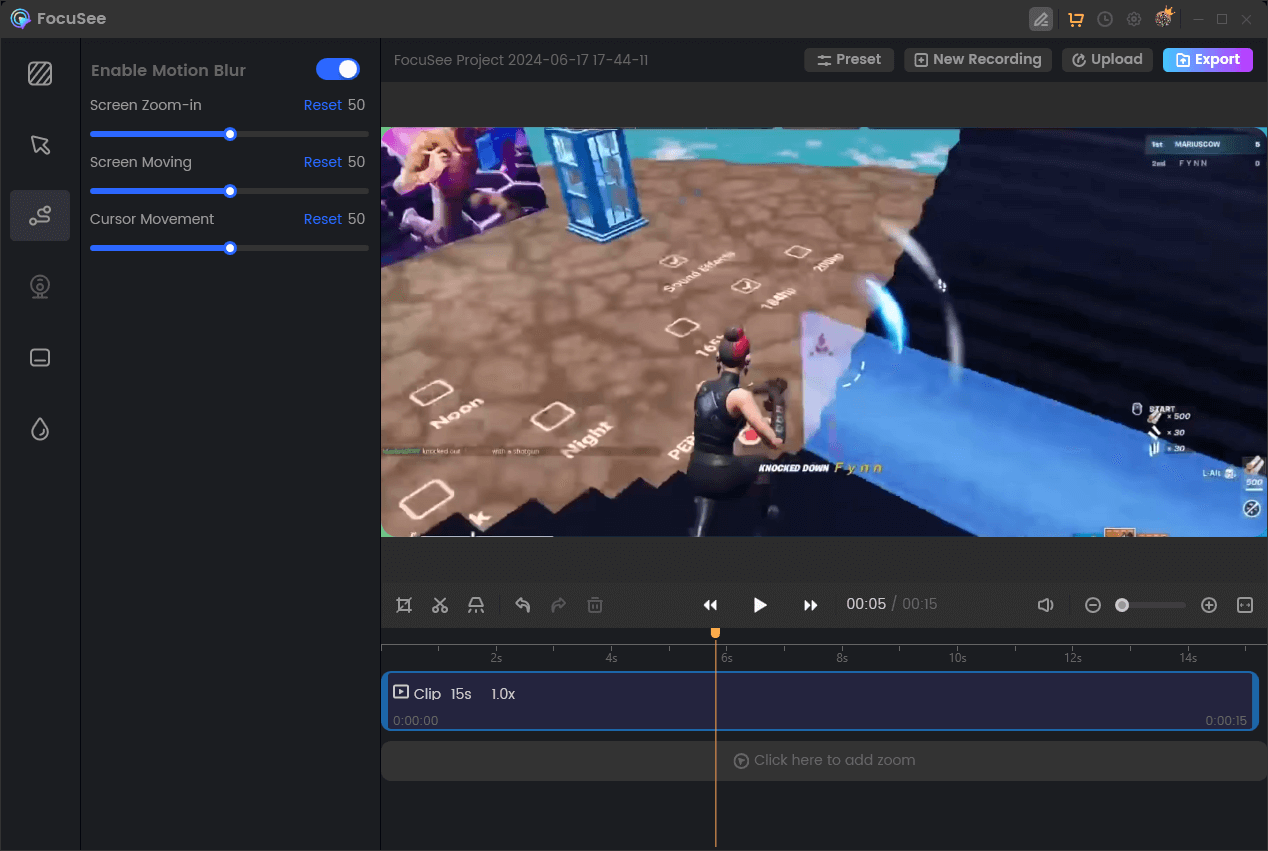
Step 3. Jump to the video editing interface when finish recording. You can then adjust the motion blur intensity.

Edit Motion Blur in Game Recording
Final Thought
Pixel Motion Blur in After Effects is a powerful yet accessible tool for adding a touch of realism and visual flair to your videos and animations. While it might not be as sophisticated as some other motion blur techniques, its simplicity and speed make it a great starting point for anyone looking to enhance the fluidity of their projects. By understanding how it works and experimenting with its settings, you can harness the power of Pixel Motion Blur to create smoother, more captivating visuals, bringing your creative visions to life.


