Hey, you know how it goes—those old family videos on your shelf or that shaky footage from your last adventure might be bursting with memories, but they’re not exactly ready for prime time. The good news is, you don’t have to settle for grainy, low-quality playback. Video remastering is your ticket to turning those old gems into something you’ll be proud to watch on your big screen or share online.

How to Remaster Videos Easily by Yourself
So, what exactly is video remastering? Think of it as a way to give your videos a serious upgrade. It’s like dusting off an old photo and making it look brand new again. And guess what? I’m here to give you the lowdown on how to do just that. We’re going to chat about why it’s worth your time, and the tools you’ll need, and I’ll lay out some easy-to-follow steps to help you transform those old clips into high-quality, eye-catching videos. Let’s get started and give your videos the revival they deserve!
Importance of Video Remastering
Video remastering offers several significant benefits:
- Improved visual quality: By enhancing the resolution, color accuracy, and overall clarity of your videos, remastering helps create a more visually appealing and engaging viewing experience for your audience.
- Enhanced audio clarity: Remastering techniques can help reduce background noise, balance audio levels, and improve the overall sound quality of your videos, resulting in a more immersive and professional-sounding final product.
- Increased shareability and reach: High-quality, remastered videos are more likely to be shared and appreciated by viewers, potentially expanding your reach and audience engagement.
- Preservation of memories or important footage: Remastering old, deteriorating, or low-quality videos can help preserve precious memories or important footage for future generations to enjoy.
4 Tools and Software for Video Remastering (Optional)
To embark on your video remastering journey, you’ll need the right tools and software. Some popular options include:
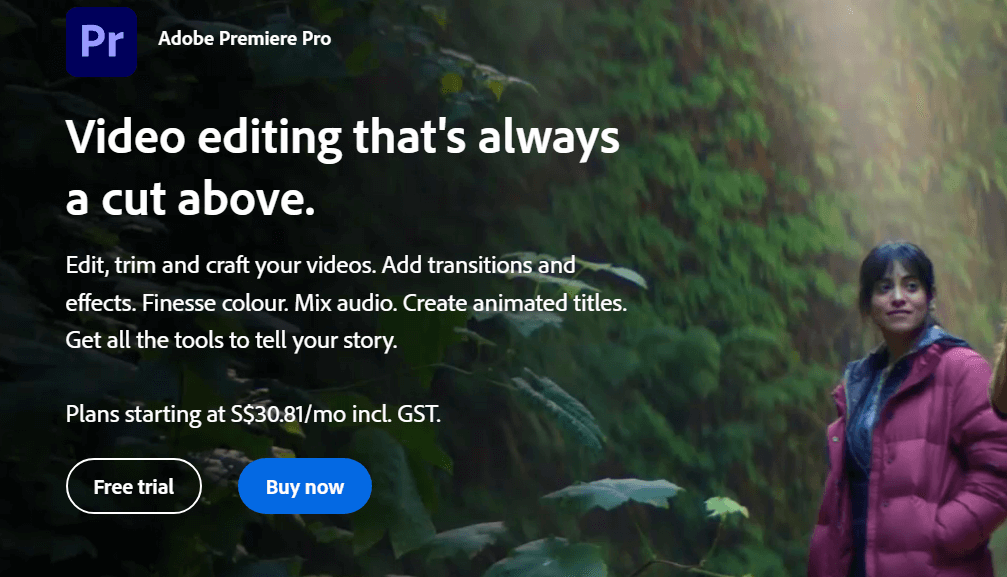
Adobe Premiere Pro
A professional-grade video editing software that offers a wide range of features and tools for video remastering.

Adobe Premiere Pro
Key Features:
- Intuitive interface with powerful editing tools
- Advanced color correction and grading capabilities
- Audio editing and mixing tools
- Integration with other Adobe Creative Cloud apps
- Support for a wide range of file formats and codecs
Pricing:
- Monthly plan: $20.99/month for individuals, $33.99/month for businesses
- Annual plan: $239.88/year for individuals, $359.88/year for businesses
Final Cut Pro X
A powerful, user-friendly video editing software for Mac users, with built-in tools for color correction, audio enhancement, and more.

Final Cut Pro
Key Features:
- User-friendly interface with magnetic timeline
- Advanced color grading tools with HDR support
- Powerful audio editing and enhancement tools
- 360-degree video editing and VR headset playback
- Extensive library of effects, transitions, and titles
Pricing: One-time purchase: $299.99
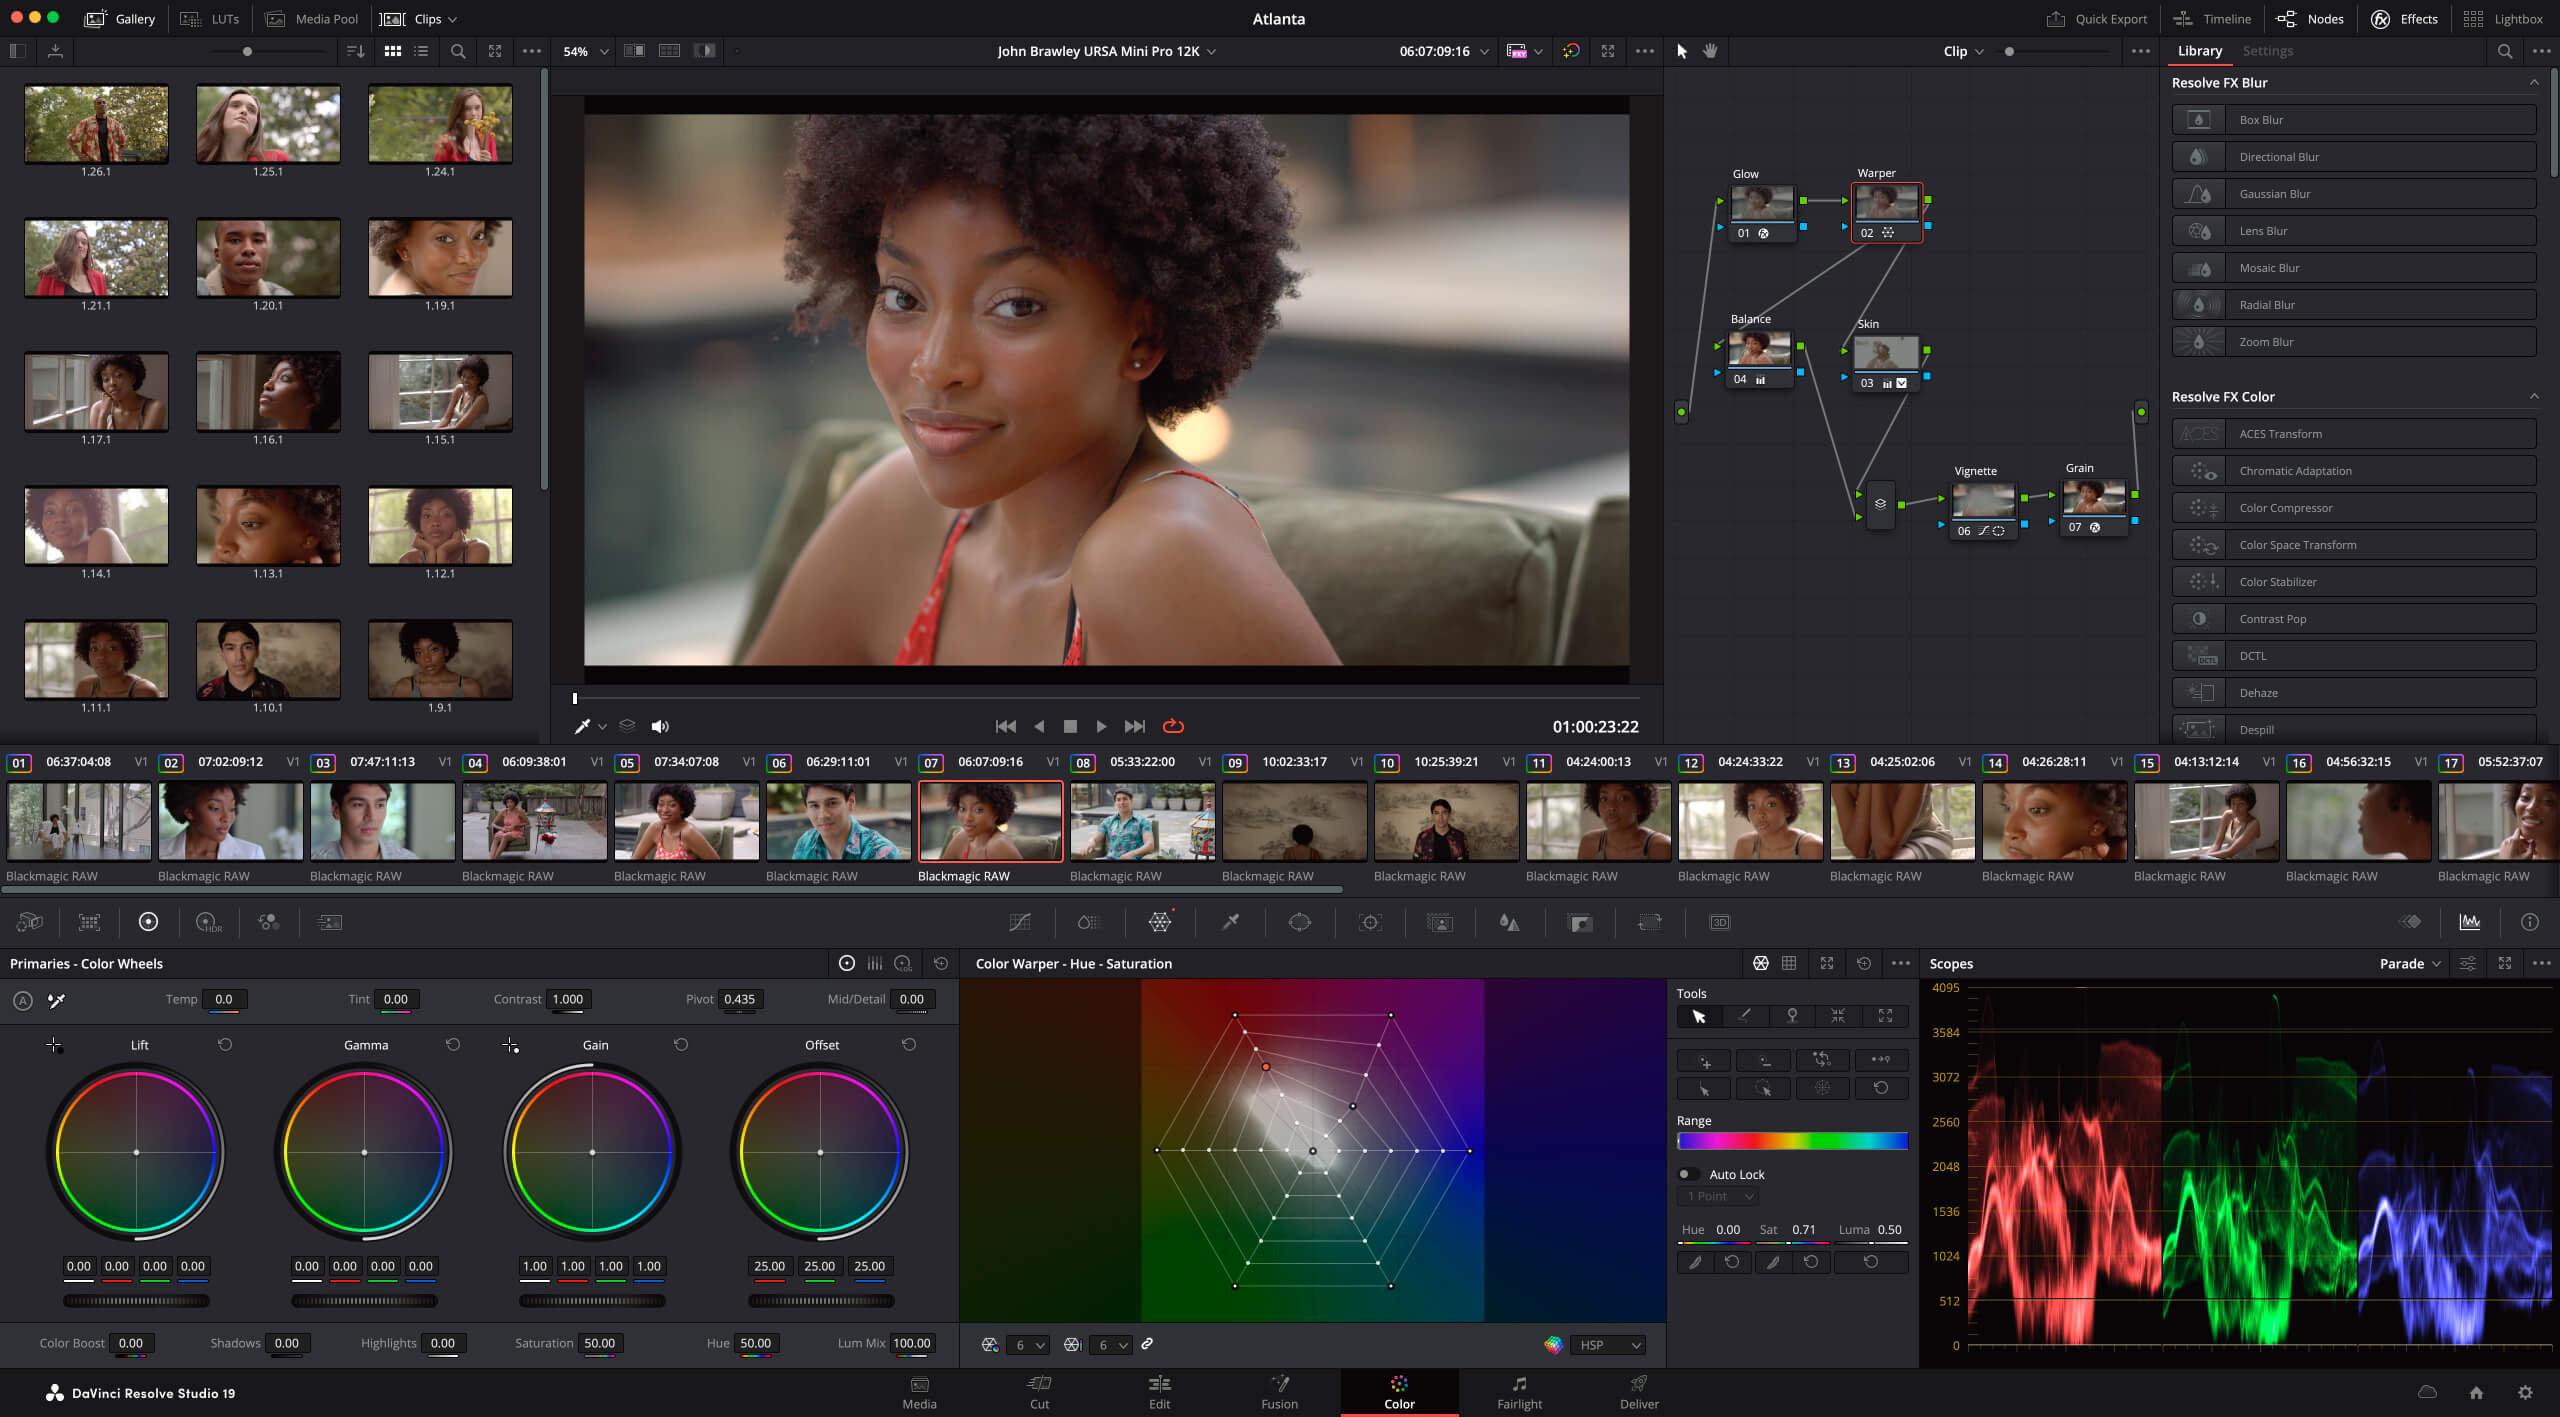
DaVinci Resolve
A comprehensive video editing, color correction, and audio post-production software that offers a free version with extensive features.

What is DaVinci Resolve
Key Features:
- Professional-grade color correction and grading tools
- Fairlight audio post-production tools
- Fusion visual effects and motion graphics
- Collaborative workflow with multi-user support
- Compatible with a wide range of formats and codecs
Pricing:
- DaVinci Resolve (Free Version): $0
- DaVinci Resolve Studio (Paid Version): $295 one-time purchase
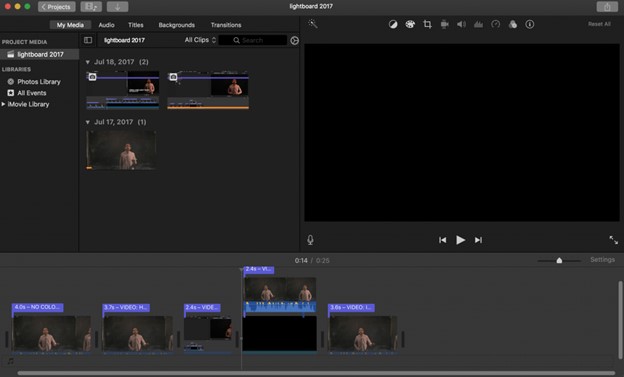
iMovie
A beginner-friendly video editing software for Mac and iOS users, with basic remastering tools and an intuitive interface.

Reaction Video Software – iMovie
Key Features:
- Simple, intuitive interface for beginners
- Basic color correction and enhancement tools
- Built-in music, sound effects, and voiceover recording
- 4K video support and smart conform for automatic adjustments
- Green-screen effects and animated titles
Pricing: Free for macOS and iOS devices
How to Remaster Videos [4 Steps]
Step 1. Enhancing Visual Quality
One of the primary goals of video remastering is to improve the visual quality of your footage. This involves several techniques:
- Increasing resolution: Use upscaling techniques or AI-powered tools like Topaz Video Enhance AI to increase the resolution of your video, making it appear sharper and more detailed.
- Color correction: Adjust the color balance, saturation, and contrast of your video to create a more vibrant, professional-looking image. Tools like DaVinci Resolve offer powerful color correction features that can help you achieve the desired look.
- Stabilization: If your footage is shaky or unstable, use stabilization tools to smooth out the motion and create a more steady, watchable video. Adobe Premiere Pro and Final Cut Pro X have built-in stabilization features that can help you achieve this.
Step 2. Improving Audio Quality
In addition to visuals, audio plays a crucial role in the overall quality and impact of your videos. Here are some ways to enhance your audio during the remastering process:
- Noise reduction: Use noise reduction tools like iZotope RX or Adobe Audition to remove unwanted background noise, hums, or hisses from your audio tracks.
- Equalization: Adjust the balance of frequencies in your audio to create a clearer, more balanced sound. Most video editing software has built-in EQ tools that allow you to fine-tune your audio.
- Audio restoration: If your audio suffers from distortion, clipping, or other issues, use audio restoration tools to repair and restore the sound to its original quality.
Step 3. Adding Special Effects and Transitions
To make your remastered video more engaging and visually appealing, consider incorporating special effects and transitions. Some ideas include:
- Animated text or titles: Add dynamic, animated text or titles to your video to help convey key information or create a professional look.
- Motion graphics: Incorporate motion graphics or animated elements to enhance the visual interest and storytelling of your video.
- Smooth transitions: Use smooth, creative transitions between scenes or clips to create a more cohesive and polished final product.
- Visual effects: Experiment with visual effects like lens flares, light leaks, or color grading to add a unique, artistic touch to your remastered video.
Step 4. Exporting and Sharing Remastered Videos
Once you’ve completed the remastering process, it’s time to export and share your video with your intended audience. Keep these tips in mind:
- Choose the right export settings: Consider the platform where you’ll be sharing your video (e.g., YouTube, Vimeo, social media) and select the appropriate export settings for optimal playback and quality.
- Optimize for web streaming: To ensure smooth playback and minimize buffering, optimize your video for web streaming by selecting the appropriate bitrate and codec.
- Add metadata and tags: Include relevant metadata, tags, and descriptions when exporting your video to make it more discoverable.
FAQ on Remaster Videos
What is the best software for video remastering?
The best software for video remastering depends on your specific needs, skill level, and budget. Adobe Premiere Pro, Final Cut Pro X, and DaVinci Resolve are popular choices among professionals, offering a wide range of powerful tools and features. For beginners, iMovie is a user-friendly option that provides basic remastering capabilities.
How can I improve the resolution of my old videos?
To improve the resolution of old videos, you can employ upscaling techniques or use AI-powered tools like Topaz Video Enhance AI. These tools analyze your footage and intelligently increase the resolution, resulting in a sharper, more detailed image.
What is the difference between color correction and color grading?
Color correction involves adjusting the colors in your video to achieve a more natural, balanced look, and correcting issues like color casts or exposure problems. Color grading, on the other hand, is a more creative process where you adjust the colors to create a specific mood, style, or aesthetic that enhances the storytelling or visual impact of your video.
How do I reduce background noise in my audio?
To reduce background noise in your audio, use noise reduction tools like iZotope RX or Adobe Audition. These tools can help isolate and remove unwanted noise while preserving the quality of your audio.
What are some good resources for learning video remastering?
Some good resources for learning video remastering include YouTube tutorials, online courses on platforms like Udemy and Skillshare, and forums or communities like Creative COW and Reddit’s r/VideoEditing.
Conclusion
Alright, here’s the deal: Video remastering can revamp your old clips. Pick the right tool—Adobe Premiere Pro or iMovie if you’re new—and focus on boosting resolution and sound.
Remember to start with the best source, save often, and don’t be afraid to get creative. With a bit of practice, you’ll be turning out pro-level videos in no time. So, grab your tools, and let’s get remastering!


