How to Make a Time Lapse Video: A Comprehensive Guide

Time-lapse videos have the power to capture the passage of time in a visually stunning way, offering a unique perspective on the world around us. Time-lapse videos allow us to witness the world fast forward, from beautiful sunsets and bustling cityscapes to blooming flowers and starry night skies. This comprehensive guide will walk you through creating your mesmerizing time-lapse videos, from choosing the right video editor to editing the final footage. Let’s dive in!
Also read: Mastering Stop-Motion Video Creation: A Step-by-Step Guide >
Top 5 Tools to Make Time-lapse Video
Lapse It
Lapse It is an intuitive app that lets you create high-quality time-lapse videos directly on your mobile device. Its simple interface guides you through the process, offering a range of professional editing features.
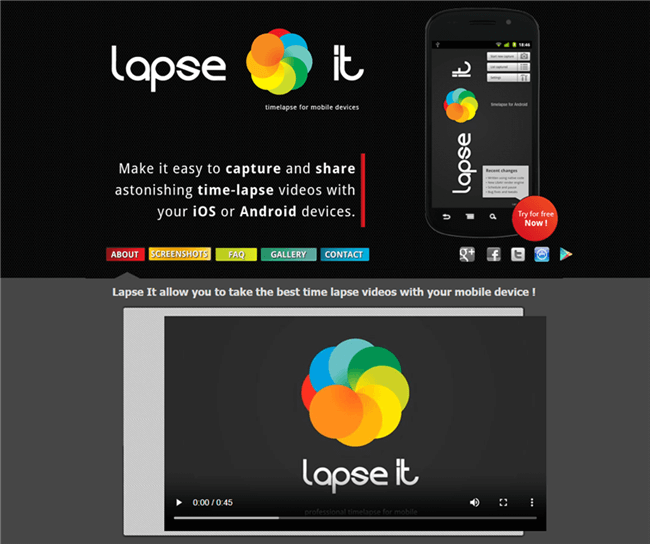
Time-lapse Video Maker – Lapse It
Adobe Premiere Pro
For a desktop option, Adobe Premiere Pro is a professional-grade video editing software with robust time-lapse capabilities. It provides comprehensive control over the editing process, making it ideal for more in-depth projects.
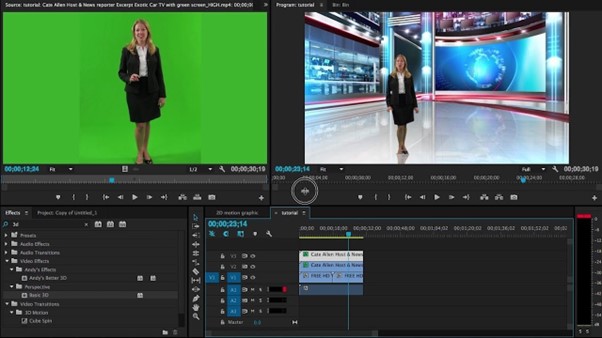
Adobe Premiere Pro Interface
Framelapse – Time Lapse Camera
Another mobile-friendly option, Framelapse offers a sleek, easy-to-use interface for capturing time-lapse videos. It includes useful features such as timer controls, exposure settings, and speed adjustments.
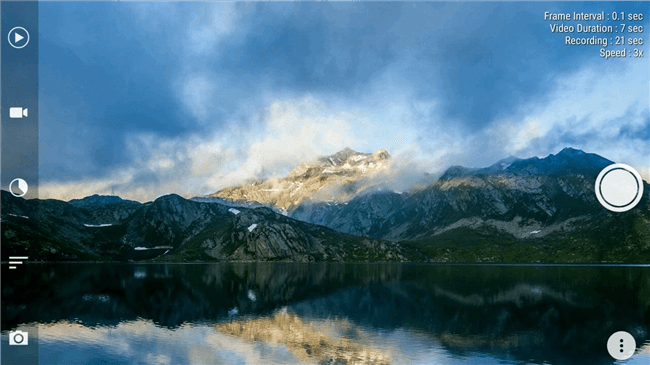
Time-lapse Video Maker – Framelapse
Time Lapse Creator
An online tool, Time Lapse Creator allows you to create time-lapse videos using a series of photos. You can control the speed of the video and even add music for a complete presentation.
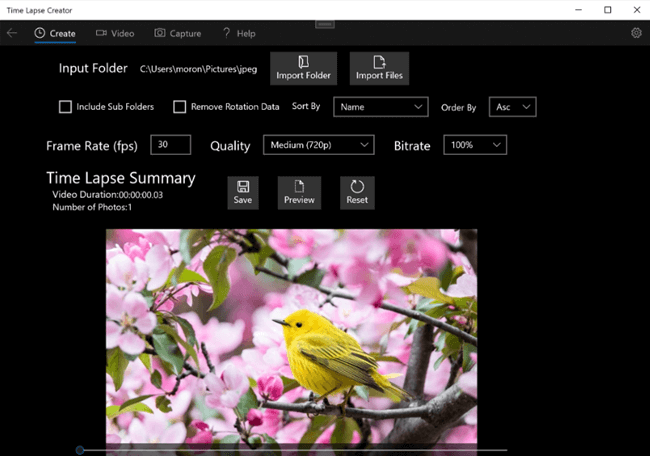
Time-lapse Video Maker – Time Lapse Creator
Panolapse
Panolapse is a desktop application that adds a panning effect to your time-lapse videos, creating the illusion of camera movement over time. It offers a range of custom settings to help you get the perfect shot.
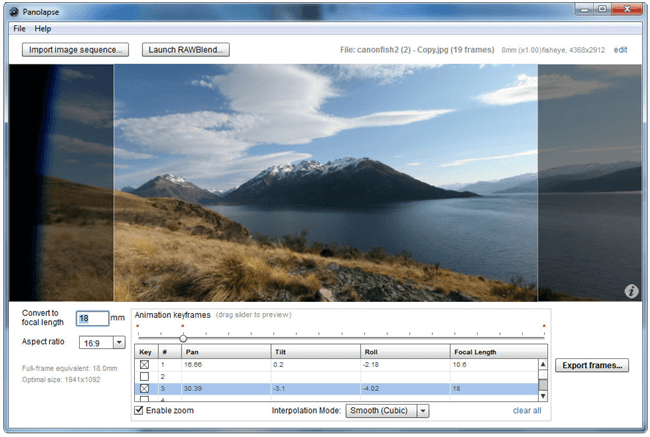
Time-lapse Video Maker – Panolapse
Step-by-Step Guide to Make a Time-lapse Video
1. Choosing the Right Equipment
Selecting the appropriate equipment is crucial for capturing high-quality time-lapse footage. Consider investing in:
- Camera options: DSLRs, mirrorless cameras, or smartphones with time-lapse capabilities.
- Tripods and stabilizers: Essential for keeping your camera steady during extended shooting sessions.
- Intervalometers: Devices that automate the process of capturing images at set intervals.
2. Setting Up the Camera
Proper setup is key to achieving the desired time-lapse effect. Follow these steps:
- Location selection: Find a captivating subject or scene with interesting movement or changes.
- Camera settings: Adjust exposure, interval, and other settings based on lighting conditions and desired effect.
- Power and memory considerations: Ensure your camera is fully charged and has sufficient memory for the duration of the shoot.
3. Capturing the Footage
During the time-lapse shoot, pay attention to the following:
- Duration and frequency decisions: Determine the length of time you want to capture and how often you’ll take photos.
- Composition and framing techniques: Experiment with angles, perspectives, and framing to create visually engaging footage.
- Monitoring and adjusting the setup: Regularly check the camera and make necessary adjustments to maintain the desired framing and exposure.
4. Editing the Footage
After capturing the time-lapse footage, it’s time to bring it to life through editing. Consider the following:
- Importing and organizing files: Transfer the image sequence to your computer and organize them in a dedicated folder.
- Software options and recommendations: Use video editing software like Adobe Premiere Pro, iMovie, or LRTimelapse for editing and creating the final video.
- Adjusting speed, color, and other effects: Experiment with adjusting the playback speed, adding transitions, and enhancing the colors to achieve your desired look.
5. Selecting the Right Time Frame
Timing is crucial when creating time-lapse videos. Consider the following factors:
- Time of day considerations: Choose a time that aligns with your desired lighting conditions and the effect you want to achieve.
- Seasonal and weather factors: Capture the changing seasons and weather conditions to add visual interest to your footage.
- Planning and patience: Some time-lapse videos require hours, days, or weeks to capture the desired effect. Plan accordingly and exercise patience throughout the process.
FAQs and Troubleshooting
As you venture into creating time-lapse videos, it’s natural to encounter questions and challenges. Here, we address some common inquiries and provide troubleshooting tips to help you navigate the intricacies of time-lapse video creation:
Q1: How do I choose the right interval for my time-lapse?
- The ideal interval depends on the speed of the changes in your scene. Longer intervals (e.g., 5-10 seconds) are suitable for slower changes, such as a sunset. Faster changes, like bustling city scenes, may require shorter intervals (e.g., 1-2 seconds).
Q2: My time-lapse appears choppy. How can I smooth it out?
- Choppy playback may result from an interval that is too short or an inadequate playback frame rate. Ensure your interval aligns with the pace of change in your scene, and set your video editing software to export at a standard frame rate (24 or 30 frames per second) for smoother playback.
Q3: How can I prevent flickering in my time-lapse?
- Flickering often occurs due to changes in lighting conditions. To minimize this, use manual exposure settings, maintain consistent lighting, and consider using post-processing tools like LRTimelapse, which can address flickering during editing.
Q4: What is the best time of day for time-lapse photography?
- The “golden hours” around sunrise and sunset offer a soft, warm light, enhancing the visual appeal of your time-lapse. However, experiment with different times to capture the unique atmosphere of your chosen scene.
Q5: My camera ran out of battery mid-shoot. How can I avoid this?
- Ensure your camera is fully charged before starting. For extended shoots, consider an external power source or having spare batteries on hand. Additionally, disable unnecessary features like the LCD screen to conserve power.
Q6: Can I create a time-lapse with a smartphone?
- Absolutely! Many smartphones offer built-in time-lapse features, and numerous apps are available for download. Use a stable surface or tripod to keep the phone steady during capture.
Q7: What if my time-lapse looks too dark or too bright?
- Adjust your camera’s exposure settings to ensure proper lighting. During post-processing, editing software allows you to fine-tune exposure levels, ensuring a balanced and visually appealing result.
Q8: How can I add music to my time-lapse video?
- Most video editing software allows you to import and synchronize music with your time-lapse. Choose music that complements the mood of your footage and adjust the volume to enhance the viewing experience.
Troubleshooting Tips:
- Blurry Footage: Ensure your camera is stable, and consider using a tripod or stabilizer to eliminate shakes. If shooting in low light, use a slower shutter speed cautiously, and consider increasing ISO.
- Storage Issues: Always have sufficient memory space on your camera or device. Invest in large-capacity memory cards, especially for extended time-lapse projects.
- Inconsistent Color: Maintain consistent white balance settings to prevent color shifts during the time-lapse sequence. Correct any color inconsistencies during the editing process.
- Equipment Malfunctions: Regularly check your camera, intervalometer, and other equipment during the shoot. Carry spare batteries, memory cards, and necessary cables for unexpected situations.
Conclusion
Congratulations! You now have the knowledge and tools to create captivating time-lapse videos. Remember, practice makes perfect, so don’t be afraid to experiment and try new techniques. With each new project, you’ll refine your skills and develop your unique style. So, grab your camera, find your subject, and let time-lapse photography unlock a new world of visual storytelling. Happy shooting!