Motion blur is an essential visual effect that adds a sense of realism and dynamism to your video projects. It stimulates the natural blurring that occurs when objects move quickly across the field of view, enhancing the perception of speed and motion. In the world of video editing, DaVinci Resolve is a powerful tool that offers various methods to achieve this effect. In this post, we’ll explain what motion blur in DaVinci Resolve is and explore 3 ways to add motion blur in DaVinci Resolve.
What Is Davinci Resolve Motion Blur?
Motion blur in DaVinci Resolve is a post-processing effect that simulates the blurring of moving objects in a video, creating a more natural and cinematic look. It mimics how our eyes perceive fast motion in real life, where objects appear slightly blurred as they move quickly.
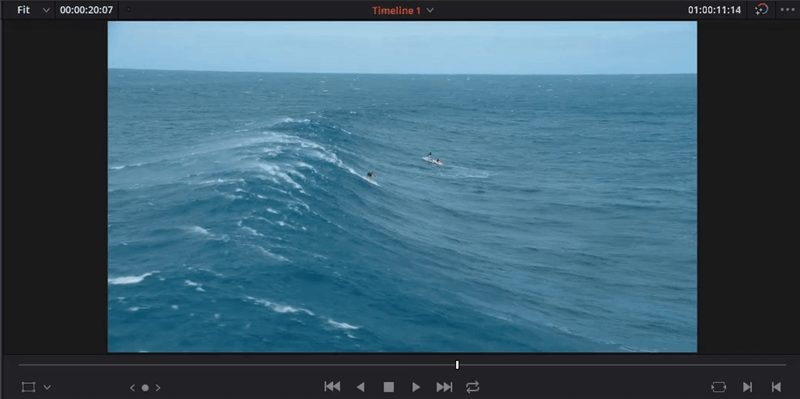
Davinci Resolve Motion Blur
DaVinci Resolve offers several ways to add motion blur, including a dedicated “Motion Blur” effect in the Edit page and the more advanced “Optical Flow” technique in the Fusion page. These tools allow you to control the intensity and characteristics of the blur, giving you the flexibility to enhance the realism of your footage or create stylized motion effects.
Further Reading: How to Remove Davinci Resolve Watermark >
DaVinci Resolve offers a trio of methods to add motion blur to your footage, catering to different needs and levels of complexity.
The simplest is the “Motion Blur” effect found in the Edit page, allowing for quick but basic blur adjustments. It’s quick but offers limited control.
Add Motion Blur via Motion Blur Effect
Step 1. Import the video clip and drag the video to the timeline.
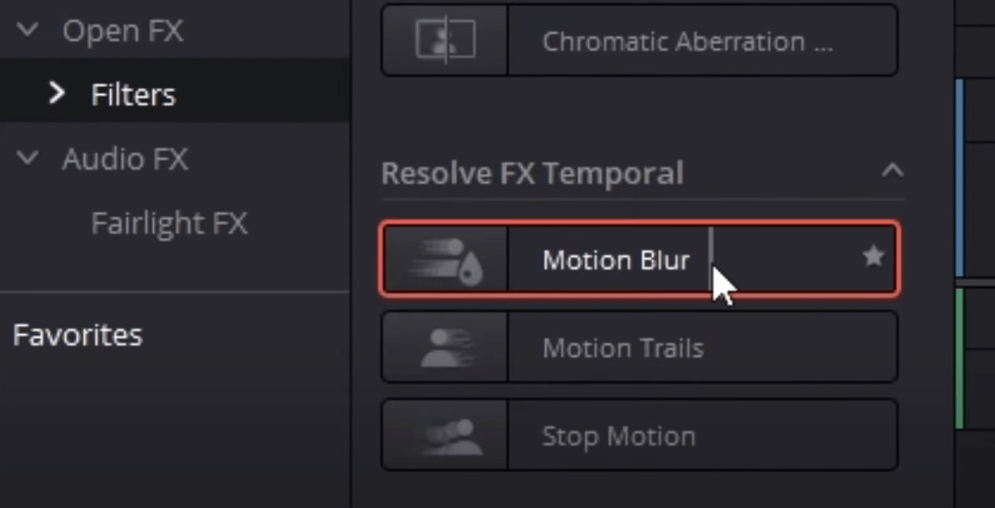
Step 2. On the left side of the Edit page, click the “Effects Library” tab. Navigate to “Toolbox” > “VideoFX” > “Blur” and locate the “Motion Blur” effect. Drag and drop the “Motion Blur” effect onto your clip in the timeline.
Step 3. In the “Inspector” panel on the right, find the “Motion Blur” settings. Adjust the “Amount” slider to control the intensity of the blur. Higher values create more blur.
Step 4. Play your footage to preview the motion blur effect.
A more advanced technique that analyzes motion vectors in your footage to create smoother and more accurate motion blur. It’s more resource-intensive but yields better results.

Add Motion Blur via Optical Flow
Step 1. Import the video and put it onto the timeline.
Step 2. Click the “Fusion” tab at the bottom of the screen to switch to the Fusion page. Drag the “MediaIn” node from the “Tools” panel onto the Fusion workspace. Connect it to your clip in the timeline.
Step 3. Drag the “Vector Blur” node onto the workspace and connect the “MediaIn” node’s output to the “Vector Blur” node’s input. Afterward, drag the “MediaOut” node onto the workspace and connect the “Vector Blur” node’s output to the “MediaOut” node’s input.
Step 4. In the “Inspector” panel on the right, select the “Vector Blur” node. Adjust the “Amount” slider to control the blur intensity. Higher values create more blur.
Step 5. Preview the motion blur in the Fusion viewer. Switch back to the Edit page and render your timeline to apply the motion blur effect to your final output.
You can slow down footage using the “Retime” controls and enable “Optical Flow” to create a natural-looking motion blur as a byproduct of the slow-motion effect.
Add Motion Blur via Retime and Optical Flow
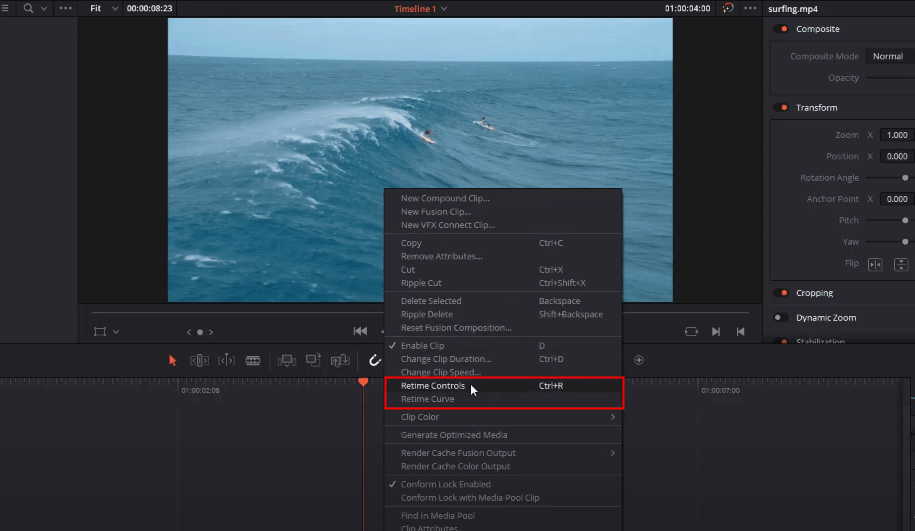
Step 1. Import footage and drag it to the timeline. Right-click on the clip in the timeline and select “Retime Controls.”
Step 2. In the Retime Controls, choose a slower playback speed. Common options are 50% (half speed) or 25% (quarter speed). The slower the speed, the more pronounced the motion blur will be.
Step 3. In the Retime Controls, make sure the “Optical Flow” checkbox is enabled. This will create smoother slow-motion by interpolating frames, resulting in more natural-looking motion blur.
Step 4. Preview your footage and fine-tune the speed to achieve the desired level of motion blur. Once you’re satisfied with the motion blur, render your timeline to apply the effect to your final output.
As fast-moving objects on a screen can sometimes create a strobing or flickering effect, especially at lower frame rates, we can add motion blur effects to smooth out these transitions, making the motion easier on the eyes. To create a screen recording with motion blur, you can give FocuSee a try.
Step 1. Free download FocuSee and launch it on your computer. Choose a recording mode.
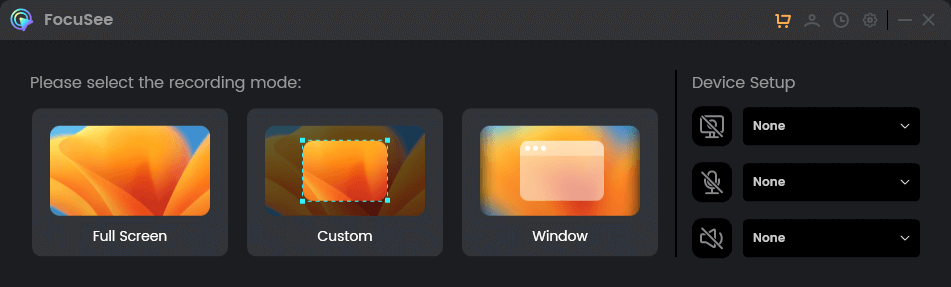
Choose a Recording Mode
Step 2. Frame the recording area and hit the REC button to get started. FocuSee will automatically apply the motion blur effect.
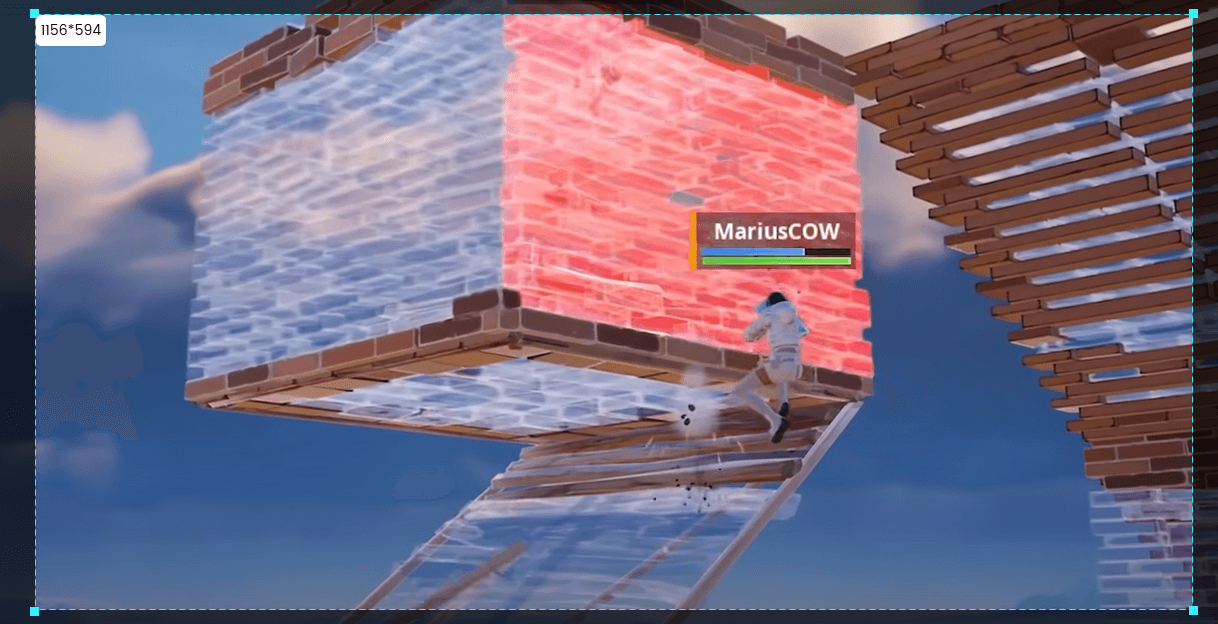
Frame the Game Playing Area to Record
Step 3. Go to the video editing interface and adjust the level of motion blur.
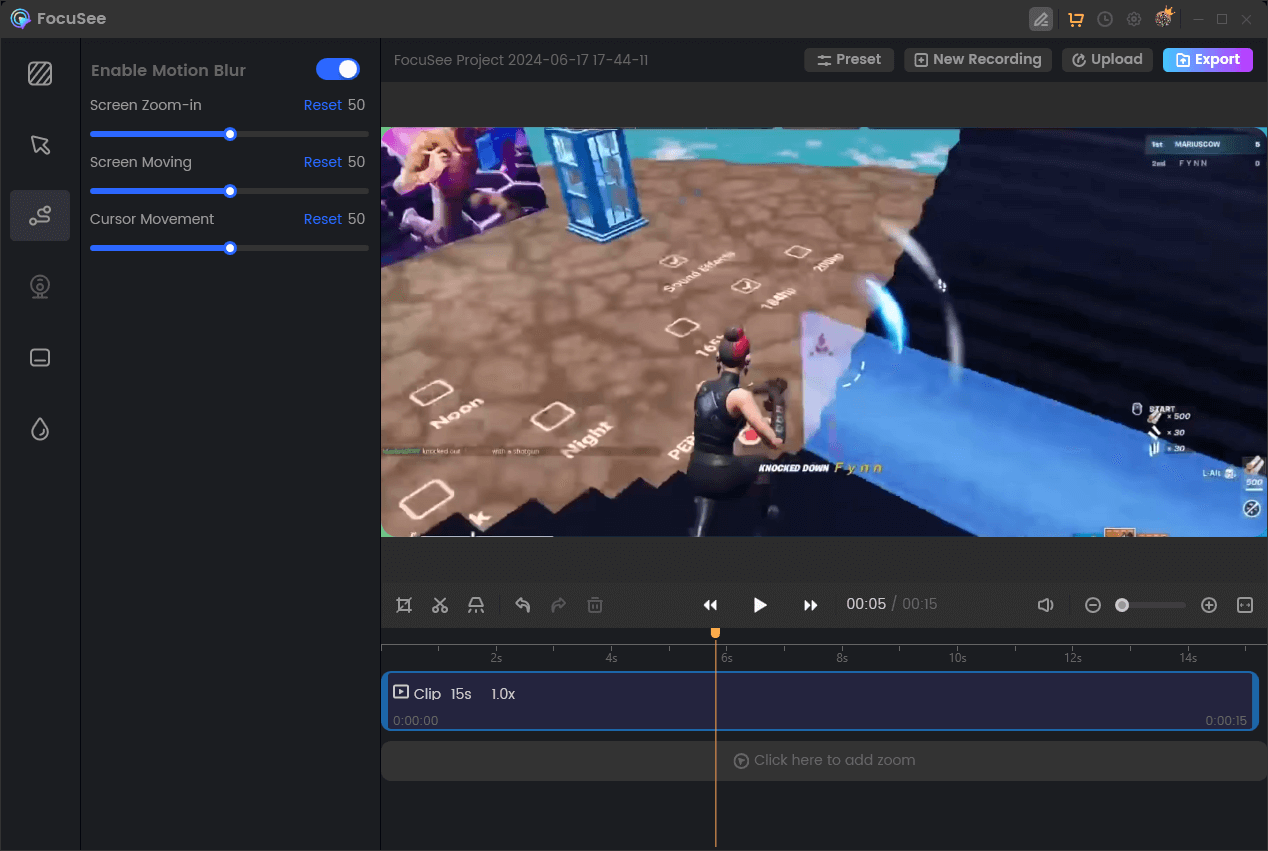
Edit Motion Blur in Game Recording
After exploring the different methods to incorporate motion blur into your videos using DaVinci Resolve, it’s clear that this post-production step is crucial for adding a layer of depth and dynamism to your footage. By mastering the art of adding motion blur, you not only elevate the technical aspects of your work but also enrich the emotional impact of your storytelling, making every frame count in the narrative you create.
FocuSee
What Is Davinci Resolve Motion Blur?
Different Ways to Add Motion Blur in DaVinci Resolve
Bonus Tip. Add Motion Blur in Screen Recording
Final Thought
60 seconds, let's create a better FocuSee together ✨
Join 1K+ innovators shaping 30+features✨ & claim your Gift! 🎁

Share your thoughts & earn a coupon instantly!
Warm reminder: This survey does not involve any of your private data.
Page 1 of 10


Coupon Code:
FSUS10
Note: Copy and use the promo code FSUS10 at checkout(valid within 24 hours)