Home > Help Center > Wordance Guide
Get Started with Wordance
Wordance allows you to create stunning text-based videos to promote your brand and product concept. Wordance is tailored for marketers, content creators, designers, indie hackers, solopreneurs, and people who seek to create engaging promotional videos and beyond.
This guide will walk you through the process of using Wordance to convert text into a visually stunning video synchronized with music.

Get Started with Wordance
Create a Video
Open Wordance, input your text, select background music, and let Wordance automatically generate a text-based video synced with the music’s beats.
Once you’ve generated the stunning video, you have the flexibility to name the video project and customize it frame-by-frame. You can modify the text, change the background image and music, select animation effects, upload a watermark, adjust the canvas, and make other desired adjustments.
Edit the Text
On the right panel, click the Text icon. From there, you can customize various aspects of the text, such as selecting the font, applying bold, underlined, or italic styles, aligning the text, adjusting the text size, and changing the text color.
To apply the settings to all text, simply click on the Apply to All button. This will ensure that the chosen settings are applied consistently across all text elements in the video.
Background Settings
To set your video background, click on the Background icon. From there, you can alter the color of the video background or personalize it by uploading an image from your computer.
To change out the color of the video background, you will find two groups of colors to choose from: Solid and Gradient. Also, if you want to apply the chosen color to all frames, simply tap on the Apply to All button.
If you prefer to customize the video background image, simply upload a JPG or PNG picture from your computer and assign it as the video background. You can upload up to 10 images to the image library.
Animation Effects
You can also add animation effects to make your video more dynamic and visually appealing. In the Animations section, select from a variety of captivating options like Fade & Slide, Block & Zoom in, etc. Experience different effects to find the ones that enhance your video’s impact and overall appeal.
Add Brand Logo
To enhance the visibility of your brand, you can upload your logo or brand mark directly from your computer. Once the image logo is uploaded, you can customize the position, size, and transparency of the logo to your preference.
Additionally, a Logo History feature is available, allowing you to keep track of and manage various versions of your logo over time.
Frame Settings
The left panel allows you to personalize every frame of your video according to your preferences. You can utilize various functions such as copying, adding, deleting, duplicating, or manually dragging frames to move them.
Moreover, you can adjust the duration of each frame, determining how long each piece of text will be displayed within the video. Afterward, the tools will automatically sync the beat.
Audio Library
We provide a rich selection of audio options for you to choose from. You have the flexibility to change the audio style to align with your text and create a cohesive audiovisual experience.
Canvas Settings
You can adjust the canvas size to suit your specific requirements. We offer 5 different size options, including 16:9, 4:3, 4:5, 1:1, and 9:16, allowing you to select the aspect ratio that best fits your desired visual presentation.
Sign in & Export the Video
After finishing the editing process of your video, you can conveniently initiate the export process by clicking on the Export button. Upon signing up for your account, you will have the option to select the desired video format, and resolution – 4K, 2K, 1080P, or 720P, and even rename your video file according to your personal preferences.
Once you have successfully exported your video, you can proceed by clicking on the Download button to save the video directly to your computer. Alternatively, considering you may wish to make further edits or modifications, you can click on the Edit button to go back to the Wordance Editor interface or tap on the Upload to Clippa button to navigate to Clippa video editing interface, freely enjoy more video editing features.
View Video Projects
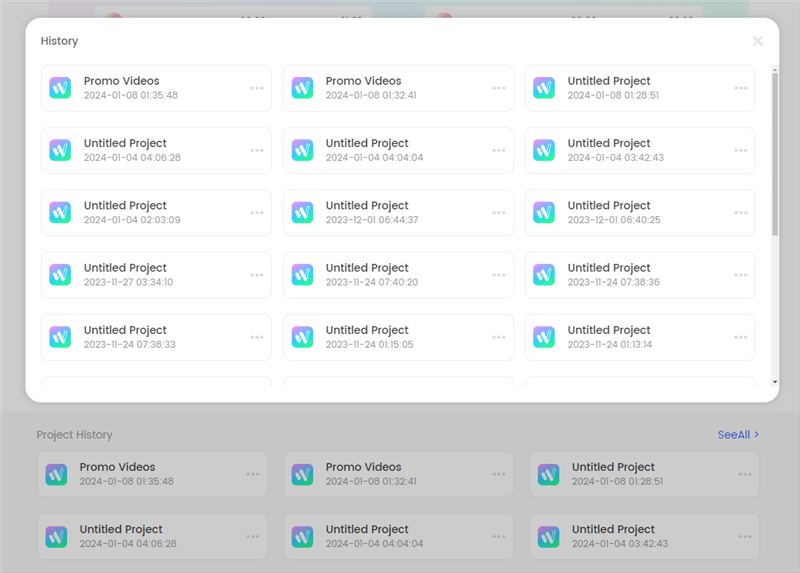
Upon logging into your account, you will be directed to the Wordance project page where you can access your video history. From this page, you can manage your video projects, including options such as renaming, duplicating, or deleting them as needed. If you wish to view your complete video history, simply click on the See All button to access an overview of all your past video projects.
View Video Projects
By following the instructions above, you can utilize Wordance to generate text-based videos that align with your personal preferences. If you have any additional inquiries regarding Wordance, you may refer to FAQs about Wordance.