It is not uncommon to encounter an unexpected challenge amidst the creative process shaky footage that disrupts the flow of your project. Yet, there is a solution at hand. DaVinci Resolve, a robust video editing software, provides advanced stabilization features that can effectively address this issue.
This article will serve as a comprehensive guide, detailing the steps to utilize DaVinci Resolve’s stabilization tools. By the end of this guide, you will be equipped to convert unsteady footage into a professional-grade, seamless sequence with ease and precision.
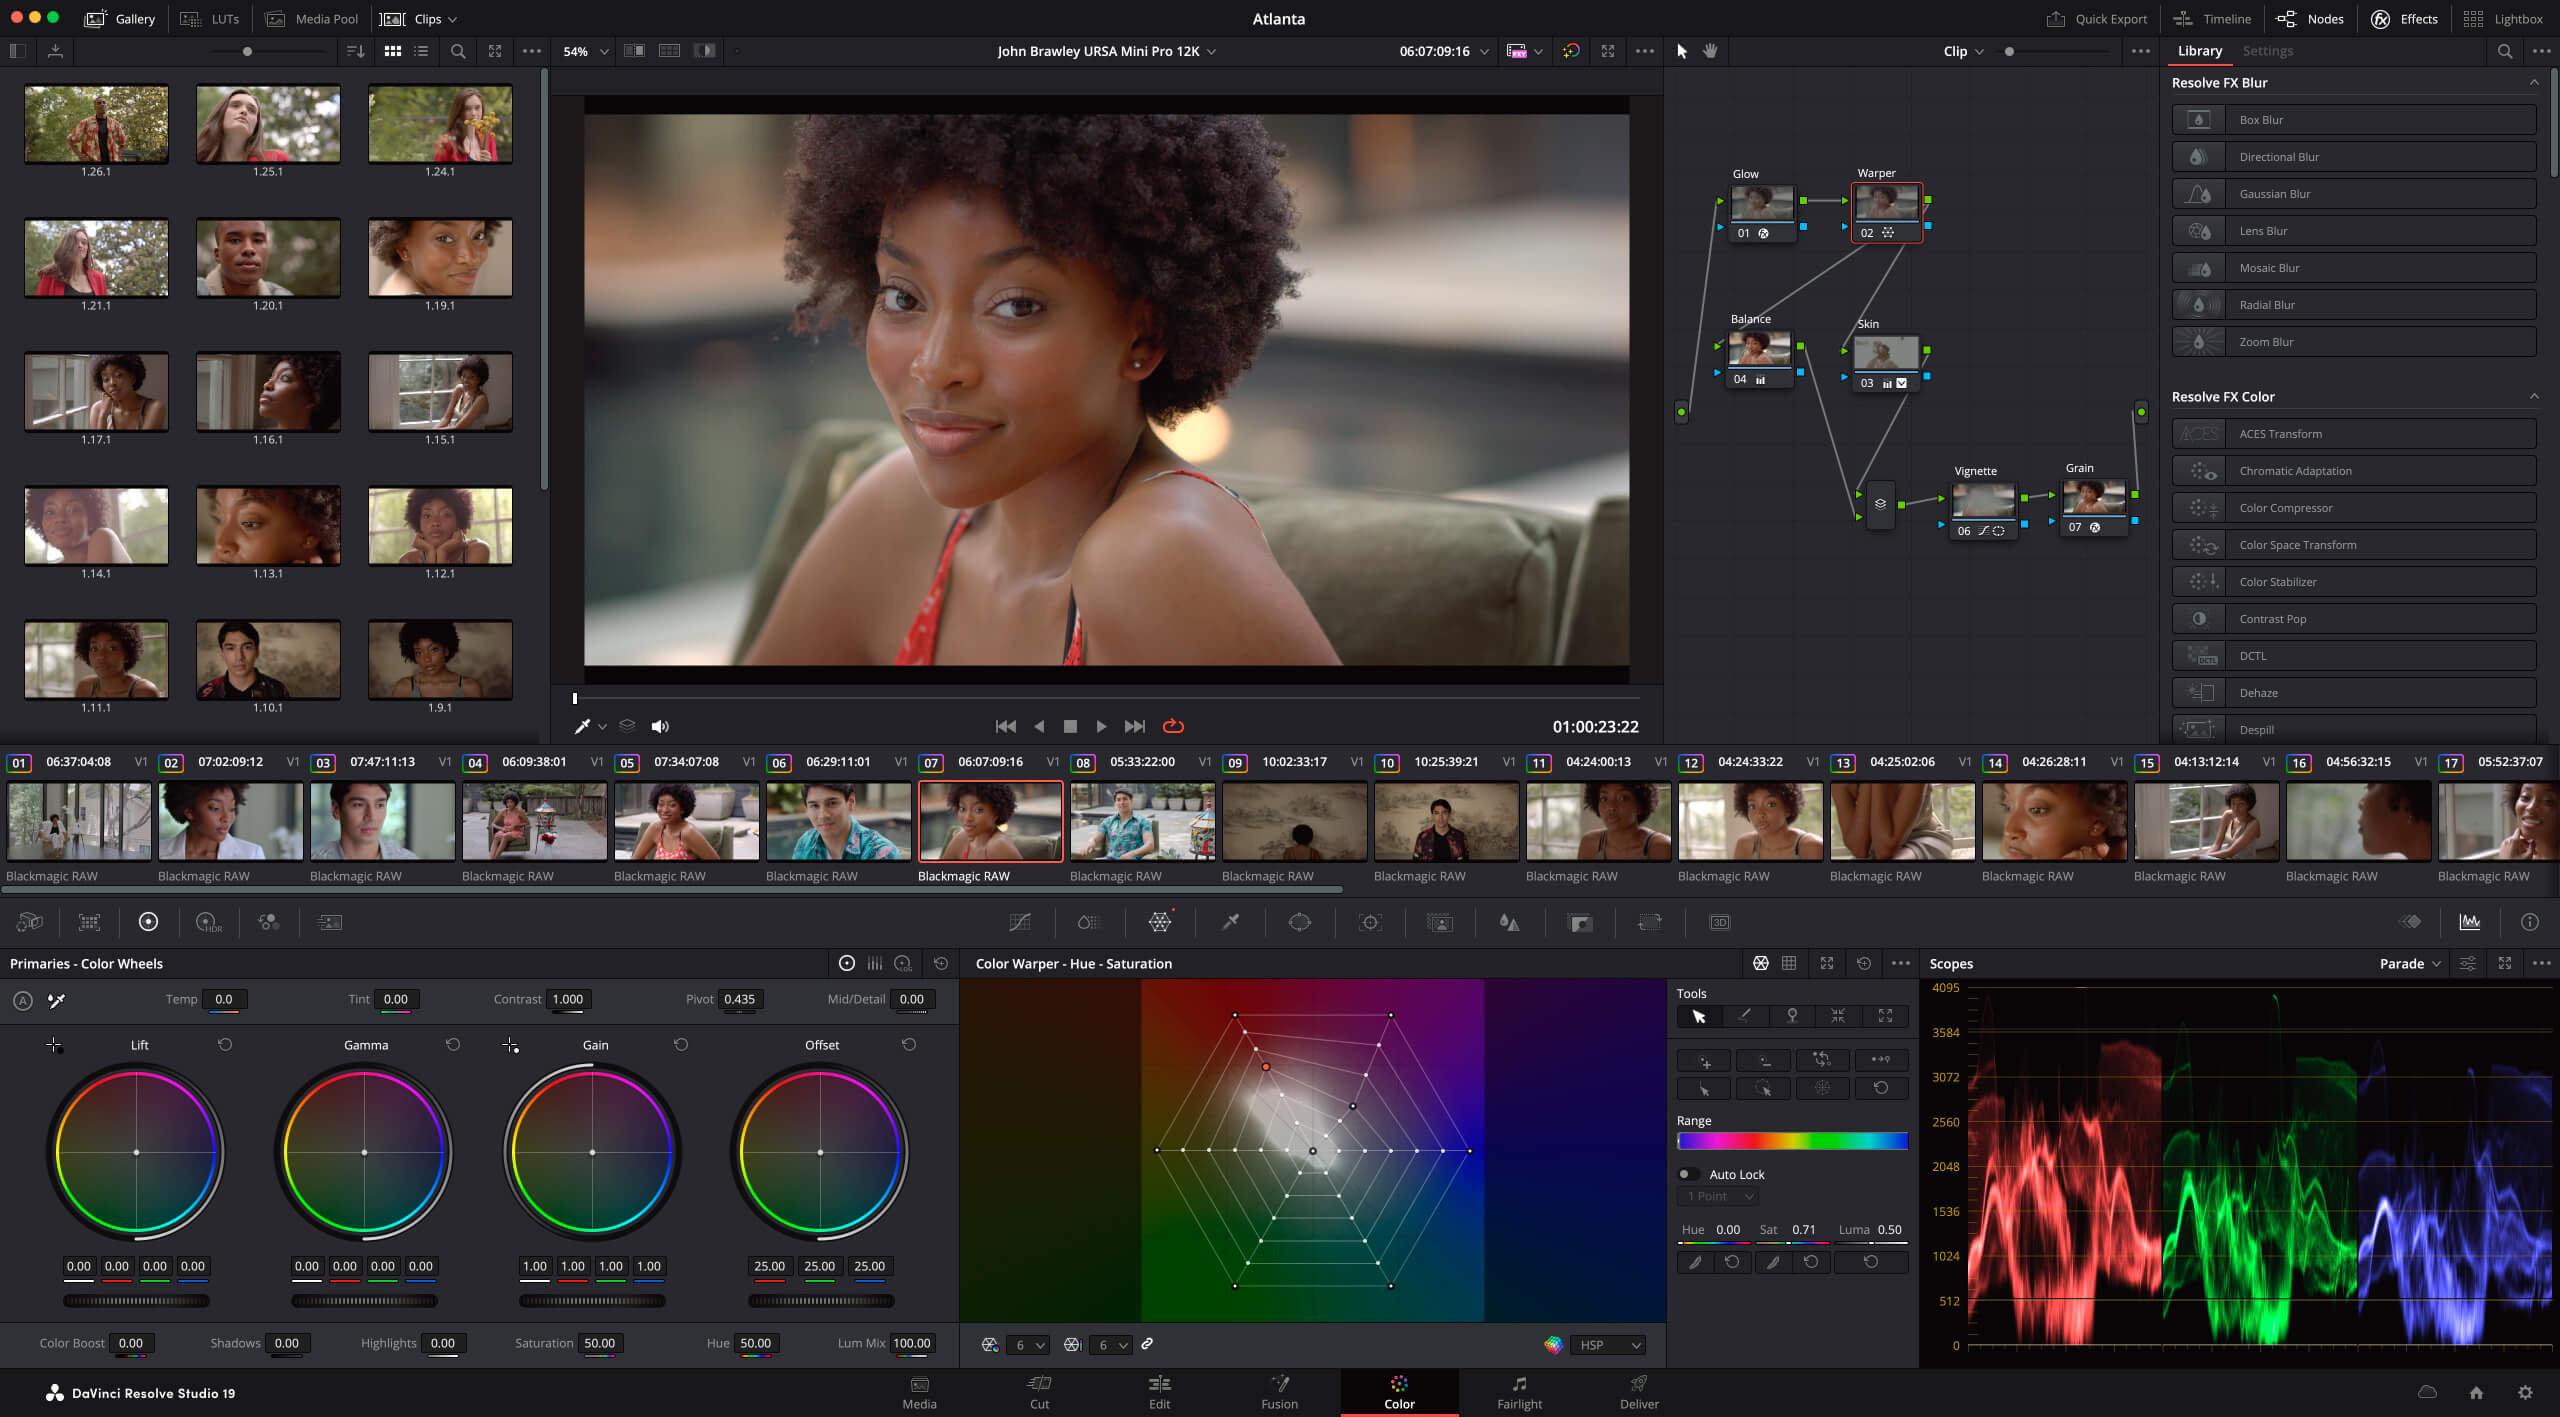
What is DaVinci Resolve
Video stabilization is a post-production technique that minimizes the appearance of a camera shake, resulting in a more stable and visually appealing video. DaVinci Resolve provides a range of stabilization features, including the ability to automatically analyze and correct camera motion, as well as manual options for fine-tuning the stabilization settings to achieve the best results.
To begin, import your shaky video footage into DaVinci Resolve. Create a new timeline and add the video to it. If necessary, trim the video to focus on the specific section that requires stabilization.
Create a New Timeline and Add Your Video
Open the “Effects Library” panel in DaVinci Resolve and navigate to the “Stabilization” category. Locate the “Stabilize” effect and drag and drop it onto the video clip in your timeline.
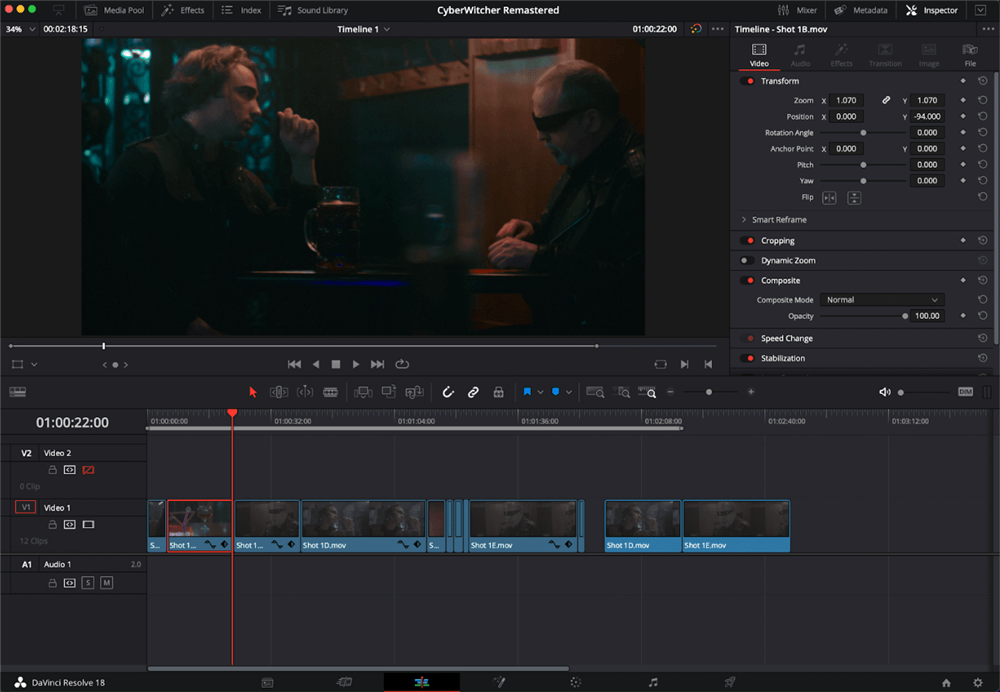
With the stabilization effect applied, open the “Inspector” panel to access the various stabilization settings. Here, you can fine-tune the stabilization by adjusting parameters such as:

Adjusting Stabilization Settings
Preview the stabilized video and make further adjustments to the settings until you achieve the desired level of stabilization.
For more advanced stabilization options, you can utilize the “Tracker” node in DaVinci Resolve’s “Fusion” page. Create a new “Tracker” node and connect the “MediaIn” node to it. Set a tracking point on a stable object within the video and adjust the tracking settings accordingly. Track the motion and then connect the “Tracker” node to the “Stabilize” node for enhanced stabilization control.
Create a New Tracker Node
Once you are satisfied with the stabilization results, return to the “Edit” page in DaVinci Resolve. Right-click on the stabilized video clip and select “Render in Place.” Choose the desired render settings, such as resolution and codec, and export the stabilized video.
Banishing the shake from your video is key to that glossy, professional finish. With DaVinci Resolve at your side, you can wave goodbye to camera wobble and hello to high-quality visuals. Follow this guide, play with the settings, and you’ll be on your way to stabilization superstardom. So, get out there and show those shaky videos who’s boss with DaVinci Resolve!
What are the system requirements for running DaVinci Resolve?
DaVinci Resolve is compatible with Windows, macOS, and Linux. For smooth operation, it’s recommended to have a modern computer with a multi-core processor, sufficient RAM (16 GB or more), and a dedicated GPU for accelerated performance.
Can DaVinci Resolve’s stabilization tools affect the video’s original aspect ratio?
Yes, the stabilization process may cause a slight change in the aspect ratio, particularly if the zoom level is adjusted. It’s important to consider this when fine-tuning your stabilization settings.
Is there a learning curve to using DaVinci Resolve’s stabilization features?
While DaVinci Resolve is a professional-grade software with a comprehensive feature set, its stabilization tools are designed to be user-friendly. However, mastering advanced features may require some practice and study of the software’s capabilities.
Will stabilizing my video increase the file size significantly?
Stabilizing video can increase the file size due to the additional processing and potential change in resolution. It’s advisable to manage your project’s storage requirements accordingly.
Can I use DaVinci Resolve’s stabilization tools on 4K footage?
Absolutely. DaVinci Resolve is well-equipped to handle high-resolution footage, including 4K. However, ensure your system meets the performance requirements to handle such demanding tasks.
FocuSee
What is Video Stabilization in DaVinci Resolve?
Steps on How to Stabilize Video in DaVinci Resolve
Conclusion
FAQs on Stabilize Video in DaVinci Resolve