There are many kinds of screenshot software for PC, and most of us are probably familiar with the Print-screen key on the keyboard. Did you realize that a program like Word, which many of us use often, also includes a screen capture feature? When you need to snap a fast screenshot, you may use the feature included with Microsoft Word. You can take screenshots without downloading other programs using Microsoft Word’s built-in Screenshot capability.
This function is accessible through the Android and iOS mobile applications as well as the desktop version. It’s a handy tool that allows you to capture screenshots within Word effortlessly. It’s a breeze to get the ideal photo for your report. However, many people are unaware of how to take screenshots in Word, and if you’re one of those, you’ve just come to the right spot. Because here, you’ll get everything about the screenshotting in Word. Let’s get going!
Table of Contents: hide
What Is the Shortcut Key for Screenshot in Microsoft Word?
How to Screenshot in Word via Gemoo Snap?
What Is the Shortcut Key for Screenshot in Microsoft Word?
Microsoft Word, the widely used app to create documents, has recently introduced a screenshotting tool. Now, you can take the screenshot in Word without using any outside app. What’s more interesting is that Microsoft Word’s screenshot tool also has a keyboard that lets you take a screenshot without making much effort. And the keyboard shortcut of the Microsoft Word screenshot mechanism is Windows + Shift + S.
To take a screenshot on Microsoft Word, either you can press Windows + Shift + S to open a snipping window and then select the region, or you can use these steps:
Step 1: Open Microsoft Word on your PC and click on the Insert tab from the top menu.
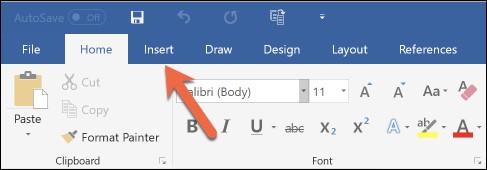
Click on Insert
Step 2: Now, select the Screenshot option in the Insert menu and choose the window you wish to capture from the available ones.
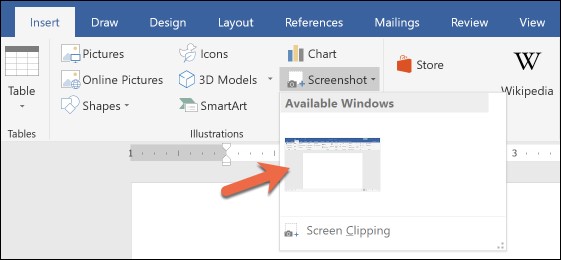
Select Window
Step 3: Once you select the window, click the Screen Clipping option to open and select the region you wish to take a screenshot of.
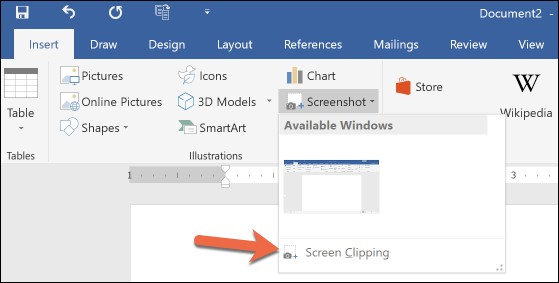
Click on Screen Clipping
How to Screenshot in Word via Gemoo Snap?
If you’re unsatisfied with Word’s built-in tool to take screenshots, you need a professional tool to meet your demands. And one such free and professional tool is Gemoo Snap. Gemoo Snap, a professional snapshot tool, combines several useful screenshot functions into a single interface, such as taking a screenshot quickly, modifying it, pinning it, copying and pasting it, and even extracting words from screenshots.
Therefore, Gemoo Snap facilitates the creation of screenshot instruction, the enhancement of screenshots, their sharing, and the provision of feedback. Besides that, these overwhelming steps will help you capture the most exciting screenshots you wish on Microsoft Word:
Step 1: Get Gemoo Snap on your PC, launch the tool, and sign in to it. Open the Microsoft Word window you want to capture.
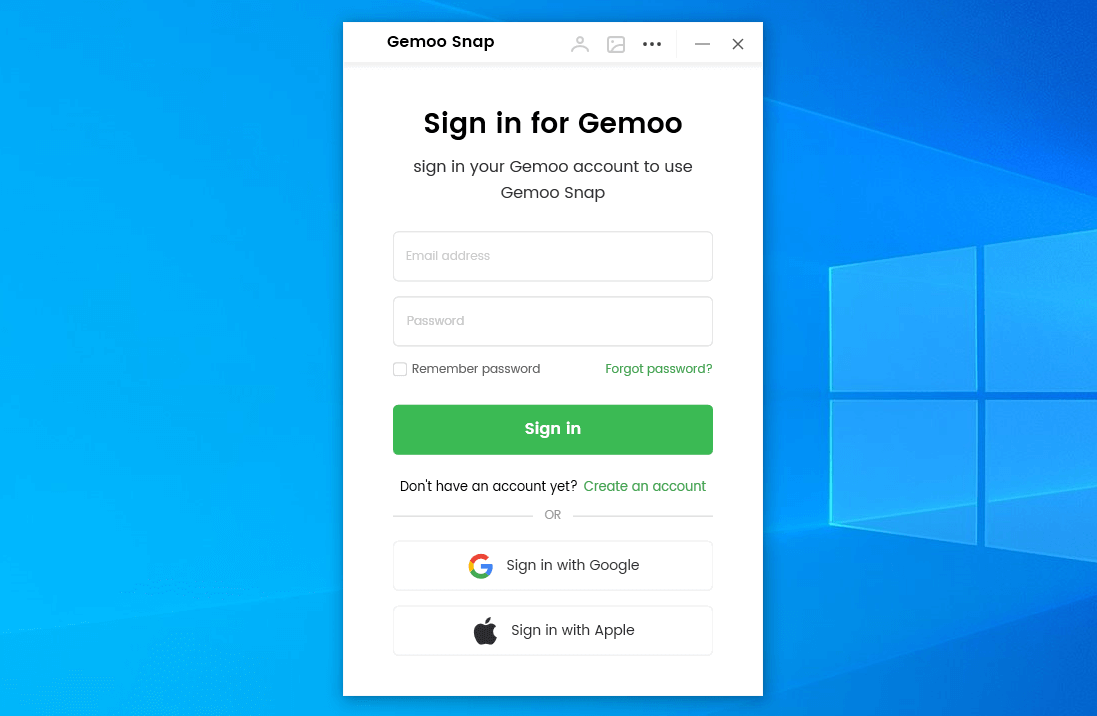
Sign in Account
Step 2: Now, click the Clipboard Screenshot mode in the Gemoo interface and take a screenshot of the window with almost just a click.
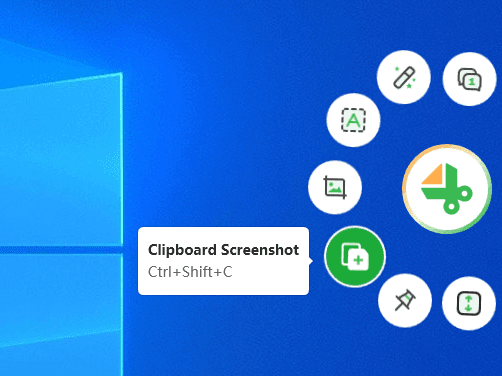
Select Clipboard Screenshot
Step 3: Adjust the borders to crop the screenshot if you wish, and then copy, paste, or save the screenshot wherever you want.
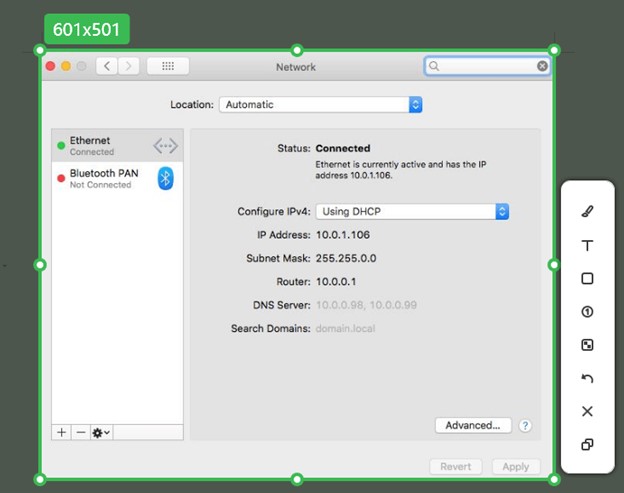
Customize Screenshot
Why Can’t I Screenshot in Word?
Having the ability to capture screenshots is helpful since it allows you to create more engaging and informative papers. It’s frustrating if Microsoft Word prevents you from taking screenshots. Several possible causes and solutions to this issue exist, which is good news. One of these solutions should let you take screenshots in Microsoft Word:
🚩 Compatibility Issues
One plausible reason behind the predicament could lie in utilizing an outdated version of Microsoft Word, lacking the capability to support the esteemed screenshot functionality. Resolving this predicament necessitates ensuring a version of Word that aligns harmoniously with this coveted feature. Hence, we recommend updating to the latest version or carefully scrutinizing the system requirements to ascertain the compatibility of your current edition regarding the inclusion of screenshots.
🚩 Choose the Right Shortcut
Selecting the correct keyboard shortcut is crucial for capturing screenshots in Word. The recommended shortcut is the Windows logo key + Shift + S. Using a different shortcut, or variation can prevent you from capturing screenshots. Therefore, it’s essential to use the proper keyboard shortcut that activates the screenshot feature in Word.
🚩 Understand Computer Security Settings
Computer security settings and antivirus software play a role in this issue. Sometimes, these settings can unintentionally block the screenshot feature in Word to protect against potential security risks. To overcome this obstacle, we suggest checking your security settings or consulting your IT department to determine if the screenshot feature is disabled. If it is, you can adjust the settings to allow screenshot capture.
🚩 Deal with Software Conflicts
Conflicts between Word and other applications or add-ins on your computer can disrupt the proper functioning of the screenshot feature. These conflicts can make it impossible to capture screenshots. However, there is a way to troubleshoot this problem. You can temporarily turn off other applications or add-ins that might interfere with Word, then restart Word and attempt to take a screenshot again. If the issue is resolved, you can identify the conflicting application or add-in and find a permanent solution.
How to Fit a Screenshot in Word?
Wondering how to fit a screenshot in Word? This section has the answers! Since you now know how to take and insert a screenshot in Word, you must wish to fit it into the Word page. To help you in this scenario, we’ve prepared a stepwise guide to fit a screenshot in Word:
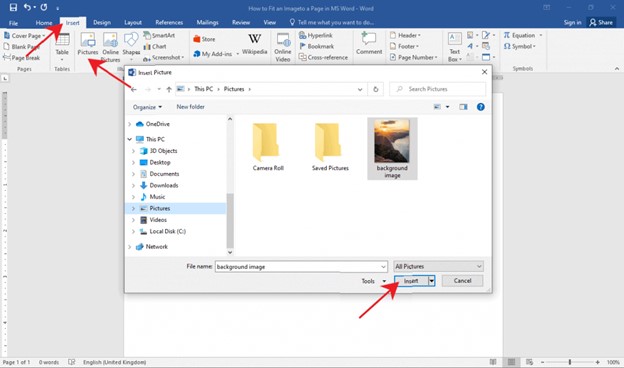
Step 1: In Word, click on the New Blank Document or open an existing one. Once the file has been opened, choose the Pictures button from the Insert tab menu. The Insert Picture dialogue box will appear in the screen’s center.
Step 2: Find the desired image, then select it by clicking the Insert button. Now, right-click the picture and choose the Wrap Text menu item. The menu will slide down from the top in a horizontal fashion.
Insert the Screenshot
Step 3: Choose a layout style, such as Behind Text or In front of Text, from the drop-down menu. This is so the picture may be resized and moved about as much as we want.
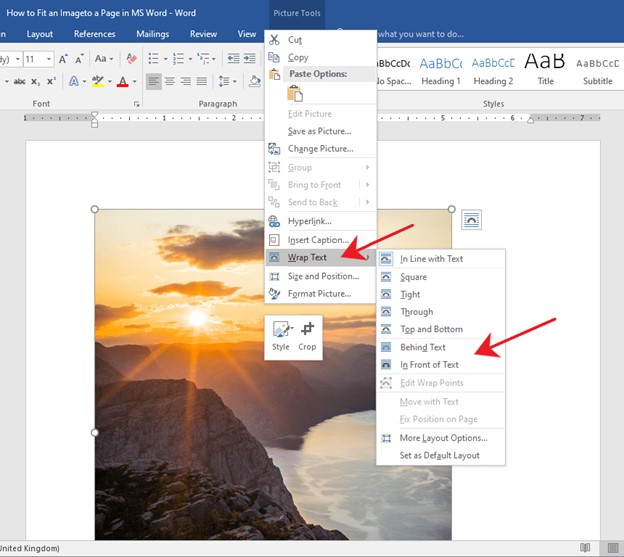
Click on Wrap Text
Note: Keep in mind that if you choose another text-wrapping option, the picture will only fit inside the borders of your page.
Step 4: To enlarge a picture, move its upper edge to the page’s margin. Repeat this process on the image’s bottom, left, and right edges until all the space is filled. You may also achieve this by dragging the image’s top left corner into the page’s top left corner. Do the same thing with the bottom right corner of the picture and your paper.
Final Thought
Microsoft Word has been the top choice for creating documents for over a decade. Since people use it to write down tutorials and guides, taking and inserting screenshots is necessary. People use different software for takings screenshots in Word because they’re unaware of Microsoft Word’s screenshot tool. But we hope you know how to take screenshot in Word after reading this article. Moreover, for questions and experiences related to the Microsoft Word screenshot feature, please use the comments below.